Share your craft projects
Make new craft buddies
Ask craft questions
Blog your craft journey

HorizontalMike
261 posts
and
20 followers
in almost 12 years
in almost 12 years
More from HorizontalMike
21st Century Workbench
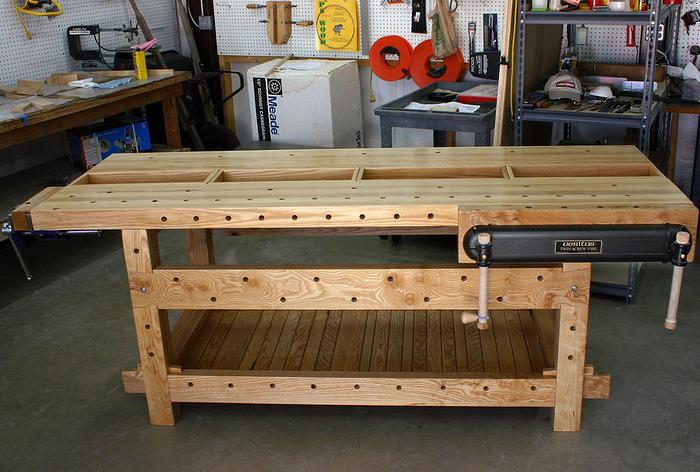
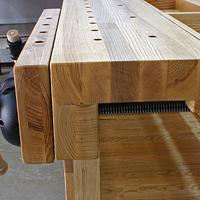
I finally got my first major project completed, Bob Lang’s 21st Century Workbench. I made this version specifically for Lefties, as I put the face vise on the right and tail vise on the left. This turned out to be a very good First Project for me as it exposed me to constructing with tongue and groove, dovetails, and through mortise/tenon joints all in one project, not to mention all the milling of 8/4 Ash and thick laminate glue-ups for the top working surface. Great experience for building those skills for the first time.
One word of caution when tackling this project, the article in October 2008 issue of Popular Woodworking has a number of measurement errors, so pay attention to the SketchUp model for accurate piece measurements. Other than that, this project was pretty straight forward.
Modifications I made from original plans (more than just making it for lefties) include:
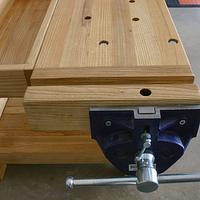
1. Face Vise Block—I made the block just over 3in. thick and recessed the screw sleeves 1/2in. to regain some of the vise opening. I had originally wanted to bolt this thing on so that I could remove it and have the ability to send the top through the planer again when it would need re-flattening, however I realized that I was really just over-thinking this and went ahead with a solid glue-up of the block. What I like about the thicker block is that as a laminate, it will have less tendency to warp and I feel that is important in a vise block. Why 3in.?...I originally had a nearly 4in. block but had to plane it down to miss all the dog holes in the top but wanted a maximum glue surface for strength.
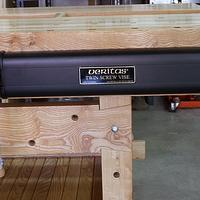
2. Tail Vise Block—Here I chose to surface mount the tail vise and build the block out of three cut pieces of Ash. This allowed me to keep my one and only 3.25hp router in the table AND not risk messing up the end of my bench top learning to freehand route 8-). I also think that it will be easier to replace this tail vise block if/when I damage it from clamping something I shouldn’t (like motor parts off my Harley and such).
3. Lower Rail Cleats—I didn’t like the way a smaller cleat screwed to the bottom of the lower rails looked so I decided to use a full width 1”x3” cleat, glued up flush to the front of the lower rail, and planed it smooth. I think it will work great and it gives the lower rail a beefier look to match that of the upper rails.
HorizontalMike
2 Comments
Outstanding workbench almost too nice to work on.
woodworking classes, custom furniture maker
Wow, this may be the nicest workbench I’ve ever seen! I agree with a1jim-too nice to work on! : )
Amor Vincit Omnia


