


Share your craft projects
Make new craft buddies
Ask craft questions
Blog your craft journey

HorizontalMike
257 posts
and
20 followers
in over 12 years
in over 12 years
More from HorizontalMike


Milk Painted Narrow Amish Cabinets


While perusing through my “gifted-to-me” collection of woodworking books and magazines, I came across a real ‘keeper.’ It is titled COUNTRY PINE by Bill Hylton copyright 1995 Rodale Press, Inc. worth buying, if you don’t have access to it.
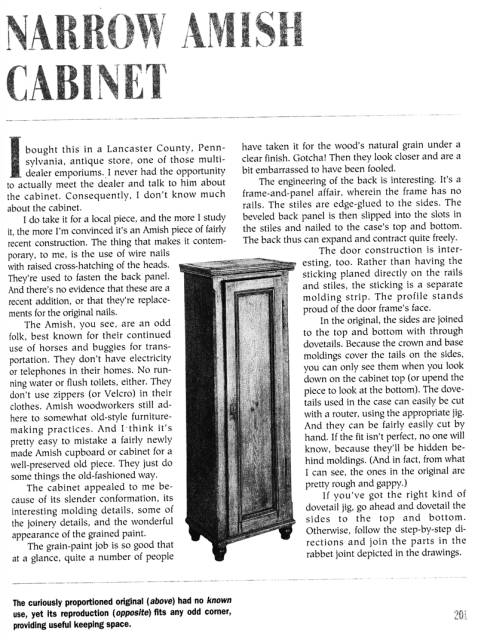
In this book I found the neatest little cabinet of under 4ft tall and narrow. The plans and drawings are rather complete and you also get a nice background story on each of the 30 or so antiques/projects in the book. Here is the entry page for this Amish Narrow Cabinet:
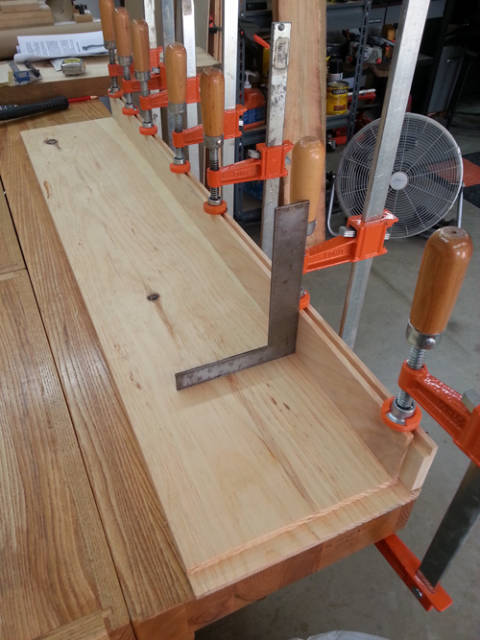
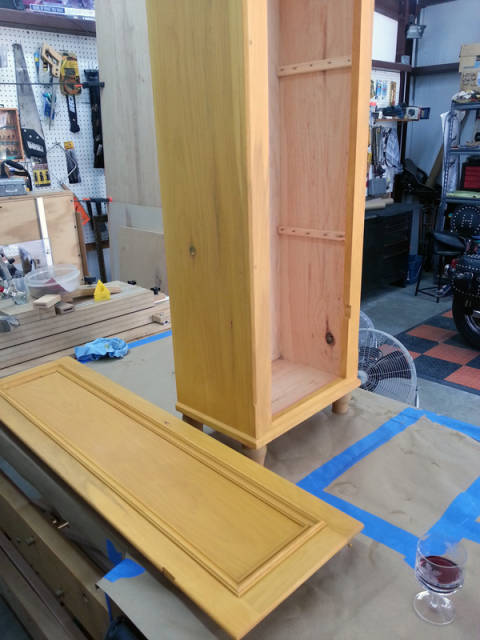
The construction was actually rather easy. On the Yellow cabinet I elected to go with a rabbet joint connecting the sides to the top/bottom instead of the original dovetails which were hidden anyway. On the Green cabinet, I finally attempted to do handcut dovetails for the first time. Sure glad I started with very long side boards and cut the dovetails FIRST, before sizing for proper length. It took me 4-5 tries to get the dovetails correct and usable… ;-)
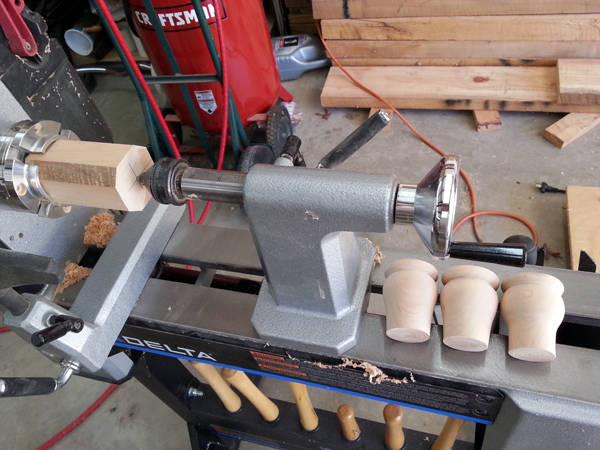
I also got to use my relatively new lathe to turn the legs! That was a blast in its own right.
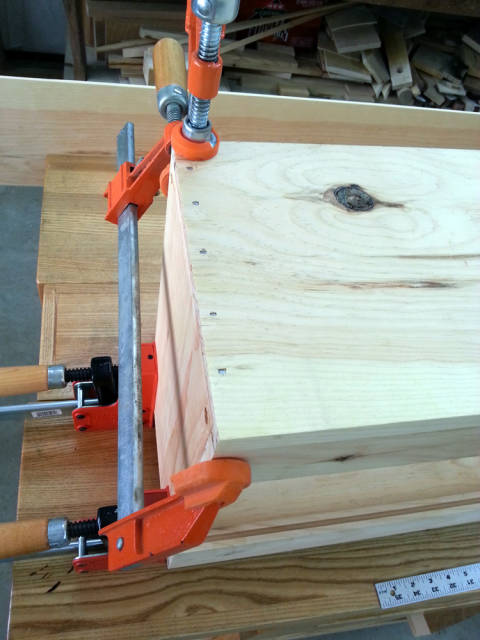
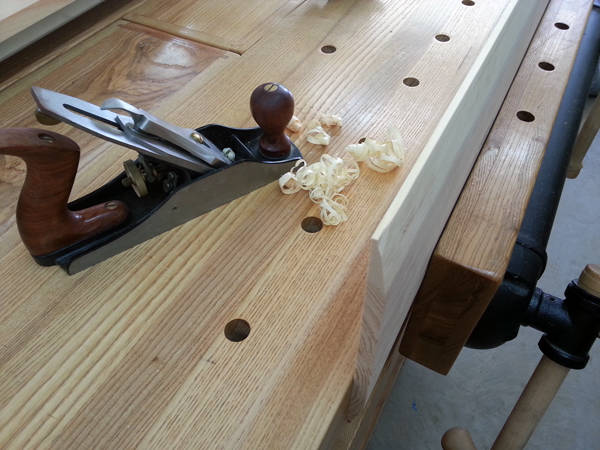
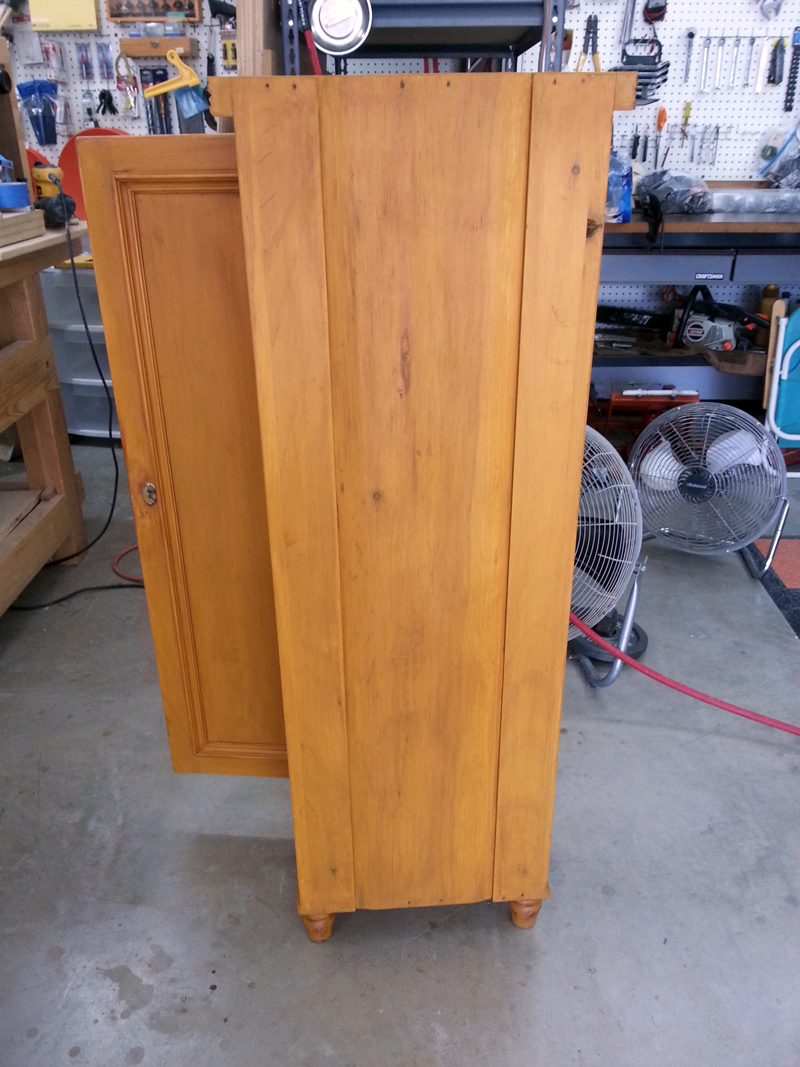
The front and rear frames are glued and nailed for secure joints, though I think the originals may have been nailed only, in the past. I took the time to purchase and use the appropriate cut nails in order to add to the authenticity of the piece. I also got a little hand plane time in while sizing the wide “frameless” tapered back panel. Not only did I have to plane for width, but also for taper as the board needed to fit into a dado without blowing it out. Read the article description about the back construction in the included article image above, for more information.
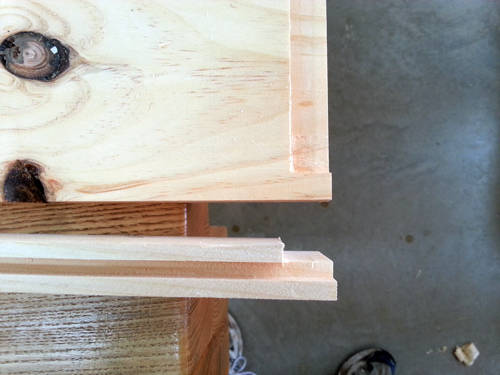
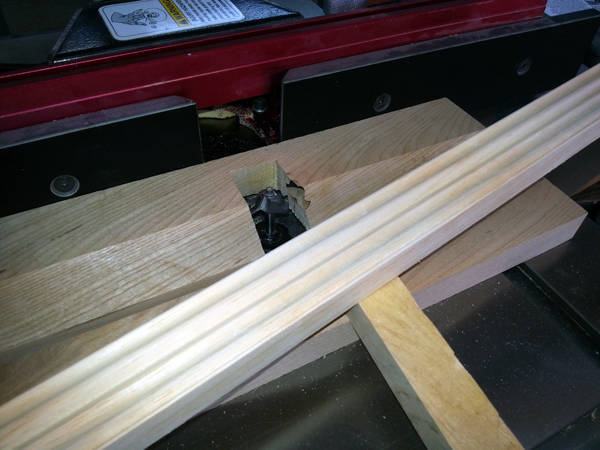
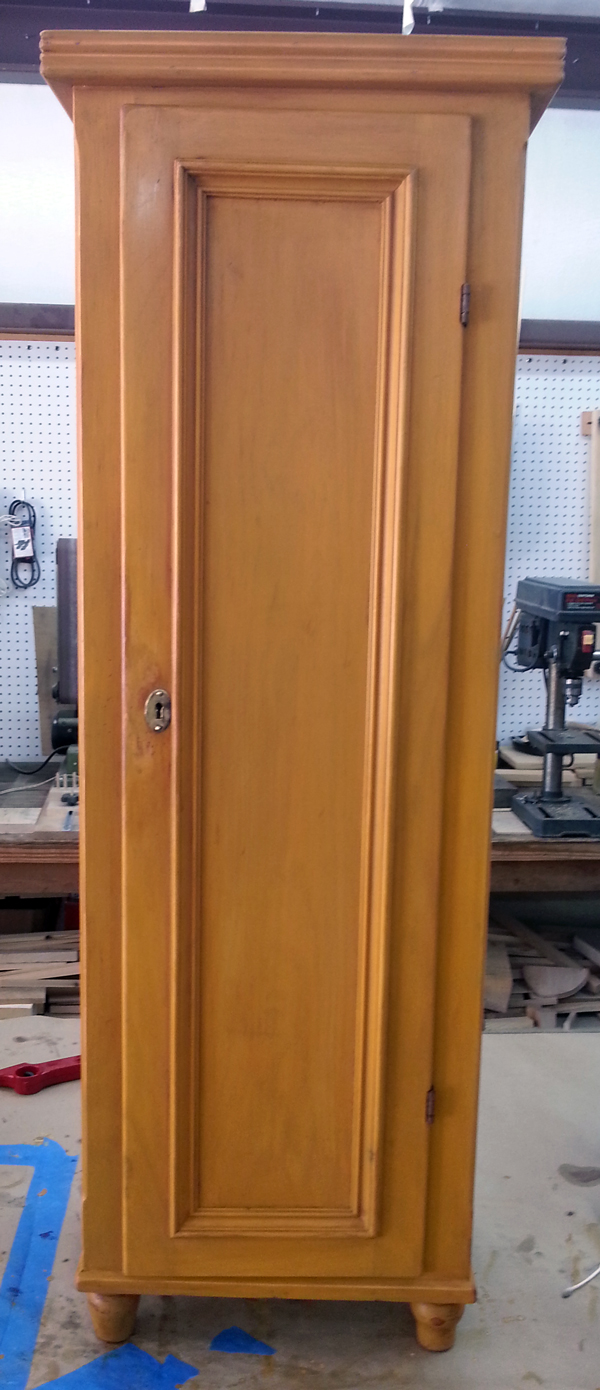
One of the biggest challenges had to be routing the crown molding and the door sticking. Had to spend much time on the Internet in order to find a “small” 7/8in French Provincial bit in order to make the sticking. FWIW, my first rout came out looking like crap but I learned and adjusted accordingly. ;-)
V Sticking V
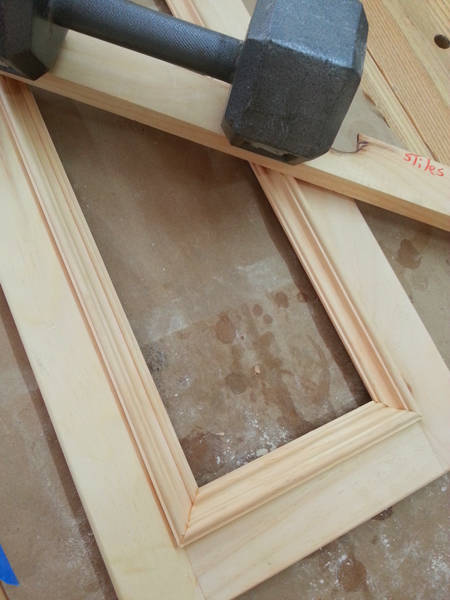
V Crown molding V
The MOST fun I had with this was doing my first attempt at ”Museum Quality” finishing, AKA higher quality antiquing. I followed many suggestions that I found in David T. Smith’s book AMERICAN COUNTRY FURNITURE, 1990 Rodale Press, Inc. The latter link will take you to an eBay source for this great book, HOWEVER, I do suggest that you spend some time on David T. Smith’s website, a trip well worth taking, IMO:
https://www.davidtsmith.com/newsite/home.asp
(below — making homemade milk paint)

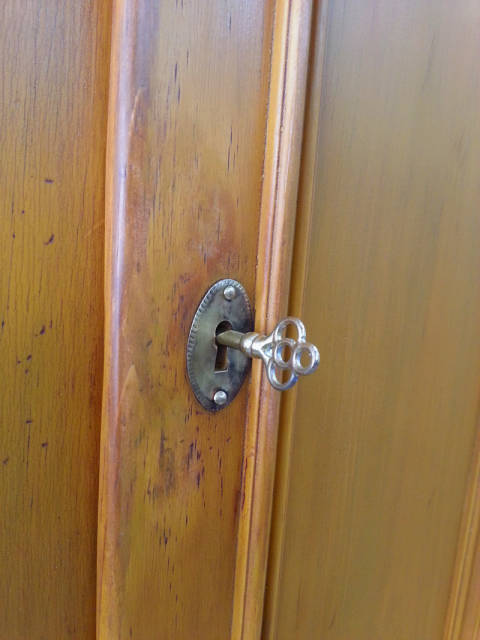
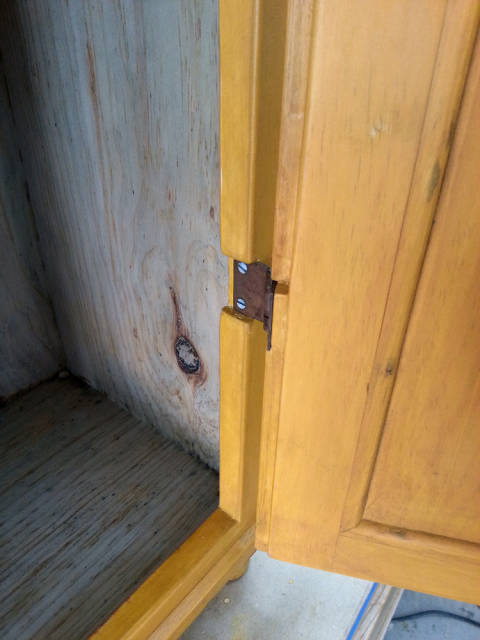
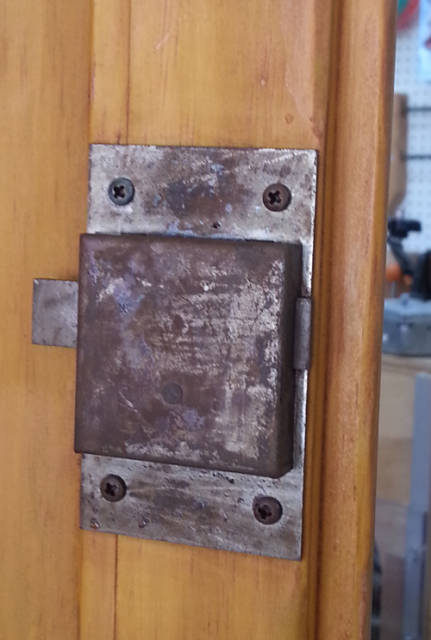
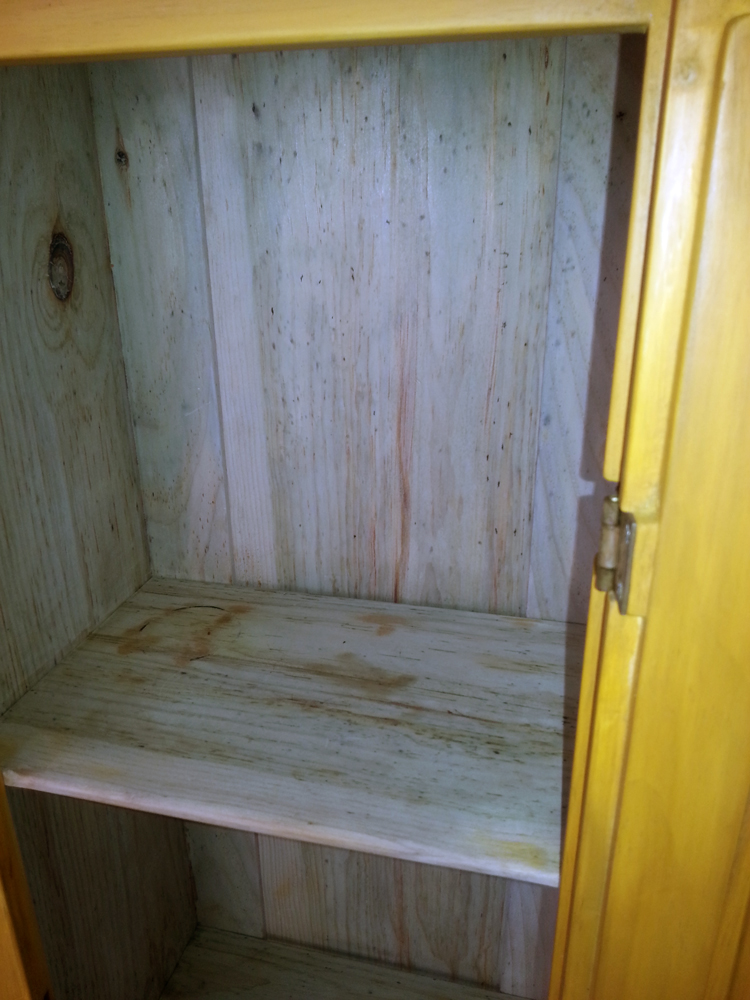
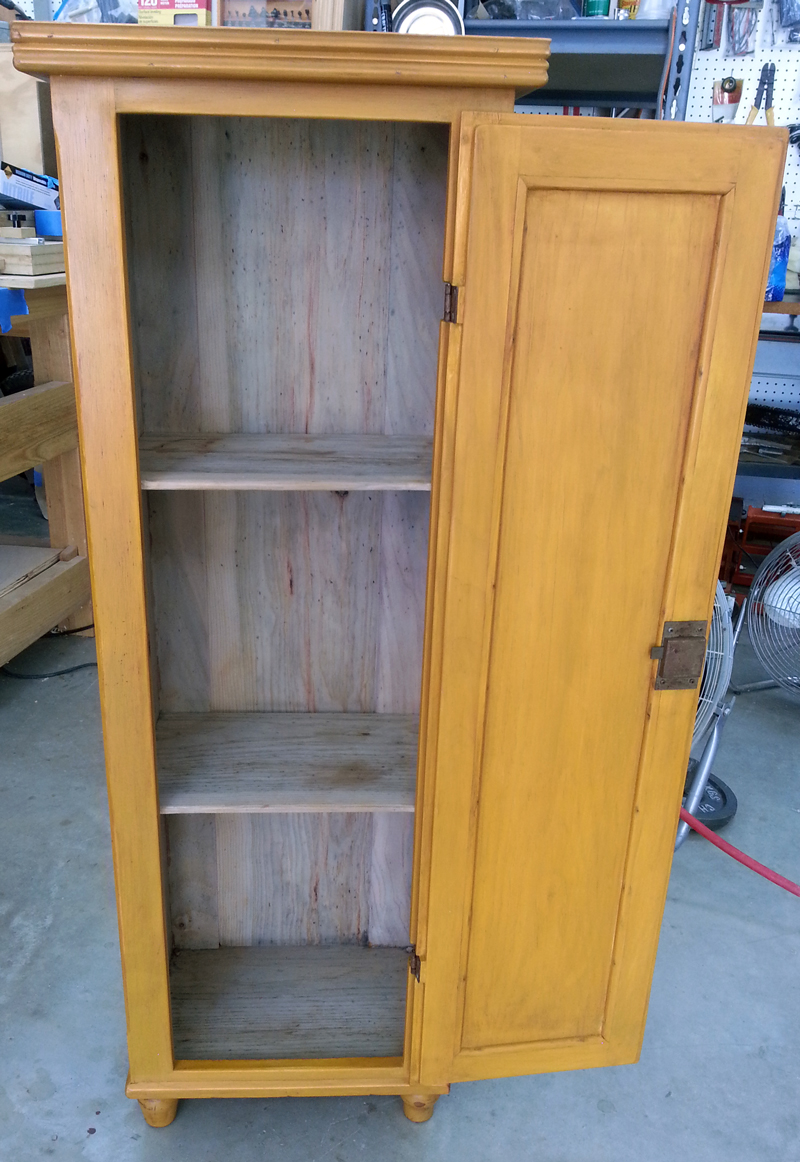
NOTE: In order to darken/age the unpainted Ponderosa Pine interior AND in order to make the iron hinges and lock rusty, I used a 10% solution of Nitirc Acid (wear gloves, even if this is a weak solution). The wood darkens over-night, to a nice gray color with many flecks in the grain. Notice I also made a faux “leaking jar” stain on one of the shelves. Honest! The devil made me do it!… ;-) I even had fun making my own “Milk Paint” and using acrylic paint/pigments to color the paint as well as the grime/glaze that helps age the surface so well. Anyway, the cabinet is painted a traditional Yellow Ochre color. I used a thinner ‘wash’ of paint in order to still be able to see the wood grain and knotholes underneath the surface.
BEFORE ANTIQUING:
AFTER ANTIQUING: Click Images below for Full size
July 2013
HorizontalMike
4 Comments

Great work Mike!
I enjoyed the journey through your detailed post and great pictures.
you got me curious about making milk paint.
Thanks!
Abbas, Castro Valley, CA
Awesome job Mike! When I saw the first pics, I thought they really were antique cabinets. You did a great job on them.
Where are the band-aids?---Pro Libertate!

Well done. I love everything you’ve shown us here particularly the finished result. Nice post.
-- Alec (Friends call me Wolf, no idea why)

Excellent work Mike
woodworking classes, custom furniture maker
More from HorizontalMike