Share your craft projects
Make new craft buddies
Ask craft questions
Blog your craft journey

Ron Stewart
937 posts
and
25 followers
in over 3 years
in over 3 years
More from Ron Stewart
Rustic Modern Keepsake Picture Frame (Father/Daughter Project)
I originally documented this project on January 6, 2020.
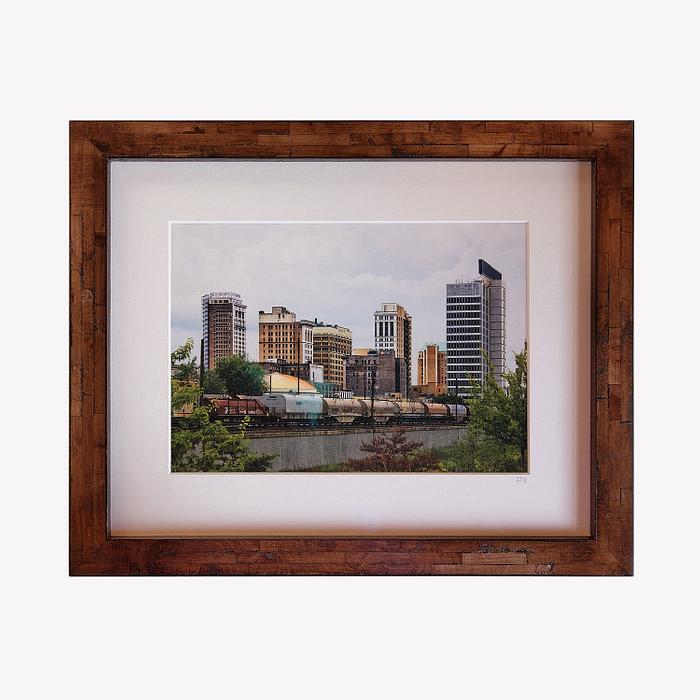
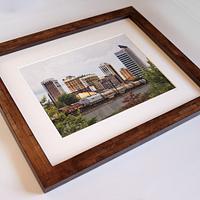
My daughter and I built this picture frame when she and our son-in-law visited us over the Christmas break. Its sides are a sandwich of thin (~3/16"), narrow (5/16"), random-length (1-3") blocks of Japanese maple glued in butcher block fashion to a poplar base and edge-banded with reconstituted wenge veneer. The finish is Zar Moorish Teak stain and three coats of Deft spray lacquer. It's approximately 15 1/2" by 12 1/2", sized to hold a 14" by 11" matboard.
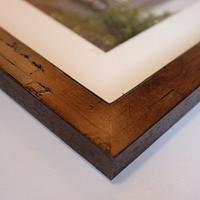
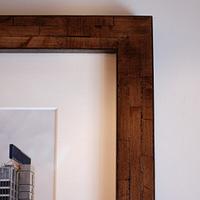
The face of the frame has a bit of a rustic look because the blocks are all exposed end grain with considerable variation in tone and texture, and some of the joints are not perfectly tight. The wenge veneer is very even grained and smooth, and it hides the seams between the blocks and poplar base, giving the edges of the frame a cleaner, more modern touch.
Three things made this project rise above the ordinary. First, those Japanese maple blocks came from what was my daughter's favorite tree, and the frame preserves a part of it for her. Second, the photograph inside the frame is of a park she and her husband used to visit when they were both in college, so it's a keepsake around a keepsake. Third, it's the first project she and I have worked on together since she was a little girl, so we also made some memories along with the frame.
I'll present more of the backstory and construction details below.
Backstory
The Japanese maple stood in our yard, between our garage and driveway, for 26 years. Late last year, my wife and I decided we had to replace the driveway, which was cracked and buckled, and we decided to remove the tree. When we planted it, it was about three feet tall, but it had grown to about 30 feet tall and was just too big for its location. We were afraid its thick roots would damage our new driveway or garage foundation.

When we told our daughter of our decision to remove the tree, she was heartbroken. We all liked that tree, but I hadn't realized that it meant so much to her. But we had no choice; it had to go. We thought of several ways to preserve some physical mementos of it for her. After the tree was down, we saved a length of one of the thicker branches (my wife made a Christmas ornament from a slice of it, a leaf, and clear epoxy). I saved a two-foot long segment of the trunk for some possible future project (maybe a bowl or two). We even tried (unsuccessfully) to propagate the tree from cuttings.
When our daughter and son-in-law visited during Thanksgiving, my wife gave her the ornament, along with the remaining slices of the limb we had saved. (I had cut 20 or so in various thicknesses so my wife could select the best one.) We thought our daughter might come up with some creative use for them in the future.
She and our son-in-law visited again over the Christmas break, and she brought those slices (still with no firm idea about how to use them). As luck would have it, they spent a day in Birmingham visiting college friends, and they returned with a matboard-mounted photograph of one of their old haunts that they had found in a local shop. Now she had an idea. She wanted a picture frame built from the old tree… one keepsake to encapsulate another.
After some collective brainstorming by the four of us, we settled on a design, sort of a random brick or butcher block pattern. Now it was up to me to figure out how to build it. My daughter wanted to do as much of the work as possible, both to learn a bit about the craft, and to play an active role in the preservation of her beloved tree.
Construction Details
Here's the raw material for the frame's face: a handful of slices of varying thicknesses.

I decided to start by planing the slices to a uniform thickness. We attached them to a scrap board with double-sided carpet tape and ran them through the planer. Disaster ensued. I thought I had set the planer to make the shallowest possible cut, but I guess I was wrong. The knives caught the edge of one slice, lifted it and the tape off the board, and broke it into pieces. That sent us to Plan B… build the frame sides, then figure out how to flatten them afterward.
To start trimming the slices into strips, I cut them in half using my table saw and crosscut sled, using a scrap board on either side to keep them from moving.

Now that I had a bunch of half-slices, each with one flat side, I was able to rip 5/16" wide pieces with the help of my Microjig GRR-Ripper block (silly name, great product). That left me with what looked like a bunch of wooden french fries.


The next step was squaring the edges of the cut pieces to form the miniature blocks. I did that with the crosscut sled, one piece at a time.
We cut the bases of the sides from a scrap poplar board. Now we had all the parts we needed.

My daughter arranged the blocks in the pattern she wanted, and we worked together to glue them to the poplar. When the glue dried, we had four side pieces that looked like sections of a stacked stone wall.


The next step was flattening those sides. I wasn't about to try the planer again. I considered sanding, but there was at least 1/8" of height variation among the glued blocks, and sanding would have taken forever. In the end, I decided to treat the sides like tiny slabs, and to flatten them with my router and straight bit. I clamped two sides at a time, plus spacers, between two slightly taller boards that acted as rails for the router's base. Then it was a simple matter of progressively lowering the bit while making multiple passes to shave off the highest faces until the sides were flat.


We covered edges of the sides with veneer. I had maple and reconstituted wenge on hand, and she opted for the wenge, which contrasted nicely with the maple (in case she opted for a lighter finish later). I didn't take any photos of this step, but we used the iron-on method to attach the veneer.
I trimmed the veneer with my router table and flush-trim bit, filled a few gaps between the blocks with a sawdust/white glue mixture, and cut the rabbets in the back of the sides to accommodate the glass and matboard. After that, all that remained was cutting the miters for the corners gluing the sides together. After some final sanding, the frame was ready for finish.
I trimmed the veneer with my router table and flush-trim bit, filled a few gaps between the blocks with a sawdust/white glue mixture, and cut the rabbets in the back of the sides to accommodate the glass and matboard. After that, all that remained was cutting the miters for the corners gluing the sides together. After some final sanding, the frame was ready for finish.

We tested two shades of Zar stain, and she chose Moorish Teak. She did the staining and lacquer spraying, and we were done. We installed the glass and mounted the photo the night before they had to return home.


It was a fun project, and she and our son-in-law are very happy with the result.
3 Comments
thats a cool frame idea.
working with my hands is a joy,it gives me a sense of fulfillment,somthing so many seek and so few find.-SAM MALOOF.
Nice frame, and a great story. Well done.
Main Street to the Mountains
Great project! Love the background story.


