Share your craft projects
Make new craft buddies
Ask craft questions
Blog your craft journey

Ron Stewart
937 posts
and
25 followers
in over 3 years
in over 3 years
More from Ron Stewart
Laundry Room Storage Shelf (Making a Useless Corner Useful)
Originally posted on September 3, 2020 (LumberJocks). It's less of a "how I built it" and more of a "how I solved it" post.
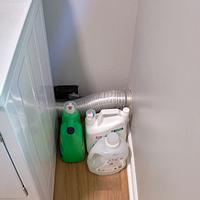
Our laundry room is small, so my wife and I try to maximize our use of the available space. There's about 17" of space between the dryer and the nearby side wall, but the back 8" of that corner was unusable because of the dryer vent duct and a large electrical box there.
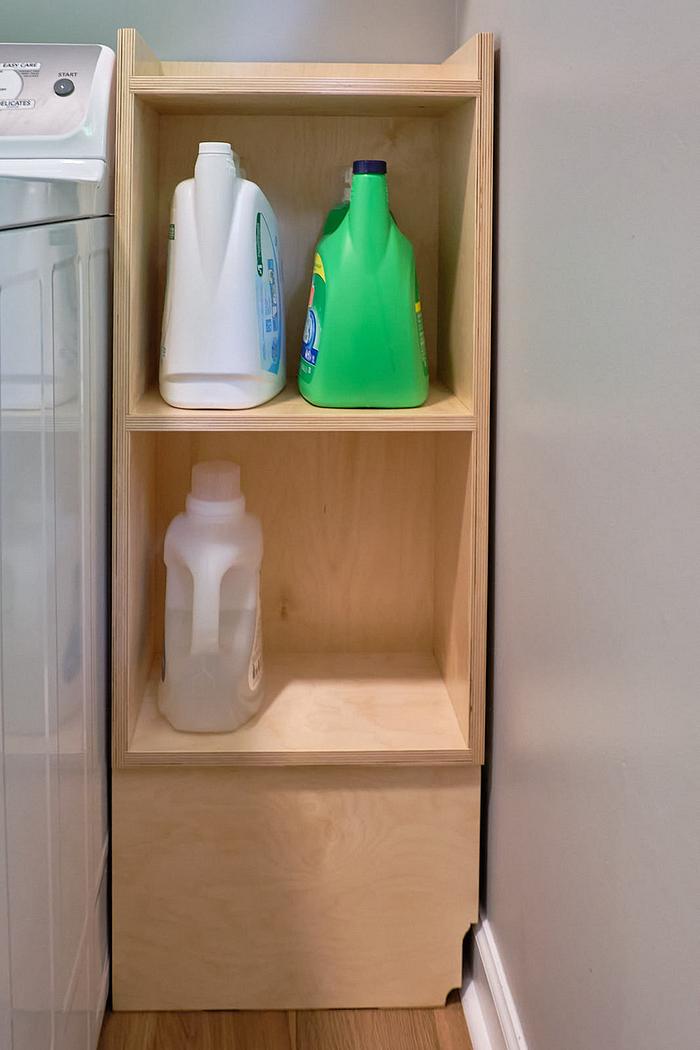
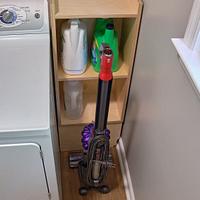
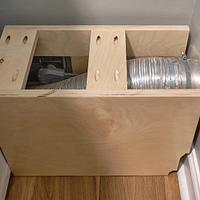
I built this simple shelf to make that corner a little more useful, adding some usable storage while still leaving room for our vacuum. I thought the way I dealt with the vent duct and electrical box might be of interest to some members.
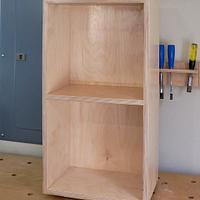
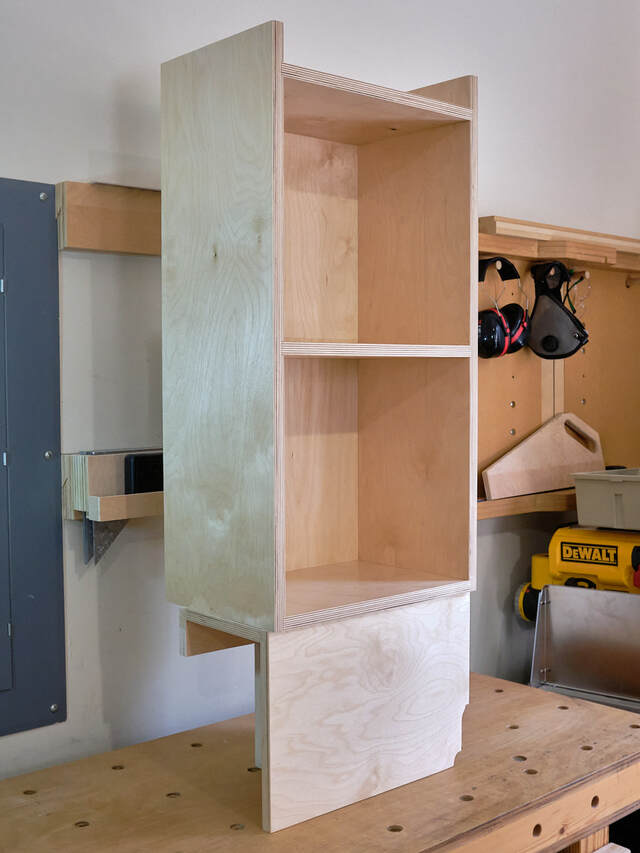
The main part of the shelf is like a small bookcase. It's 31 1/2" tall, 16" wide, and 10 1/2" deep with a fixed shelf in the middle. We wanted it just wide enough to fill the available horizontal space and tall and deep enough to store several big detergent bottles and other supplies. The top shelf has a 2" lip on the sides and back to prevent items placed on it from rolling off (and ending up behind the dryer).
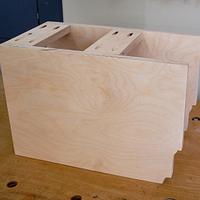
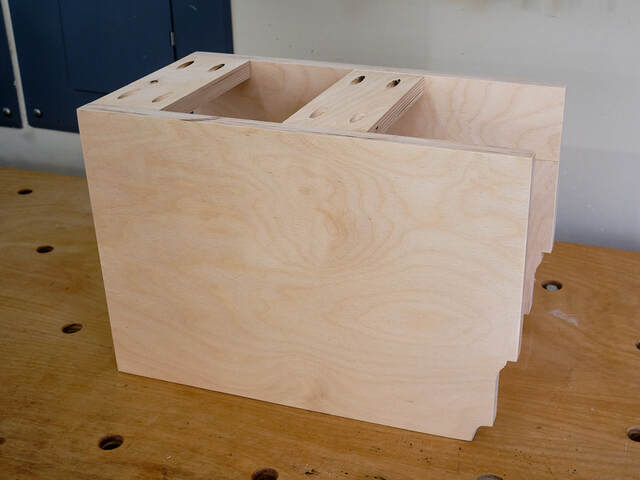
This shelf rests on an 11" high stand that straddles the vent duct and electrical box. I wasn't sure how close to the side wall we'd end up placing the shelf, so I cut away the stand's right corners to fit around the baseboard and quarter round if necessary. (As you can see from the photos, a simple notch for the quarter round would have sufficed.) The back of the stand is inset 1 1/2" (to account for the molding behind it) and the front is inset 1" (for looks).
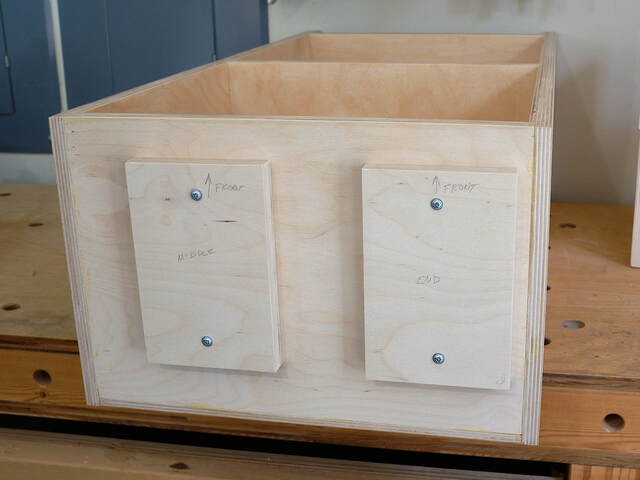
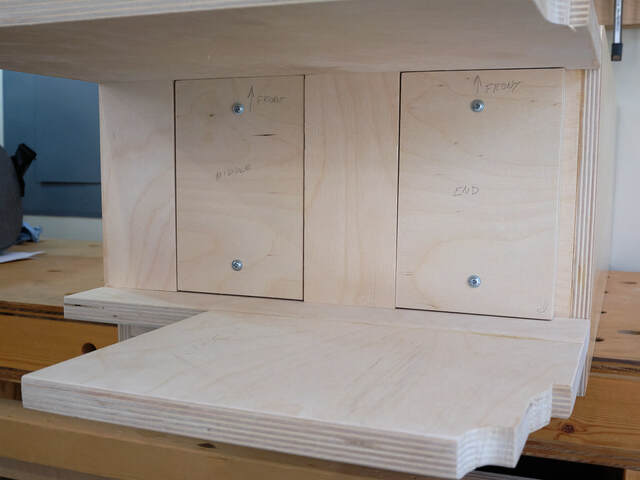
To make it easier to install the shelf in the tight corner space (and remove it for cleaning), I didn't screw the shelf to the stand. Instead, I just attached some alignment blocks to the bottom of the shelf that nestle inside matching openings in the stand. This two-part scheme really made it easy to install the shelf; our walls and dryer remain scratch-free. The shelf is also very stable.
I built the shelf and stand from 3/4" Baltic birch plywood, except for the back, which is 1/2" BB. My wife wanted a natural look, and she didn't want me to hide the plies on the edges, so I applied two thin coats of Minwax Polycrylic, buffed it with a white Scotch-Brite pad, and called it a day.
Below are a few more photos showing how the stand and shelf fit together.
Thanks for looking!
8 Comments
That's a great solution. I like the cleats that locate the shelves on the base. I've got a laundry room that's got a similar nook that has water supply valves that I wouldn't mind hiding. This would work for me. Thumbs-up!
Good soution for an unused space, fits the need. Well done.
Main Street to the Mountains
Thank guys!
Nice solution. I like the two part that aren't fixed permanently together, but still "locked" in place. And it warmed my heart to see some pocket holes! 😉
Thanks, Barb. I don’t use my pocket hole jig as much as I did when I first got it, but there are times when it’s just so fast and easy (and plenty strong). I’m not advanced enough at joinery to be a snob. :-)
I agree. There are times when pocket holes just work (and plenty when other options are better). For some reason I often feel I'm being less of a "real" woodworker when I use them.🤷♀️
Clever design!
Thanks, Steve!
And Barb, I think a real woodworker uses whatever works. 😀
And Barb, I think a real woodworker uses whatever works. 😀


