Share your craft projects
Make new craft buddies
Ask craft questions
Blog your craft journey

Ron Stewart
937 posts
and
25 followers
in over 3 years
in over 3 years
More from Ron Stewart
Tiny Walnut and Steel Side Table
Originally posted on March 19, 2018 (LumberJocks).
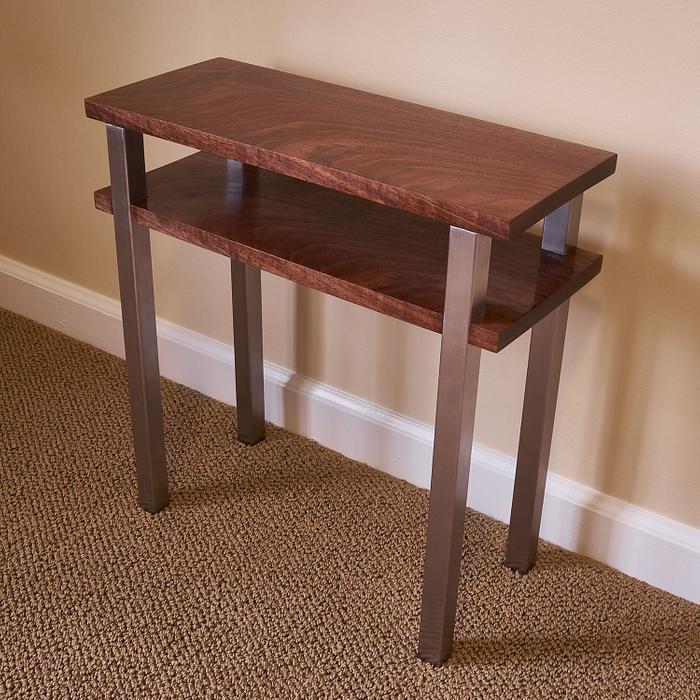
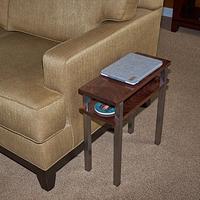
My wife needed a small side table, just big enough to hold an iPad or Kindle and a glass of milk. It had to be narrow, because it's in the family room's main flow of traffic. She had a very clear idea of what she wanted: something very minimal with a pretty wood top, metal legs, and an open shelf to hold items like a coaster and reading glasses.
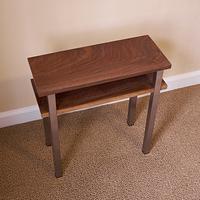
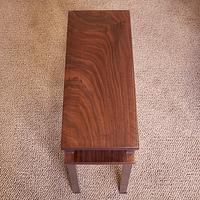
The photos above show the result. The top and shelf are about 3/4" thick, cut from a slab of 8/4 walnut with a striking half-cathedral grain pattern. The legs are 1" steel tubes, inset 1" from the short ends. Overall dimensions are 18" long, 7 1/2" wide, and 18 1/2" high. The shelf opening is 3". The finish is three wiped-on coats of gloss Arm-R-Seal rubbed with a gray Scotch-Brite pad and buffed with a brown paper bag.
I don't name my projects, but if I did, I'd call this one my "Perseverance Table," because it took more effort than I expected, and because I had to do almost everything twice. If you're interested in the gory construction details, please read on. You can consider what follows part how-to, part how-not-to.
Proportions
It started with the dimensions. I was so worried that this very narrow table would be unstable that I built a full-size prototype from scrap plywood and MDF. That prototype convinced me the table would be okay. It was stable enough for its intended use, and I knew the real table would be heavier with a lower center of gravity because of the steel legs.
Resawing the Slab for the Top and Shelf
My first challenge was resawing that 4/4 slab in half for the top and shelf. I don't have a bandsaw, so I used my table saw. I set the blade about 1" high, sawed a slot in the center of each long side (taking care to place the same face on the fence when I flipped the board). Then I raised the blade another inch, deepened the slots, and repeated until the saw blade was fully raised. When I was done, I had sawed most of the way through the slab's 7 1/2" width, but about 1" remained in the center. I used a hand saw to cut the remainder to separate the two halves. My planer cleaned up the saw marks, and I had two usable boards about 7/8" thick.
I asked my wife to decide which board to use for the top and which for the shelf, and which sides should face up. To help with that, I applied boiled linseed oil (part of my intended finish) to all sides to better show the grain. (I had no mineral spirits on hand.) The boards ended up cupping a bit overnight (due to the releasing of internal stresses after the resawing, I supposed), so I had to plane them again to flatten them. That planing removed most of the BLO.
Cutting the Steel Legs
For the steel legs, I bought two 36" lengths of tubing. After a lot of buffing with an abrasive pad, they were finally clean enough to touch without leaving black residue on my hands. I clamped them together and cut them in half with my jigsaw and metal-cutting blade. It was slow going, but it worked. But one pair of legs was slightly longer than the other, so I had to clamp all four together and trim their ends in one pass to make them match. I used a metal file to clean up and smooth the cut ends.
Cutting the Shelf Notches
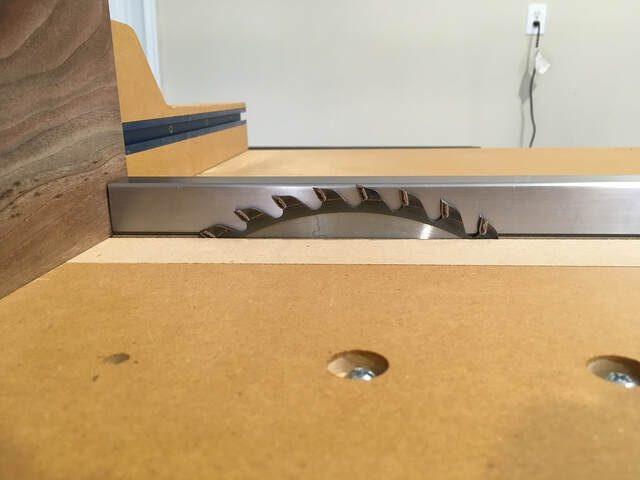
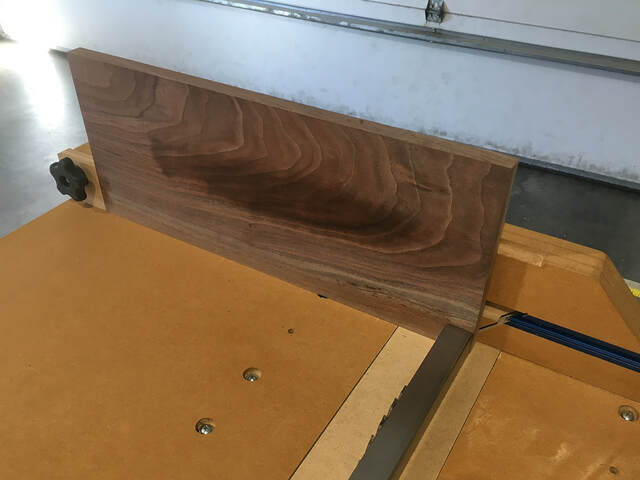
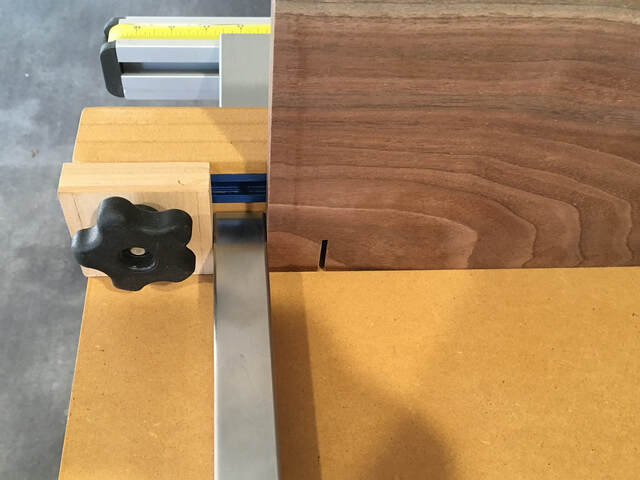
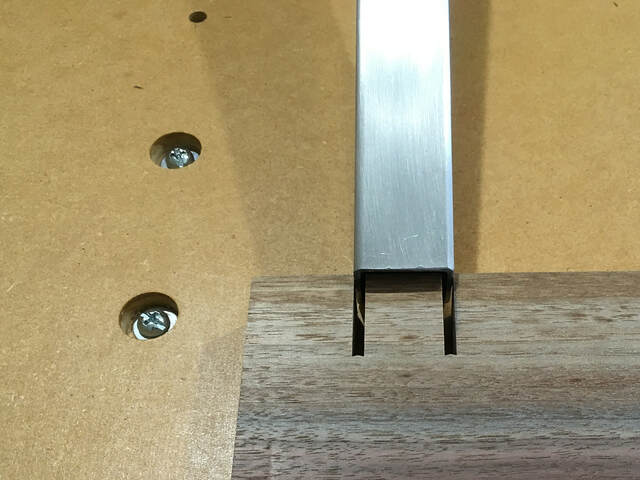
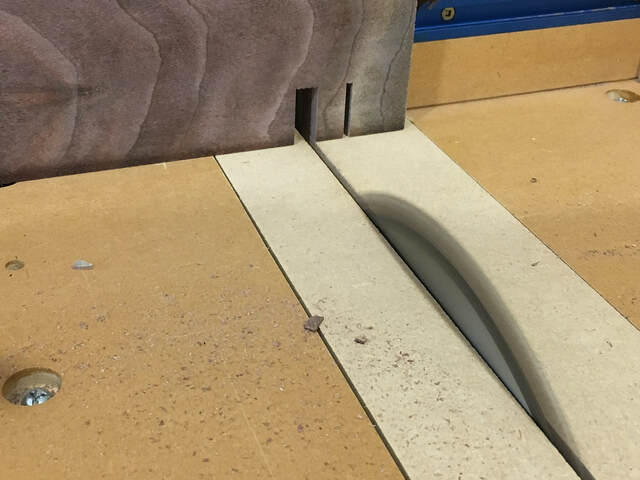
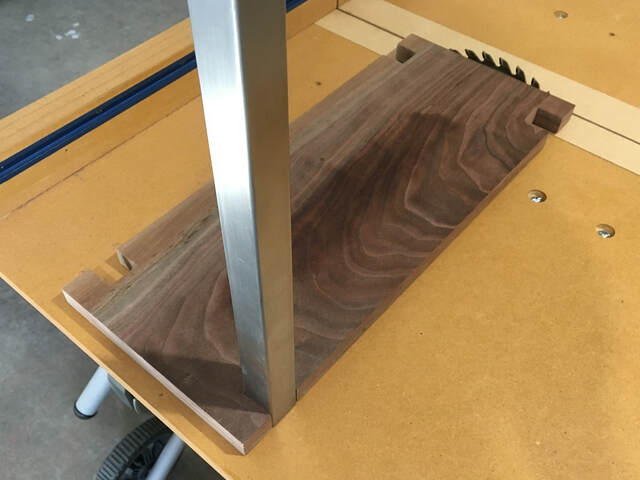
The notches in the shelf are just 1" deep by 1" wide dadoes. I cut them with my table saw and crosscut sled, using one of the legs to set the blade height, the inset from the end of the shelf, and the dado width. To cut the dados, I first set the sled's stop for the outside edges, cut all four edges, moved the stop for the inside edges, cut all four, and then removed all the material in between. Amazingly, I didn't mess this part up. To complete the shelf, I used my drill press to drill dowel holes in the notch centers.
Completing the Legs
The steel tubing is really veneer. Each leg is a piece of maple that fits snugly in the steel tube along its entire length. Dowels at the tops of the legs fit into stopped holes in the top's underside, and dowels projecting from the legs fit into holes in the shelf notches. I made a simple jig to help drill perpendicular holes in the ends of the legs.
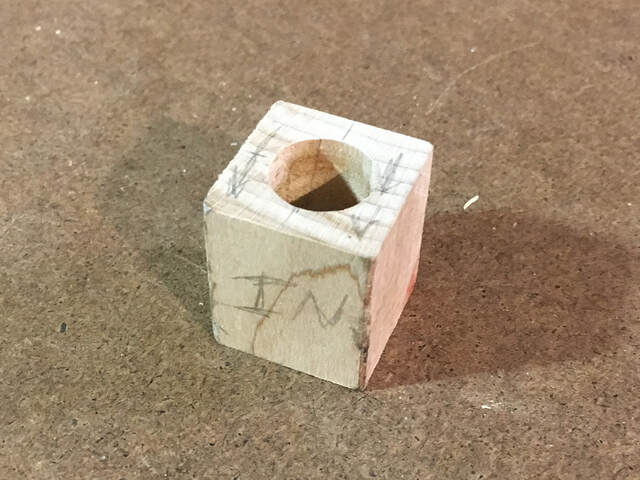
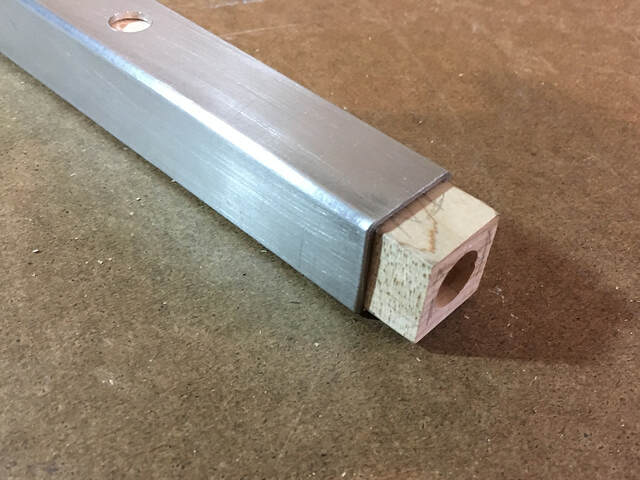
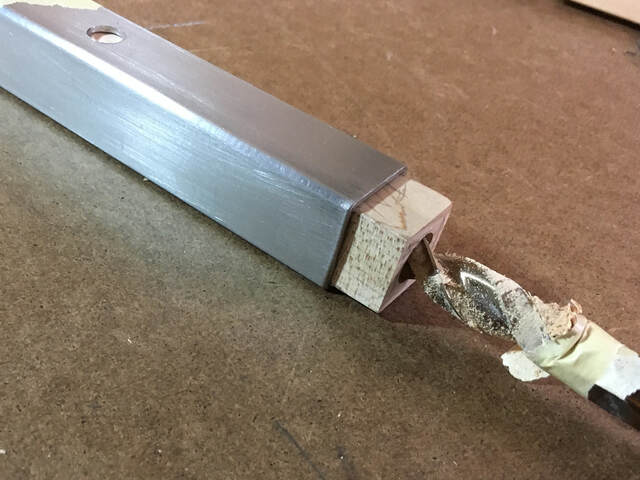
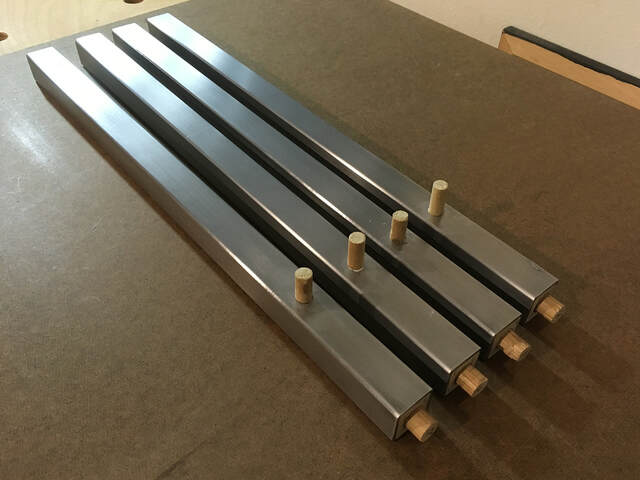
I also used that jig, plus a cutoff from the steel tubing, to mark the locations for the holes in the top's underside.
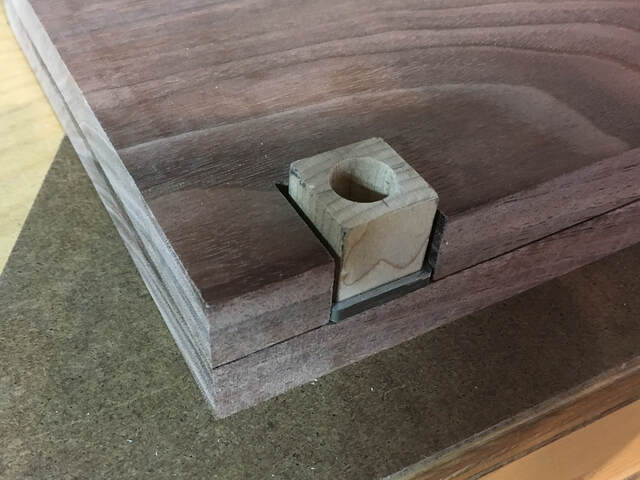
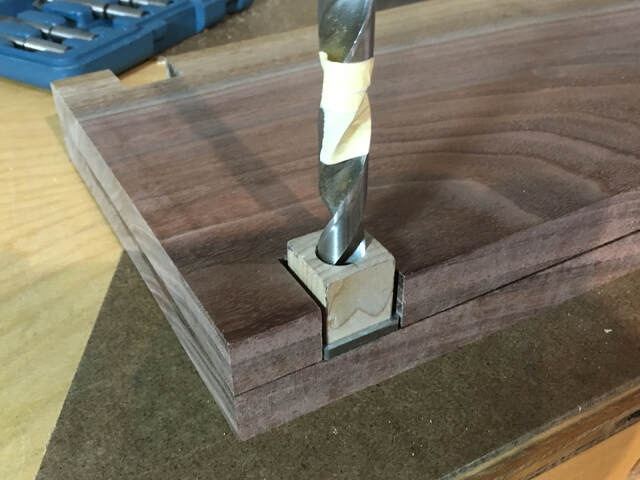
I drilled the stopped holes with my drill press.
Applying the Finish
My original plan was to finish the top and shelf with one application of BLO followed by three or four applications of Watco Danish Oil (natural). I thought that would highlight the grain and result in a smooth, low-sheen finish. Everything looked okay after the BLO application.
I moved on with the Danish Oil. I wet sanded the second, third, and fourth coats. The resulting finish felt great, but it was a bit dark and muddy. I'm not sure if the problem was too much BLO (Watco also contains BLO), or if the wet sanding filled the pores with dark dust. (Unfortunately, I didn't take any photos of this finish, so I can't show you how it looked.) I should have stopped here, stripped/sanded the finish, and tried something else, but I didn't. That was my first big mistake.
Assembling the Table
Assembling the table should have been trivial. I thought it would take about an hour. Because the top and shelf were finished, I wanted to handle them as little as possible. So I didn't do a final dry fit. That was my second, and biggest, mistake. I got my clamps ready, applied glue to the dowels, and put everything together, starting with the legs and shelf, and continuing with the top. The legs fit into the notches correctly, but the dowels into the top didn't seat fully; there were gaps between the legs and the top.
I pressed harder. The gaps remained. No problem, I thought. The glue must have caused the dowels to swell; they just needed a little encouragement to seat. I retrieved my rubber mallet. Tap, tap. No joy. Tapping turned to whacking, and whacking to pounding and sweating (and mashing my finger). One of the gaps mostly closed, but not the others. Finally, I admitted defeat. I think what had happened is that I didn't fully seat the dowels into the tops of the legs when I glued them, meaning that the protruding parts were too long for the top's holes.
Fortunately, the gaps were large enough that I could fit a thin-bladed saw in them. I was able to saw through the dowels to separate the top, and all of my pounding had compromised the leg/shelf joints enough to allow me to easily remove the legs. Then I could start over, so I flattened the dowel remnants, drilled new leg/top holes, and glued in new dowels.
After that, I noticed that all of my pounding had split the top at one corner. (That's why that one gap had closed.) The board had basically started to delaminate along one of the grain lines. I was able to force enough white glue into the crack to repair it. If I looked for it, I could still see the crack on the top, but it didn't stand out.
After all of that, I was able to glue the table together (with all of the dowels fully seated), and I was finally finished. Or so I thought.
Refinishing
My wife was happy enough with the table. It was just the right size, and it was useful in the way she wanted. But she wasn't thrilled with the finish. The more I looked at it, the less thrilled I was with it too. I hadn't done justice to the walnut, and that slight discontinuity on the top was a constant reminder of my stupidity. Also, we discovered that the finish didn't protect against dog drool very well. (Sometimes he hangs his head over the couch's arm rest.) So, after a few weeks, I decided that I had no choice but to refinish the table.
I tested shellac, laquer, and Arm-R-Seal on a scrap, and we decided to go with Arm-R-Seal.
Disassembling the table was no longer an option, so I had to sand off all of the old finish. The top was easy, because I could use my random-orbit sander. I was able to sand away all evidence of the crack. The shelf was a pain because of tight spacing and the legs, so I had to hand sand. After a few hours, I finally got back to bare wood.
Applying the Arm-R-Seal was uneventful (thankfully!). After three coats, the finish was pretty good. It had a nice gloss, but it was kind of a harsh gloss, and we really wanted something closer to a satin finish.
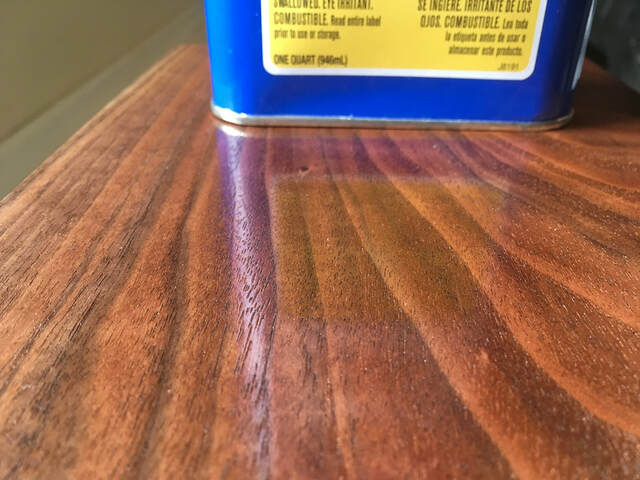
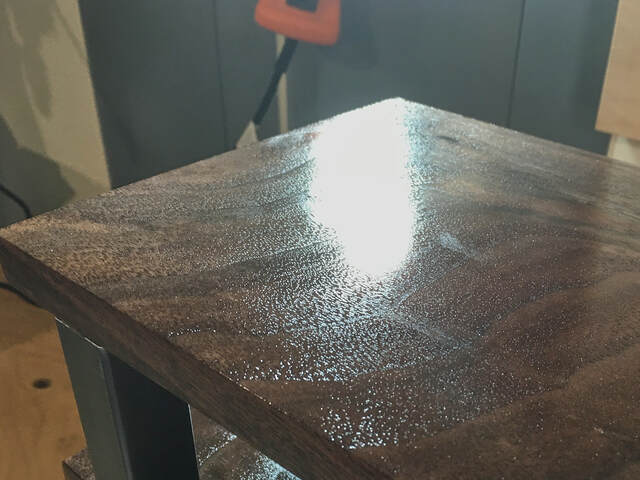
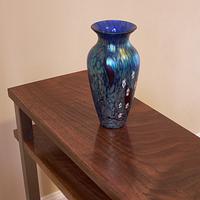
I'm always reluctant to rub out varnish for fear of ruining it, but I decided to give it a shot. I tested with both a gray Scotch-Brite pad and #0000 steel wool. The steel wool got me closer to satin, but it was easy to go too far. I know using wax can help with that, but I didn't want to use wax in case I messed up and had to add another coat of varnish. In the end, I used the pad, followed by buffing with a brown paper bag. The end result is more semi-gloss than satin (see the gallery photo with the vase above), but it feels perfectly smooth and looks good.
As I said earlier, building this simple table was an exercise in perseverance. But that's just how it goes sometimes, and at least it had a happy ending.
6 Comments
Ron, beautiful little side table, simple clean lines and a wonderful grain in the Walnut. Well done.
Main Street to the Mountains
cool little table ron. i love your joinery method.
working with my hands is a joy,it gives me a sense of fulfillment,somthing so many seek and so few find.-SAM MALOOF.
Well, I Iove walnut and you definitely persevered (severeal times!) to create a great looking table. Neat method to attach the metal legs. Thanks for sharing all the background. Lesson learned to measure twice and glue once 😉
Really pretty. And the leg joinery took me completely by surprise! Nice project.
Ryan/// ~sigh~ I blew up another bowl. Moke told me "I made the inside bigger than the outside".
Nice looking table & design. And another good write up. Thanks for sharing the story.
Thanks for the comments. BTW, I later ended up building a second one for my daughter. That one went a lot smoother.


