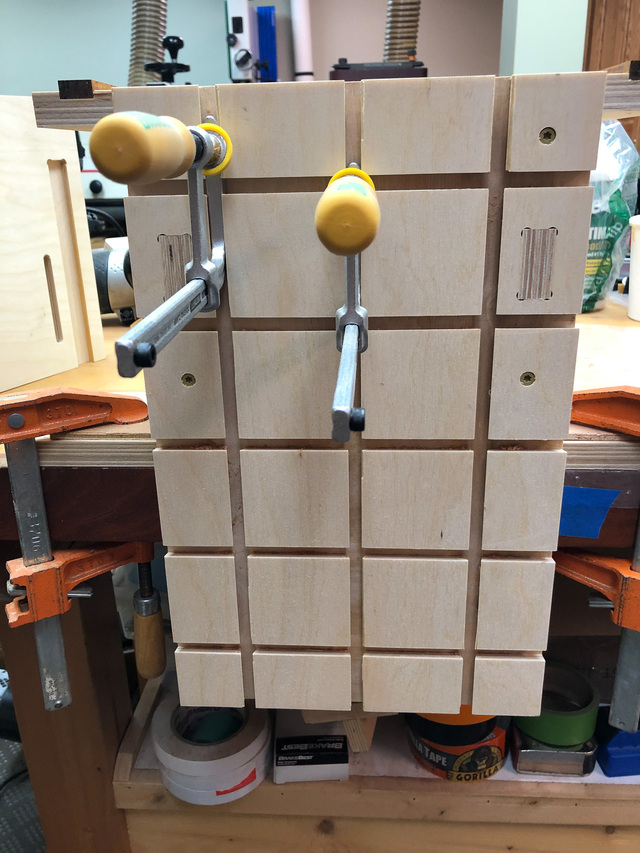
This was a jig that I built in order to move forward with my Z-chair project. I got some ideas by looking at various router jigs for cutting mortises. I found a lot of helpful videos on homemade jigs, and eventually I modeled mine largely on the Morely Mortising Jig. However, for mine I wanted to be able to have interchangeable templates for repeatability and ease-of-use, rather than use the siding side stops that Morely uses. Other than that, the structure of mine is very much like the Morely jig.
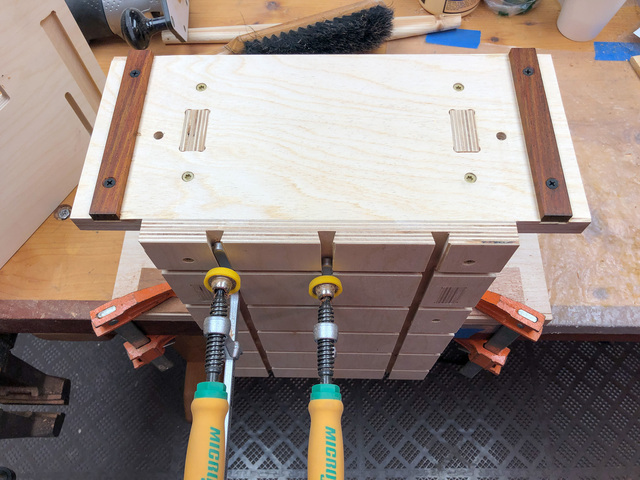
It's all 18mm baltic birch ply, cut out on the CNC, with some cocobolo runners on the subtop.
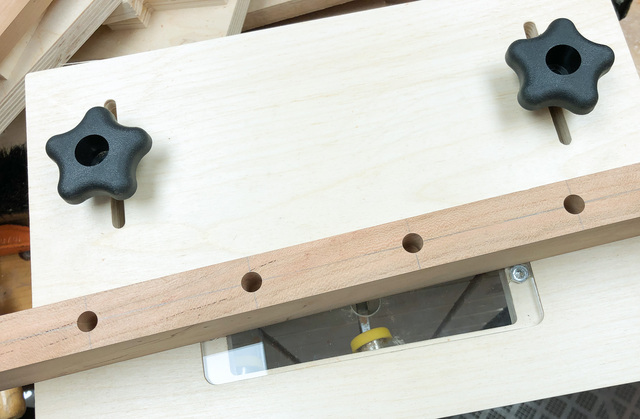
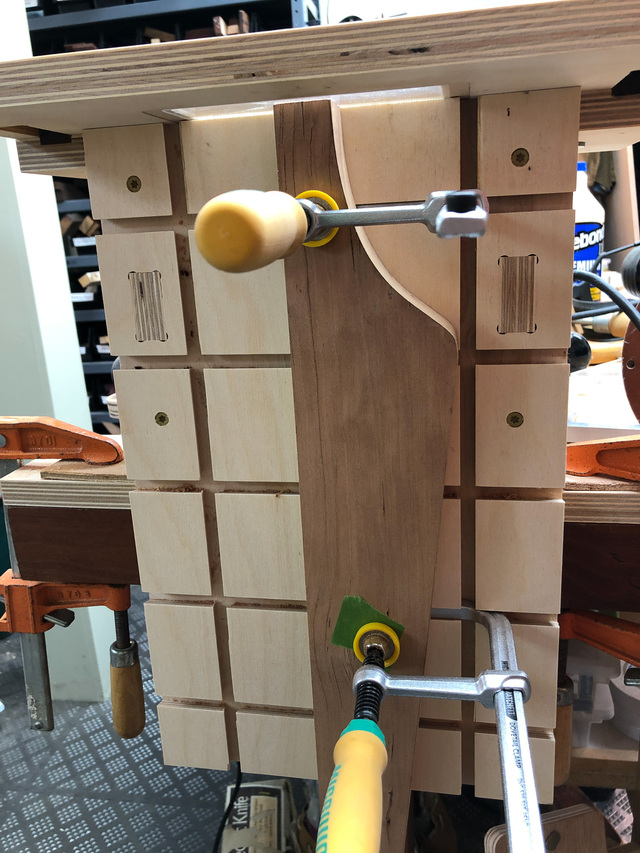
The Microjig dovetail clamps work very well. I like that they can be positioned in the vertical dovetails loose and they don't slide out. (Below the workbench is the junk shelf that I eventually replaced with a set of drawers.)
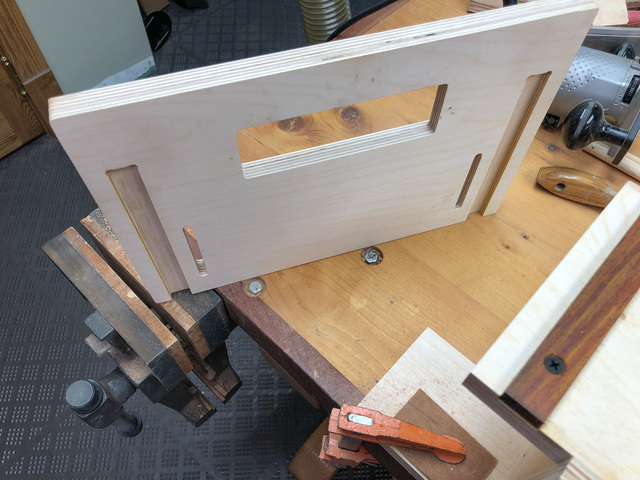
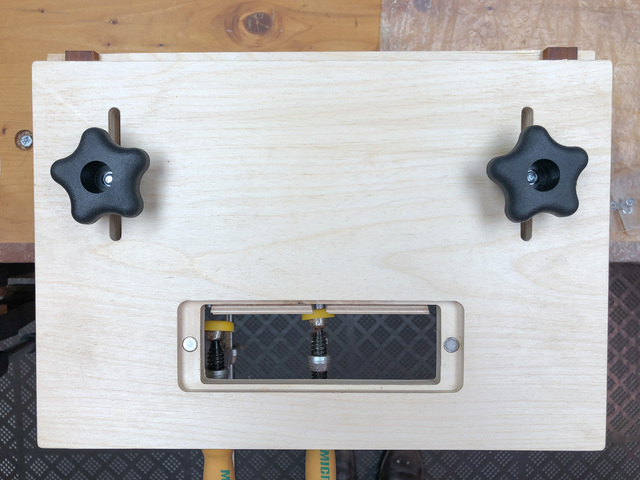
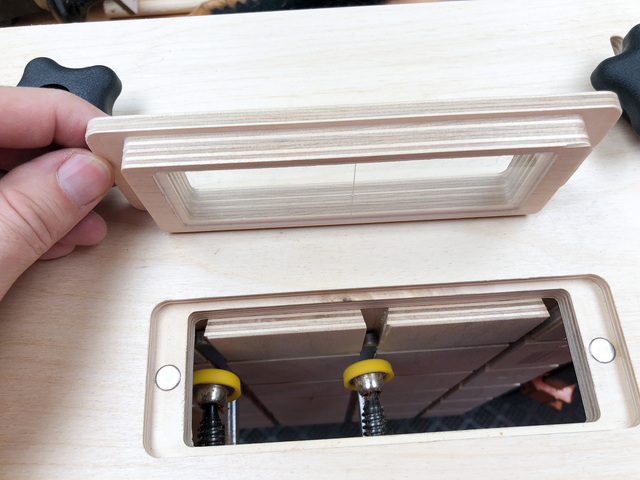
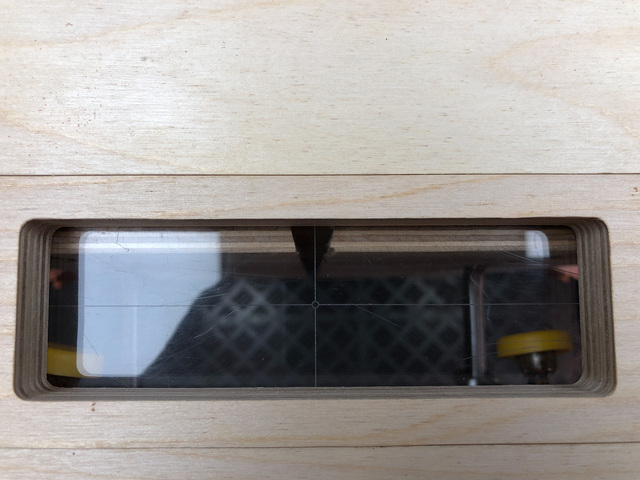
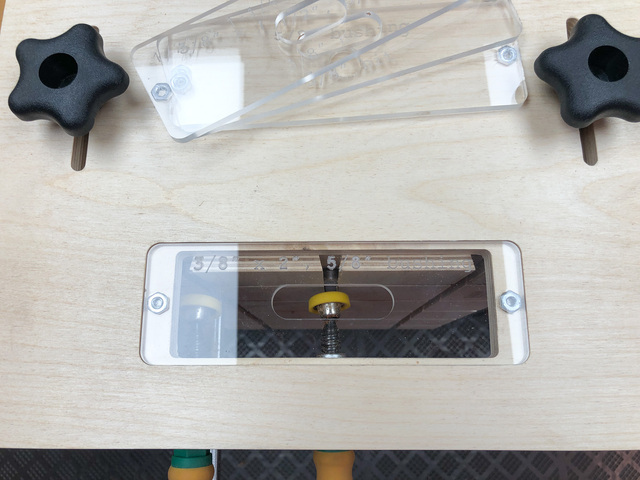
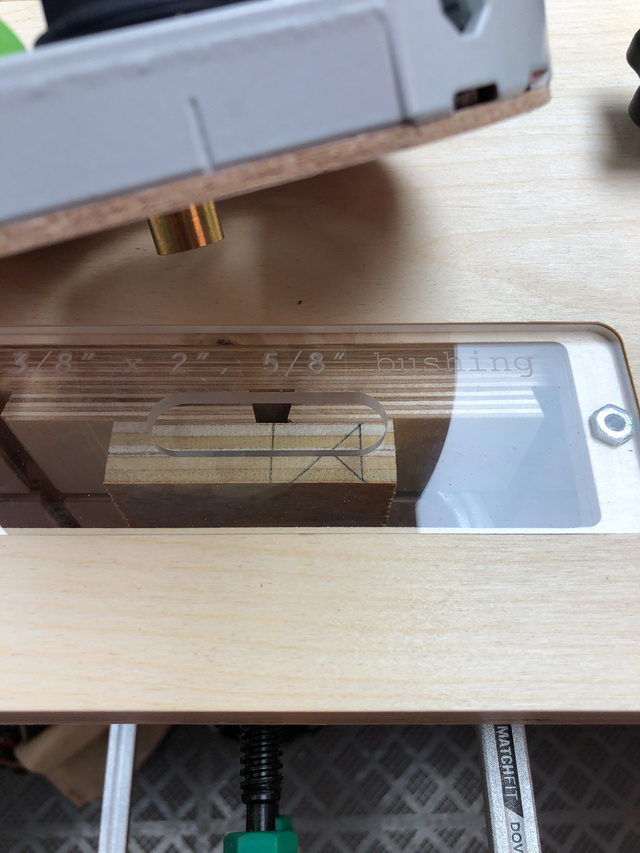
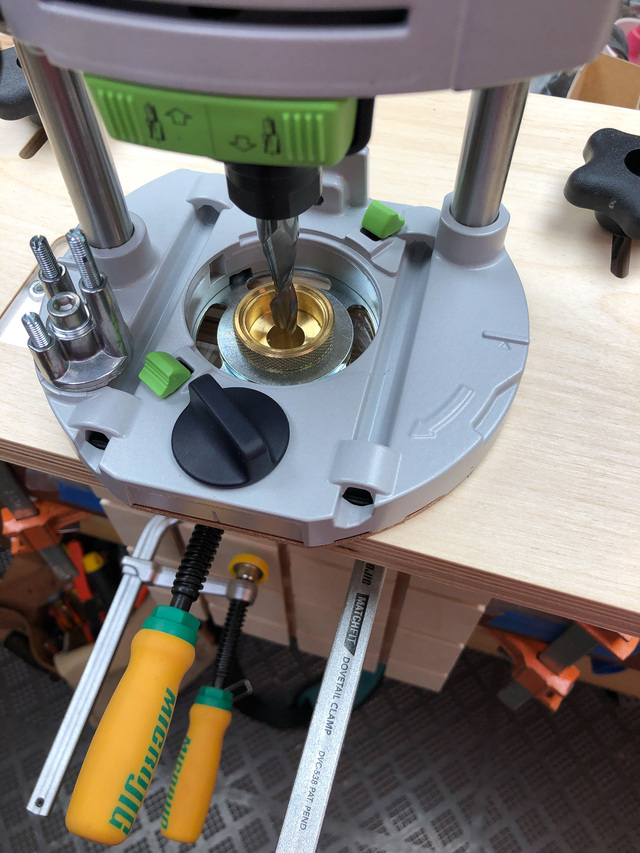
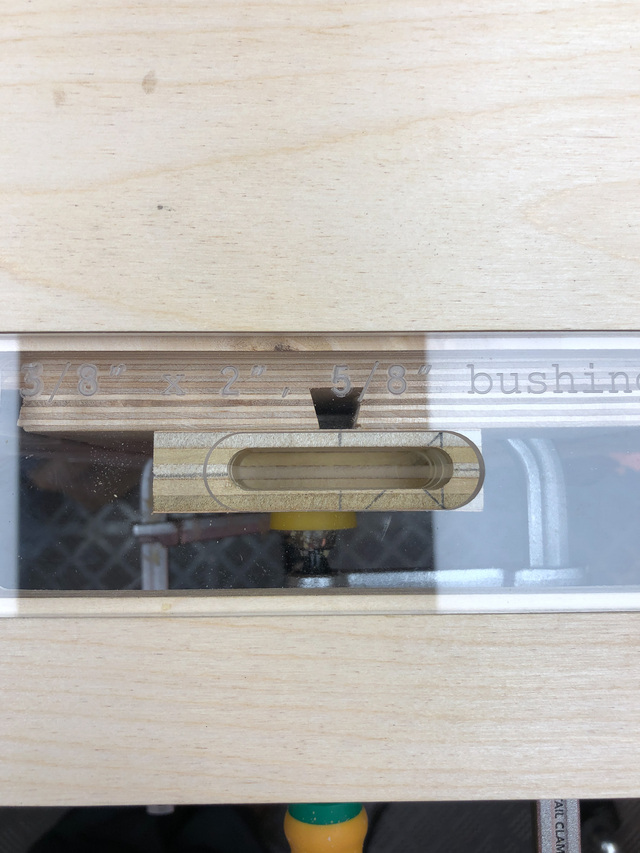
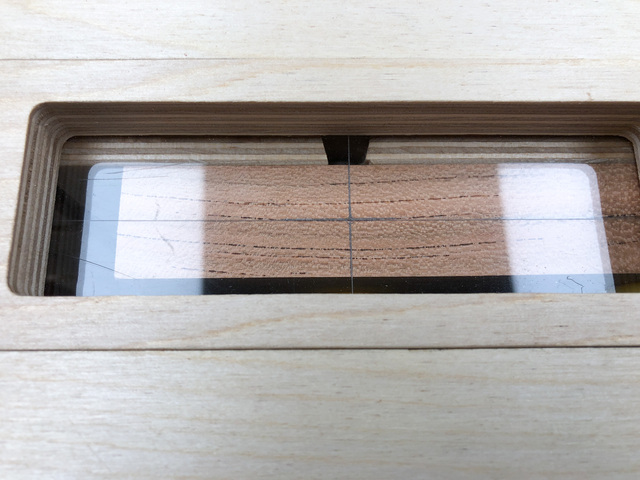
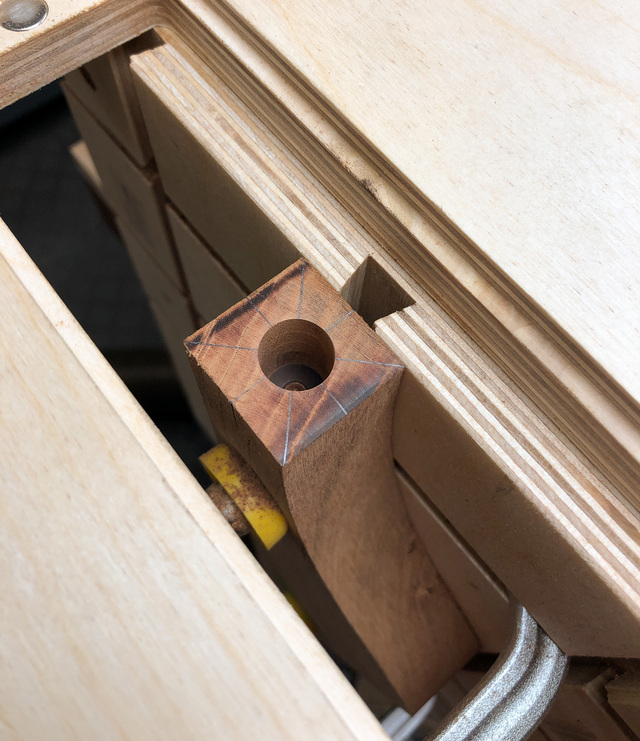
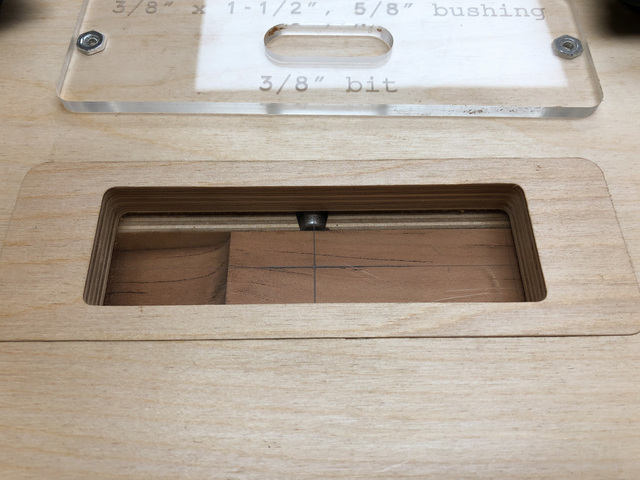
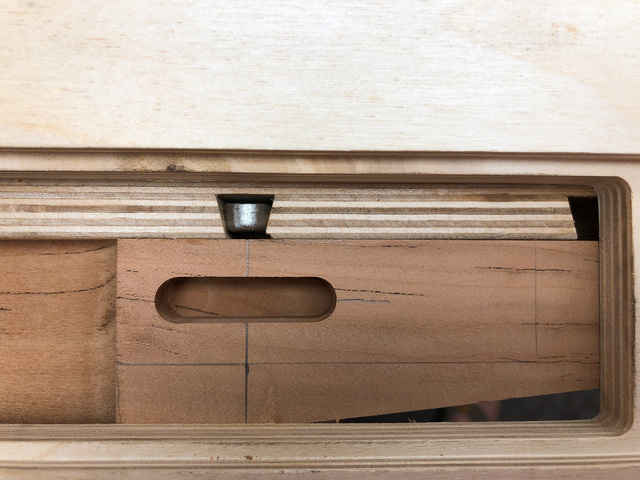
The top slides on the runners and adjusts fore/aft to set the distance away from the face of the material being mortised. The recessed area accommodates a cross-hair insert that's used to center the work, and then it's replaced with a guide bushing template to cut the mortise.
Where I have to spend time is in creating each plexiglass template. Where I save time is in setup between mortises of different sizes. Each template has an embedded nut on either end that lines up with magnets in the recessed opening. This just helps keep the template seated when lifting off the router.
The first trial run:
Here are some ways I used it when building the Z-chair.
This has been a great little jig and I expect I'll get a lot more use out of it as the years go by.