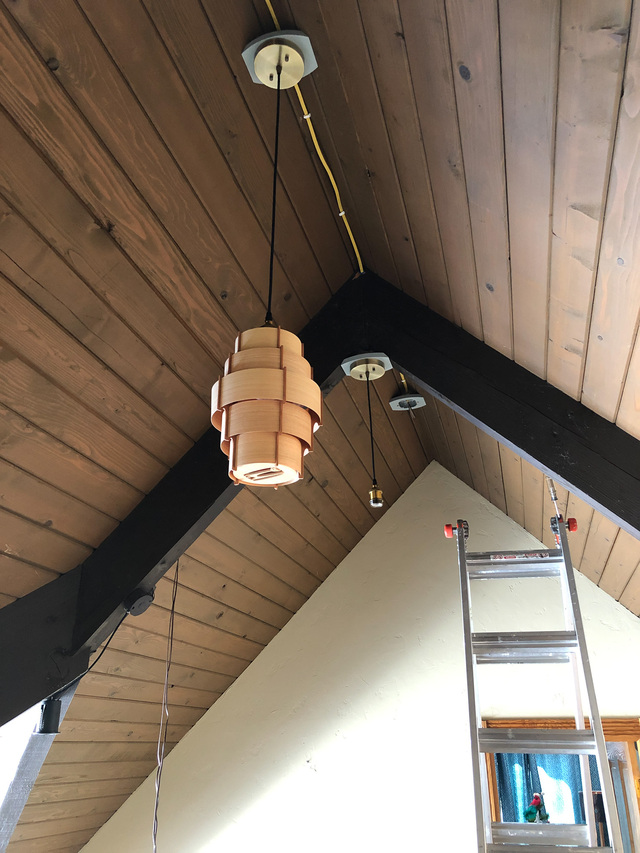
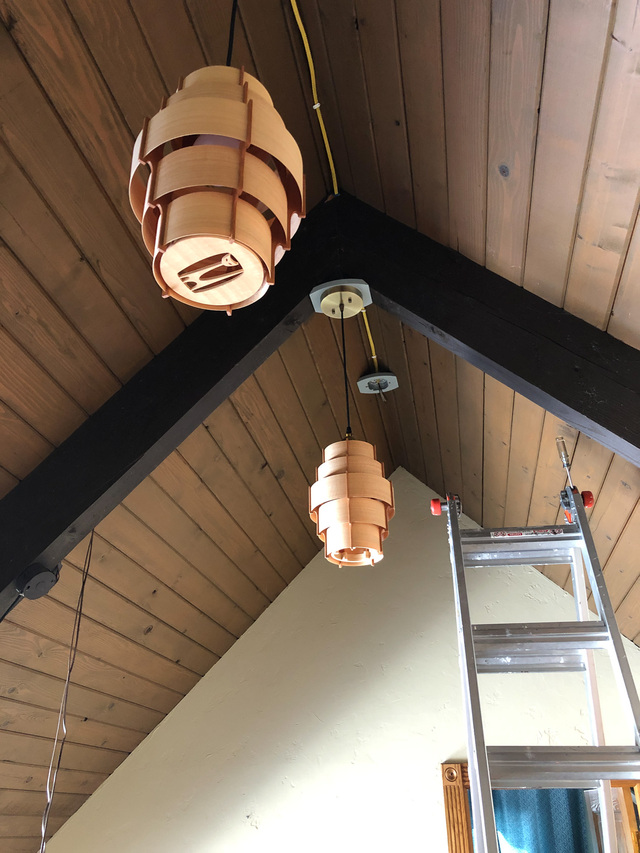
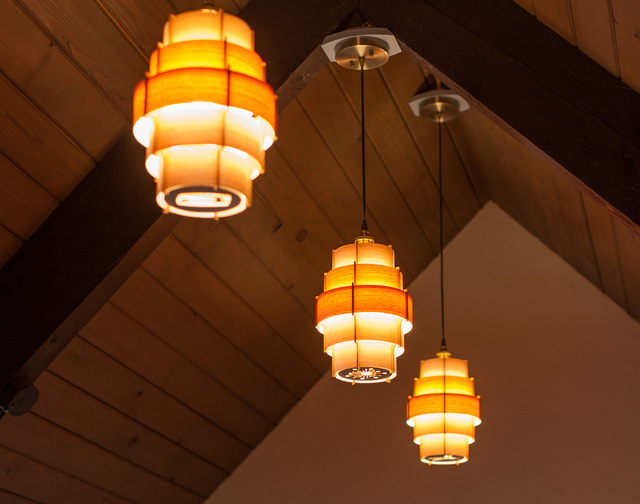
Shortly after completing the spiral pendant lamp, I started work on a set of 3 companion pendants for the upstairs hall of the entryway. The structure is similar to the interior shade of the spiral lamp. The full build of these pendants is documented here.
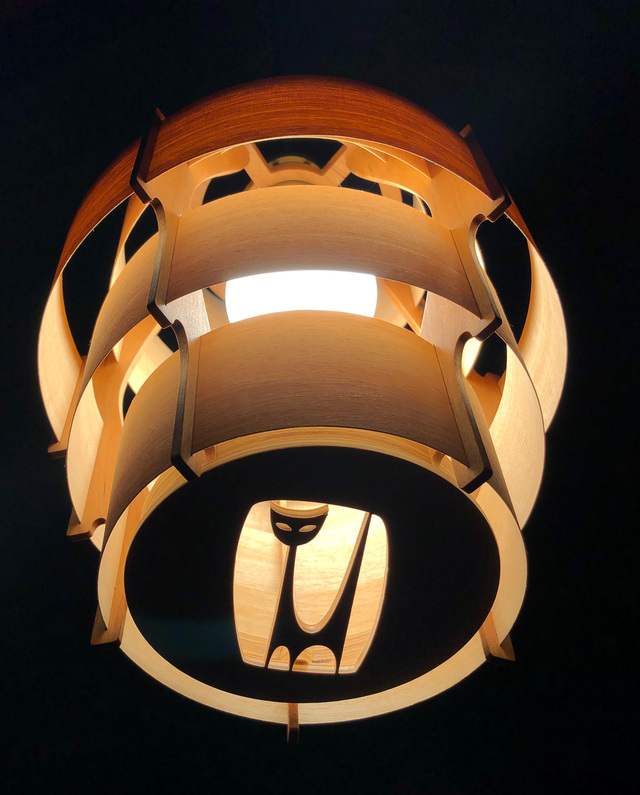
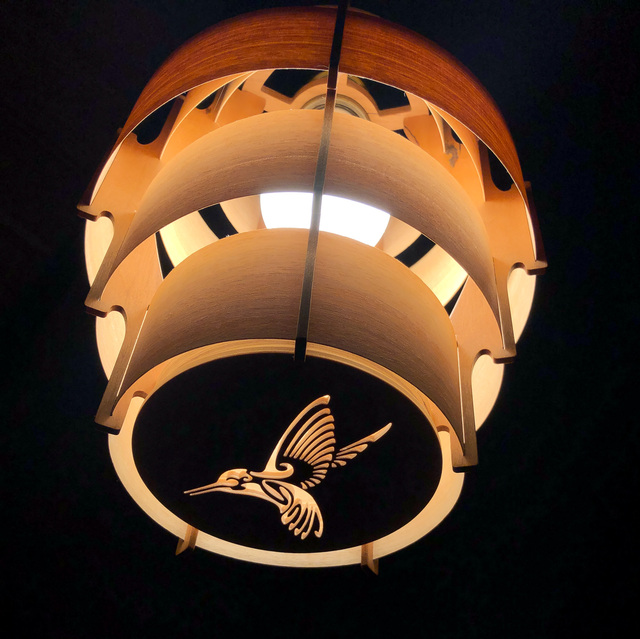
Each bottom plate (which is removable and held by magnets) has a unique design.
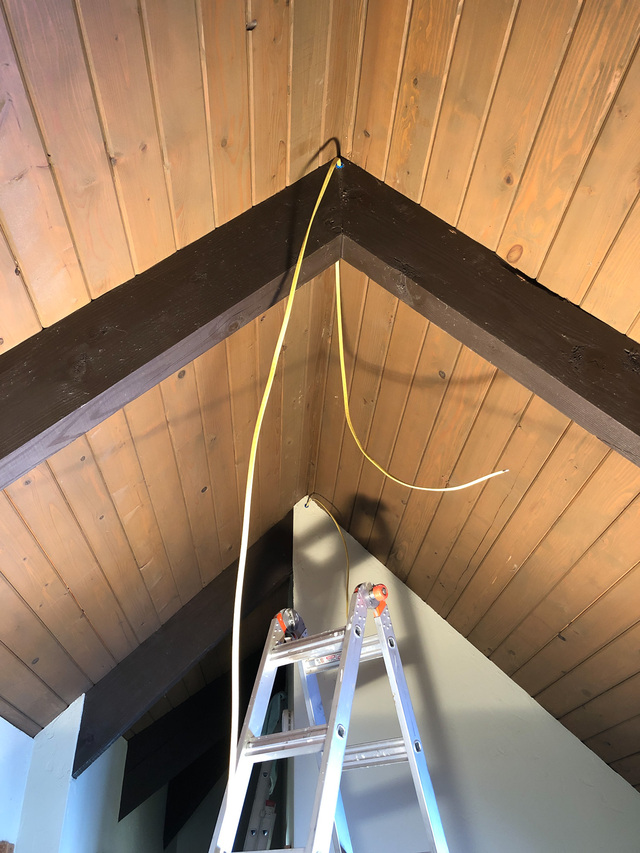
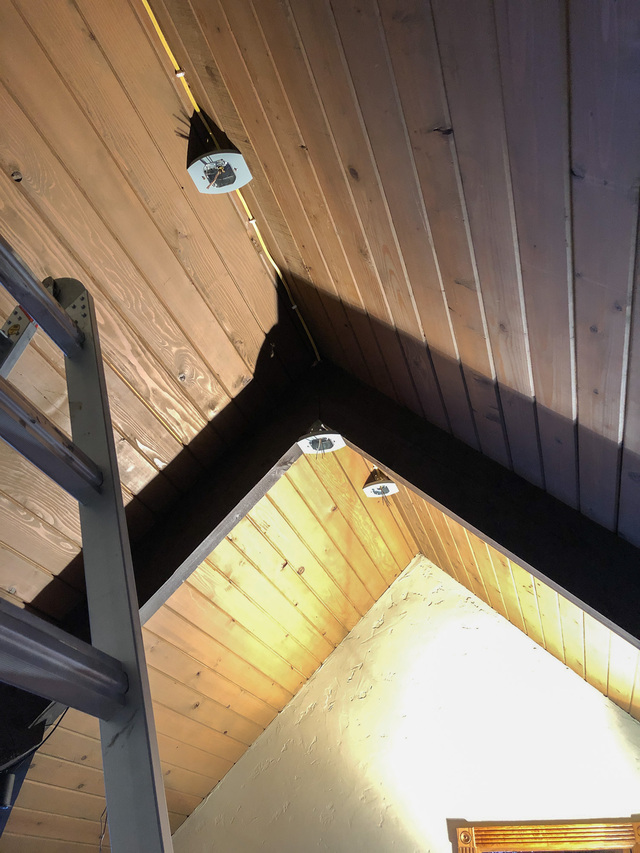
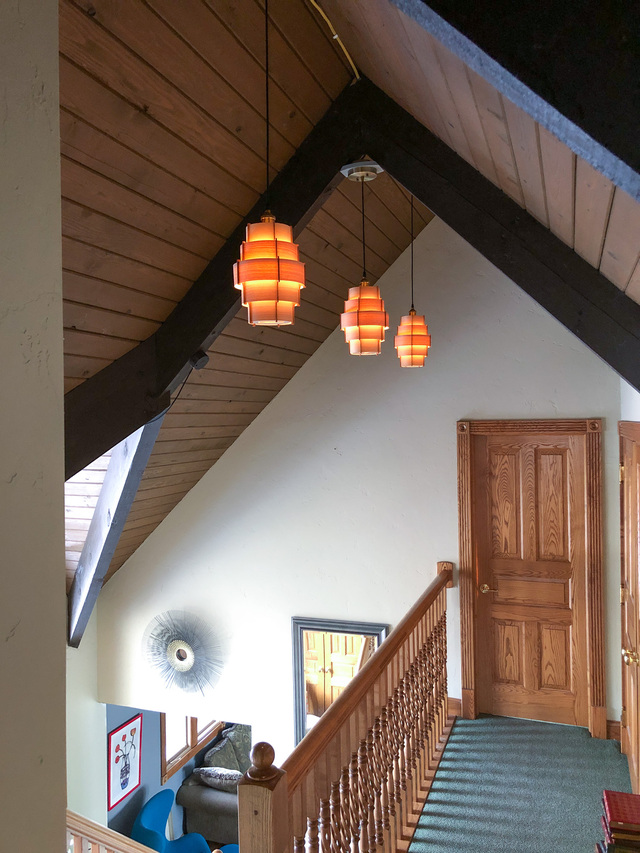
But before I could hang and light the pendants, I had to run some new wiring. The 2nd floor ceiling in our house is the 2x6 T&G cedar that is the roof structure. There's no hollow cavities above it, so wiring for lights requires some creativity. I drilled some holes in the beams near the peak, and installed sections of conduit with insulating bushings to prevent any wear through the romex. Switched power comes out at the top of the wall at the peak.
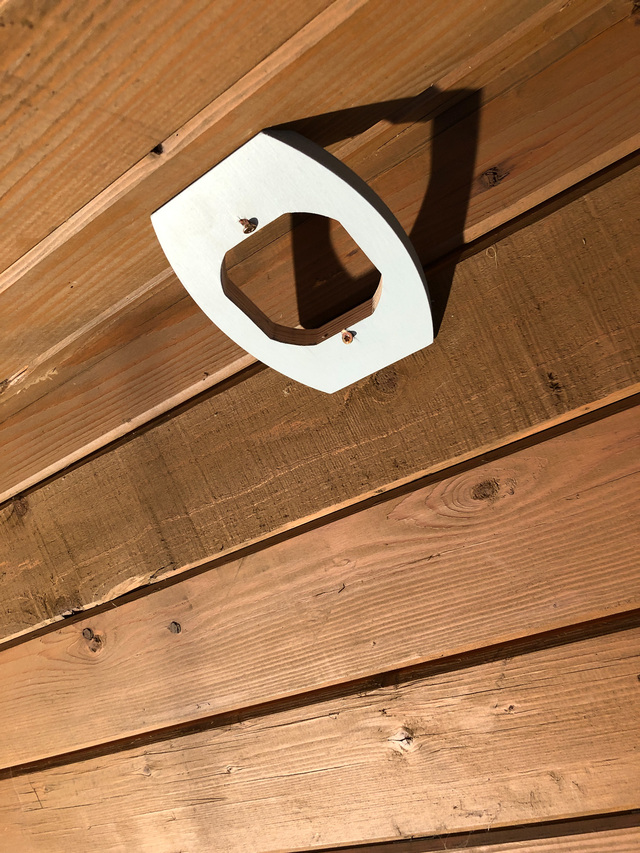
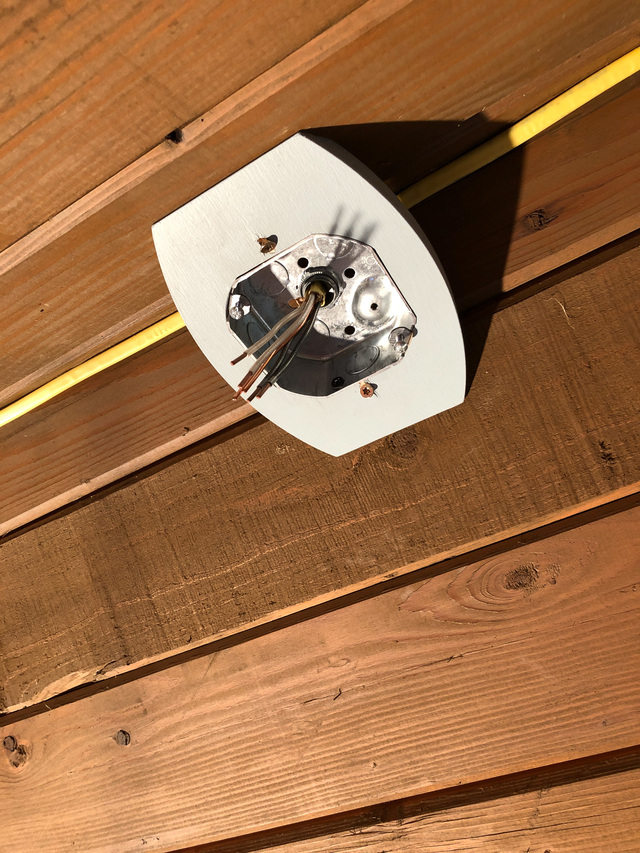
Each pendant hangs from an electrical box that's mounted inside a BBP frame that's cut to fit the angle of the roof. The mounting screws will get covered by the lighting canopy.
The nice thing about this type of lamp socket is that it can be wired without the pendant attached, so you don't have to worry about damaging them while wiring. (Tidbit: In the lower left of this photo, you can see dangling wires and the pitiful recessed-can-mounted-on-the-surface that was part of the lighting solution of the previous owner. Classy.)
Powered-up (and dimmed so as not to blow-out the photo).
Sometime later I went back and added some stained pine trim in the peak to conceal the wiring (below), and that's another finished project.
My dining room is still in desperate need of some lighting. I know that will be another project at some point in the future.
Thanks, pottz. This is my own design. (Hey, it's one project I didn't copy. And they said it couldn't be done.)
Full disclosure, I did scrounge images from the internet for the hummingbird and the atomic cat. But I did have to manipulate them in order to cut them out on the CNC.
Great pendant lights Ross. They have a Japanese style look to me. I was wondering how you were going to conceal the romax.
I built 3 Japanese style pendants and posted them on LJ.
We had a cabin by a lake and had the T&G ceiling. It was 1-1/2” Douglas Fir. I concealed the wires with a light brown vinyl square tube with double sided tape on it I got from Lowes.
Your wire in the peak will be concealed well with your idea.
Those electrical boxes match you style. Where did you get them?
Excellent work! The cat has me thinking I need to carve one for my mom. We had a used wooden cat on the hearth with a really long neck. Reminds me of you "Atomic" cat?
Super cool! I'd like to do some lamps/lights, too. You'll have to do me a favor and cool it with the great projects, though - my to-do list is getting too deep. 😉