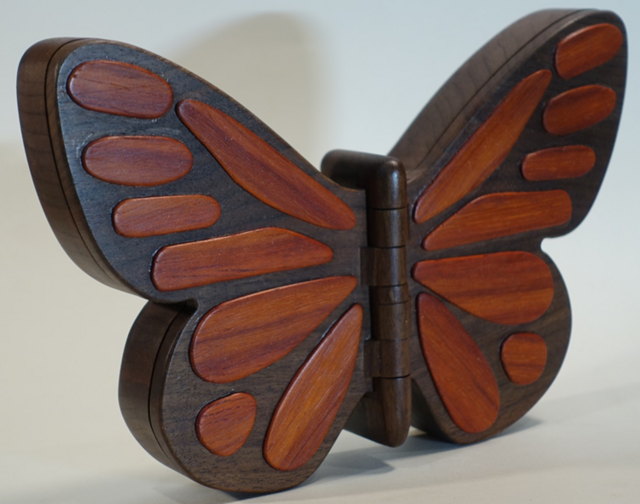
I was working on this when HokieKen posted his butterfly box. There is a pretty wide range of what a butterfly jewelry box can look like.
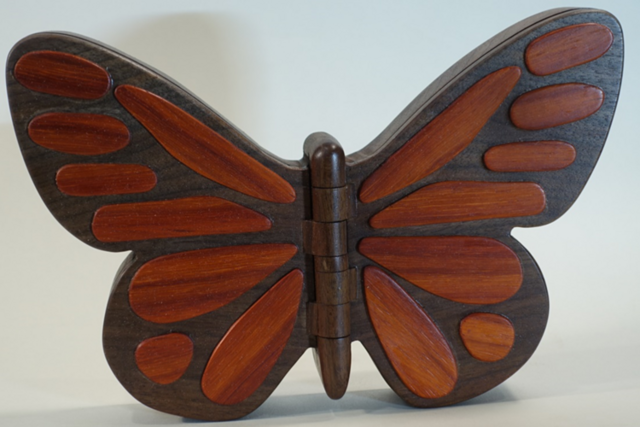
I had chosen a jewelry box as this year’s Christmas gift for my granddaughter. I had started out with a case with various drawers. As I worked on that design I realized that a 5 year old would enjoy something with more character. I researched several bandsaw boxes and liked the butterfly theme. In the end I felt like a box with lids was a better choice for her. This is the result of that design effort.
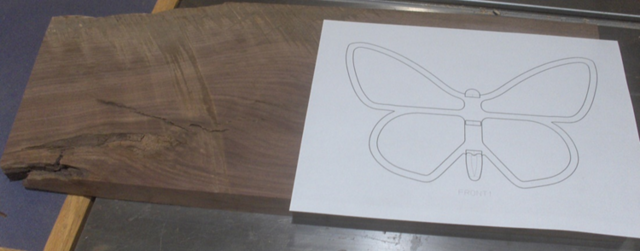
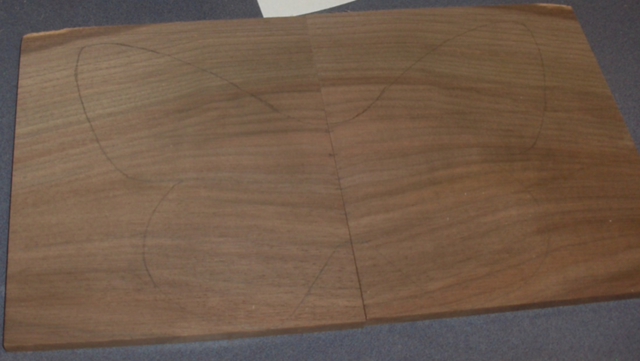
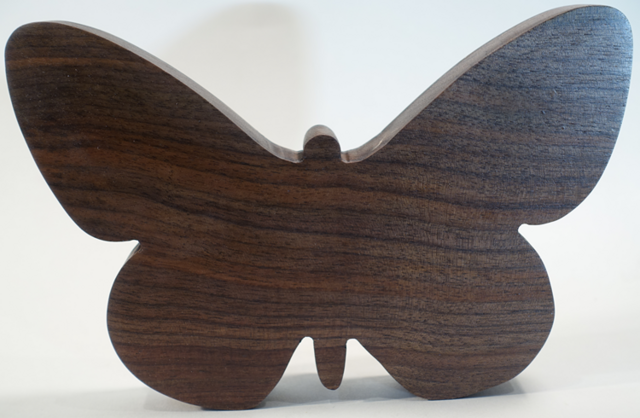
I had a piece of walnut that was just the right size.
I was able to re-saw the piece to the right of the pattern and get a book-matched pair for the lids.
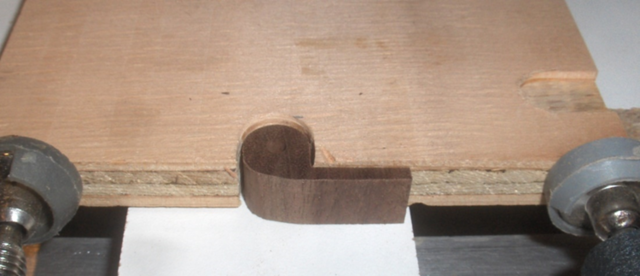
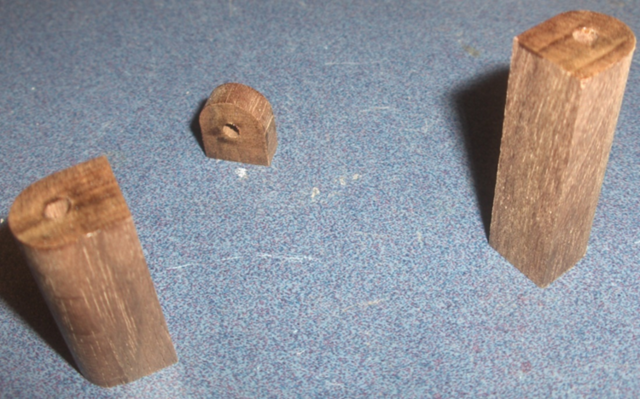
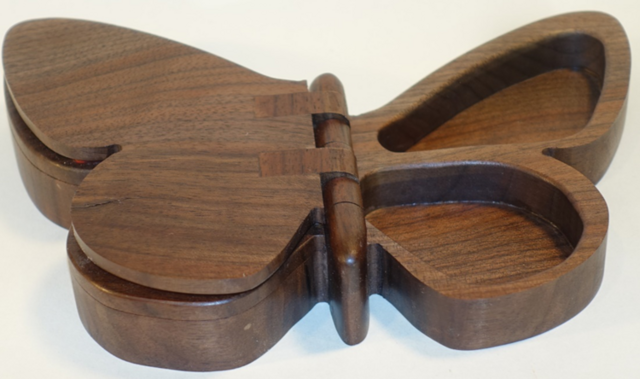
The tricky part of the design was the hinges. They needed to fit in with the theme and hold up to a 5 year old’s handling. There was enough walnut left to make the hinges. I cut a rough outline from a piece longer than I would need. The rib on the right side is to keep the piece stable while the shaping is done. Sorry for the blurry photo.
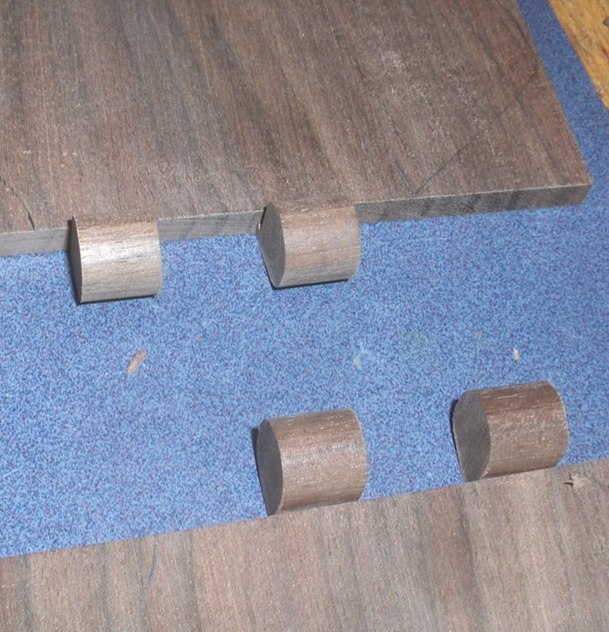
The three edges on the left side of the photo above are rounded over at the router table. Then the rib on the right is removed. 4 hinge piece blanks are cut. I set up a jig to ensure the hinge pin is centered.
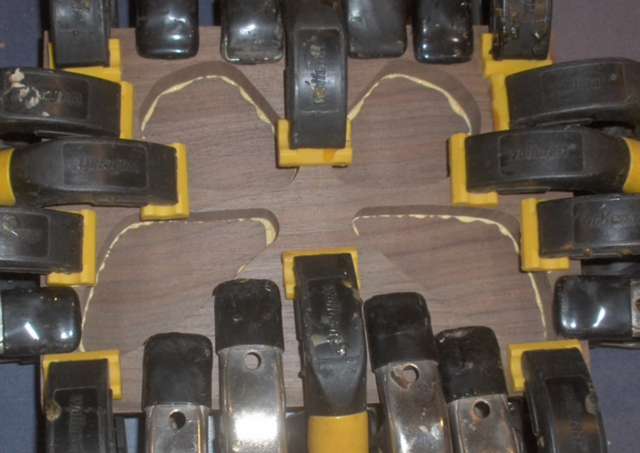
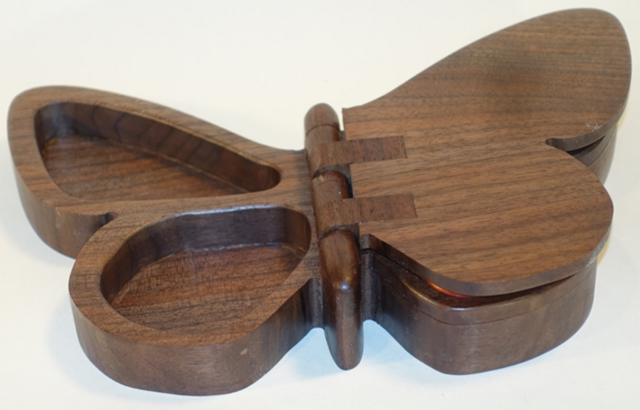
After mortises are located and cut into the wing blanks, these hinge pieces are glued in place.
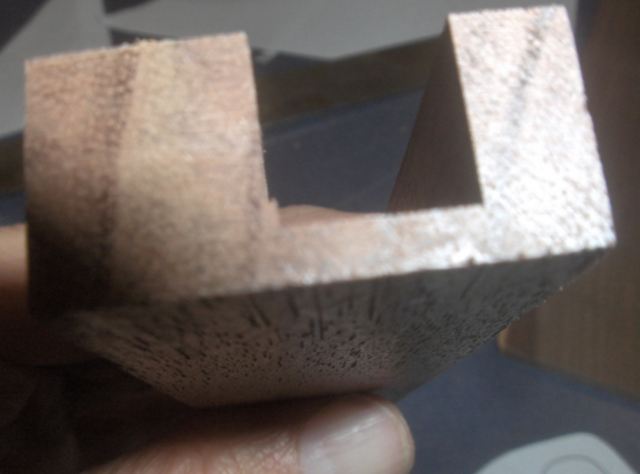
I cut the bottom from the main blank – the same construction technique as for a bandsaw box. I could then cut out the cavities on each side.
Then the bottom was glued on.
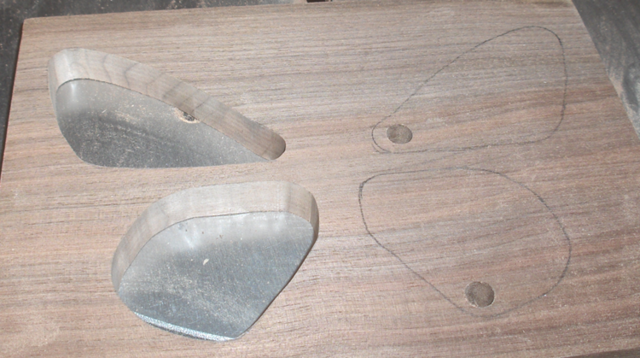
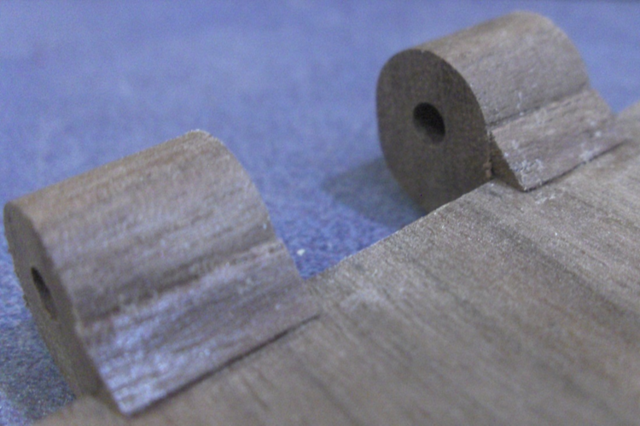
While this was going on I kept looking at the hinges. I kept feeling like they needed some reinforcement. There was room to add a gusset block to each hinge.
These pieces are quite small – just under 3/16” on the short edge. But they added a good deal of strength (from what I can tell – no destructive testing was done)
The hinge spacers complete the butterfly’s body. They are cut from the same blank as the hinges and the holes are drilled with the same jig.
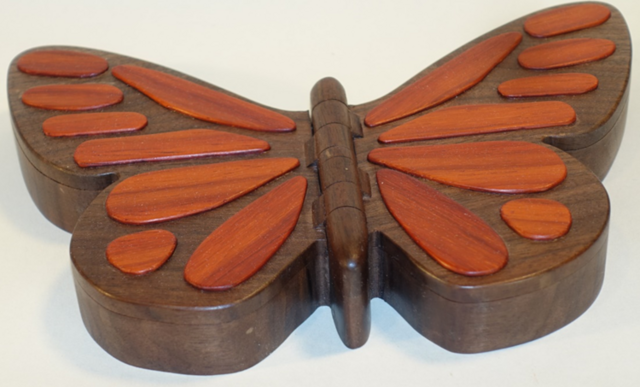
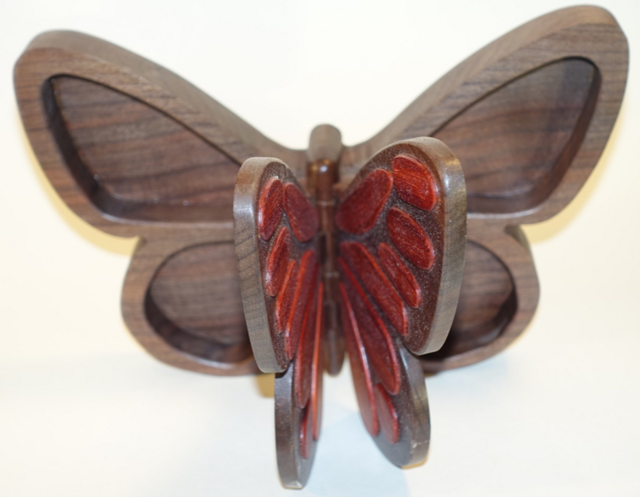
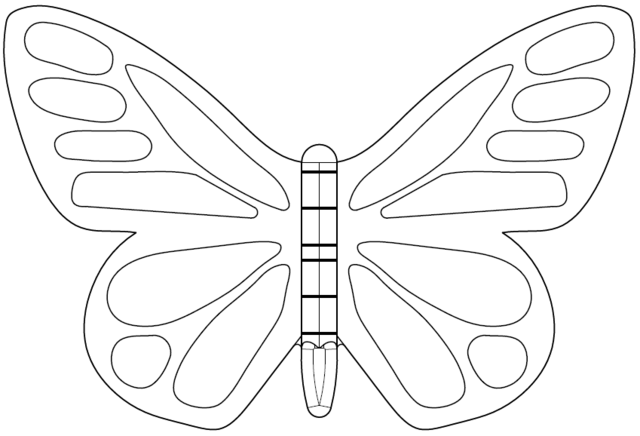
With all the pieces cut the box can be assembled and final shaping can be done. I cut the outer profile after the wings were glued on. The colored panels are 1/16” padauk.
I used General Finishes wipe on poly for the finish. The finished box is 9" wide by 6" tall by 1.5" thick.
She just loved her new box – I wasn’t too concerned about that. 😁
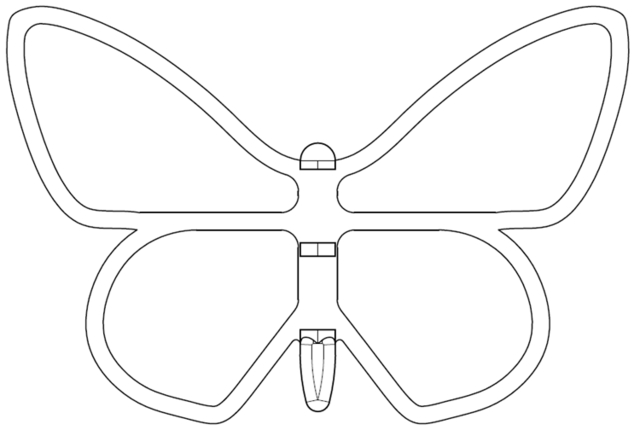
Here are some drawings in case anyone is interested in replicating this.
Note that the hinge pin centerline is slightly above the veneer. This allows the wing to fold flat without putting any extra stress on the hinge. The lids are ¼” thick.
Thanks pottz - I'm tempted to join the box swap, but as per usual I'm backlogged with so many projects I feel guilty shoving them aside. Currently I think I'm going to sit this one out with the hope I can join the beer swap.