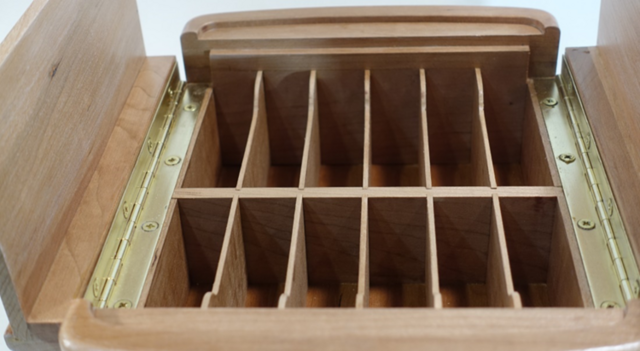
When I started the original Pokémon Storage Box for my grandson I asked him how many decks it should hold. He thought 12 should be plenty. It took less than a year for him to ask for another box. I told him he would only get one box like the first one but I would work on another box. I wanted it to go with the first box. Here is what I came up with.
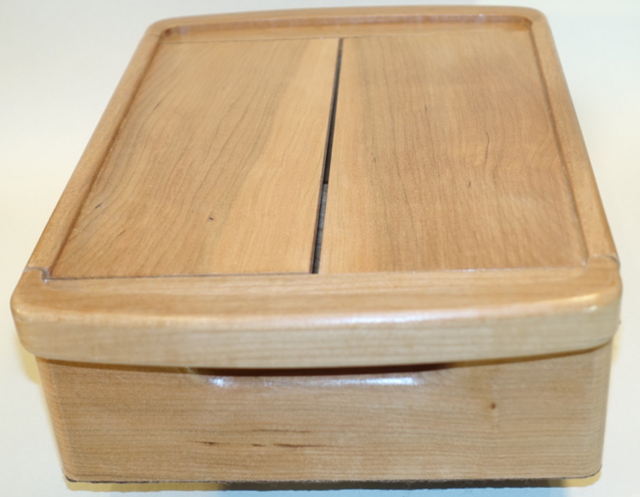
The top surface has a lip around it that allows the original box to sit inside. The two boxes can be carried as a set.
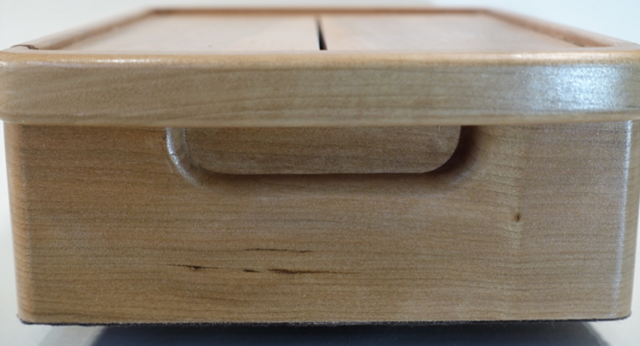
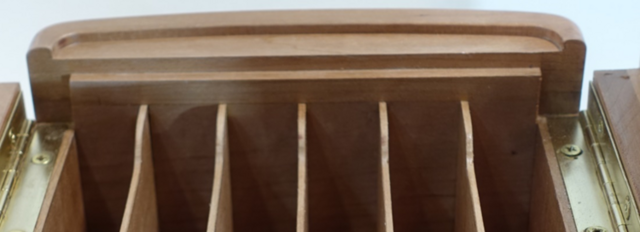
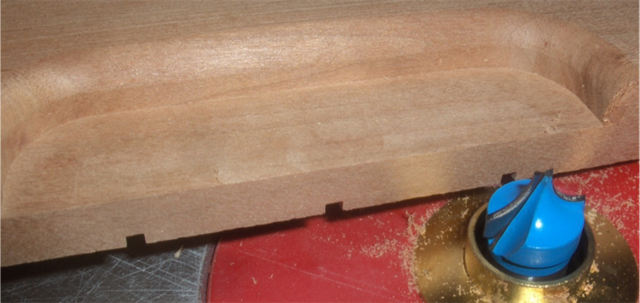
The ends of the box have recesses to make carrying the set easier.
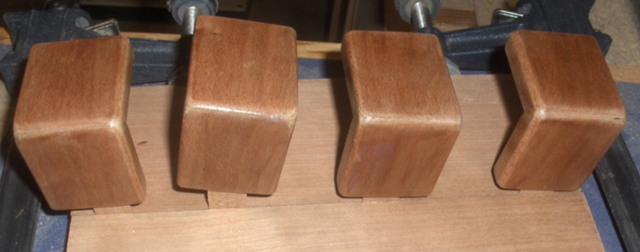
These recesses were interesting to make. The ends of the box are made in 2 pieces. This provides a way to make the stopped dados that locate the dividers.
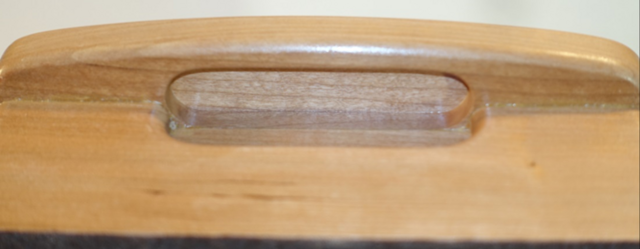
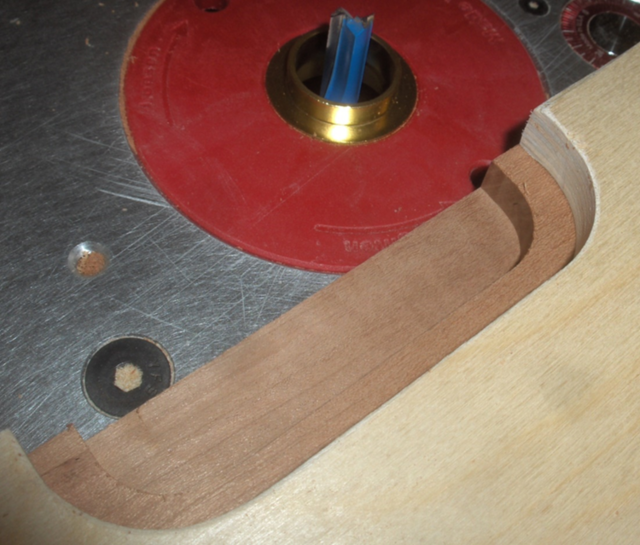
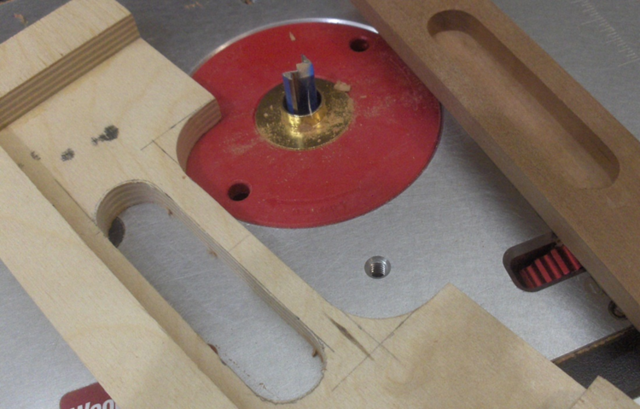
To form the handles, there are reliefs cut into the two parts that comprise the ends. I used a guide collar on my router table and a template.
The collar size allows me to use the same template and cut a roundover.
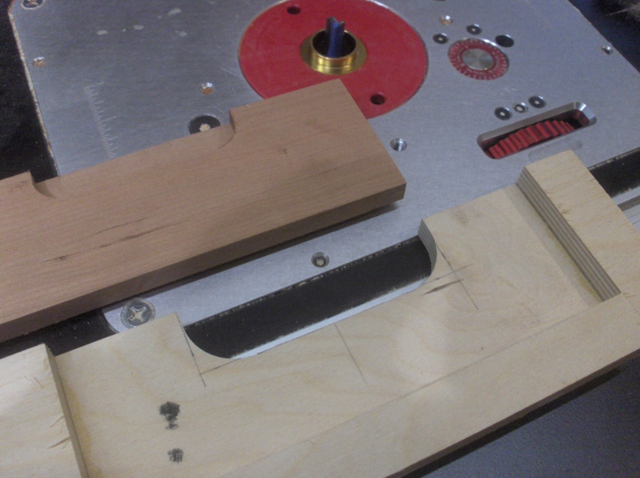
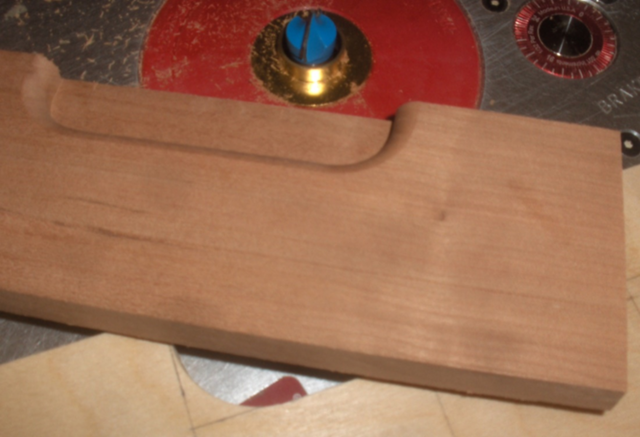
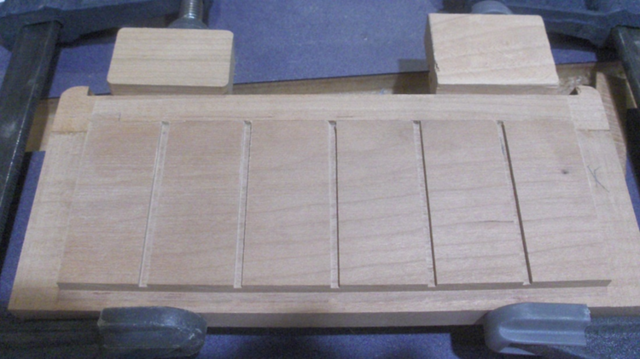
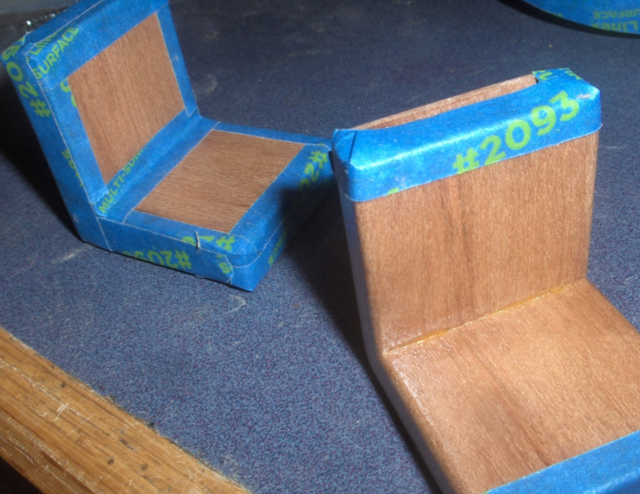
I used the same template to create a profile to the recess in the top piece of the end. The round over bit was not used on this piece. Only the outer half gets rounded over and that was done by hand.
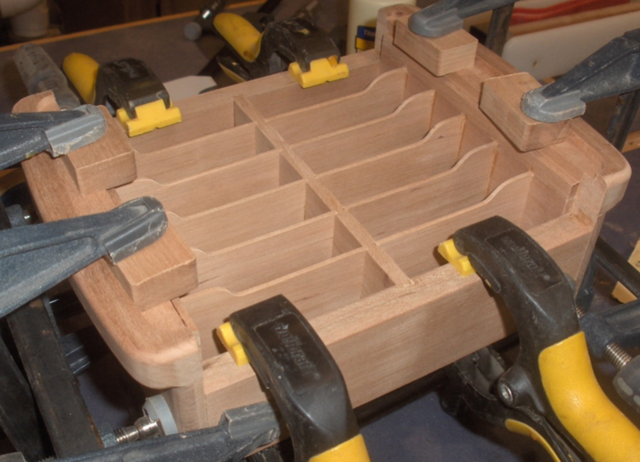
Now the two pieces can be assembled to create the end wall.
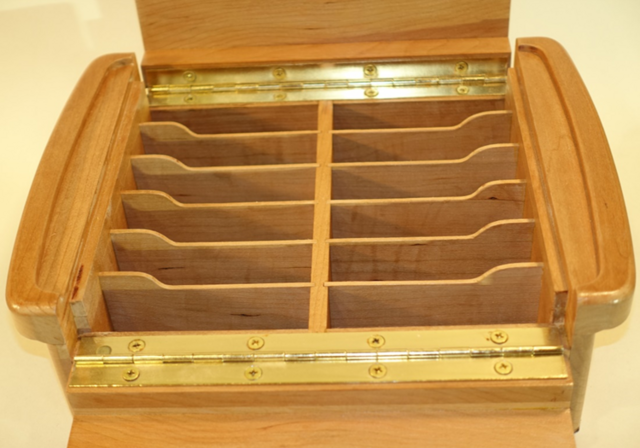
Then the box could be assembled. This pic shows the bottom being glued into a rabbet.
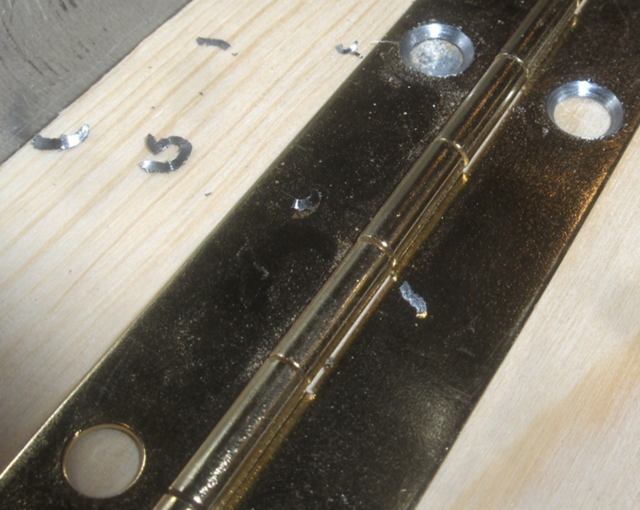
The holes on the piano hinge were opened up to accept larger screws.
And the lids are attached.
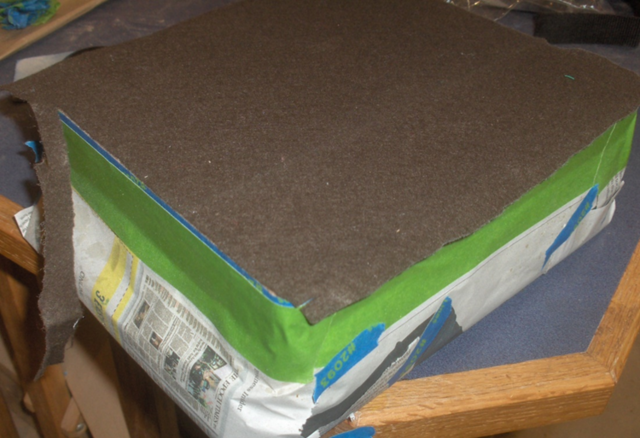
Felt was glued to the bottom of the box.
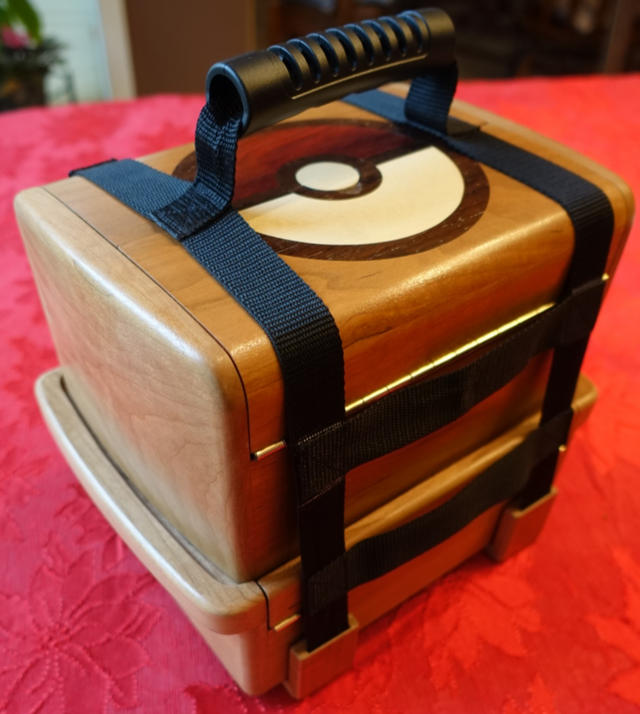
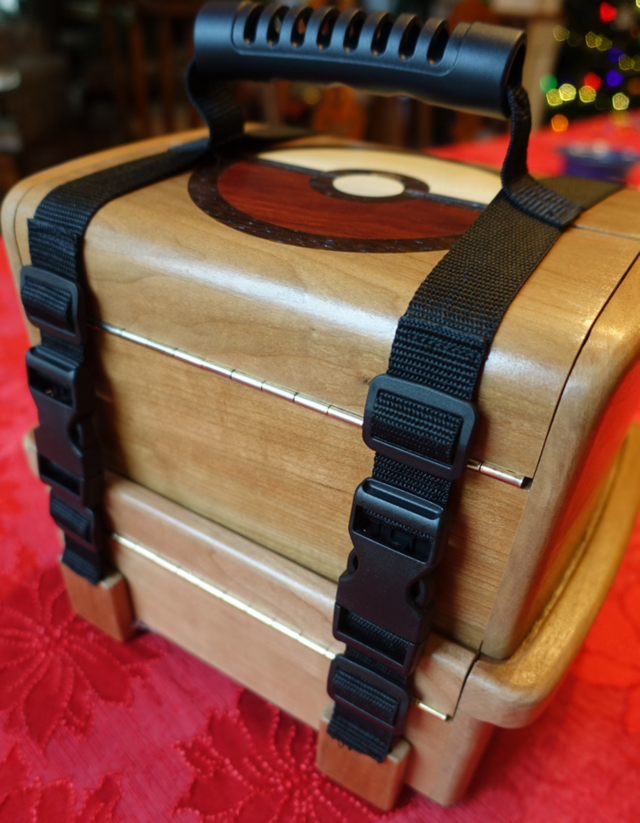
While I was designing the box I became concerned that it would be too easy for the top box to tumble off the bottom one. I needed to keep them together in a more solid fashion when they were being taken in the car. I came up with a strap set up.
My wife did the sewing. The other detail is the corner brackets. They needed to sit against the edges of the lower box and fit over the straps.
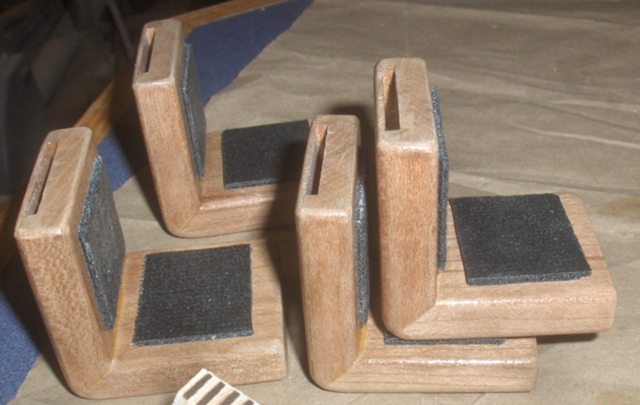
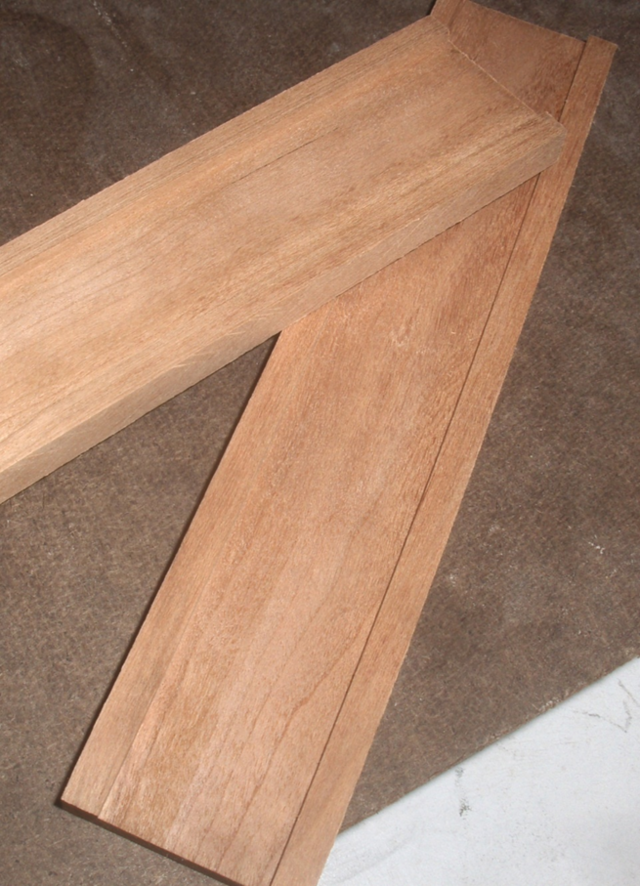
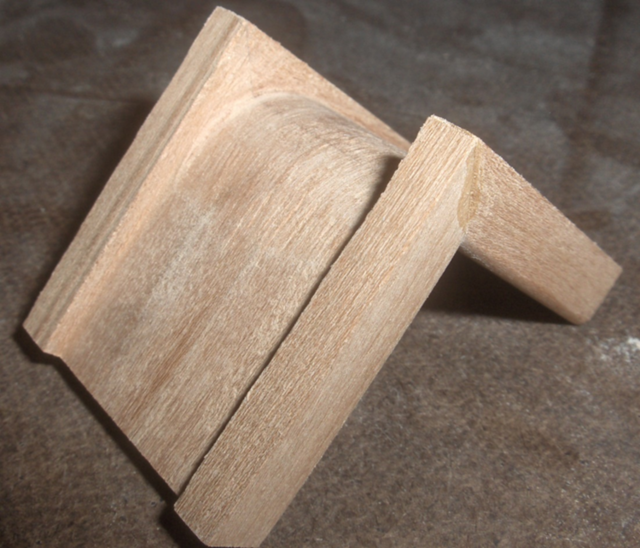
The challenge was to make these in a way that the strap could be fed through them. I started with some strips of cherry. I cut a dado slightly wider than the 1” strap.
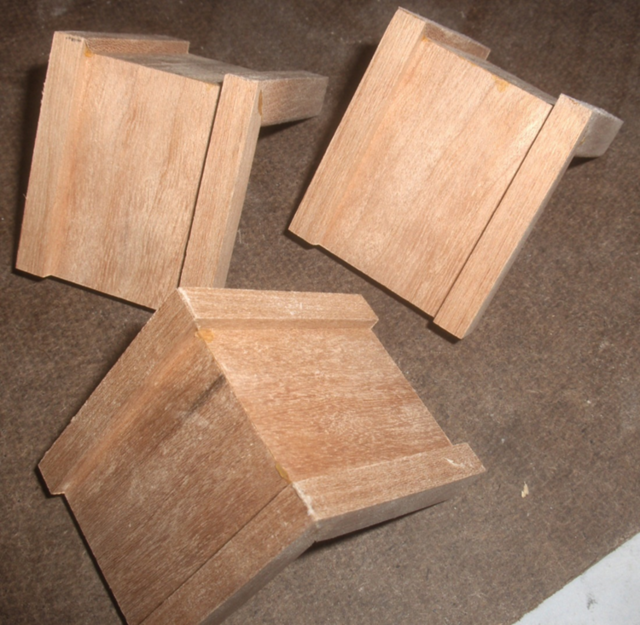
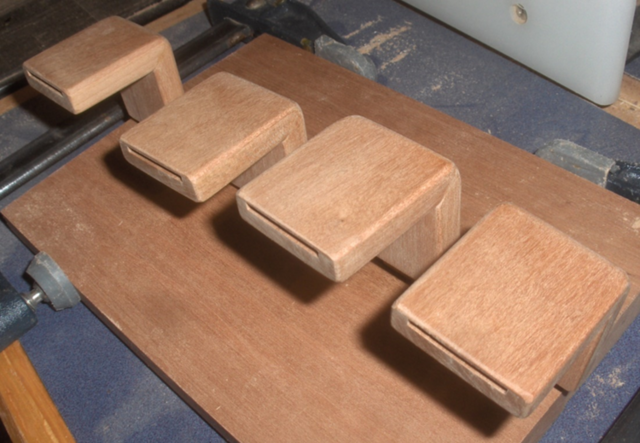
I then cut miters and glued 4 sets.
I rounded off the inside corner.
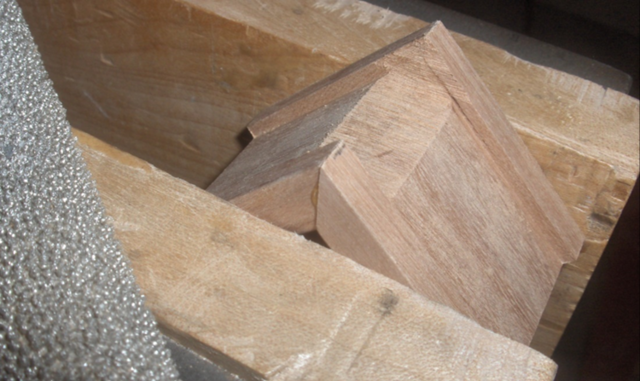
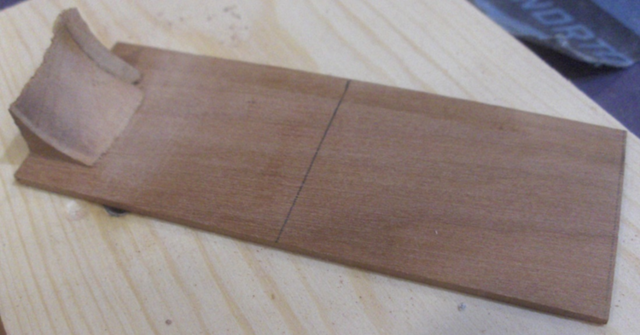
For the outer wall I used a thin 1/16” strip of cherry and an outer guide. The outer guide was made by drilling a 1 ¼” hole and trimming the 4 corners.
The strip was cut and glued to complete the outer half. A lot of sanding was done to make sure the strap wouldn’t catch when it was fed through.
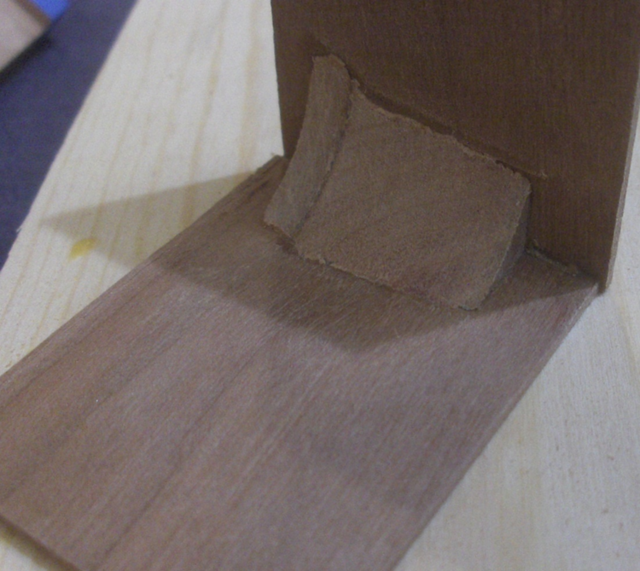
The inside faces were finished and waxed. Then the 2 halves were glued together and finished.
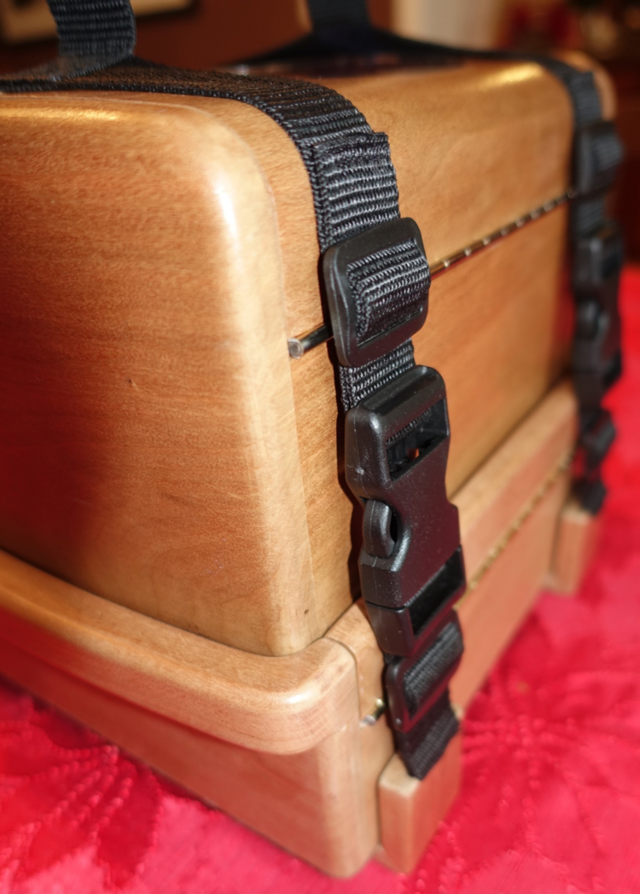
They were masked off and some drawer liner was mounted to the inside faces.
The final result worked out quite well. He can carry the set with no worries about them falling apart.
Very cool Steve 😎 I still have the first on my to-do list. If they fill one up though, I'll just give them one of the boxes I used to store my baseball cards in. AKA a shoebox 🤣
I hear you Ken. A fine answer would have been "Use the nice box for the sets you want to use and store the rest somewhere else". I needed an idea for this year's gift and figured "why not" 😀
Steve your projects are so well thought out. This looks like something you could buy at FAO Schwarz (very high end store in NYC) for $$$$$$. What wonderful design and craftsmanship, your wife also did a great job, so professional looking.


 - Project by Steve Rasmussen")