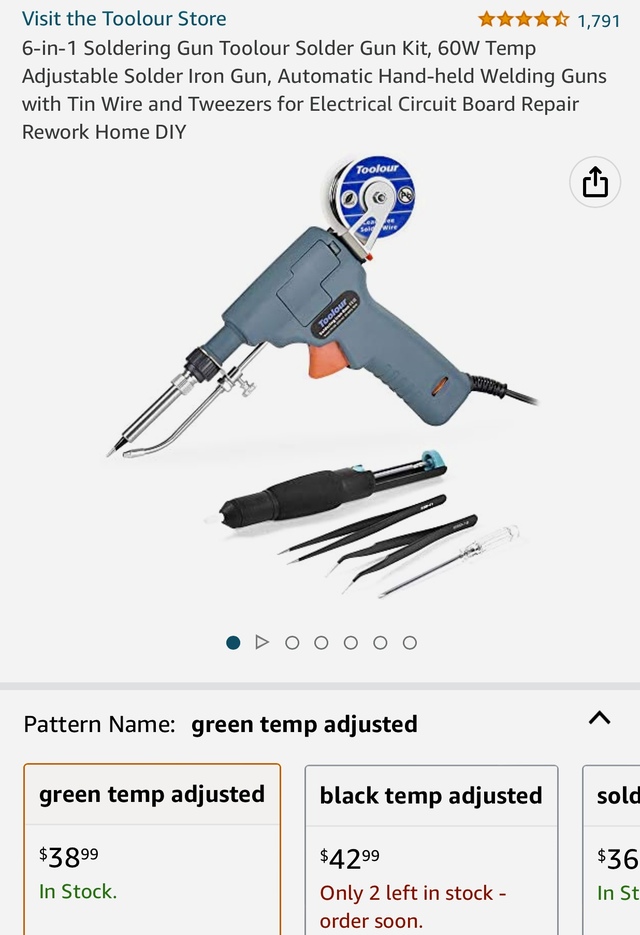
While working on my knock off metal etching device (idea blatantly stolen from HokieKen) I once again came to the realization that my soldering skills suck. Although the project didn’t call for much, there was a little. After talking it over and doing some research while waiting for project parts to arrive I found, like a lot of the stuff I try to teach myself, that I was soldering wrong. I got down a rabbet hole and learned a bunch, including that heat control is pretty key to soldering (ummm…duh??). I also found that proper hobby soldering stations are pretty cheap. New tool? Yes please! So I ordered one that got good reviews…and it arrived before the last of my project parts for the etcher. Never understand Amazon.
Anyway, the new soldering station was a big help and once again showed me that owning tools that aren’t complete crap takes one more variable out of the equation. I’m not running off to join a soldering guild anytime soon, but I’m better at it that I was.
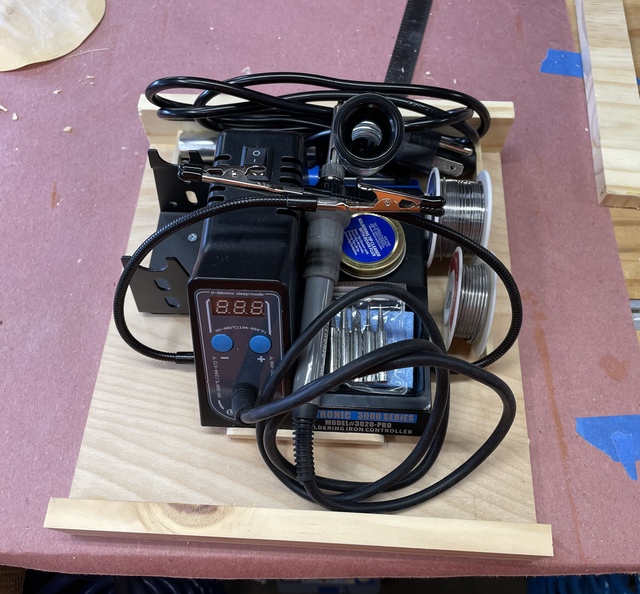
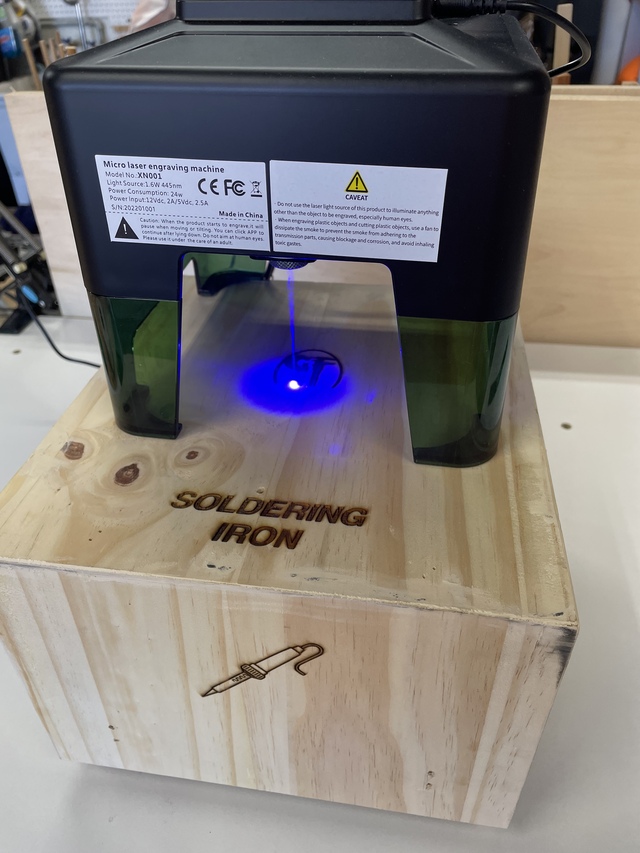
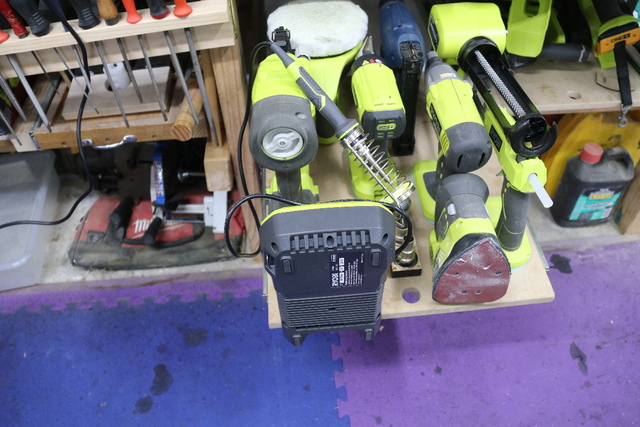
I finished up the metal etcher and then figured I needed to store the soldering station. I’m lazy. So if tools are set up and pretty much ready to go, there’s a better chance I use them. In my mind, this meant leaving the soldering station in a ready to use state. But, since there are a few parts to it I wasn’t sure how to best store it ‘ready to use’ and safe. I considered just a cover over it of some sort, and that evolved into a lift-off-box. The station stays put on a platform, essentially ready to use, and the box lifts off the platform.
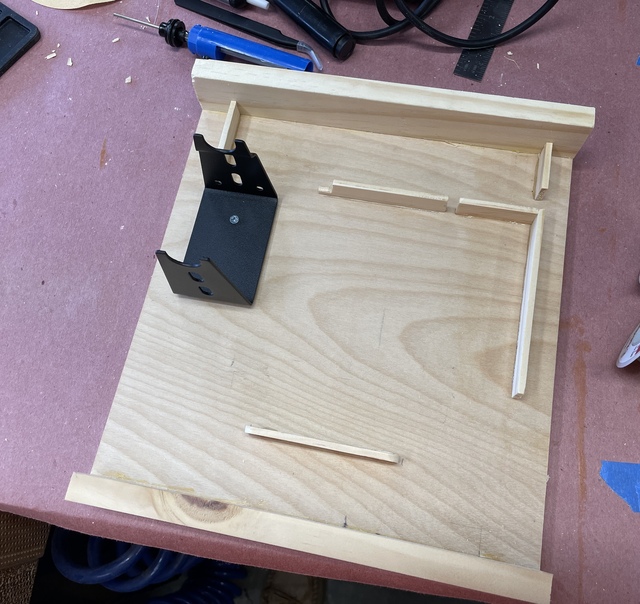
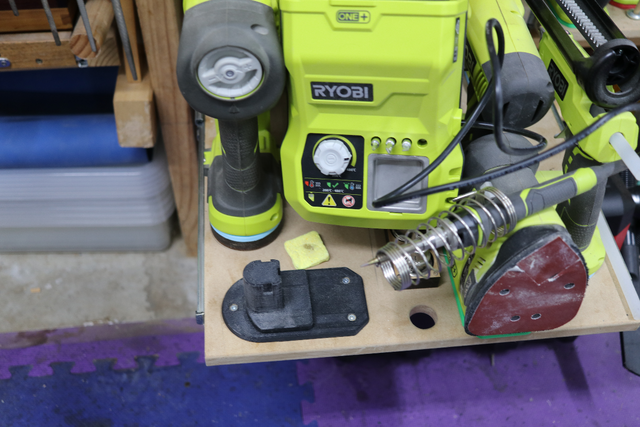
I mocked together the location of the soldering station parts and built a base/platform, including small dividers to keep parts in place. None of the station parts are secured to the platform, but the dividers keep them from moving. The platform has a front and rear ‘dam’ to keep cables in place and make it easier to stow those wiley beasts. They also act as anchor points for the latches as the platform is ply.
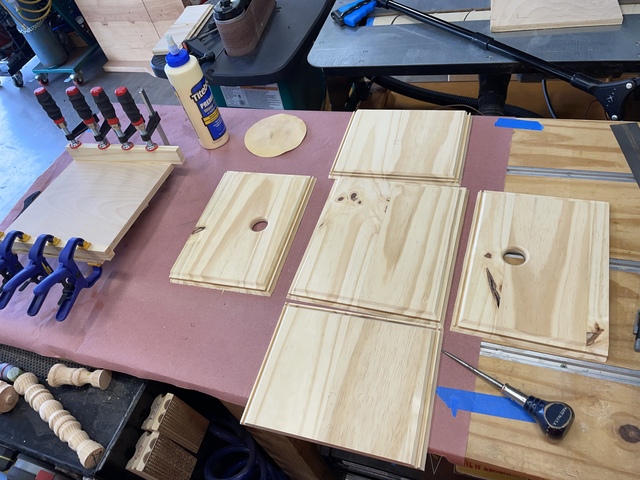
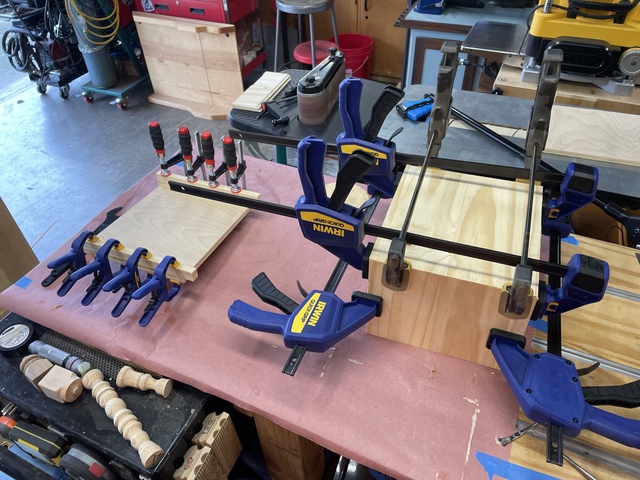
I had some pretty good looking pallet wood to use, so I sized it, and cut it up. Then I used a lock miter joint for the box sides as an experiment on trying to fit all the sides with those joints. It worked ok, but the soft wood leaves a bit of a ragged edge so the joints are tight but aren’t perfect. Lots of glue surface though! The end resulting box top got slightly out of square somehow so I planed down the platform edges to help match. Not perfect, but ok enough for this.
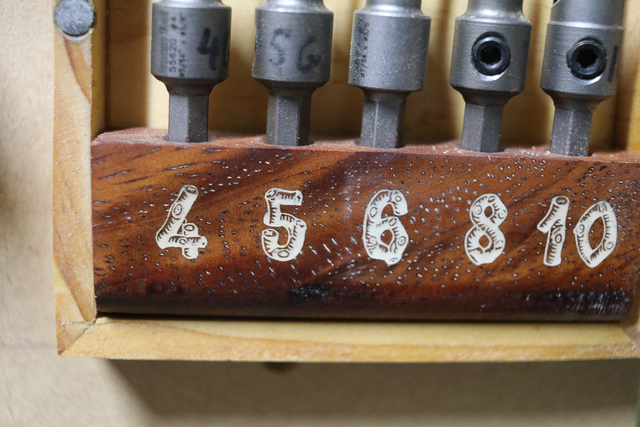
Once I got the edges cleaned up I went about marking it up. My dear dear supportive friend Ducky has been chiding me about the lack of couth in my laser etching work. Charred edges are the mark of the devil he said (I may be paraphrasing). You need to backfill those burned letters, says he! There’s this amazing Aussie product, he tells me, called TimberMATE (I mean it’s almost got Aussie right in the name!). I’m a huge fan of Timbermate but never thought to use it to backfill laser work. So I did a test piece:
This is White and Cherry Timbermate, respectively one laser pass and two. What’s so cool about it, if you zoom in, is the charred inside edges of the letters present themselves between the wood and filler creating a most desirable outline to the letters. Makes even the white show up well on the light wood. Ducky, you’re a genius!
So I set to laserin’
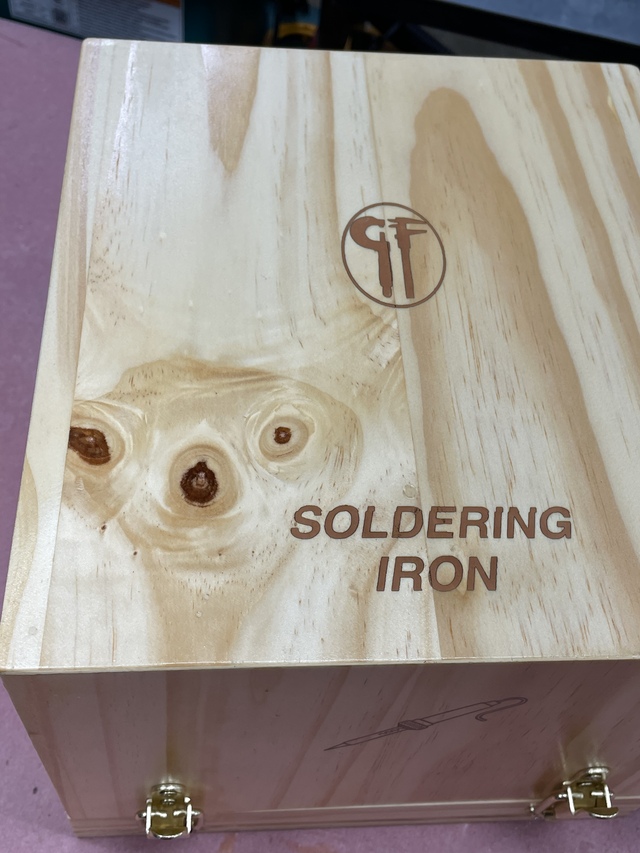
After the backfill and finish sanding, I wiped on a coat of shellac, then three coats of rattlecan lacquer. I didn’t notice it at first, but a little alien face showed up…it’s either E.T. or Sid from Ice Age with a blown pupil, depending on your age.
It finished up nicely, although the platform and box don’t line up perfectly. I’m not sure where I got out of square, but it’s pretty close.
Ryan/// ~sigh~ I blew up another bowl. Moke told me "I made the inside bigger than the outside".
I like the idea of the box bottom being the irons base, no need to remove everything from the box to use it. Basically a dust cover.
The Duck does have great ideas, must be the bug eating and always mucking around in the weeds. I agree about the char working to outline the lettering, Bonus!
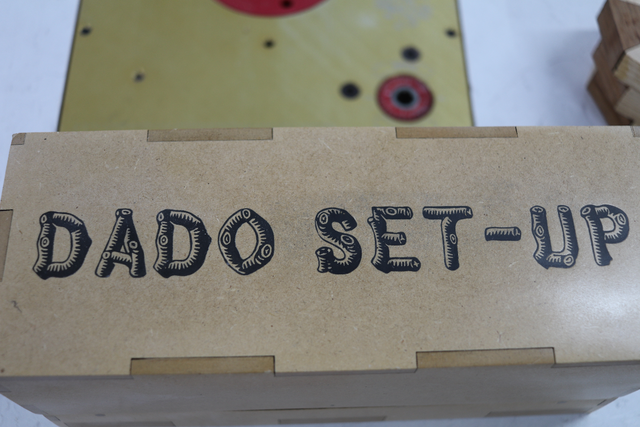
Thanks fellas. I think it’s a pretty good solution. It’s nests nicely on top of some other storage boxes I’ve built to keep things clean and organized. Without dedicated space to leave tools set up, this seems like the next best thing.
Ryan/// ~sigh~ I blew up another bowl. Moke told me "I made the inside bigger than the outside".
Great job RGi... Those little lasering addition, give the box that added pzaz.
Was not pushing TM... any brand works... it's just that the filler levels/sands easy ... problem is that when you bling it up, it's a shame to hide. I usually opt for ebony (or walnut) to provide greater contrast, but then I usually do that in bland MDF.
I've always found the decision of the hardware to hold the lid is always the hardest decision/challenge in making these type of storage boxes...
The other that has me stumped is picking the right font... so many to choose from... though I often gravitate towards pinewood, for the workshop.
Word of caution... If your engraving has fine detail, take care infilling so you don't break off the "small ribs" with the spatula... push down first before just dragging across... 2nd. or further coat supported by the dried 1st.
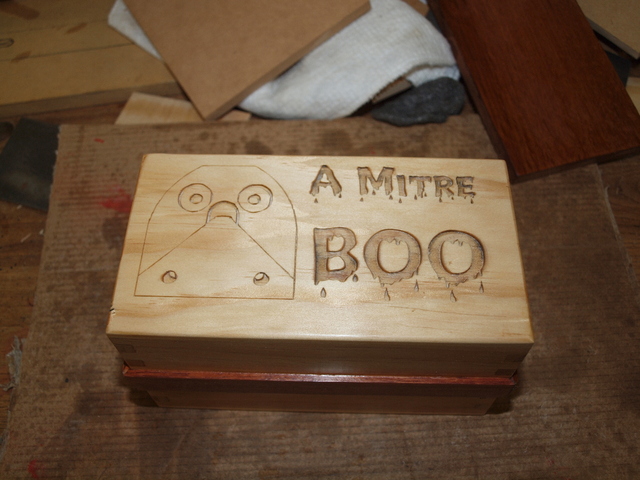
Your Sid made me chuckle... after engraving the image of the Woodpeckers image on the box, it reminded me of a ghost, hence the change of Box to Boo,
If your first cut is too short... Take the second cut from the longer end... LBD
Ducky, if I engrave using the laser, I’m very limited to the fonts available as they’re all on-machine. I could produce the words and specific font in a word doc and then save it as an image in import it to the laser, that would work. The other option, albeit along the same path, would be to produce and image and send it to the Shaper Origin. That would make the scaling easier as the laser has a limited boundary. I figure setting the CNC bit to 1/16” ought to give plenty of depth for backfilling…especially since the depth is less than that for the laser. I get what you’re saying about small pieces snapping off though…especially if using the laser since the wood will be weakened by the heat.
I got some black TimberMate today (I was just giving you a hard time about TM, I wouldn’t use anything else. Love the stuff!). But I really like how the laser charring on the edge of the letters makes them pop…obviously that goes away with using black TM. But it did try it with the walnut TM and it was still visible, albeit less pronounced. Makes it kind of a cool option on lighter woods to use lighter filler…
I’m still concerned about excess filler getting in to the wood background. Guess I’m just going to have to do test runs for a while until I work it out. Shellac-sand-shellac would probably handle most woods, outside of those with the largest pores, don’t you think?
Ryan/// ~sigh~ I blew up another bowl. Moke told me "I made the inside bigger than the outside".
RyanGi commented 2 minutes ago I’m still concerned about excess filler getting in to the wood background. Guess I’m just going to have to do test runs for a while until I work it out. Shellac-sand-shellac would probably handle most woods, outside of those with the largest pores, don’t you think?
Sand to 240G to minimise pores... (or mask... nut it'd wanna be a $1,000 contract for the effort required).
Sometimes pore fill (white dots) doesn't look too bad,
If your first cut is too short... Take the second cut from the longer end... LBD
RyanGi commented 17 minutes ago new Thanks, I think the iron was all of about $70. Seemed reasonable for what it was, but then I’m not very well versed in soldering irons!
LIke you, I know bugger all about soldering other than it's was a pain to use. Then I discovered temperature played an important part and invested in this (as I have the batteries... though still a tad more than 70 shekels), and storage was no major issue, Did a review on it (and the obsolete on) on LJ a while back.
If your first cut is too short... Take the second cut from the longer end... LBD
I used to solder for a living and really lust after the "stations" in our tech areas. The vacuum models which do de-soldering are the cats nuts, temperature control is a must. Would love to buy that setup but $$$$. Settled for a <$100 variable temp model which does 90% of what I need.
A reasonable rig sure beats the heck out of the wood burner I used as a kid 😀.
Also have an old rechargeable unit (NiCads) and not having a cord lets you bring the heat to the project. Great option. Soldering electronics scale items is a skill everyone should master.
I’m the wrong person to ask James. I’m new to this and not proficient. However, there are several folks on here that have extensive experience and I’m sure they’ll chime in.
Ryan/// ~sigh~ I blew up another bowl. Moke told me "I made the inside bigger than the outside".
I'm not sure how that works James but it seems gimmicky to me. If you were soldering the same components all the time, it may work. But to effectively solder, you hold the iron on one side of the components being joined and the solder on the opposite side so I'm not sure how well that would work. Plus something that big and bulky is hard to use for small components like on a circuit board. I think in the long run you'd be a lot happier with something like Ryan bought.