I had been working on creating laser etched clock faces for some more clocks I had drawn up. Then James McIntyre stole my thunder and posted his version
(I found the camera you hid in my head James!)
As payback, I took his clock face design and etched a 6"x6" tile, even "borrowed" his color pallet.
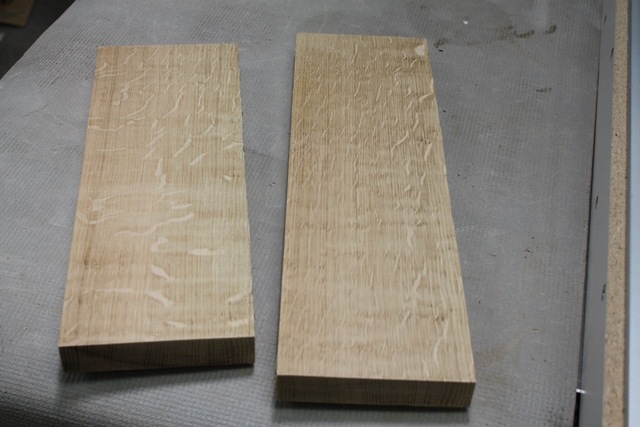
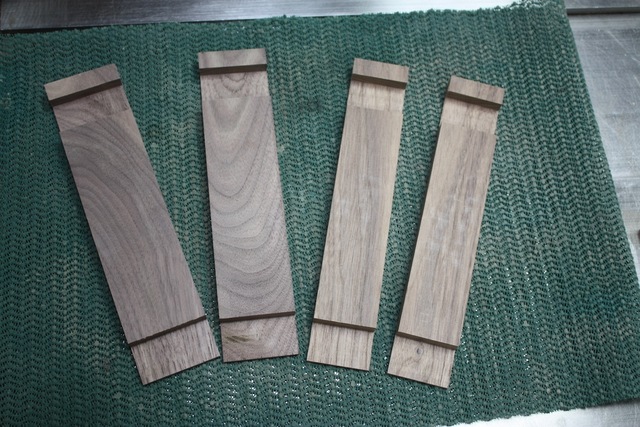
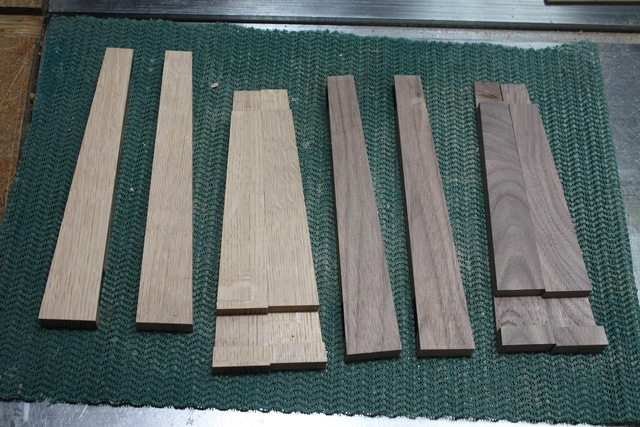
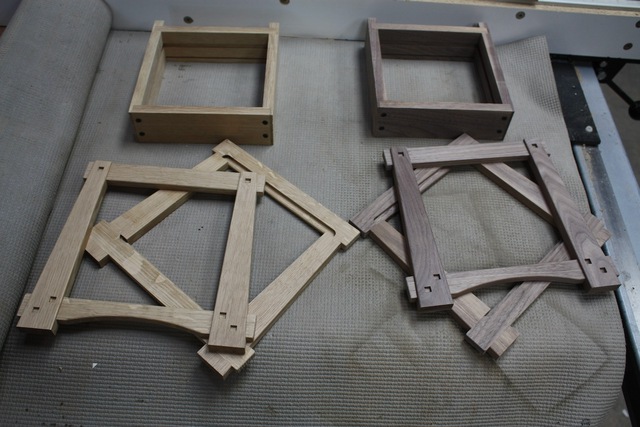
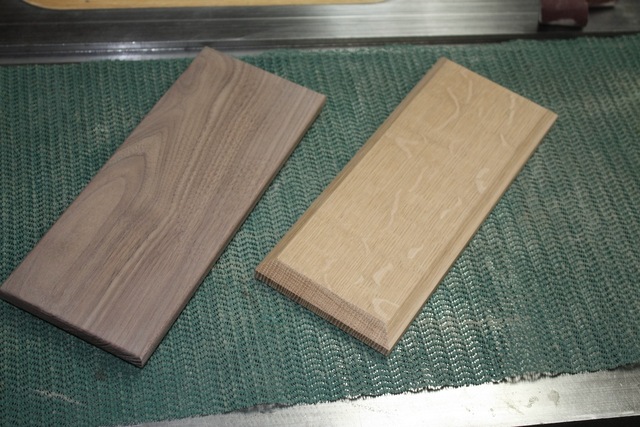
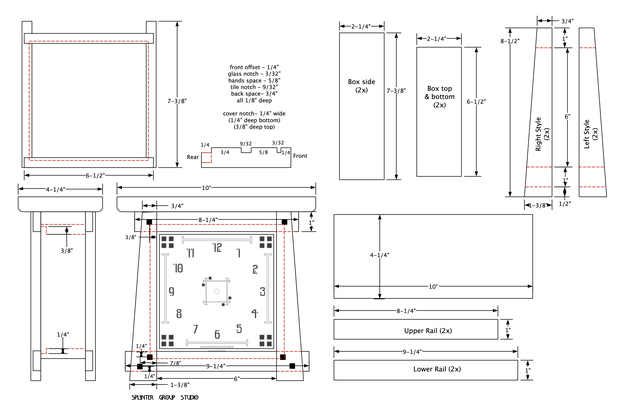
Two clocks, same design, different woods. Had some not-so-flecky quarter sawn white oak kicking around and always like working with walnut. Basic parts cut out, 1/2" body, 3/8" rails, 1" tops.
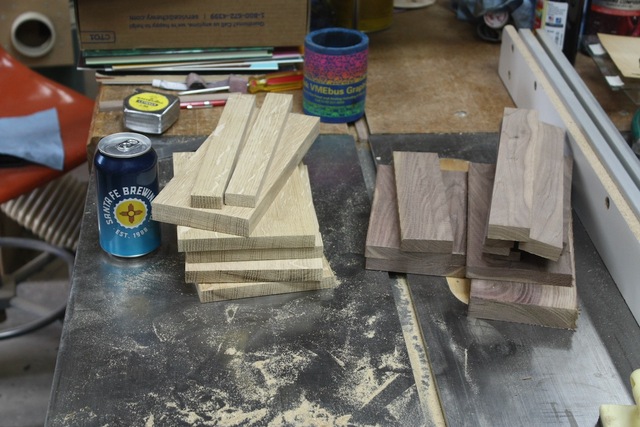
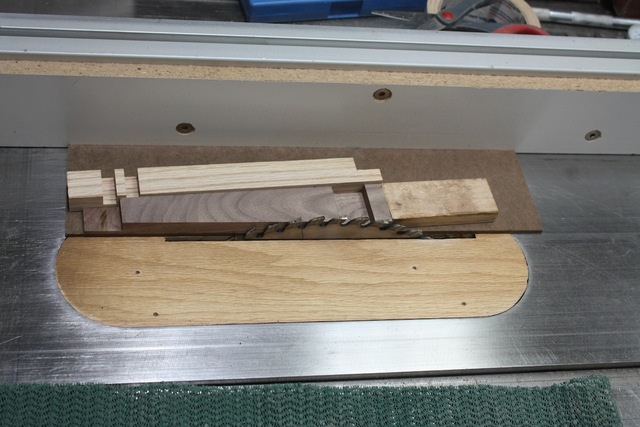
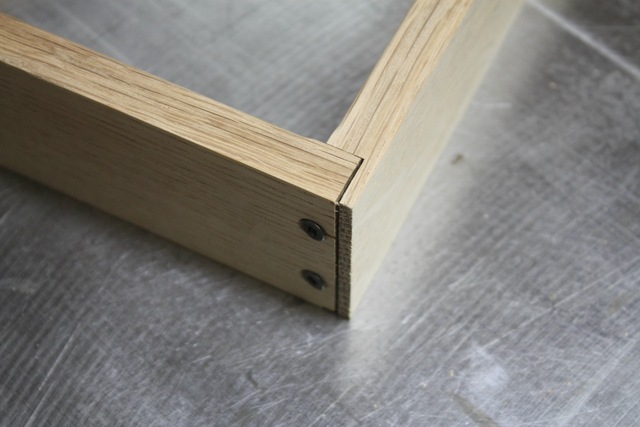
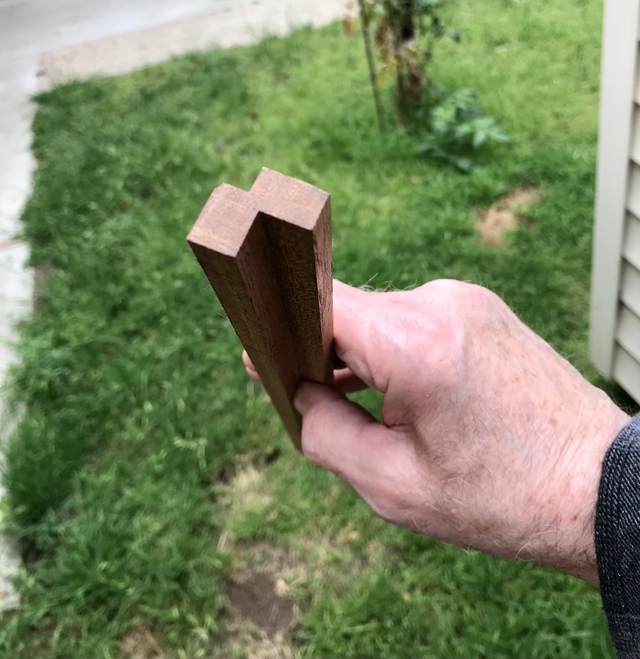
(beer break.....Brrrrap!) Ok! All slightly oversized and acclimating for a few days. Trim the sides to length, I like it when my cuts are accurate (unfortunately I made a mistake and they were 1/8" too short, but fixed that later). Crosscut some 1/2" dados with the go-to box joint blade set (@1/4"), Make the first cut: Shift over with some key stock and cut again, then cleaned out the center waste. Two dados for lap joints on these pieces of leg stock. I love the tear out free exits and clean profile from this blade set.
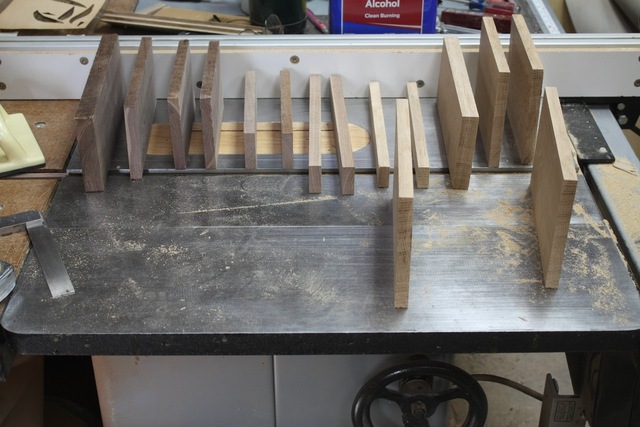
Legs for the Walnut clock. Rather oversized but that's because I will be tapering them next. You can (maybe I hope) see the plans at the end to better visualize what/where/how all this gets used. Cutting the tapers with a simple jig. The legs are DS taped to the jig for the cut.
Rights and lefts, ready for routing some edges
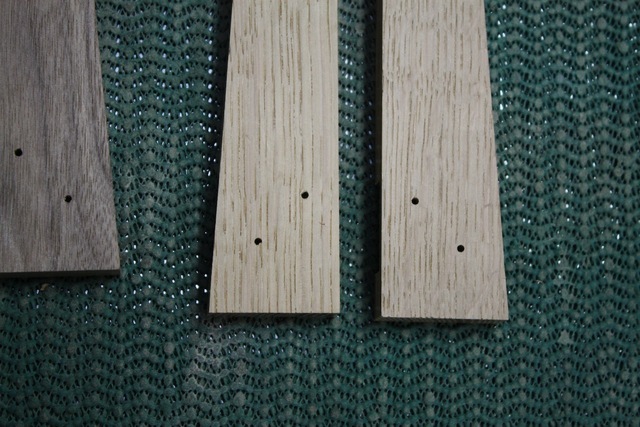
Simple jig to mark locations for the Greene & Greene style ebony plugs
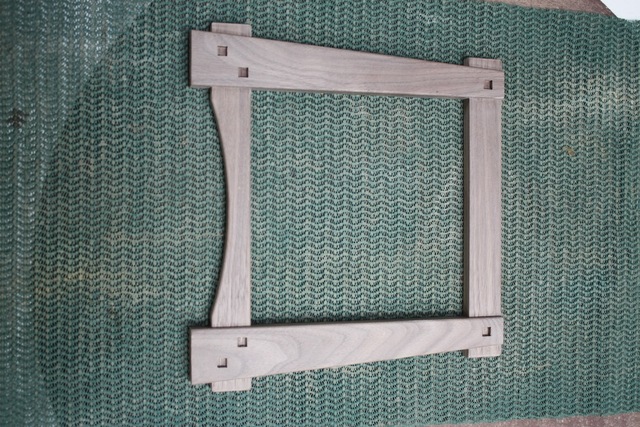
Curved bottom rail (thanks for the suggestion James!) joined up with to make the front and back frames.
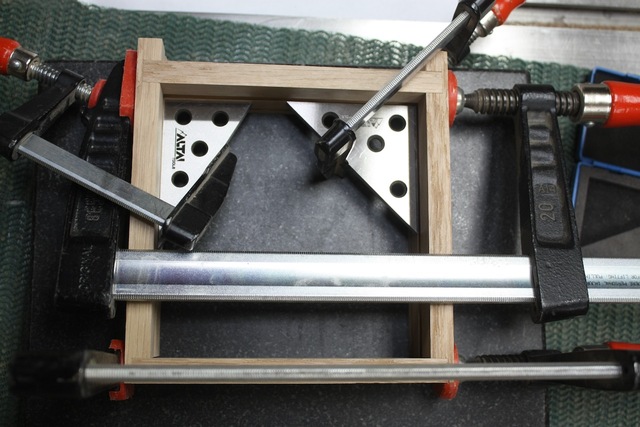
I always try to make these clocks so they can have the guts replaceable (glass, clock motor, clock face). The top and two sides of the body are glued and the bottom is just slid into place while I glue it all up (to keep it square).
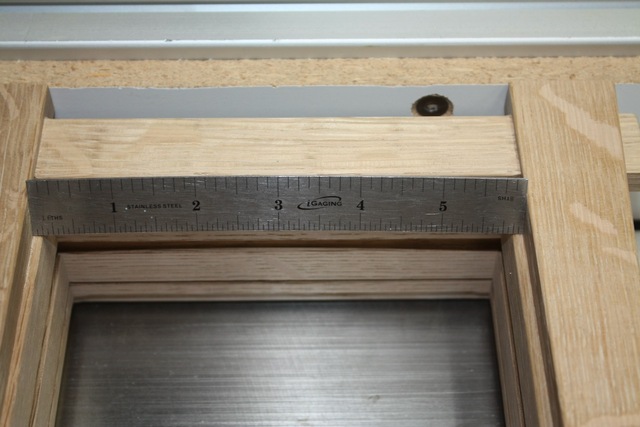
The bottom is screwed in place to get the screw alignment set, then I trim off 1/32" from the bottoms ends so it is easy to remove if necessary. The front/back frames hide this gap. Frames are glued in place. Having a 6" opening makes it easy to align to the body with a 6" ruler
I was going to have rounded edges on the tops underside, but James's nagging made me switch to tapers. That actually works way better given the taper of the legs. Thanks Mom! 😀
A lot of sequence shots not included so any questions I can probably include some photos.
The finish is oil and wax. I did fume the QSWO to darken it up. The clock back covers slide up and then can be tilted out for battery access.
Solid write up. I love mantel clocks, but we don’t have a mantle so I’m trying to find somewhere to put them. Always a project that’s on my mind and I love seeing the world new you all make! Thank you!
Ryan/// ~sigh~ I blew up another bowl. Moke told me "I made the inside bigger than the outside".
There it is. Wow. Beautiful clocks. Did you hand cut the mortises for the G&G ebony screw covers.
I like how you used lap joints for the through tenon look. I think that’s what they are. Got to file that one in my camera installed brain.
I do like the tapered tops better.
The backs came out nice and clean. Wish you showed how it slides up and out.
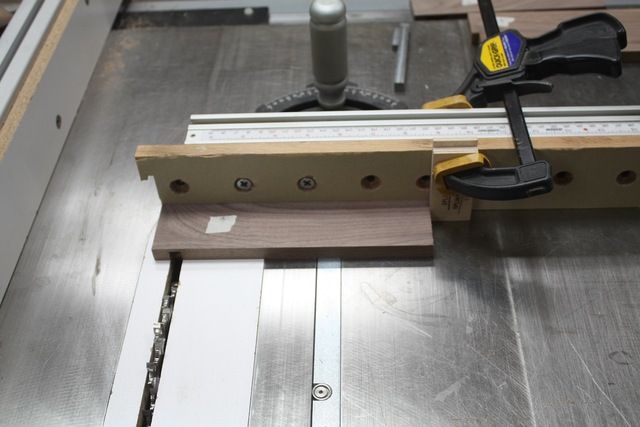
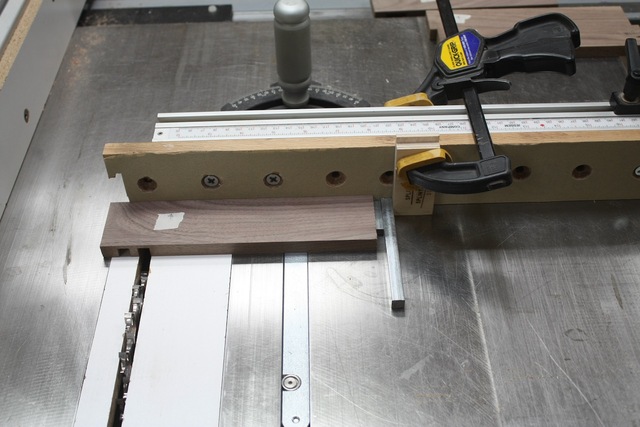
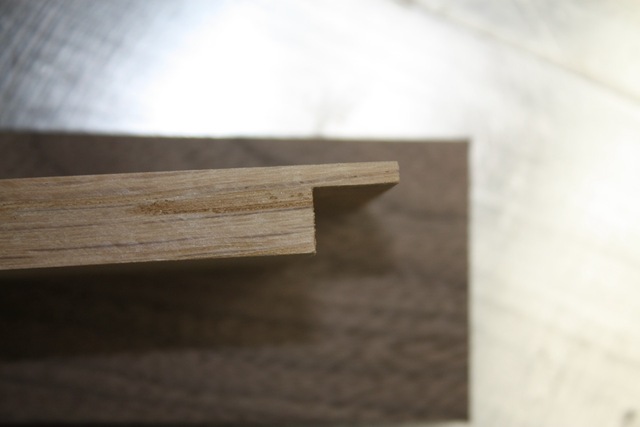
When I built my clocks I milled a special moldings with steps. One for the glass and about and 5/16” back from that for the clock dial. It looks something like this. What was your technique? When I built my wall clock I had to angle the top stiles. Did you? I may have missed it but how did you attach the top?
Your clocks are a lot different than mine and are truly your own design. And oh great photos and write up. Thanks for the shout out. 😃
Looks simple, but something I never thought of... thx. Even if I used that concept (somehow) for my KerkMaster on the mitre's block rather than the fence. MIght need a few test runs under SketchUp.
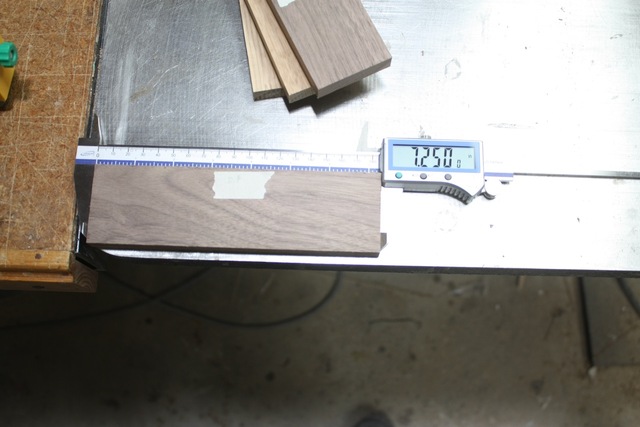
If your first cut is too short... Take the second cut from the longer end... LBD