RyanGi
in about 3 years
More from RyanGi
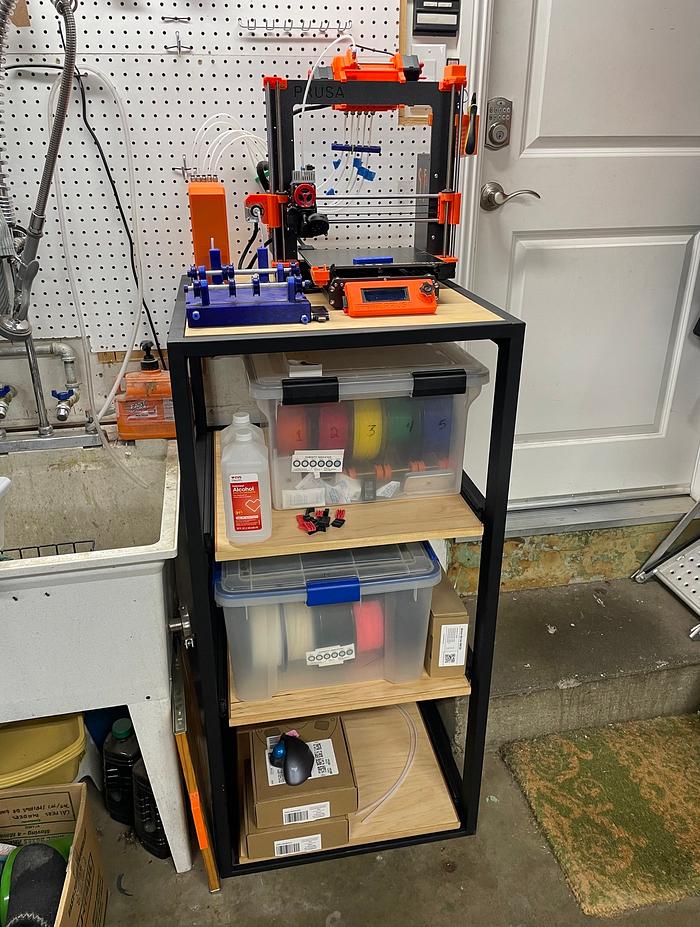
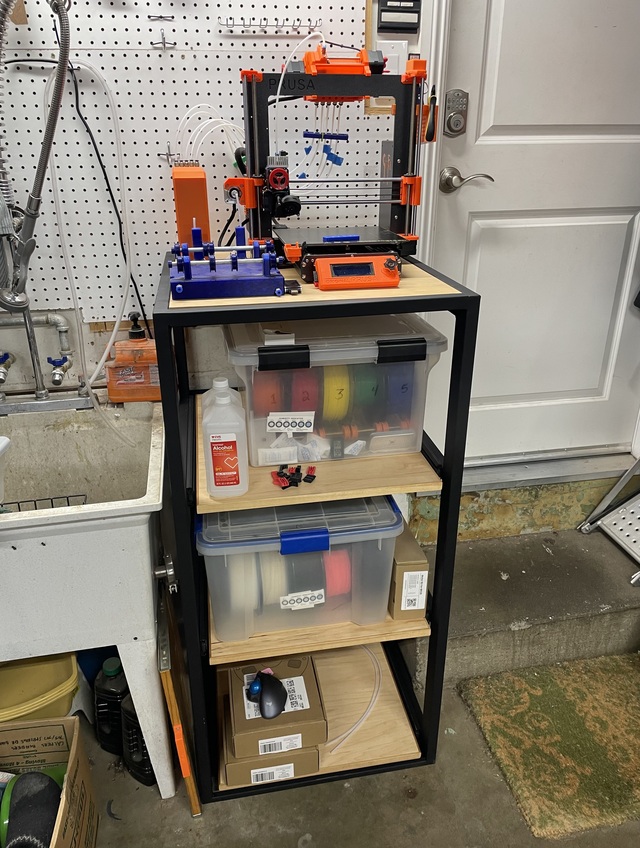
3D Printer Stand
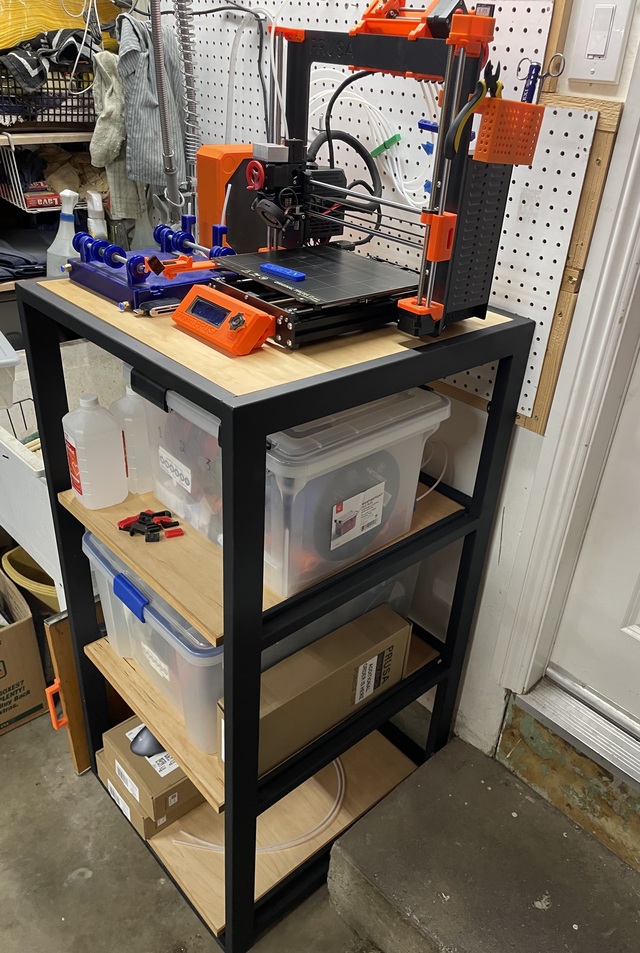
After some measurements and a trip to Metal Mart, I came home with a bunch of 1” and 1x2”square tube stock in 16g (1/16” wall thickness for all the wood-only guys out there).
I welded together the frame sides, then cross braced it to make a ‘box’. The side frames had to be built with specific spacing to allow heavy duty drawer slides to be mounted to hard points.
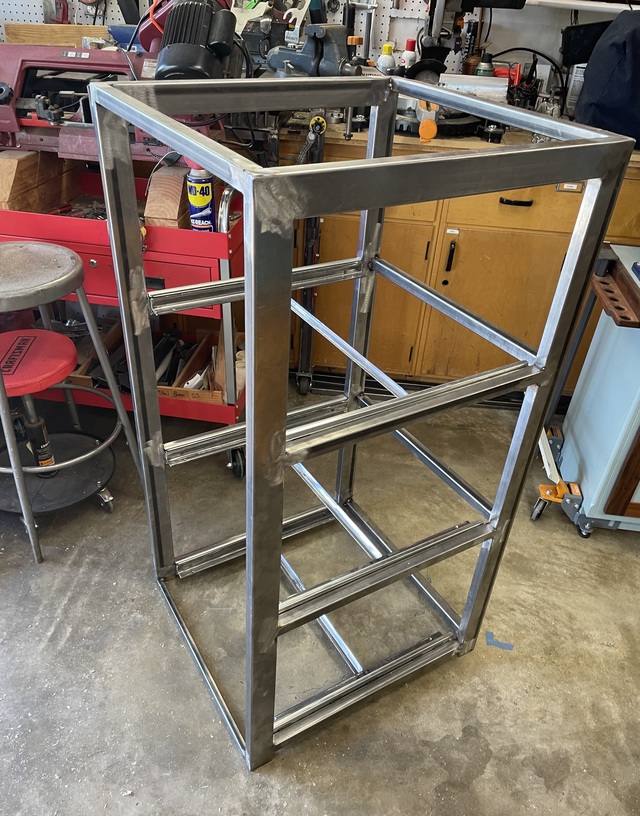
All that came together pretty well with minimal cursing. I welded on some tabs to hard mount the whole gizmachy to the wall, then went on to build the drawer frames.
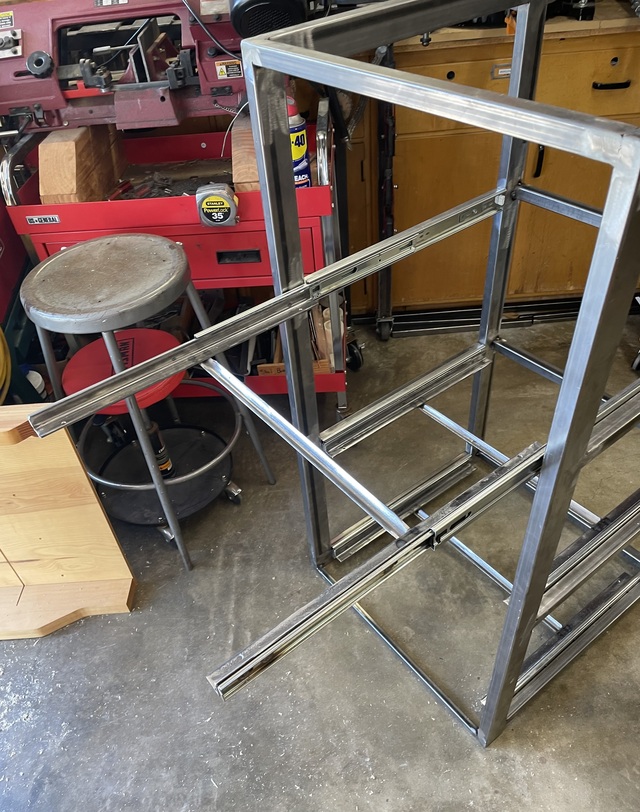
The frames are angle iron, into which the wooden drawer panels set. They’re also cross braced to ensure the weight I expect to place on those sliding shelves is supported from
underneath as well.
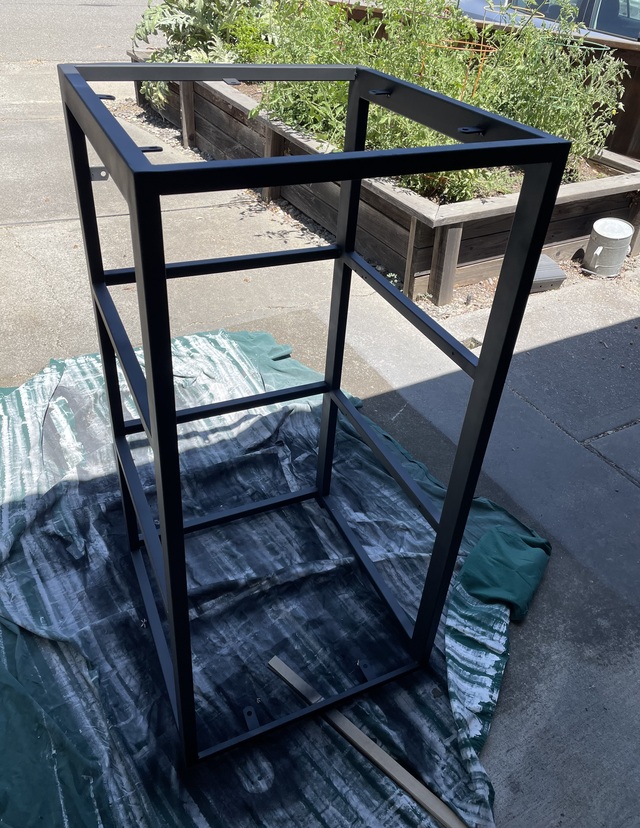
I primed it with rustoleum clean metal primer after a wipe with acetone, then painted the whole metal structure with rustoleum high performance enamel, flat black.
I had some pretty nice Baltic Burch 3/4” ply that I cut to fit the drawers and top. At this point I found out I had a bit of rack to my frame, so each drawer panel had to have some angles cut to make them fit in the frames. What can I say, metal moves when it gets hot and I don’t have a jig/assembly table big enough to handle this. And I’m not a great welder. What’s the quote?: A grinder and some paint makes a welder what he ain’t? Yeah, that’s me. After getting the panels fit properly, I banded them with solid birch.
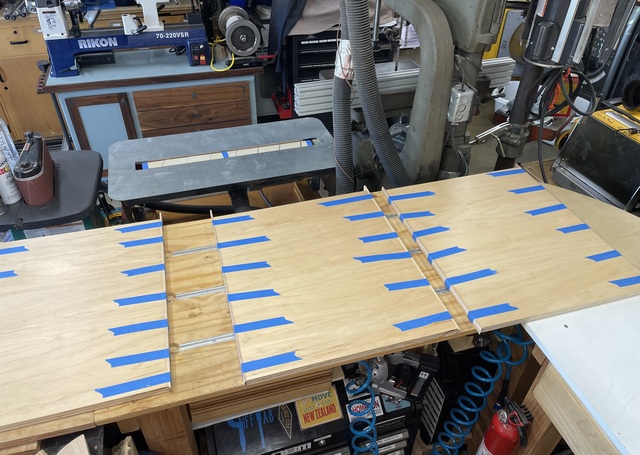
Those are sanded and finished with Danish oil.
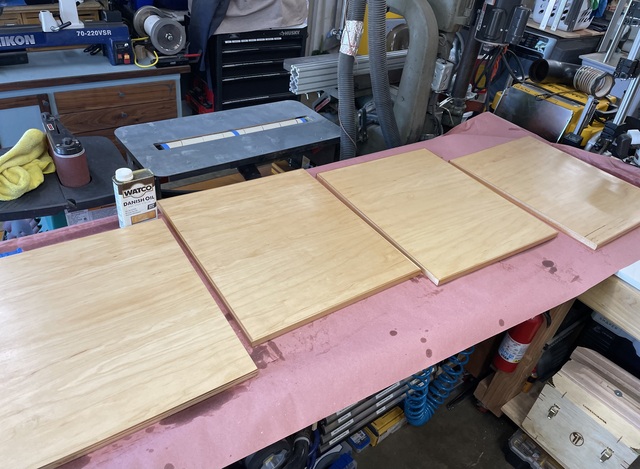
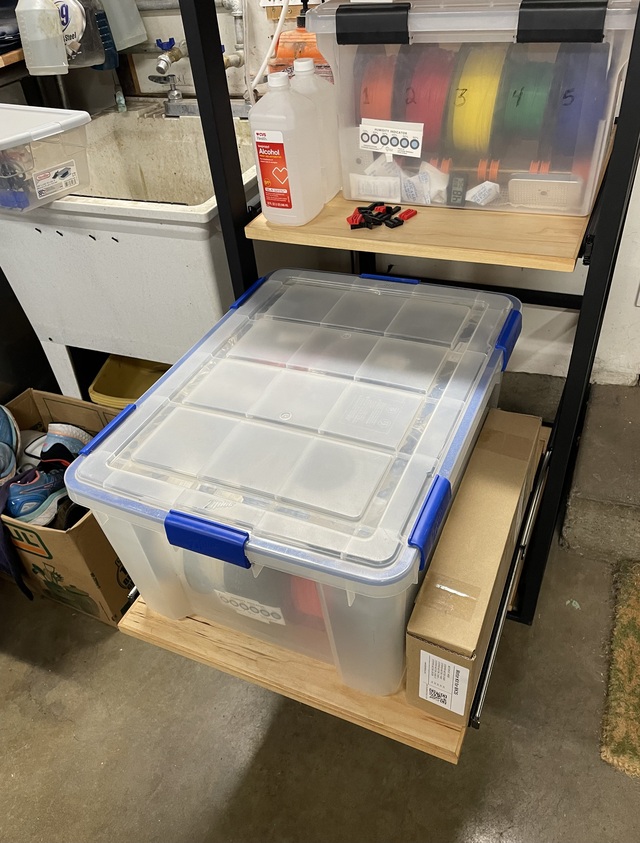
It all came together pretty well, all things considered. It has a nice modern look and the heavy duty full length (22”) slides seem to be easily holding the full weight of a 15 gallon box filled to the breaking point with filament so I’m happy with that.
I’ve got to print a few drawer pulls for the slide out drawers/shelves because it seems like something on this project should be 3D printed.
I was able to mount my multi-material filament feeder box on the first shelf, so all the PTFE tubes run from there to the buffer system (orange box on the left) then to the MMU on top of the printer. For those that read that and thought maybe I changed languages, don’t worry too much about it. It’s basically just an organizational process for using multiple colors in a single print.
Now that I’ve got more room, it’s time to get another weather tight tote and fill it with more colors of filament!
Ryan/// ~sigh~ I blew up another bowl. Moke told me "I made the inside bigger than the outside".
20 Comments
Ryan/// ~sigh~ I blew up another bowl. Moke told me "I made the inside bigger than the outside".
working with my hands is a joy,it gives me a sense of fulfillment,somthing so many seek and so few find.-SAM MALOOF.
Ryan/// ~sigh~ I blew up another bowl. Moke told me "I made the inside bigger than the outside".
...woodicted
-- Soli Deo gloria! ( To God alone be the Glory)
Main Street to the Mountains
Ryan/// ~sigh~ I blew up another bowl. Moke told me "I made the inside bigger than the outside".
Mike
Looks sharp!
Ryan/// ~sigh~ I blew up another bowl. Moke told me "I made the inside bigger than the outside".
Petey
I got another weatherproof 60 qt storage container (which was an amazingly difficult size to find for some reason…seems they’ve discontinued that size), so I’ve got some room to fill up! Also got some larger desiccant bottles for each container and mounted digital hydrometers inside each.
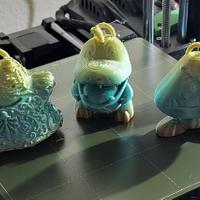
First prints on the new setup today were just a couple samples using a new transparent PETG, but the stand is rock solid. Waiting for a couple rolls of filament to arrive for the next print I have planned, but I’m stoked with the new setup!
Ryan/// ~sigh~ I blew up another bowl. Moke told me "I made the inside bigger than the outside".
Nice and Tidy!!!
Regards......Cliff.


