First a bit of history ...............................
Traditional Japanese household shelves or tana, from the Edo period 1600-1868 have numerous names depending on their specific purpose and place in the samurais home and later the rich merchants houses. The grandest of shelves were the Kazaridana group.
This Kazaridana group were highly decorated with makie lacquer and used to display the most valuable items of a samurai lord. They were often made for the samurai’s daughters as part of their trousseau, along with all the boxes and objects that went on them. Traditionally this Kazaridana group consisted of three separated pieces.
1. Zushidana - The very best of the three. Theses were three-tiered shelves with up-curved ends to the top self, open work sides, and two double door compartments.
2, Kurodana - Also a three-tiered shelf, but with only one compartment, a flat top shelf, and square legs.
3. Shodana - These had a full width sliding-door cupboard across the bottom, occasionally another cupboard, with staggered shelves above, a flat top shelf, and square legs or open work sides.
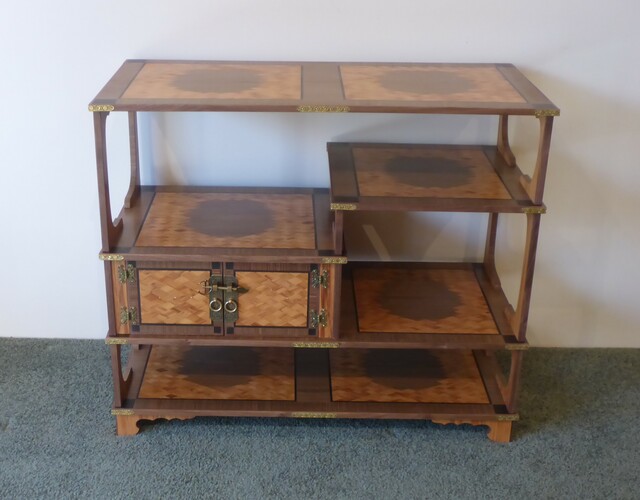
So! My shelf ........................... see below
................. is an oddity as it doesn’t quite fit into any of the original three types. It incorporates elements from the first two, so I suppose mine is really a Kurodana, as it only has one compartment and a flat top shelf. BUT it does have the openwork sides of a Zushidana, rather than the more usual square legs!!
But enough history.................
Having been somewhat obsessed with the Japanese Incense Ceremony Kodo, and its associated paraphernalia for the last few years, I have made most of the boxes, trays and tables associated with it. See my projects: Incenses ceremony chest - Kodogubako
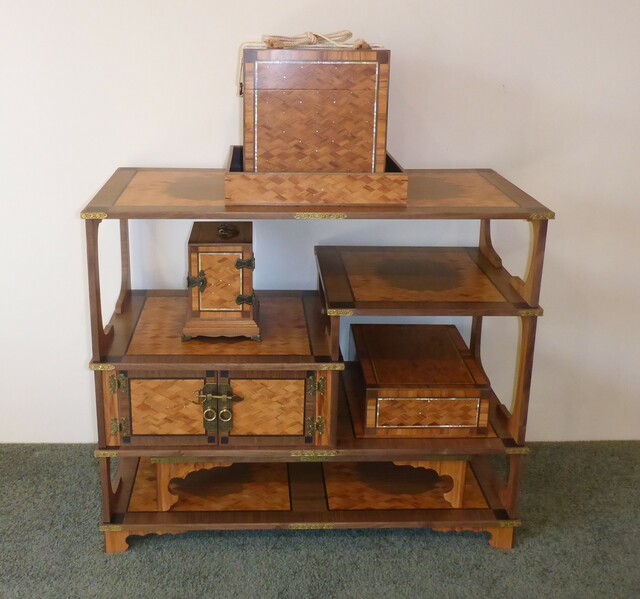
With all these items made I decided to make a shelf unit to house them all in traditional fashion - a Kazaridana.
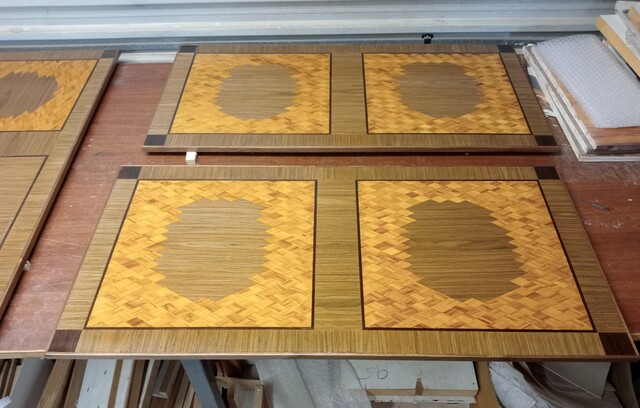
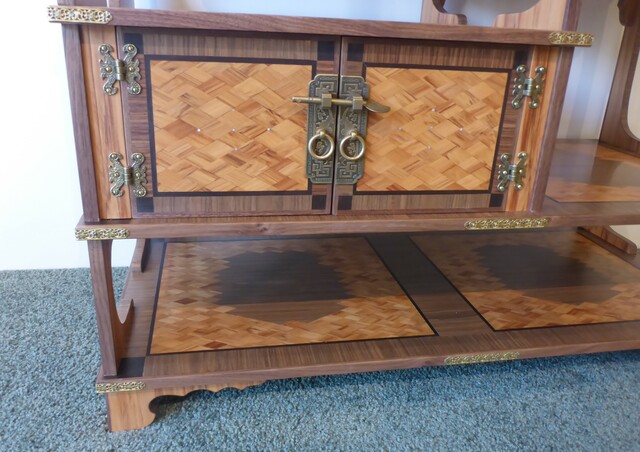
While Kazaridana would have been covered with elaborate makie lacquer decorations, as I have not having mastered the art, I decided to use the same parquetry pattern that I had used on my earlier Incense items.
The shelves are 12mm plywood veneered with a teak diamond parquetry design with walnut stringing and teak cross-banding that matches all the other items.
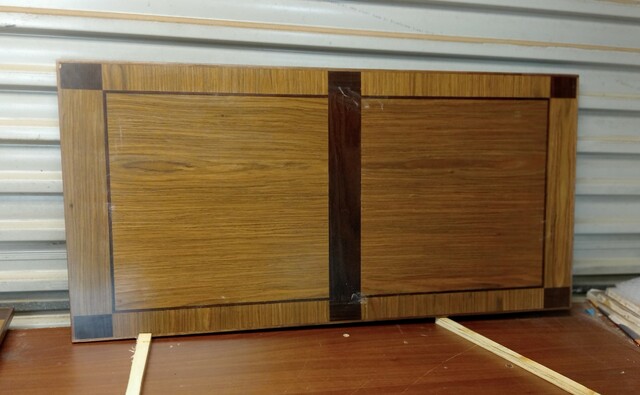
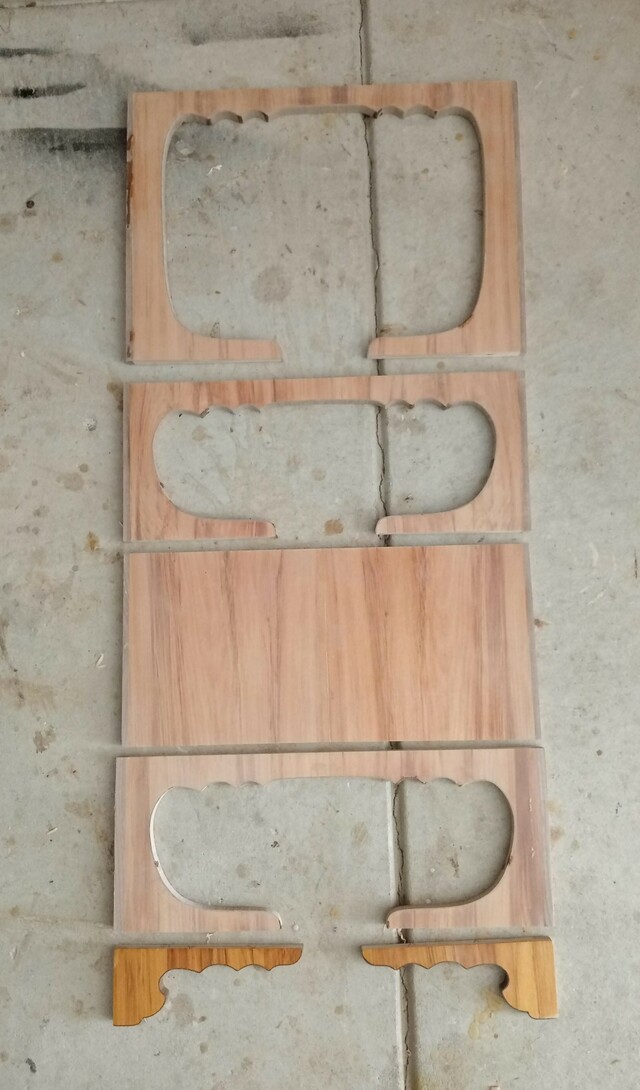
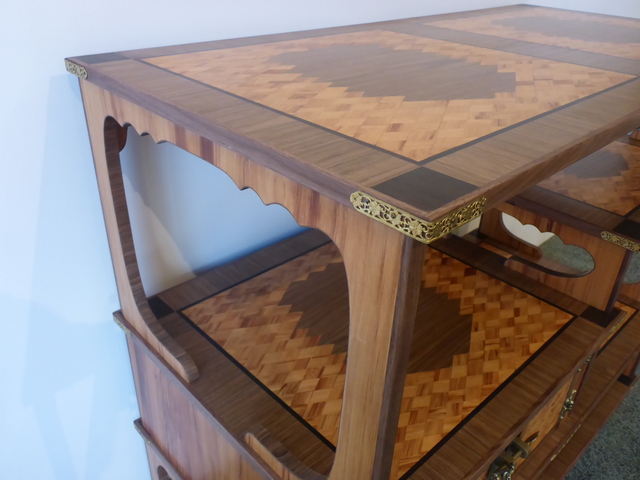
The sides of the shelves were the most interesting part for me. They are also made from 12mm teak veneered plywood and are quite delicate with some complex curves along the edges.
I made a set of MDF templates for the router to follow to produce the shapes. The edges were then veneered with two layers of cross-banded walnut. I decided that cross banding would make following the complex curves easier.
Throughout all the making, veneering and finishing, I hadn’t thought that much about joining it all together, though I had the notion that everything would be joined together with dowels and/or biscuits. I hadn’t been able to work out how the original Japanese ones were joined.
In the end I bought a cheap dowel jig from AliExpress, and ditched the idea of biscuits. It was quite a puzzle working out the sequence of joining sides and shelves and feet together, making sure all the holes lined up. Some dowel holes were blind holding two pieces together, but many were through holes in the shelves joining three pieces - the shelf to two side elements. With the complex curves of the sides the dowels were of many different lengths. While I purchased a bag of ready cut grooved dowels, I still needed another 8 meters of dowel to complete all the joints. Grooving them to reduce hydraulic pressures was a boring exercise!!
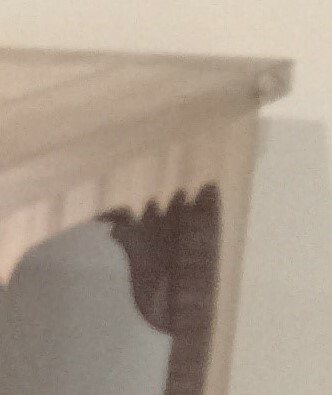
Having dry assembled the structure I didn’t think the butt joints and 6mm dowels would be sufficient. So, I decided to add some small quadrants into the upper back corners to add some additional strength. Just visible in the picture below.
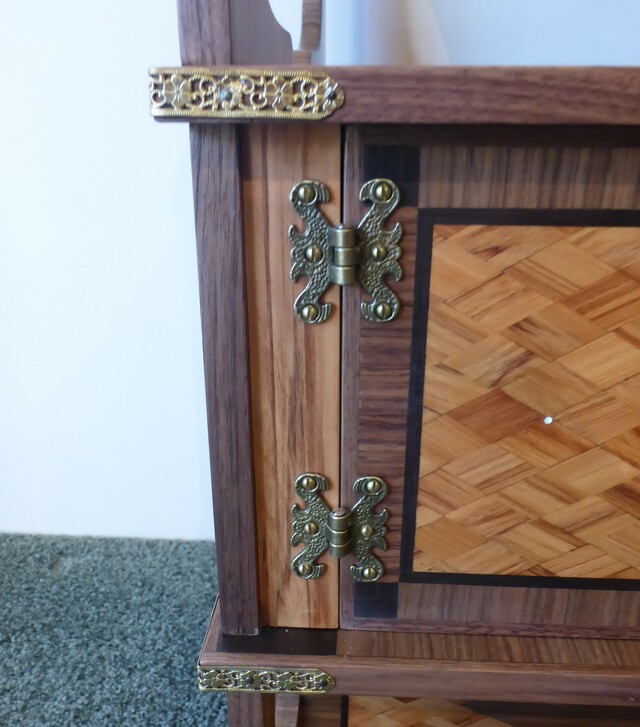
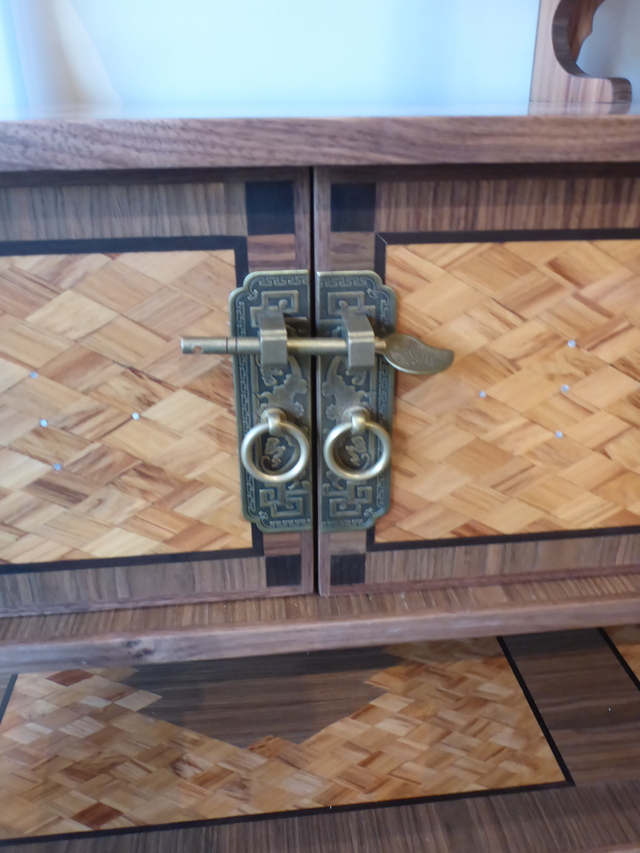
The final part of the construction was fitting the small cabinet doors and the decorative filigree brass corners to the shelves.
In keeping with traditional shelves I went for lay on hinges and some decorative doorplates with ring pulls and a removable bolt.
I made the corners straps from a strip of filigree 'gallery' that I found on Etsy and came from Israel!
The finished shelves turned out to be far more stable and sturdier than I had expected, though with around 9 meters of dowel holding every thing together perhaps its no surprise. I now have one more box to make to complete my set and so fill all the shelves - a Fubako or scroll/poem box.
As always thank you for looking and getting this far. Please ask if you have any questions
A very Beautiful, as others have said, attention to details. So much to look at the weaved shelves, the hardware used. I can't imagine the time to build this. Outstanding.