I quit attempting to repair the decking and railing of our thirty or so year old deck in anticipation of upgrading parts of it so we didn't have to fight maintenance.
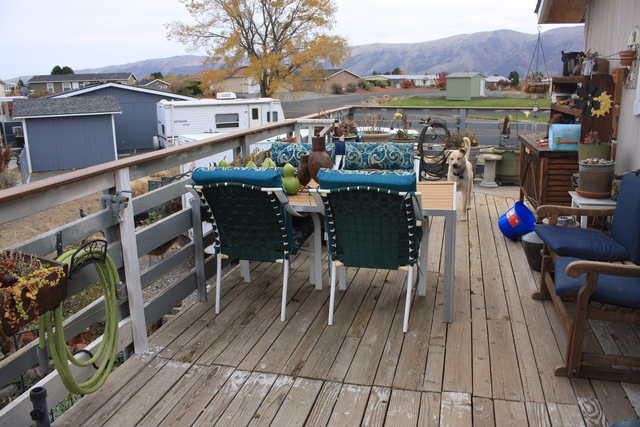
One of its problems from the get go (before I was around here) was, the 48' run on the second story part. I HATE railings that couldn't withstand a bar fight. I didn't trust this one to hold grandma having a wine. The railing was attached the usual, pathetic way - one 2x ran down the 2x facia-support system and was bolted in place. In short, the top of the railing, about 40" up, provided a lot of leverage, if it was pushed on.
One solution was, run a 2x on up and tie back to the eves. That would have been a game changer, but it came with the problem of making it look decent.
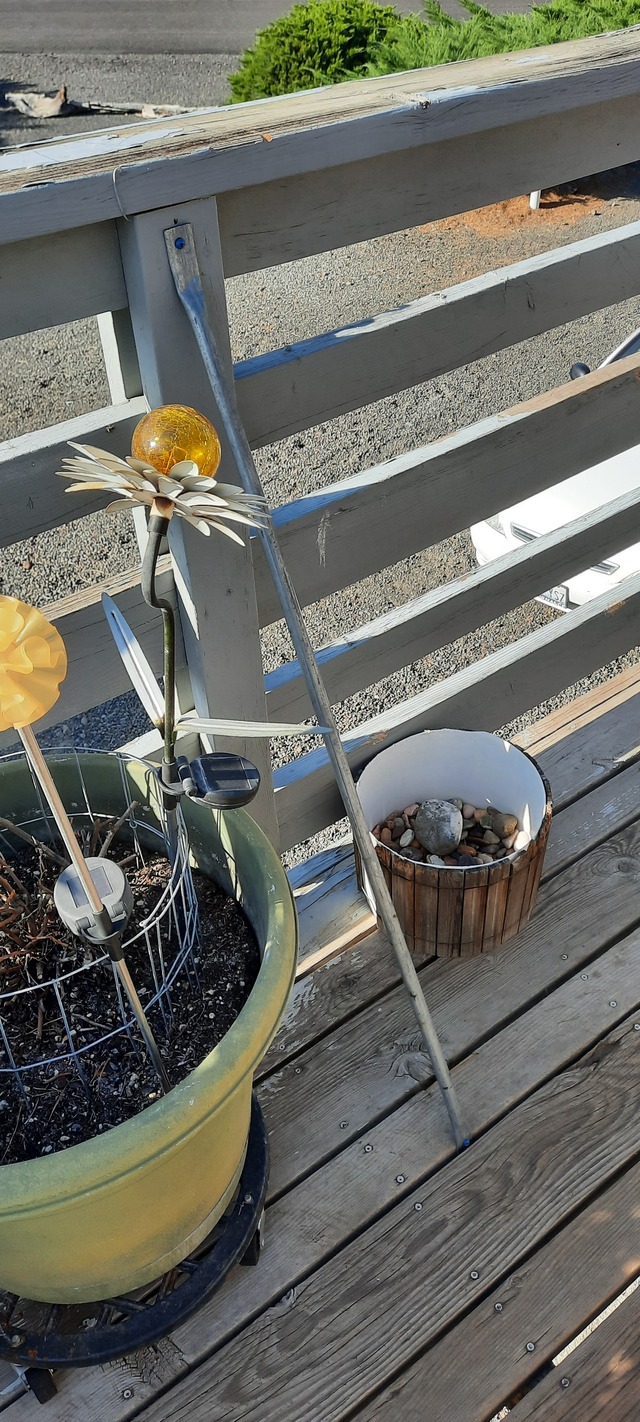
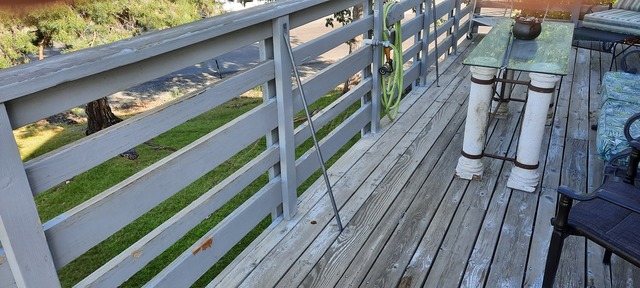
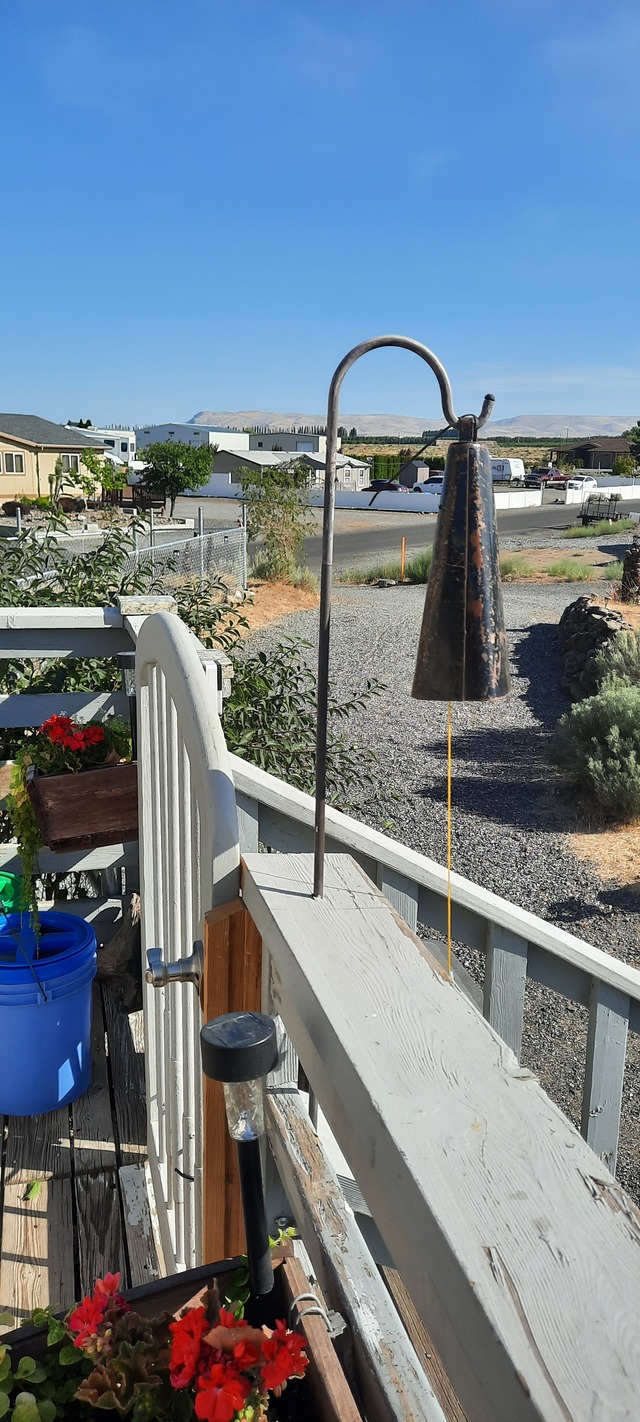
A few weeks back, I was eyeballing some 3/4" conduit and thought it might solve the problem a different way. I hammered the ends, bent them at angles that allowed me to tie one end to a baluster, or whatever you call the deck railing posts, and the other to the deck. The railing went from moving 3" to less than 1/8". Now I have less to pretty up, and the railing is solid.
When done, I may just make boxes around the supports, which would require bigger granite caps. A lot of work, but it's fun thinking I'd have a unique deck railing system that would have cost a fortune to have built by someone else.
I may just do a bit of, for lack of a better description, gingerbread-ish thing over the tubes.
I wanted to go with Trex-ish railing cap. They sell REALLY expensive stuff, but you cannot find info on sites for installing it and none of the deck builders had a clue about using composite rail tops, so off to my own devices I went.
To mount the Trex-ish composite (solid 7/8" boards), I'll use my biscuit machine to make strategic slots in the 2x under the railing. I bought bulk table top clips that will slip into them, allowing the composite to shift around, but still holding it solid to the railing.
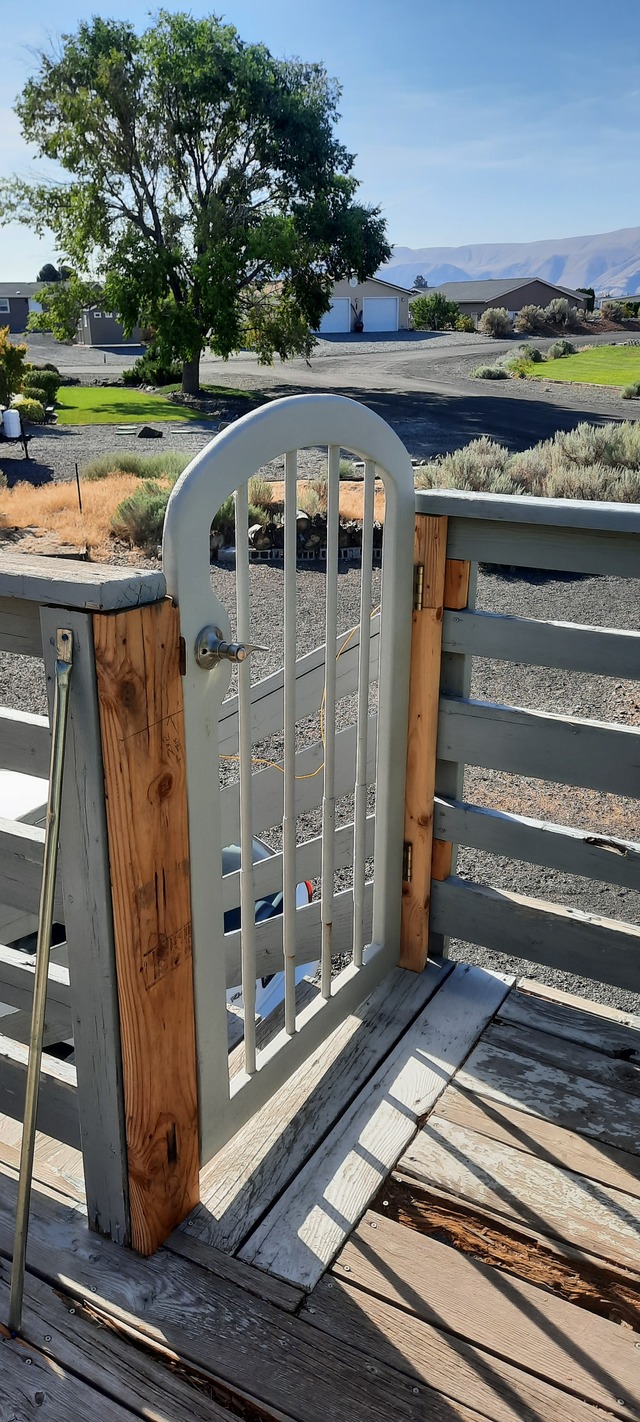
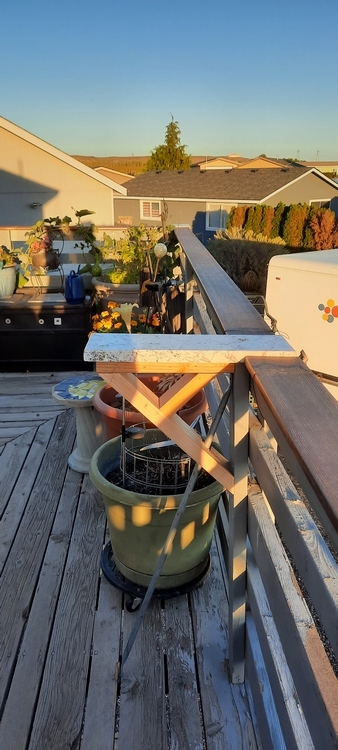
Because I can, I'll add granite caps around each of the three gates, at the end of each rail cap run, and a few spaced in the center.
I have a lot of scrap granite from the tossed off stuff a granite place let me glean from, as long as I didn't make a mess (I left it better than I found it. I spent a couple days running my tile saw and cutting squares about 1" bigger than the posts they'll sit over.
When done, there will be about 17 granite caps (past experience says construction adhesive will hold them fine. Cutting them required a lot of babysitting the saw. However, once down to a manageable size, I put the saw on auto. Auto is just a coffee can on paracord and which I filled with rocks. It's a lot of weight, BUT the push pressure is less than you or I would put on the blade. When the saw racket stops, it's time to go back and set up another cut.
Today, I started the polishing fun. At first, I went with diamond disks starting at 50 and ran through 1,500 (50, 100, 200, 400, 800, 1,000, 1,500). I test drove starting at 200 and the blade had done a good enough job that worked.
I lucked out and was able to put my variable speed grinder away and use Flex center fed (waster) grinder I got off craigslist for two Washington's. Been using the variable speed grinder for years and it served well, but this was a very nice step up.
A couple more days of polishing (cut some smaller squares of dark granite to cap the ten 4x posts of the doggie run too) and I can start looking at the composite cap.
I know the granite will be capable of killing anyone who touches it on a hot, summer day, but that's a whole different maintenance than replacing rotted vertical pieces of the deck, so. . . .
I'll amend and add to the post as I get past my lazy.
By the way, my butt has been dragging for a long time. I started taking B12 (liquid) again and am finding myself with energy I thought was long lost.
Yep - glasses, ear muffs and a mist resistant 90. A whole lot of mist come off that grinder-polisher. Yo
Brace photo issue solved (thought I had some for the before shots, but must have been thinking before for my first coffee).
Interesting, on the conduit, though I rode them many times, one detail I never noticed was, some of the ferries going between Seattle and Bremerton had braces on their railing like what I installed too. They are wrapped in caution tape to warn of the trip hazard.
Yep, getting new neighbors. They're from about 2-1/2 hours out of town, so the green building can double as my office- sauna (gotta figure out where that smell is coming from though) while there away.
As I mentioned, as long as I was cutting up granite discards from a counter top fabricator, I figured I might as well doll up the 4x's of the dog run and add years to their life via way water proof caps.
As of the time of the photo, only three of the caps had their edges polished.
Petey, the whitish, long stuff is granite from the trash pile of a local granite fabricator. It was free, only required [a lot of] elbow grease and will outlast me and whoever ends up with my house.
In the past, I used my variable speed angle grinders to profile and polish the granite, but I lucked out and got a Flex polisher with all the water attachments already on it.
Not counting the 4x4 caps for for the doggy "swamp," I had about fifteen or so pieces to do. I butted the composite tops to the granite and caulked everything, so water invasion shouldn't be much of a problem.
All the composite was attached using table top clips that slipped into slots made with my biscuit machine. Everything feels solid. When the caulking between the composite and the vertical 2x's is done., it'll be even more solid.
Got the rest of the winter to decide how to hide the angled pieces.
House has paint and the railing too. It'll be a day or twenty before I start tackling the deck.
Will go with composite with hidden fasteners, in keeping with the idea of avoiding any wells where water would collect.
Will be adding flashing at the house because the guys who build the deck tied it directly to the house.
Before anything goes down, I'll be smearing something akin to Henrys, for roofing, so all the water running off will not soak into the tops of the support 2x's.
Yep on the awning. Except it will be structural, because of the winds here. The over hang will knock the hot summer sun down in the summer, but it can still shine on when it drops for winter.
Actually, we want to build new interior stairs on that side. Ones that will hit a landing and double back. Then, we'd have to add a hallway, to allow us to access the other bedroom.
Since were going to that much trouble, we'll add a small office and hobby room (office up and hobby room down). When we sell the place, they could pass as bedrooms.
This add would accomplish a great thing that has driven me nuts about this house from day one - the bathroom is off the front room. It is not the place for a Taco Time event, when you have company.
The add would allow me to move the throne to the opposite wall and to convert the window to a door accessible from the addition.