
Dark_Lightning
in almost 12 years
More from Dark_Lightning
QSWO Entry Table Repair
The Other Steven
23 Comments
Note that if the ring on the left does not come off while stripping the finish, it is may have been caused by someone putting a steel can on the top when it was wet. You may have to use some oxalic acid to get rid of the ring. If you are sure that it is not veneer on the top, you may be able to sand it out.
As for repairing the joints, can you see any old glue residue? When you wet it, if it turns sort of sticky, it is hide glue. If not, you may need to completely take it apart to clean old glue off. If it is hide glue you can probably just put some more hide glue in the joint and clamp it together. Personally I usually try to make repairs like that with hide glue if I can. It is not necessary to use hot hide glue. Old Brown Glue or Titebond Liquid hide glue will work just fine.
--Nathan, TX. Hire the lazy man. He may not do as much work but that's because he will find a better way.
Corelz, I don't have a scraper plane, but I do have scrapers.
The Other Steven
If it looks like it is varnished, I would probably try something like Murphy's Oil to clean the surface and then simply apply a paste wax.
If it not shellac, lacquer or varnish, you could simply try applying tung oil, pure BLO (no varnish) or maybe Howards Feed and Wax, just to freshen the finish. Experiment on the back side of a leg or an inconspicuous spot to see how it looks.
--Nathan, TX. Hire the lazy man. He may not do as much work but that's because he will find a better way.
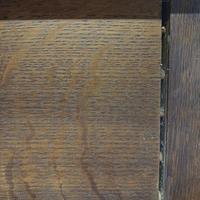
It may have veneer on the legs, or could be Quadralinearly sawn. You should be able to look at the end of them to determine that.
Veneered
Quadralinear posts
Finish is likely Shellac based, so alcohol used in a hidden spot will tell you how easy cleaning the wood up would be, usually it is fairly easy. Bringing it down to bare wood will offer you the best redo, and you can more easily lock those joints together so they don't have that gapping.
A weekend and you could have a beautiful piece, plus once it's done you will look back at it as a fun process where you get a look back at older construction methods, and products, so learning will happen. Funnnnn. :-)
I'd thing it wouldn't be too difficult to break down to individual pats/assemblies and rebuild/finish.
Of course anything you do will take away some of the character.
I faced the same issues with an old family desk that had been repaired in everyday possible, right down to nailing everything.
The owners didn't car so much about the "originality", they just wanted the desk to be presentable.

Impervious to DNA, so some petroleum distillate is my guess. I'll go out and hit the top with DNA and see how it comes out. If it cleans up nicely, I may just put on a sheet of plexiglass or maybe tempered glass, though glass would cost more than the table.
Water dissolves the glue, so it's hide glue.
I'm not sure that I want to completely dismantle it. The gaps are big enough to dissolve the old glue with Q-Tips and water. It's going to sit against a wall with my desktop computer on it. I hope- I haven't checked it for clearance with a chair in front of it. Might not be ergonomic enough.
The Other Steven
If it is hide glue but not shellac or lacquer, but it looks like it is not just a basic boiled linseed oil type finish, it may be some sort of varnish made from pine resin as was done before the synthetic resins became used. If you do not want to strip off the old finish, I would probably just clean it and see if a paste wax will freshen it up enough for your purposes. I have never tried it but I have read that a dewaxed shellac can be applied over old varnish. I've used Howards feed and wax to revive really old finishes that I do not want to strip too but it is not my first choice as it can take a while to dry and it does not really replace missing finish.
--Nathan, TX. Hire the lazy man. He may not do as much work but that's because he will find a better way.
The Other Steven
The Other Steven
https://www.acehardware.com/departments/paint-and-supplies/tape-glues-and-adhesives/wood-adhesives/10796?store=16668&gclid=EAIaIQobChMI17OZgJahgQMV9RetBh3QcA7yEAQYAyABEgJv3_D_BwE&gclsrc=aw.ds
The Other Steven
Note that if the weather is on the cool side, it can become thick and gel-like. Just fill a cup with some hot water from the tap and submerge the bottle for a few minutes to re-liquefy it. Warming it a little like this can give you a longer open time and make it flow better even when its not cool. I actually keep my liquid hide glue in my shop fridge to extend its shelf life so when I want to use it I usually have to warm it up. After it sets, you can clean up squeeze out using water (I usually use warm water) with an abrasive pad. Just use a towel immediately afterwards to dry off the wood.
--Nathan, TX. Hire the lazy man. He may not do as much work but that's because he will find a better way.
The Other Steven
Used an oil soap and Lemon Pledge to remove the dulling film from everything but the top.
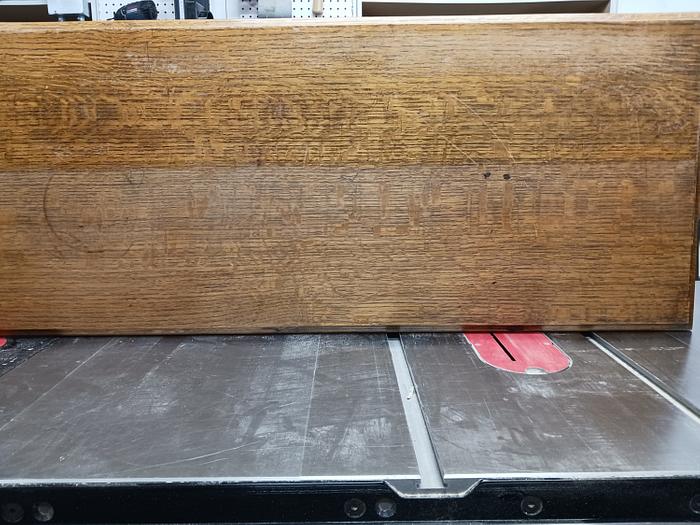
Sanded to 220 to remove scratches and the circular stain. Stained with Minwax Honey and Jacobean stains mixed 50/50. That got the right amount of dark and the tinge of red. Applied two coats of Minwax oil base semi-gloss varnish. I should have also bought satin varnish; that was probably a closer match to the rest of the table. If I get tired of it, I'll knock the sheen down a bit with some Scotch Brite once the varnish is good and cured.
I'm quite pleased with what I have, for $43 and change. Well, glue and stain and varnish probably bring it to ~$100.
One thing bad- I told my son not raise any dust while the varnish was drying. Then I hear the garage door (rollup) opening but got there too late to stop it. He didn't think that the inside of the garage door was dusty. 🙄
My "shop" is a small section of a two-car garage, and there is dust everywhere. Oh, well, it sanded out. It is sitting in my "carving area", which used to be the dining area. I laid 1/4" AC plywood down to protect the laminate floors. At least I have a small bit more room to do the big stuff with the carving bench out of the way of the table saw...and I have a conditioned space for carving, now. 😁
Like every picture I've ever seen, this photo does no justice to the figure.
One thing left to do would be to put some HDPE strips on the bottoms of the drawers so that they will slide better.
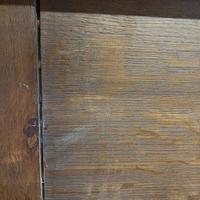
That dark spot on the left side about 1/3 from the bottom edge of the picture appears to be stain from manufacturing, as the table appears to had nothing but use and cleaning in its life. I didn't bother to take it all the way off, just did some smoothing.

The Other Steven
The Other Steven
--Nathan, TX. Hire the lazy man. He may not do as much work but that's because he will find a better way.





.jpeg)