This article was written at LJ on 7th. Dec 2016… long before gender dysphoria became the fashion… as can be derived from the projects introduction... however the rig is still being used in 2024.
While I very much doubt there will be an influx of people rushing out to buy a small hand scanner to scan blueprints and rush around making this non-pocket sized jig, I’m hoping it may give some ideas that may be incorporated into other projects.
The model is available for viewing in the 3D warehouse for anyone interested,
If for nothing more out of this post, suggest you check out the link to Matthias Wandel's gearmakerat the bottom of the project.
As with my previous "Wheel kerfing jig" I was in two minds whether to publish this article as it is primarily centered around laser cutting (or one of those radical CNC machines). The missus advised me against it so while her back was turned, I took a couple of XTRA-strength brave pills and here it is.
While the subject name was tongue in cheek, it could be more closer to the truth than I could have possibly imagined, especially if I costed everything accurately and included my time (and the vinos partaken there off for inspiration).
Prelude: The missus, being an avid reader, bought a book scanner on a bargain basement special at some sort of a shoe sale on the Internet. She was a bit disappointed when I informed her that the book (or the resultant scans) still had to be physically read to memorise their content.
Lo and behold I inherited a book scanner. As some of you may know, I hate reading and as it would be too difficult to convert the scanner into a harmonica and far too short for a fishing rod, I quickly realised it was not going to be of much use to me.
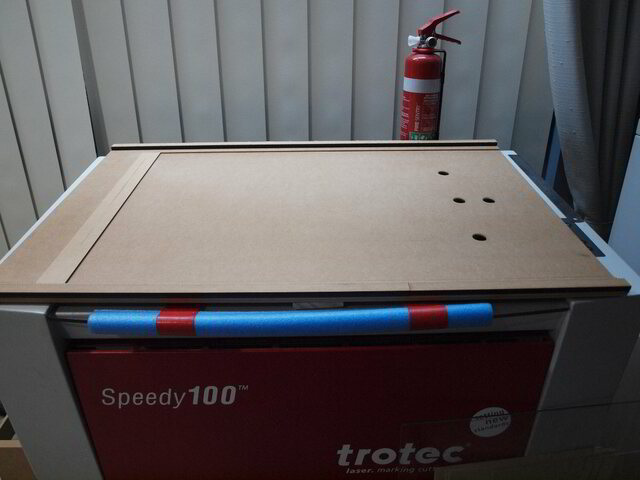
Now to backtrack a bit… My SketchUp diagrams of T&J models don't just miraculously appear (unless one considers me a miracle… close friends insist that it's a miracle I'm still alive… but that's another story). I used to scan the A2 blueprints in 6 passes on an A4 multi-function scanner. The scanning, properly orienting the image and stitching of the pages was not an issue, however, folding the A2 page into 1/6th. parts and providing sufficient overlay for the stitching process, was. It was both time consuming and mangled the pages with copious amounts of unnecessary creases.
I realised my time was too precious, so I began to outsource the scanning to one of our local office supply outlets as I saw some economies in $1.30 (or so) per page scans. Unfortunately if you get greedy like me and buy 6 or more plans at a time and find that there could be as many as 9+ pages per plan, you soon realise that the $1.30 can get a tad more expensive than expected and makes a dramatic inroad into my vino casks' budget.
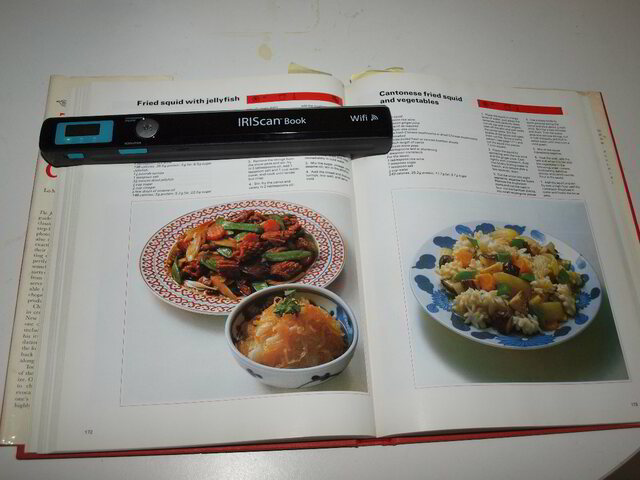
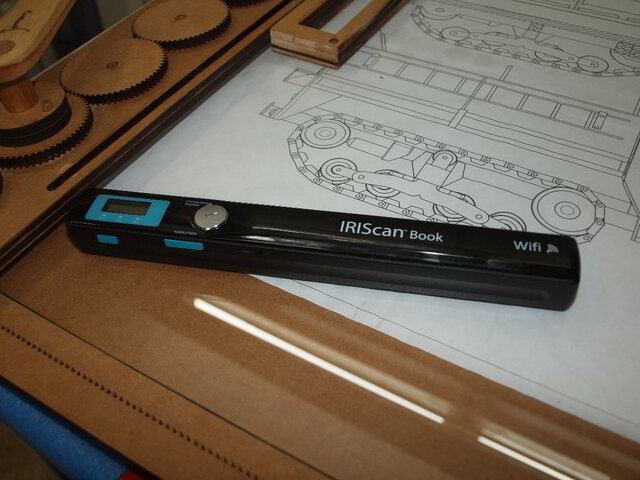
Back to the present and the book scanner. With the outsourced costs in mind I thought I could probably use the book scanner on the blueprints in 2 passes with less stitching and no 6 part folding.
I did a pilot exercise using a T-square for proof of concept and was quite enthused by my initial findings.
I thought all I needed was to somehow position the scanner on the square so that it could be adjusted (up and down the page), and consequently as SWMBO had already expended the cost of the scanner, I will save a few shekels in the cessation of my outsourcing process (and the time and petrol to drive 25K there and back to the service provider).
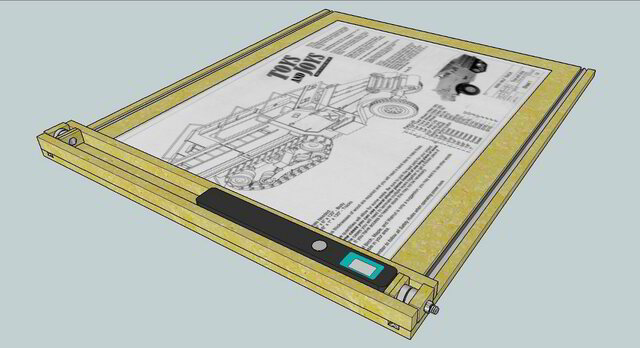
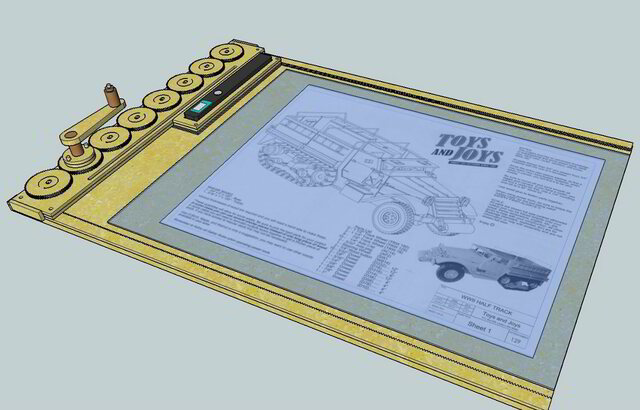
Hit SketchUp and came up with this "initial" design,
which quickly progressed to this,
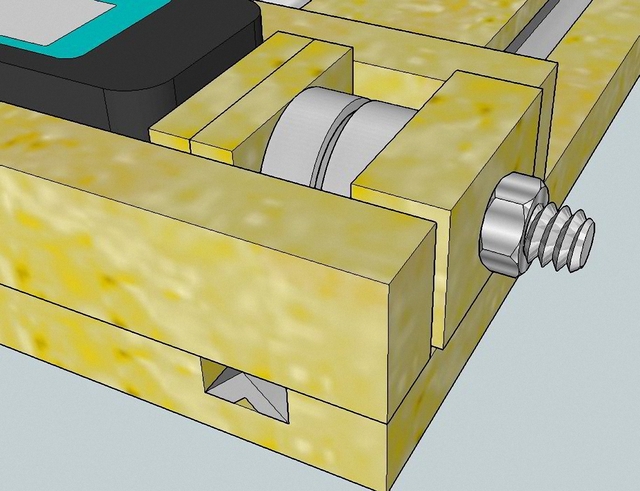
However, that design called for 4 bearings which I thought that was way too extravagant,
so I came up with this much more ridiculously complex design…
but it only used 8 bearings…(DOH!)…
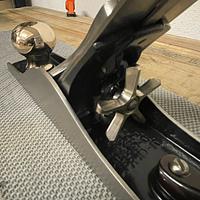
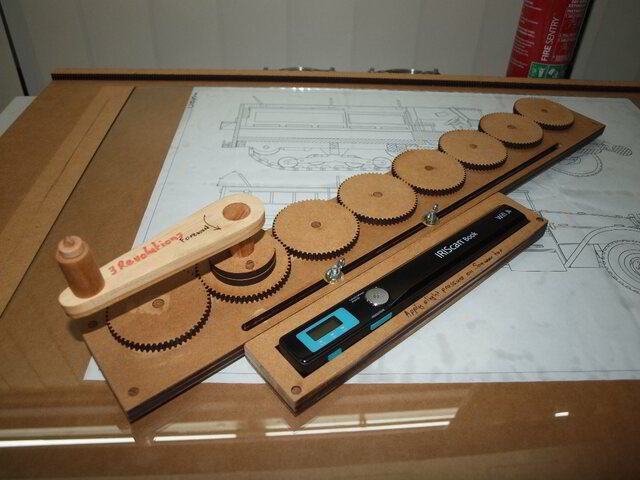
Nevertheless, it employed rack and pinion gears and as I went to the trouble of learning how to spell and pronounce that, I stuck with the design.
It was then a simple case of exporting to the laser and cutting it. Discretely positioned dowel alignment holes made glue-up a breeze.
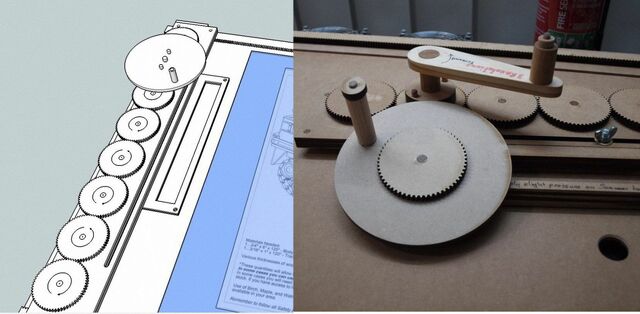
I initially designed a circular turning wheel,
but then found that a lever was more efficient. I played a few trial and error scenarios
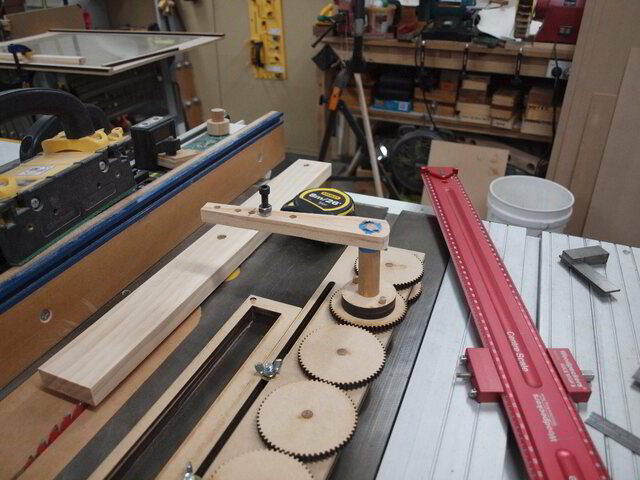
before I found the sweet fulcrum spot. I preferred this as it was the one part of this jig that had to be made using conventional woodworking techniques, which permitted admission of this article into the Lumberjocks family of projects.
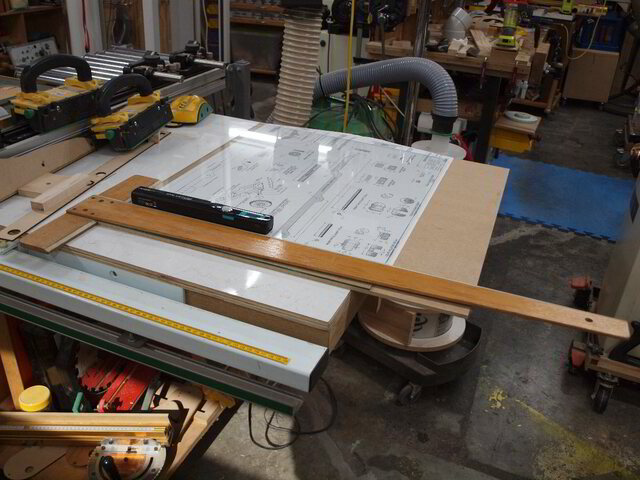
The following are some more pictures of the jig (and scanner) in action, obeying all my instructions to the letter.
Set the subject,
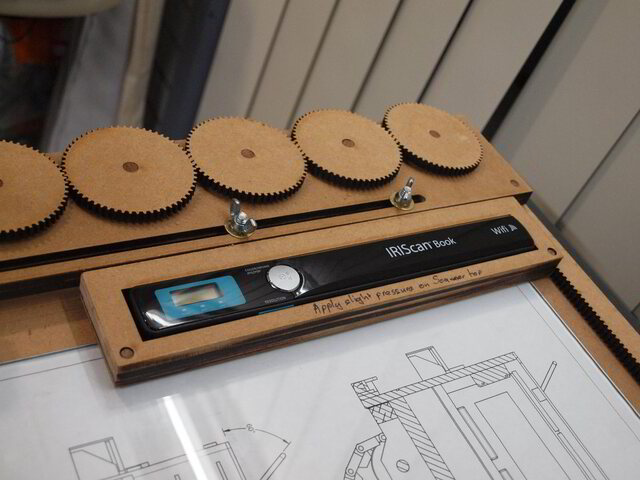
Get the jig and oil the moving parts… (just kidding… but you MUST still get the jig),
Ready the jig and start cranking,
the off to the PC,
with scans in hand.
I did goof though as I needed to make 3 passes to get a viable stitched finished product, however, it still save me 3 scans (and associated stitches) and eliminated that bleeding 6 part folding of the blueprint which always reminded me of those tangled hoses in those adds advertising some sort of crappy new revolutionary products on Info-TV at around 2:30am.
As this article is about scans, it is prudent to include some happy-snaps of the subject matter. The following are the 3 scans and the stitched product. You may not see the detail but as I already had the JPEGs, I decided to included them.
1st. pass,
2nd. pass,
3rd. pass,
Stitched…
I made a shortish video of its operation. I consider it somewhat "short" but that's not because I couldn't think of a lengthy BS narrative or shortage of film, but rather the missus informed me that I had utilised most of my monthly "free speech" quota with my other non-silent videos.
And again, anyone still interested, newly interested, or re-interested in making wooden gears (in general), here is a good starting point. I must have been smoking something, so please don't cut them out of "solids", as I incorrectly stated in my video, unless it is a two toothed gear along the grain…
If your first cut is too short... Take the second cut from the longer end... LBD
Pure quackery, but what else would one expect from a LBD? 🤠
Gotta say building that is pure determination mixed with genius. Avoids all the optical distortions from a photo and ready for processing into useful bits for turning a drawing into reality.
Given the drill press thread, planning on adding a drive for a drill motor?
The primary premise, amongst all the countless major premises, for posting this here is to spruik Matthias's gearmaker app. It is one of those items that I find included in more projects than I have envisioned. Well worth the few shekels it cost... and it may contribute to getting him a haircut (just look at his videos).
SplinterGroup .... Given the drill press thread, planning on adding a drive for a drill motor?
You had to mention that... major failure... too gutless to post my results till I get my Voyager fixed.
DT, the geared version of this, non geared below,
was way too complex to what I initially envisioned. While the title may sound confusing, I reckon I invested way more than $200, when I cost time and failures to create a "$50" scanner. At $1.30 per professional (Officeworks) scan, I'm only about $337.70 in the red.
If your first cut is too short... Take the second cut from the longer end... LBD


.skp%20-%20SketchUp%20Pro%202016-001577.jpg)
.skp%20-%20SketchUp%20Pro%202016-001575.jpg)


.JPG)