I hesitate in dragging across my projects/blogs from LJ, however, any excuse will suffice and whenever I hit a post here at Craftisian that makes me realise I’m not the only “bunny” venturing down a particular rabbit hole, I find myself subjected to a subliminal commitment. Pottzy mentioning his interchangeable ZCI for his DeWalt Miter Saw’s throat plate was the catalyst I needed.
If you don’t own/plan a CNC/laser in this life (or even the next ½ doz.), it may not be meaningful, however, if you feel that every project might have at least one hidden opportunity for potential future inspiration, attempt to read on.
I apologise as I am determined to migrate projects across ASIS and consequently blatant mistakes made in the first publishing on the 5th. May 2021 on LJ, remain blatant.
As I remember it, because of the detail, I do get into the nitty gritties and I remember making a mounting jig for the jig… the explicit reason eludes me momentarily (it was back in the C19 hay day) and I reckon after re-reading and watching the videos it’ll all come flooding back… but like with any floods, we’re all slack in the clean up, so this bit of text will remain whether applicable or not.
It seems like I have been video active and made several than can be viewed here ,
ZCI is an acronym for Zero Clearance Insert, however, consider yourself
pardoned when I say "ZCI Insert" and you accuse me of stuttering.
While toying with some comments on ZCI, Marpel enticed me with this titillating comment, "… rather than replace the full zci, the hardboard strip could be slid out and a new one inserted… ", … to me it was an,
an open invitation into action..
Took up the gauntlet and the inevitable happened,
which eventually rolled off the production line,
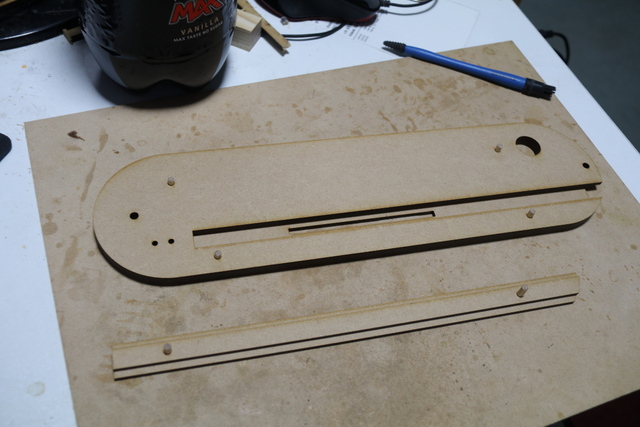
Using my dowel alignment lamination technique
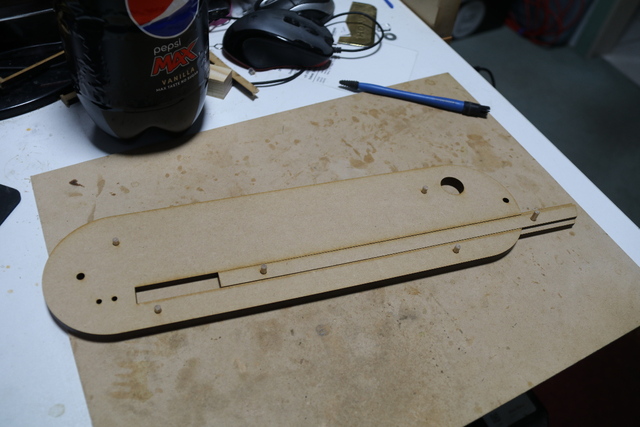
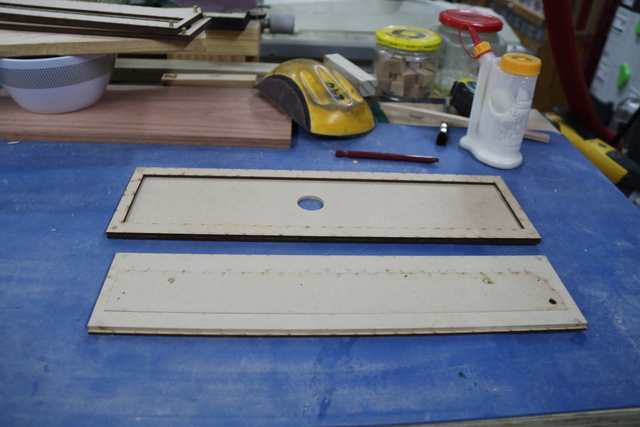
created a "2 part" ZCI (compared to my standard ZCI),
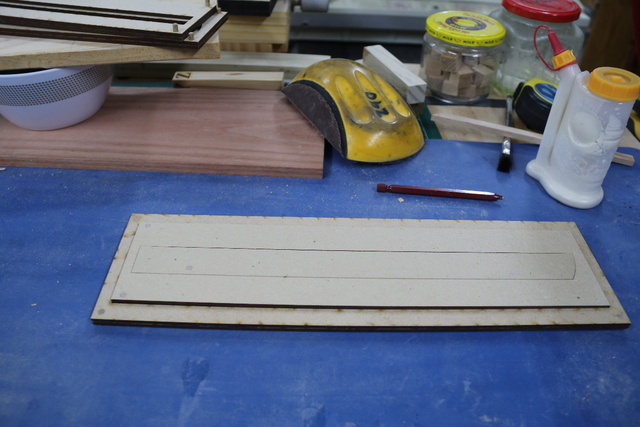
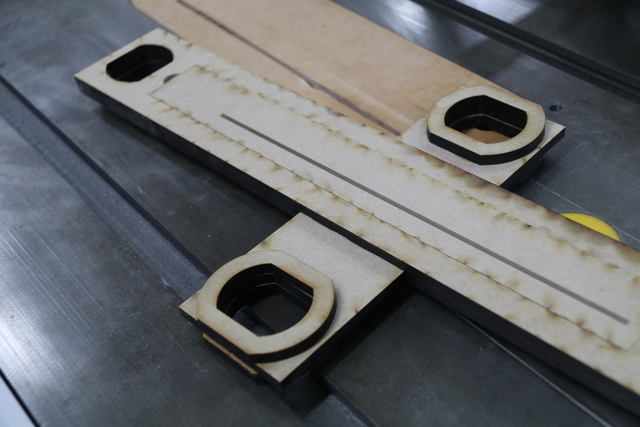
The slit in the bottom layer,
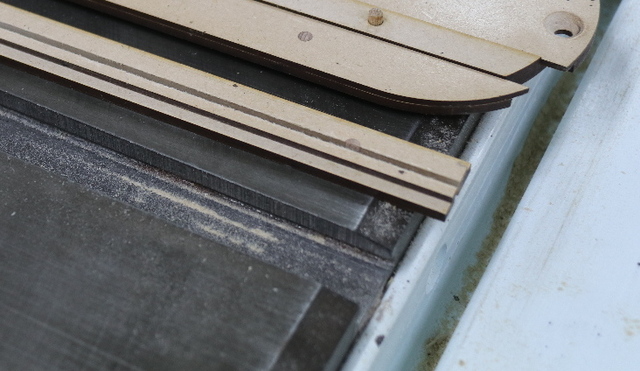
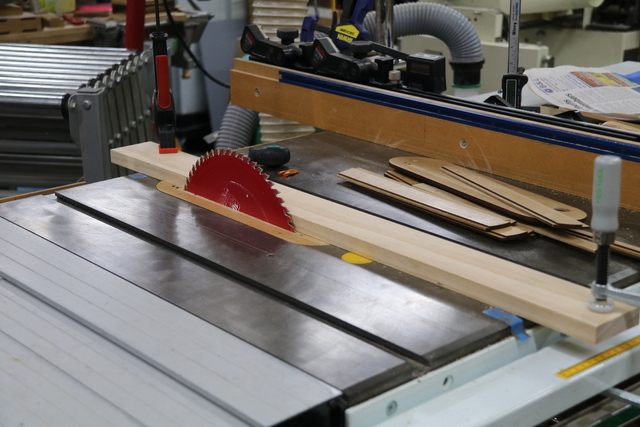
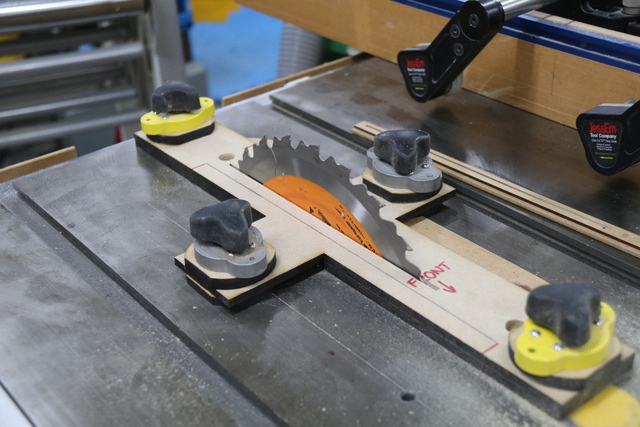
was cut out so that the ZCI could be placed in the tablesaws throat to "fit over" the saw blade at its lowest point.
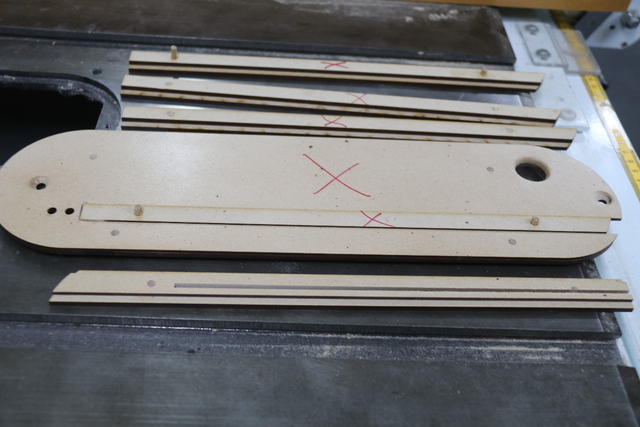
Cleaned it up (more later), locked it in and raised the blade…. Oh crap… the raised blade split the back of the insert letting it flop loosely,
Tried to salvage the ZCI by extending the insert slot and doctoring a new insert so it could be extended past the back exit point (leaving a gap at the front),
Unacceptable… and this version was quickly red crossed.
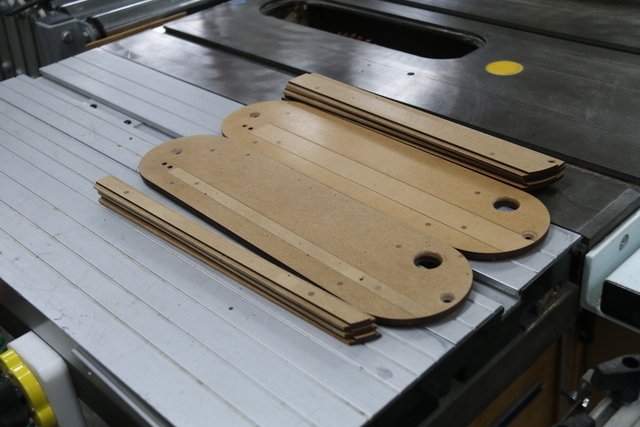
Back to the drawing board and extended the insert so that there was some substance at the end and the exercise was repeated, Let's discuss some of the details in the build.
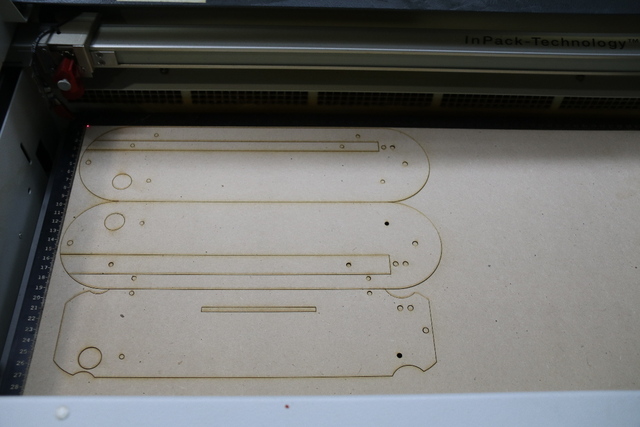
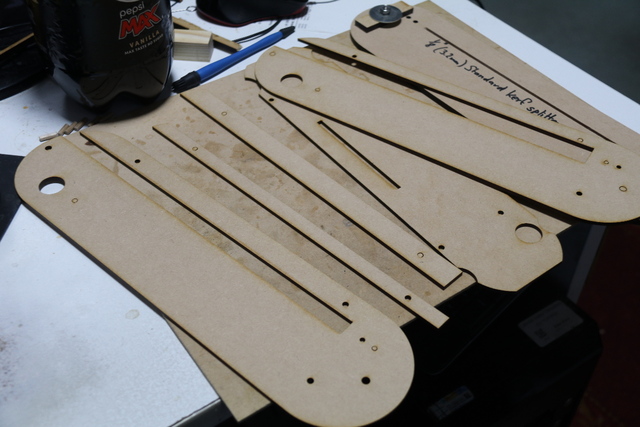
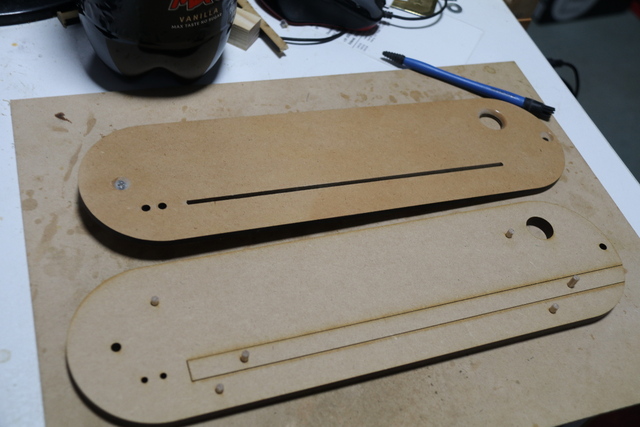
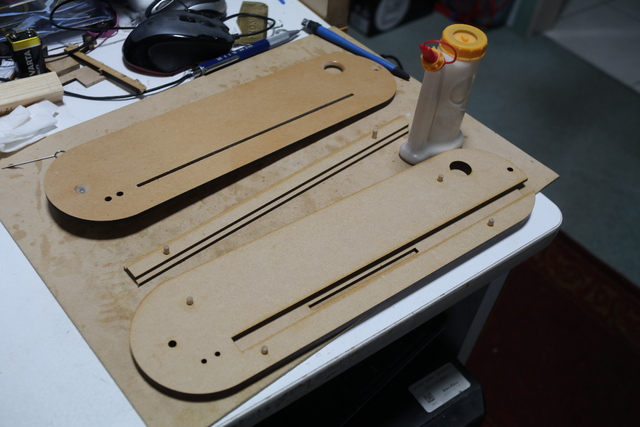
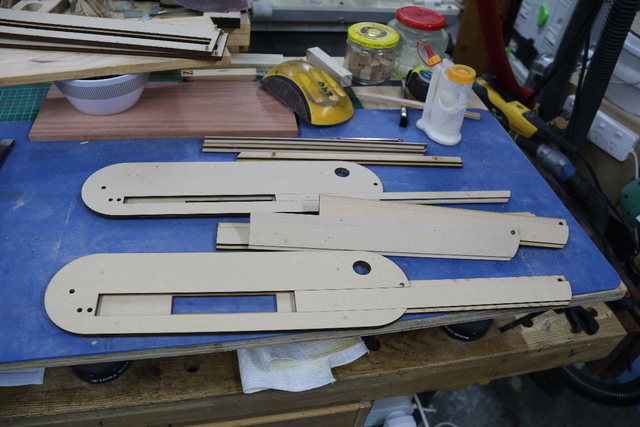
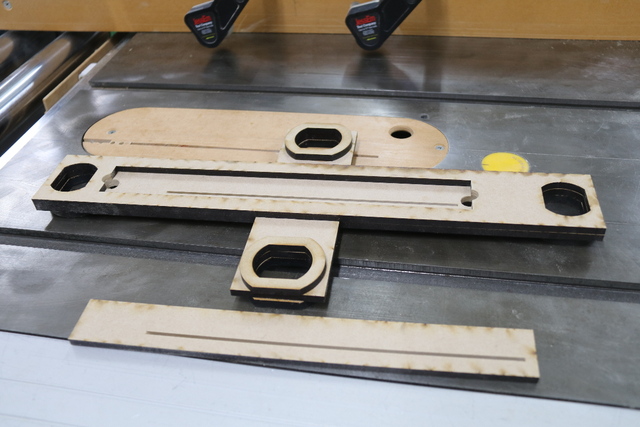
I made two versions,
1. To accept standard blades ranging from 1.7mm to ¼",
2. To accept dado stacks (up to 7/8") and standard angled blades,
Along with the above two plates, I made several inserts for each.
The dado width allowance had to be curtailed due to the position of the front anchor. After assembly, I concluded that drilling through the insert should not be a problem, so the next version (if required) will accommodate wider dados.
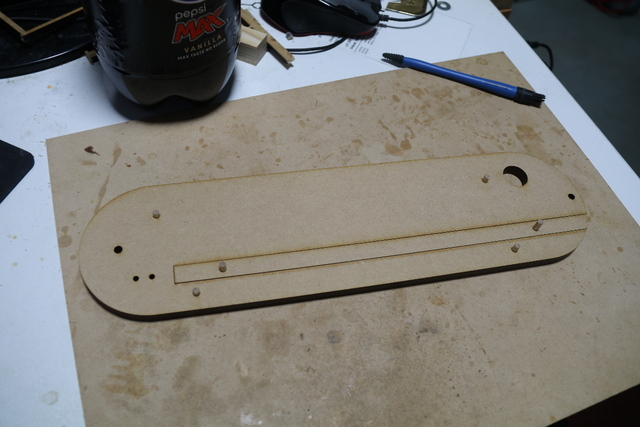
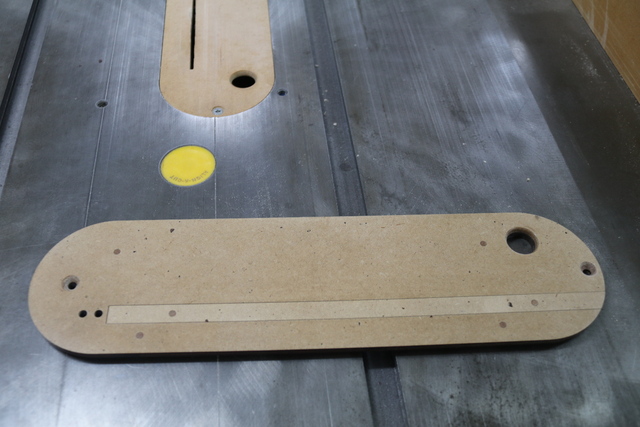
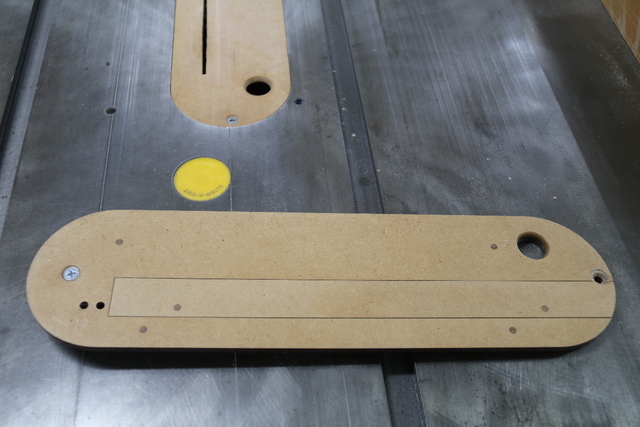
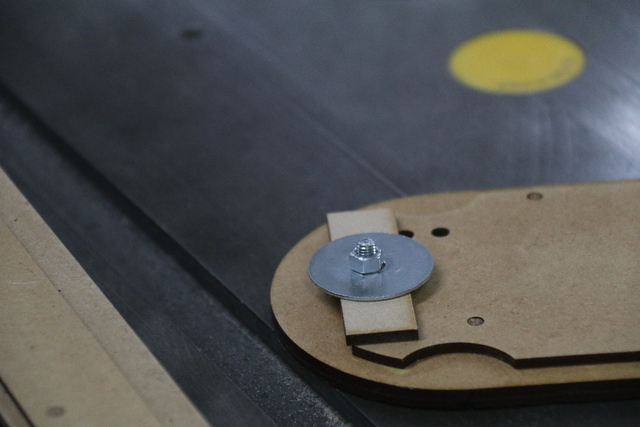
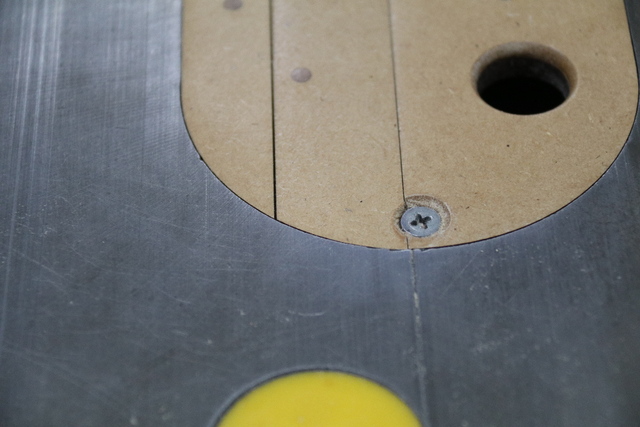
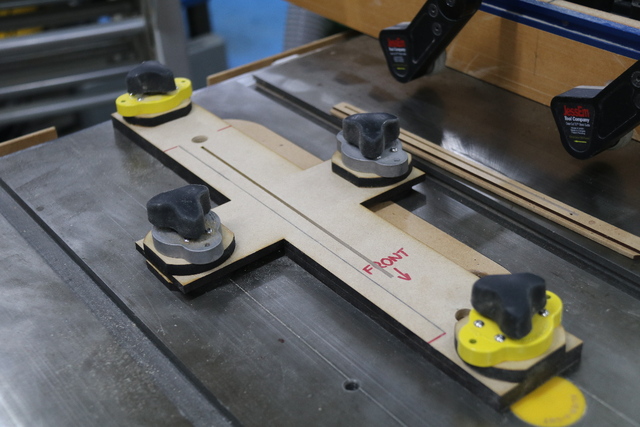
The ZCI plate was anchored at the back by the use of a fender washer,
and the standard countersunk bolt anchor at the front,
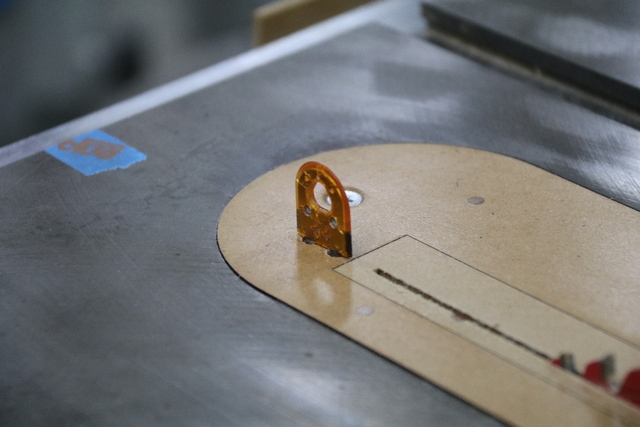
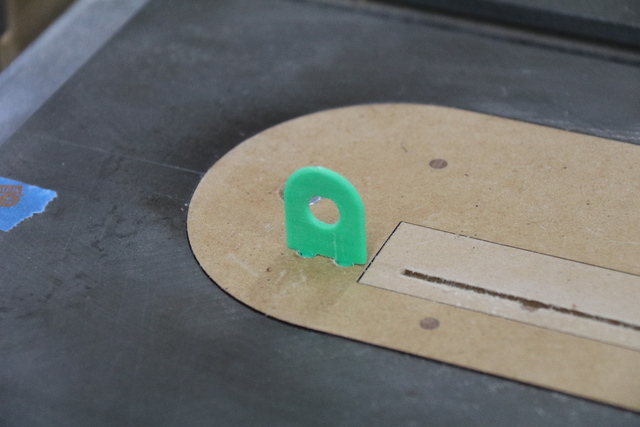
You may notice the finger hole and the don't drop that bloody screw "mushroom" plug,
to prevent this,
it's not a big hole, but a bloody small screw…
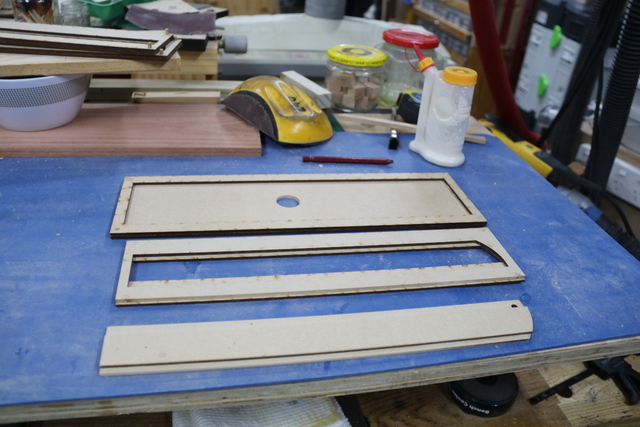
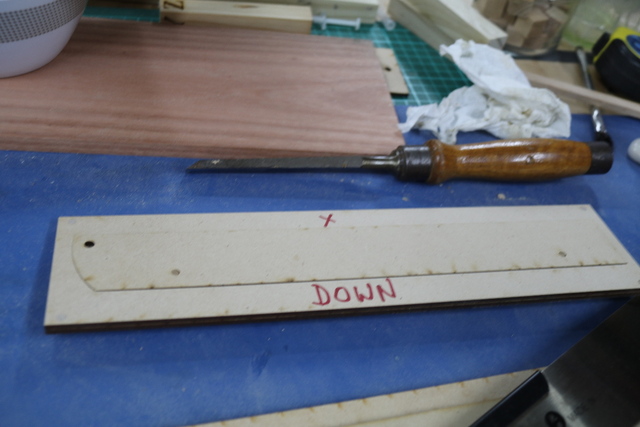
Because extra inserts need to be made and I didn't want to use the ZCI as the vehicle to feed it through the drum sander (as for the initial thicknessing), I made this jig up
that is the same thickness as the ZCI plate… and trust me, it renders the correct height for a new insert to get slipped in and be flush with the tabletop.
The jig was also used to give a better reference for flush cutting the alignment dowels and a larger level sanding surface,
I had to mark the down side of the jig,
as wrong orientation through the sander thins out the slider part of the insert. After stuffing up twice, writing "down" was easier than making new jigs. The jig was also used to buff the top face of the inserts,
The parts were tunged and then buffed to a smooth top finish,
The large kerfed one (1/8") was clamped down, though clear of the blade, and the blade raised,
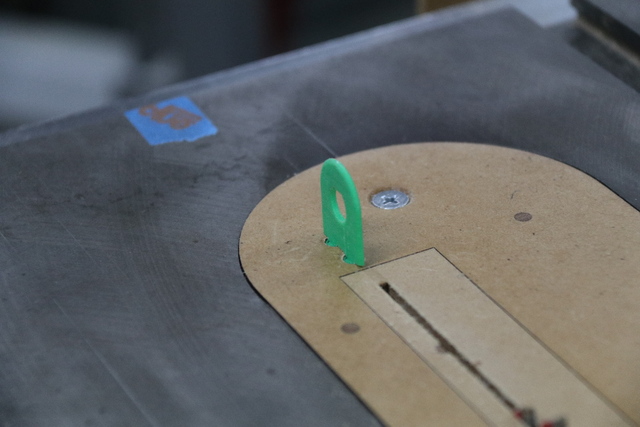
and after removal of the "clamps", the MJ Splitter inserted on the insert,
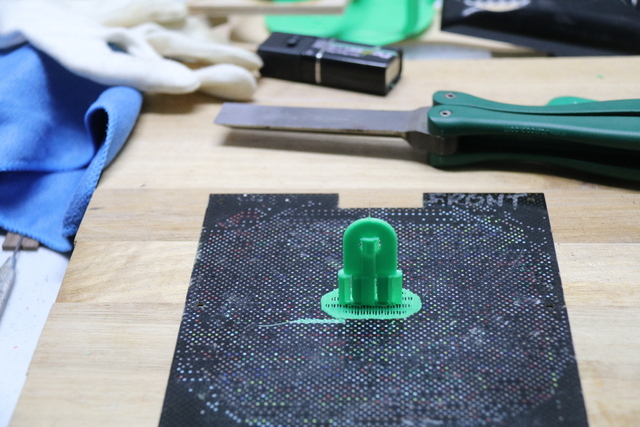
Though still experimental and not tested for durability, I 3D printed some MJ Splitter look alikes for 1.7mm kerfed blades,
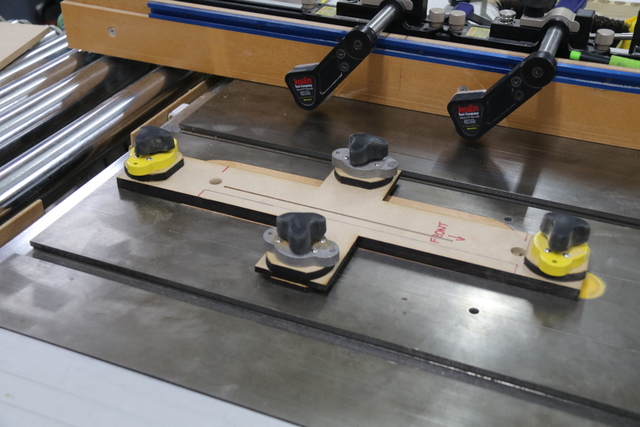
I was happy to wrap up this exercise, however, the tear out from raising the blade, though minimal, annoyed the crap out of me. After a restless nights sleep and hesitation to sacrificing a board, I came up with a jig to hold a ZCI for the ZCI while raising the blade and not waste usable timber (albeit pine). The jig held down another smaller insert,
and held "flipside" to the tabletop using mag-switches,
The blade came up throught the ZCI insert and the jig without any tear out,
a completely successful exercise.
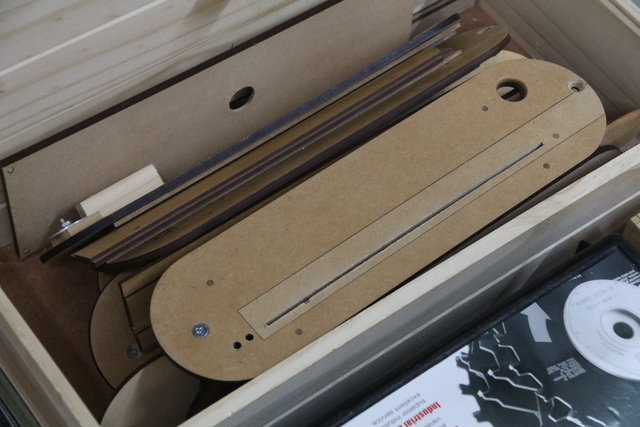
Unfortunately, having fuctional pre-existing ZCIs, these new versions were deposited in my archive store house,
to be resurrected as soon as I stuff up the current 5 year old one… hmmm?
Again I splurted through another couple of animal nightie video. Due to complaints by viewers that kept running out of beer, I have split the video into Part 1 and Part 2. They were followed up by an extra (Part 3) about the ZCI for the ZCI Interchangeable Insert.
The hero of this project is the concept and not the laser. If you're already guilty of making your own ZCIs, this should be doable with conventional tools in case you happen to have misplaced your laser ot CNC.
Keep safe, jocks... and your jocks, safe!
---------------------------------------------------------------------------------------------------------------------------------------------------------- Next post day after thought.
A dovetail sliding insert could be a viable option if making with conventional tools out of solids.
However, in MDF, I believe my two piece laminated insert is more cost effective (time is money) when I consider accurate router setup vs. glue up…
I can imagine issues if the dovetails are too lose or too tight.
Proof is in the pudding, however, I do not plan to visit the kitchen soon… except for eating… and casko-vino replenishment.
If your first cut is too short... Take the second cut from the longer end... LBD
well glad that i inspired you ! on my old saw i had an anodized throat plate that excepted replaceable inserts like yours ducks. loved it, precision made. i believe it wwas from infinity tools also. sadly this italian saw i have now doesn't conform to anything ! so i just make mine from oak. you did a hell of a great job detailing your whole process. i wish i had the patience to read it all ! so instead i just made a bunch of solid ones for different blades and angles. nice wright ducks !
working with my hands is a joy,it gives me a sense of fulfillment,somthing so many seek and so few find.-SAM MALOOF.
Thanks pottzy, you've done well with yours with "traditional tools"... I started with a one piece, but with my body beautiful I've migrated to a bikini style two piece.
This is made predominantly out of 3mm MDF and that is why I encourage all laser owners or potential ones, to upgrade/buy one capable of 1/8" timber cuts... should still be in budget range. 3mm (1/8") MDF/ply can be laminated into any thickness you choose.
Unfortunately throat plates vary as often as most lumberjocks change theirs (jocks). While I couldn't possibly charge to make a buddy a set (the MDF would be probably be less than $5 Aus... which would be nearly 1/2 US$), however, you'd need to sell one of your houses (or all 4 cars, or mum get 3 extra jobs) to pay for the shipping.
If your first cut is too short... Take the second cut from the longer end... LBD
Brilliant idea (and execution), LBD! Your ZCIs are very efficient in terms of both materials and time-to-swap,
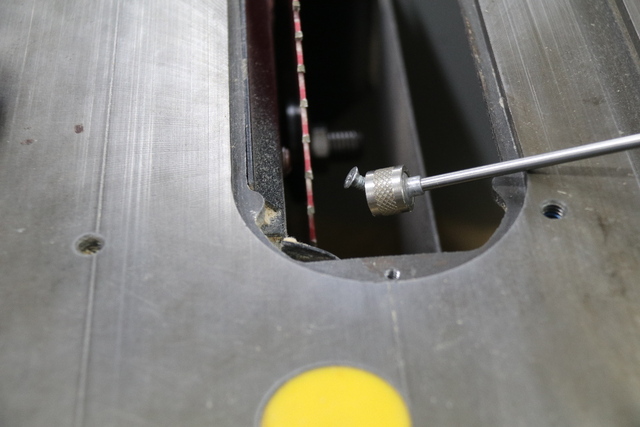
When I got my Grizzly G0899, I knocked together a few inserts from some plywood scraps. It was a pain because of how close (around 1/8” or so )the little mounting ears are to the top of the table. I didn’t route the thicknesses of my inserts exactly the same, so I have to re-level them with the grub screws every time, which is a complete waste of time. Something like this, or something similar that uses replaceable strips with the stock metal inserts, would be a huge improvement. (I saw something similar to the latter in Pottz’s table saw thread.
This is a good idea - so much better than mine made form 1/2" UHMWPE. If I do this I would immediately make a ZCI insert for 45 degree cuts. I have the MF Splitter (a newer model with 4 holes) and really like having them.
Almost 30 years ago I was at a Woodworking show, predecessor to "Thee Woodworking Shows", up in Columbus, and they had a Betterly tools booth. Back then my TS was a PM 66, and I became the owner of a "Tru Cut" insert for it. Since Betterly tools have been in my shop and currently I have one in my General 350.
They offer the option of selling you insert blanks, or you can easily roll your own. They require a slight angle, and 1/4" hardboard, or MDF, Ply can be used.
They also allow for use of the guard that comes with the saw, pretty slick. For the smallish amount of $$$ they cost I let them do the heavy lifting, the aluminum frame is a perfect fit, plus they have a leveling system that is much better than any saw manufacturers.
Similar to the miter saw setup Larry showed they have sets that fit currently just the Kapex. But there I find the cheaper FasCap tapes get me a ZCI opening that works well for the rough cuts I do on my chopper.