Dave Polaschek
in over 3 years
More from Dave Polaschek
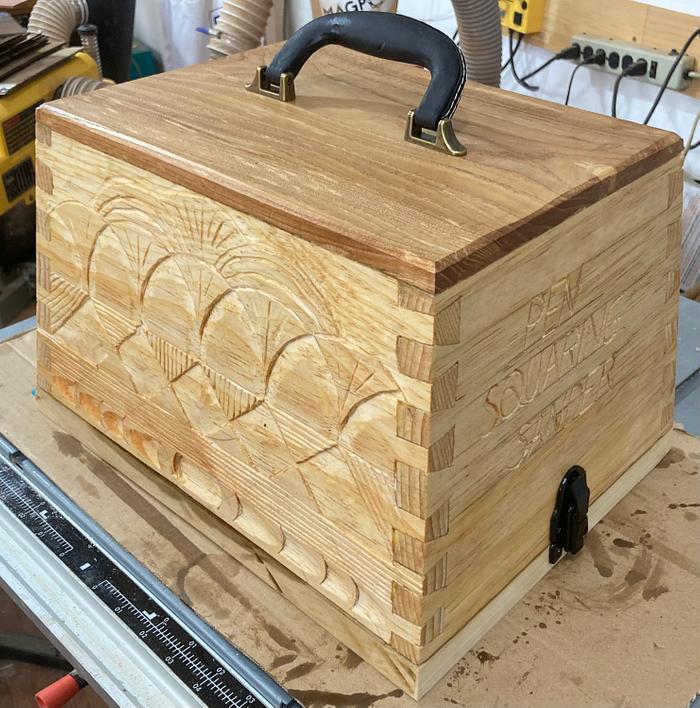
Storage box for pen squaring sander

Construction is pretty simple, but I tried a few things to practice them. The sides and ends of the box are angled in at a 7.5°︎ angle. The dovetails were otherwise cut as normal, which worked fine, though I appreciated having made the sides from pine when it came time to fit things together, as pine will compress a little which makes inaccuracies less of a pain.

The bottom of the box is some poplar I had on hand. Had to glue up some boards to get the right shape, and then I added cleats to hold the sander in place.
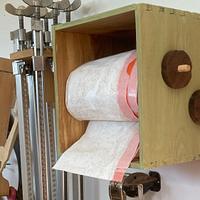
The top of the box sits over the base and the sander, and I will be attaching the sander to the base once I’m certain that’ll work. I’ll also be building storage pockets into the cover of the box to hold things like spare sanding discs and the adapter so I can connect the sander to the dust collector.

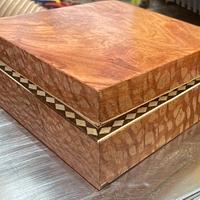
Finally, I did some practice carving on the sides of the box. Nothing super-fancy, but it felt like I needed some practice, and I know I found a half-dozen gouges that needed sharpening along the way, so it was a good time to do some carving.

That’s it.
I learned mostly from Ron Aylor, who was heavily inspired by Peter Follansbee, so yes, at a remove. I bought Ron’s Categories of 17th-Century Mannerist Carving years ago, and mostly refer to that, but I also have been reading through Mary May’s Carving the Acanthus Leaf and some of the details are things from her book.
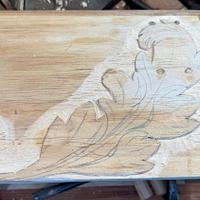
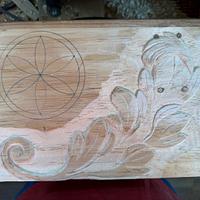
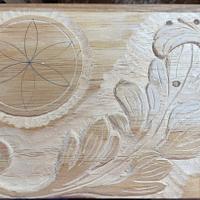
I’ve started carving an acanthus leaf on the other side of the box. Photos are above, and there are more words on my personal blog.
May you have the day you deserve!
20 Comments
Ron
working with my hands is a joy,it gives me a sense of fulfillment,somthing so many seek and so few find.-SAM MALOOF.
Handy arrangement with the integral base, acts like a dust cover when shelved.
May you have the day you deserve!
The Other Steven
*TONY ** Denver * ALWAYS REMEMBER TO HAVE FUN
"Duck and Bob would be out doin some farming with funny hats on." chrisstef
When my sweetie tells me that I’m building more things for the shop than for her, I tell her that the shop stuff is (almost all) practice for things I’m working on for her. Has the benefit of being the truth, too!
As for the carvings on the sides, neighbors who’ve been to my shop and seen the file till have commented that I have fancier shop furniture than they do home furniture. I just smile and say, “yep.” But given how much time I spend there, and how much better I’ve gotten at some skills by practicing on shop furniture, I think my plan is working.
May you have the day you deserve!
No name noobie here
Ryan/// ~sigh~ I blew up another bowl. Moke told me "I made the inside bigger than the outside".
I learned mostly from Ron Aylor, who was heavily inspired by Peter Follansbee, so yes, it’s the style of Peter Follansbee, but at a remove. I bought Ron’s Categories of 17th-Century Mannerist Carving years ago, and mostly refer to that, but I also have been reading through Mary May’s Carving the Acanthus Leaf and some of the details are things from her book.
YRTi, I’m interested to see what you come up with! Don’t be afraid to try stuff. If you carve the boards before building them into something, you can always put a failed carving on the inside of whatever you’re building to hide it. ;-)
May you have the day you deserve!
Cheers, Jim ........................ Variety is the spice of life...............Learn something new every day
Nice carvings. Plus you sharpened your gouges.
daveg, SW Washington & AZ
Like the angled carvings.
May you have the day you deserve!
May you have the day you deserve!


