Share your craft projects
Make new craft buddies
Ask craft questions
Blog your craft journey

BB1
3908 posts
and
36 followers
in over 3 years
in over 3 years
More from BB1
Box (trial run)
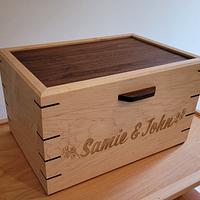
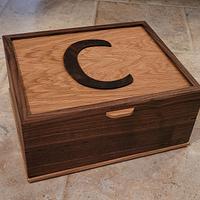
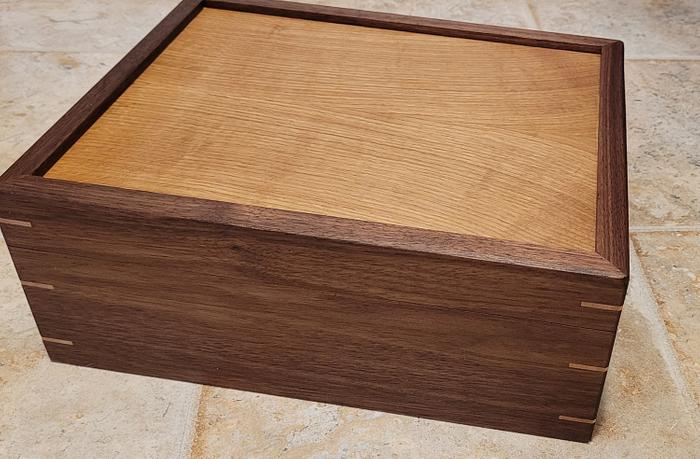
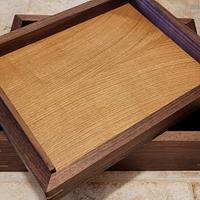
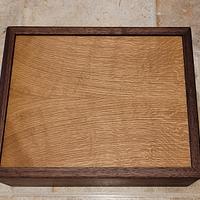
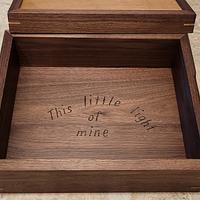
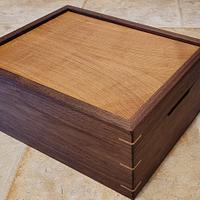
I had worked on a box for a friend, and then had a mishap with the glue up where I was concerned if the shift in the miters resulted in "too tight" of a fit (thus worrying about wood movement for the top and bottom). I started over and presented the box to her (see prior post). I finally went back to the "original" box and finished sanding and applied finish (Odie's). This is walnut with a white oak top. I had already done the wood burning (repeated on the box that was given to her). I added splines and then some thin boards to the inner ends of the top which would seat within the bottom of the box. Cutting the lid free is always a bit of a challenge and I must have shifted slightly as the fit isn't perfect. I also added finger holds to the side to allow easier removal of the top. I had to do this at my old router table as this is the project that my Triton ceased to function (note - I got it to work, but then last week it once again died...sigh!!). The walnut is pretty (more so than the pictures show) and the oak is a nice contrast.
Random pictures from the build and project
Random pictures from the build and project
10 Comments
I think this is a very nice box for all sorts of storage, good recovery on any defects!
Being a fan of white oak, that top panel has some really great flecking, I'm jealous.
The note in the bottom is generic enough that it can mean many things if you decide to pass it on. Could also be lined with a felt bottom.
Being a fan of white oak, that top panel has some really great flecking, I'm jealous.
The note in the bottom is generic enough that it can mean many things if you decide to pass it on. Could also be lined with a felt bottom.
nice box barb, id say you did pretty good !
working with my hands is a joy,it gives me a sense of fulfillment,somthing so many seek and so few find.-SAM MALOOF.
Nice job on the box. You now have an experiment running to see if your wood movement concerns become reality...
Yes, it is a good looking box. In fact a great looking box, like the details and the wood.
Ron
Looks great! Nice recovery.
Ryan/// ~sigh~ I blew up another bowl. Moke told me "I made the inside bigger than the outside".
I can't see any flaws on here.
Splintergroup - thanks, I'm sure I'll find a use. Hadn't thought of adding a lining - not sure I'm confident in getting a good fit at this point with it all together. The only time I've done a covering, I imbedded it in the groove to ensure it would be secure.
Pottz - thanks! I do love the walnut and the white oak combination.
Steve - thanks, I've already been monitoring as the box was outside in my UN-climate-controlled shop. No apparent issues with changes in temperature/humidity so far. 🧐
Thanks Ron - I don't think it is possible to go too wrong when using walnut!
RyanGi - thanks, I'm guessing I'm overly worried about the "miter slip" in glueup, but better safe than sorry.
Corelz125 - thanks, there are flaws 🤫but I'm trying to get better about not pointing out all of them (haha...like the gouge when cutting off the splines or the rounding of the corners so the lid isn't a perfect match or having to "close" the miters with a screwdriver...you get the idea!).
hey the screwdriver is a "pro" technique barb, just shows you know what your doing 😁
working with my hands is a joy,it gives me a sense of fulfillment,somthing so many seek and so few find.-SAM MALOOF.
You can spray glue felt to some cereal box cardboard that has a loose fit. Wrap about 1/4" over the edge and get it to do a snug slide in fit such that the felt compresses on the edges but doesn't buckle. Usually this is enough to keep it down in place (easy to fish out and replace). You can also put some DS tape in the center to keep it flush.
Next you should try and place some small supports in the corners to fit a lift out tray! 🤠
Next you should try and place some small supports in the corners to fit a lift out tray! 🤠
Pottz - well, I need to be good at covering up "situations" that occur during my builds 😉 Picked that up from a YouTube years ago - don't remember who to give credit, but it is a nice trick to know.
Splintergroup- I like that idea of something added with the felt rather than directly on the box (which I would guess might not work anyway with the finish applied). A lift out tray would be a good feature to try - adding to my mental list!
Splintergroup- I like that idea of something added with the felt rather than directly on the box (which I would guess might not work anyway with the finish applied). A lift out tray would be a good feature to try - adding to my mental list!


