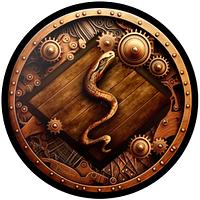
The body itself is a 16-piece-per-row turning. I used some lumber salvaged from an old piano that was given to me. I initially thought it was cherry, but the chatoyance made me question that. The top band and one of the etchings are walnut.
The other etching is maple; the designs were laser-etched and then filled. I’ve included a photo showing the black and white fillers I used. I preferred the DAP over the Wunderfill, and it’s more convenient coming in a tube.
The underside of the lid is made from padauk, which also forms the registration for how the lid fits onto the box. In hindsight, I should have made this as a ring instead of using a solid piece, as the top ended up heavier than I think it should be. I could have put it back on the lathe, but since I had already glued the handle on, I’ll need to use the bandsaw to thin it down.
The handle is made from maple and walnut veneers that I cut on the bandsaw. I built a jig to bend the veneers after soaking them in water, clamping them in place until dry. Pre-bending makes the final glue-up easier. Originally, these curved veneers were intended as a divider in the bottom, with a tray sitting above, but I changed direction. The handle was cut down from the larger S-shaped bent pieces.
The jig wasn’t very well made, so I ended up using clamps and gluing one layer at a time, letting each set slightly before adding the next.
The handle is supported by two brass pins that stand proud of it’s top.
The two etchings were finished with semi-gloss lacquer. Everything else was finished with OSMO and then waxed for a subtle sheen.
Cool, complex box John. The lid is really nice with the symbolism and that elevated handle is trick! The pics of the bending and form is a handy reference, you planned that out well. Nice look!
Thank you Steven. You should give it a try you might like it.
Thanks, Bruce. I should've done a better job with the bending form. Even though I made sure not to match the radiuses on both halves the form was made hastily. I just didn't take enough care. I didn't sand it smooth and I was going to use a piece of cork on both sides to make sure I got even pressure.
Thanks Alex, No I never tried it and I'm not sure what you mean by engraving it. I'll certainly try it, if you let me know what you would like to see.
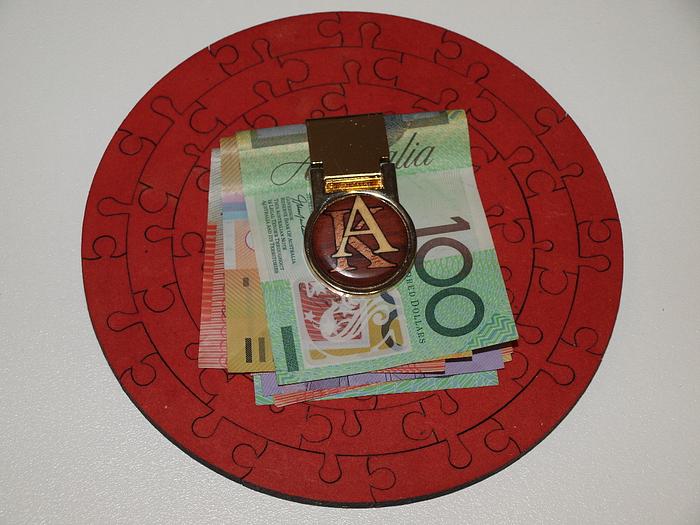
Years ago I made up this money clip using laser cut timber inlays However, befor resorting to inlays I engraved the "K" to a depth of about 2mm and backfilled with Jarrah coloured Timbermate. I then tried to "over engrave" with the "A" to infill with pine colour... there was no issue engraving the base around the original "K", however with the Timbermate backfill, the 2 passes (to get 2mm depth) didn't even char the Jarrah Timbermate. I'm hoping that there may be some other product that may permit the backfill to be engraved to some depth... even it it was 0.5-1.0mm, enough to lay some stuff in the "over engraving".
If your first cut is too short... Take the second cut from the longer end... LBD
Well I will be buggered Chatoyance is an appearance that gives a lustrous, three-dimensional effect to the figure in wood that is described as cat-eye. This is not to be confused with birds-eye in sugar maple. Rather, chatoyance describes the depth of reflected light in the figure of some pieces of wood.