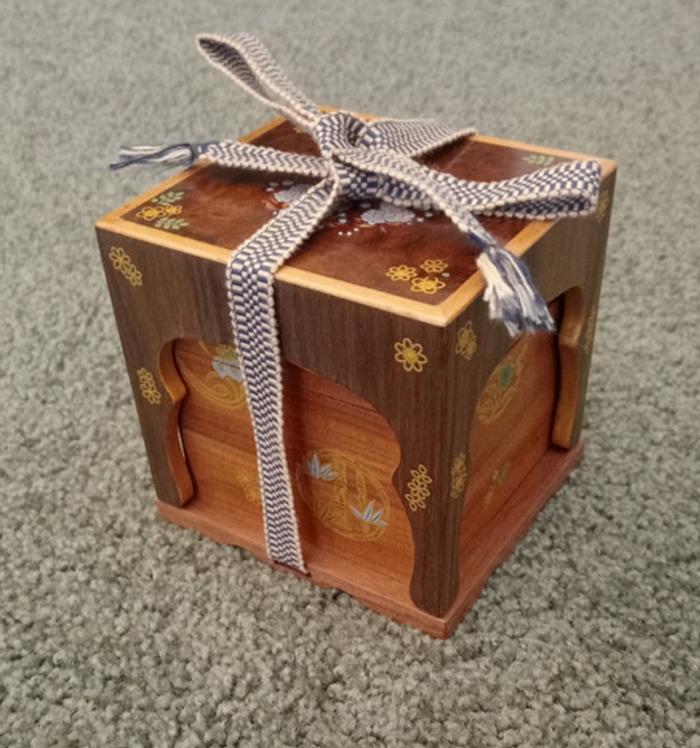
I’ve always wanted to make one of these small Japanese ‘boxes’. The design seems to stem from the traditional stacking Japanese Bento and Jubako – used for holding food for lunch, a special occasion or for a picnic.
But the highly decorated ones that inspired me were typically used for holding incense, cosmetics, or fine personal accessories. Some of you will remember the Japanese Incense ceremony - Kodo from my earlier projects, where everything to do with it - the Ko in Kodbako, is of the highest quality embellished with makie lacquer.
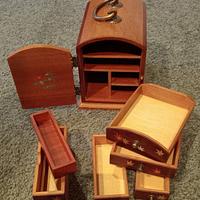
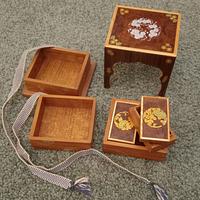
This one has three stacking trays with the bottom one fixed to a stand.
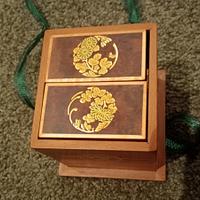
The top tray contains two small boxes. The hole in the base of the tray allows you to poke in a finger from underneath and so push up a box.
The trays then have a decorative cover held in place with kumihimoa traditional woven cord or ribbon in my case. These kumihimoare thentied with range of different knots that have special significance. I change mine from traditional cord to some green ribbon which I thought went better with the Makie. Mine is just tied with just a standard ‘bow’.
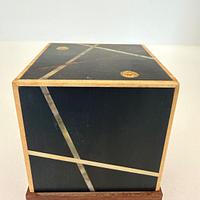
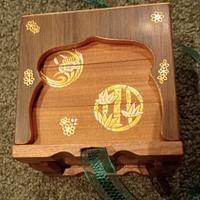
The makie decorations on this one are Japanese phone stickers. The decoration enables you to determine how the trays are staked together. I apply these stickers to a highly polished surface, the result of numerous coats of polyurethane varnish sanded at the end with up to 3000 grit sanding paper. I then wipe this super fine finished surface with Isopropyl alcohol to ensure there is no grease or finger oils on the surface. I then cut the phone stickers as required and peel and stick the bits on. They are then rubbed over with the back of a fingernail or similar, and then finally I wipe some wax polish on and buff.
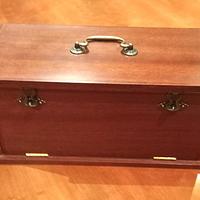
The cover has no joints.
The corners are simply mitred, with the joining surfaces scored with a scalpel to provide a better glue key. The lid is glued into a small rebate, with the decorative edging added after. The trays have their base fixed in a groove, and the corners are mitred. Again, the joining surfaces are scored with a scalpel to provide a better glue key. Usually after gluing up I use a sled on the router table to cut some groves in the corners for splines. But not on these trays
It’s very small and fits in a 4inch / 100mm cube - great for using the offcuts! I’m definitely going to make more, with extra trays and different covers.
Nicely done! Japanese boxes like this are so cool. Simple, utility items but with so much attention paid to them. How many coats of poly do you put on before polishing?
Ryan/// ~sigh~ I blew up another bowl. Moke told me "I made the inside bigger than the outside".
Hi Ryan. I probably use 6 or 7 coats until the grain is totally filled. I use satin poly applied with a brush. I rub down between coats with 320 and 400 micromesh. Then when I think its all filled I'll start moving up the grades 600, 800 etc I check in a racking light to make sure it is all filled and flat. Then a few move coats still rubbing down between coats usually with 400 and 600. When I happy I'll then work through the grits up to 3000 or 4000. Sometimes I've used wet and dry paper as the Japanese do, but I don't realy like having water around as it can get into the wood that isn't completly sealed.......... It's time consuming, due to as the finish builds you need to leave it longer, half a day, to a day, to dry and harden before sanding
Your version of this design far surpasses the one I did some years ago. It is a really nice traditional design, that inspires one to want to recreate it. When I saw the sticker appliques I thought they were inlays, and I thought, oh my freakin God, how does he do that! how does he have the patience to do that! Not to take away any admiration, but stickers a little easier, ehh? Bravo, Mate. Ps, maybe I have to get some of those stickers.