


Share your craft projects
Make new craft buddies
Ask craft questions
Blog your craft journey

Brian
2030 posts
and
31 followers
in about 12 years
in about 12 years
More from Brian


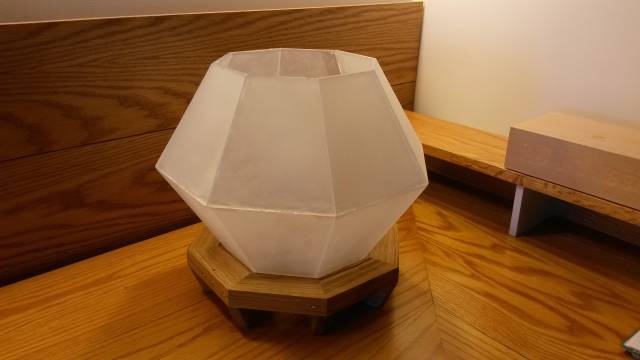
Pallet wood and acrylic table lamp

I got inspired to make this after working with acrylic to solve a small problem in the baby’s bedroom. I started thinking about compound angles and decided to build an octagon shaped lamp. I also wanted to try out the pallet wood oak I collected a while back. It was sitting in the garage untouched for too long.
First off, getting the angles requires math that I am no longer capable of doing so I found a website to help me calculate the proper crosscut and bevel angles. I blogged about that experience already so no need to repeat myself.
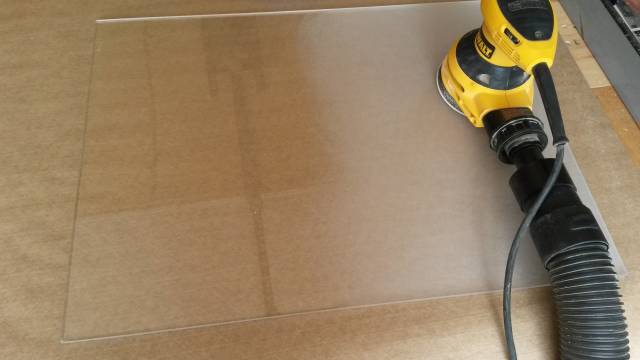
With a successful mockup, I moved on to making the lens. First I sanded the acrylic on both sides to frost it. Who wants to look at a light bulb anyway? Plus, it helps hide glueup screwups.
After that I cut the pieces into squares about 6" and started cutting the angles on the jig I made for the mockup.
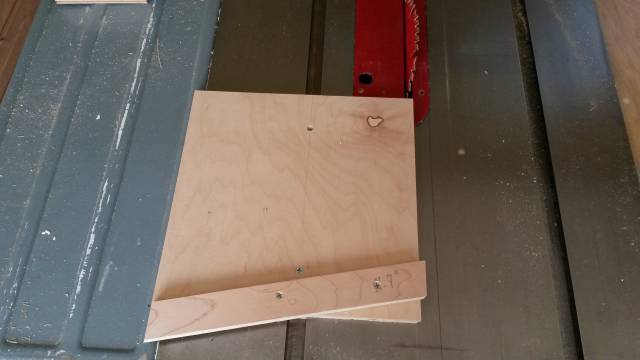
The crosscut angle and mitre bevel are cut simultaneously. The crosscut angle for this project, for which each facet of the octagon leans forward at 60 degrees, is 11.7 degrees. The blade is beveled at 19.4 degrees to achieve the mitre.
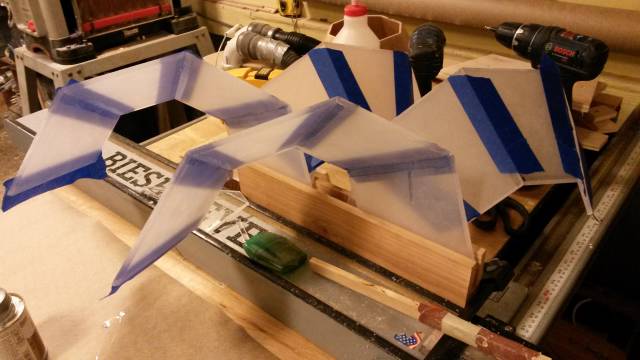
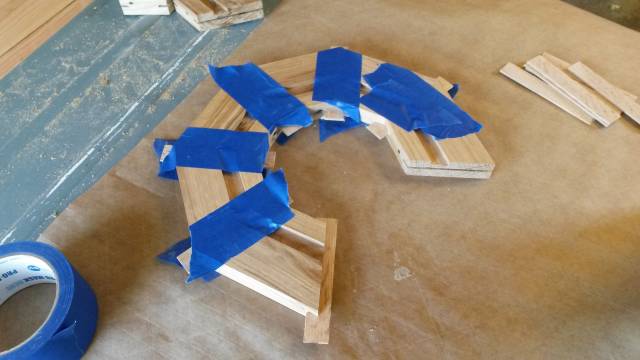
The glue up of this stuff is virtually impossible. I probably won’t be working with acrylic again anytime soon unless its just a simple thing that doesn’t require gluing. I used PVC pipe cement to glue the pieces. I think regular acrylic cement would not work very well due to the rough edges created by cutting on the table saw. To get a clean edge, according to the interwebs, the edge must be routed. I’m sure it can be done by building various jigs, but I didn’t even consider it because of the work involved and the material expense if I mess up. Anyway, I taped 4 pieces of each octagon together and brushed glue into the joint, then stuck them into a piece of scrap that had a mortise cut into it. That worked well. I let gravity to the work instead of attempting to clamp these fragile things together.

Then I glued the assemblies together.
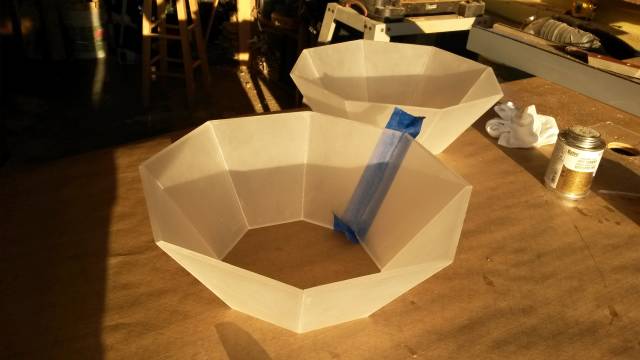
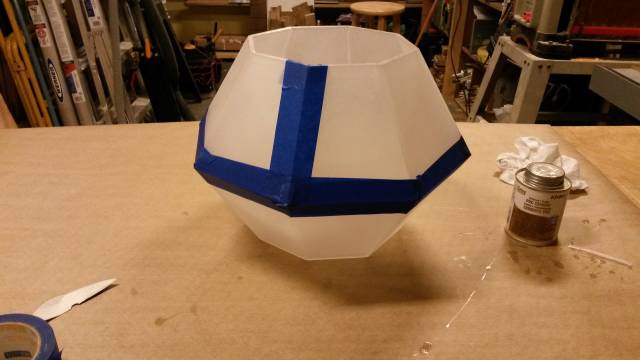
Voila! A lamp lens. Not shown is the couple of hours of sanding off glue runoff, which makes the surface clear instead of frosted. That was a pain.
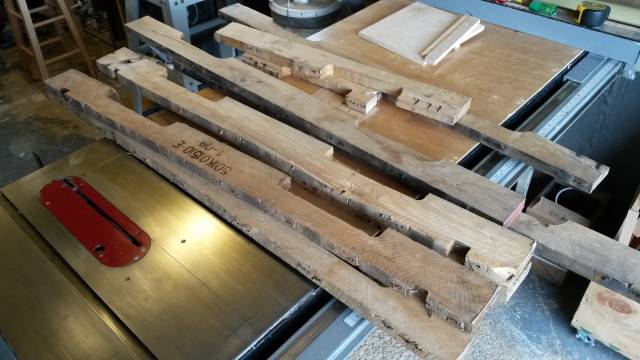
Next up is the pallet wood. I never worked with it before. I bought a metal detector to make sure I got all the nails. Rough looking stuff.
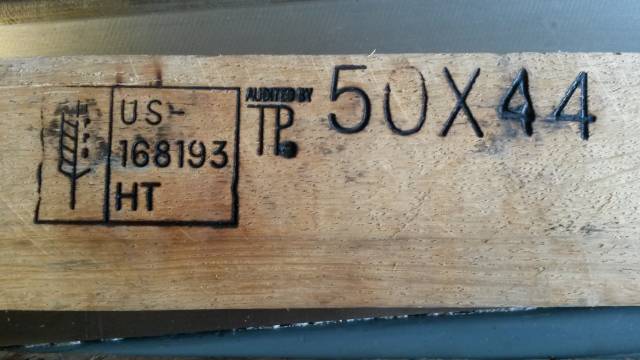
This was printed on the side of a few.
I started by planing all of the runners I had and also a few of the slats. Then I jointed each piece on my table saw jointing sled. Here is the finished product planed and one edge jointed.
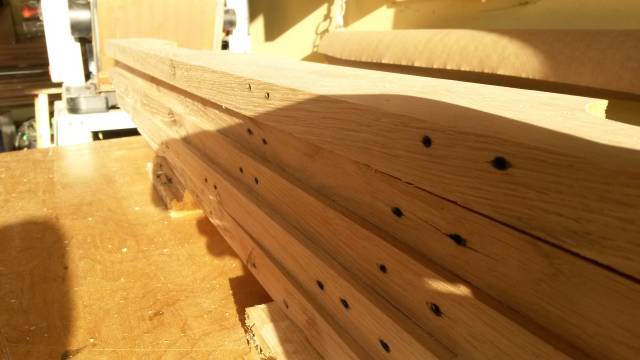
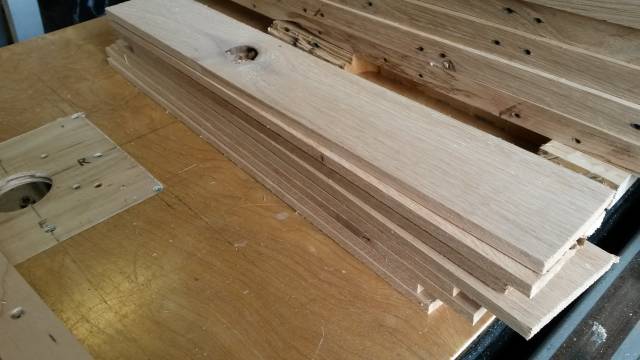
Lots and lots and lots of defects… er… character … er… NAIL HOLES! LOL.
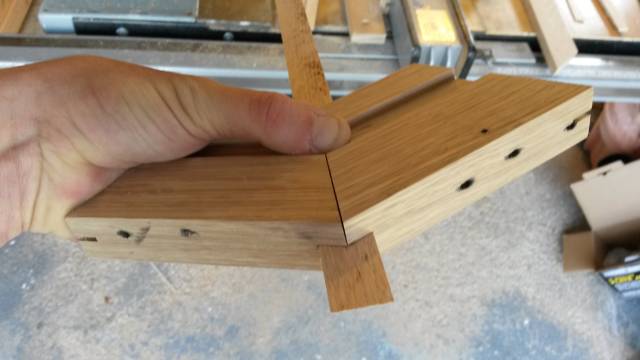
Next I cut 8 octagonal pieces for the base. These were not an angled facade, so the cuts were simple 22.5 degree crosscuts. That’s when I realized there would be 8 end grain glue ups. Doh! What to do? Ask here of course. :-) I ended up making blade-width loose tenons. Below is a dry fit. That worked great. I think they would look great too if it weren’t for the damned character… er… nail holes!
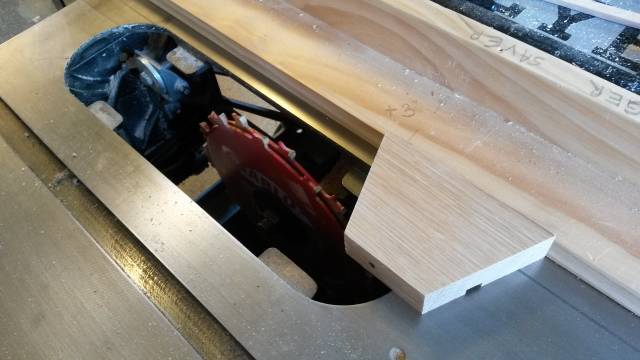
I needed a way to receive the lens, so I cut a dado into each piece. Kids, do not try this at home. Yes, I did cut it exactly as shown. Before the peanut gallery chimes in, I promise I was extra careful when performing this dangerous procedure. ;-)
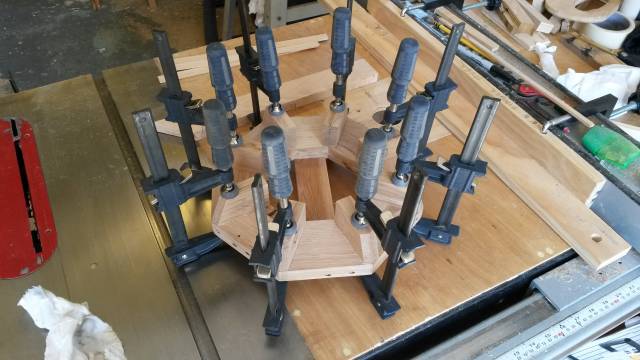
I glued the pieces together using just tape to hold it. That led to a couple of small gaps because its crazy difficult to get a perfect 22.5 degree cut. I came pretty close and used wood filler wherever needed. I also filled in some of the character with wood filler.
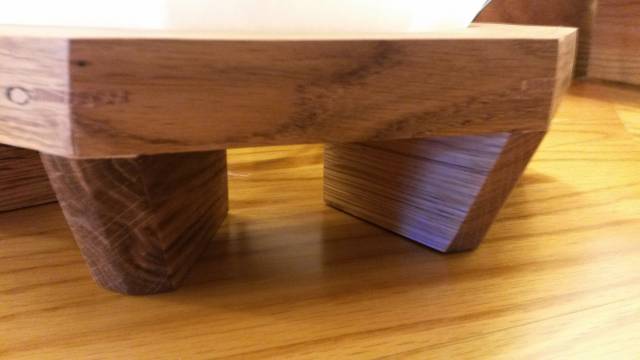
Next I made 8 legs for the base. I wanted them to have the same facade as the lens, so back to the crosscut jig. Same angles used to achieve that. I could not figure out how to precisely center the angle so I cut halves and glued them together. Instant center. The feet just get glued in place.
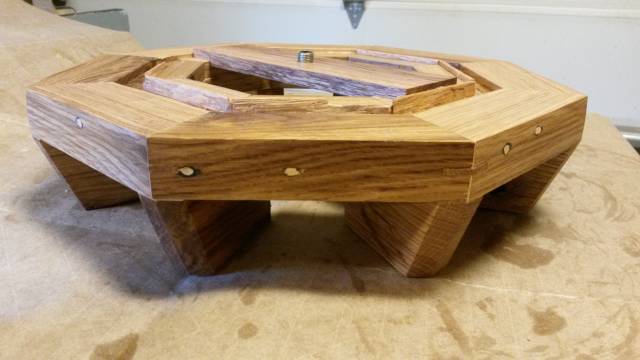
After that I added a slat across the middle to accept the lamp socket. Then I finished it with danish oil. The color of this oak is beyond beautiful. It must have something to do with getting kicked around in the weather or something like that. It sucked up the danish oil very quickly. This part of the project came out way better than expected.
Hmmm… looks like there’s a limit on the number of pictures, so the rest of this will be in the comments section.
Losing fingers since 1969
7 Comments
Anyway, the base finishing came out nice. I plan to wax it also.
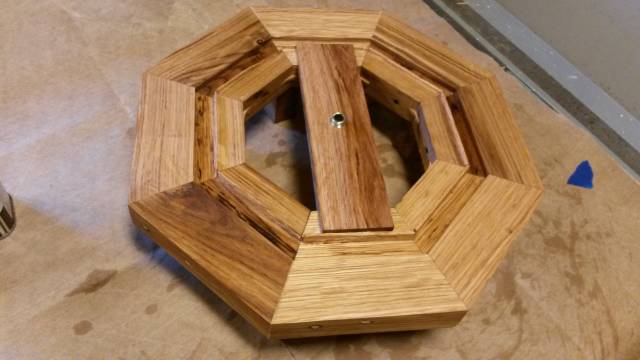
I messed around for a few days trying to make a top section, but in the end I decided that it looks better without anything on top.
I may throw this up on Etsy and see if there’s any interest. Failing that, I guess it will sit on my desk until I decide to turn the lens into a pendant light fixture. We’ll see.
One last thing – this project took about 5 times longer than I anticipated. It was more complex than I originally envisioned. I lost track of the number of hours I put into it but I’m guessing nearly 40 including the plywood prototype. It was fun, but my wife kept beachin’ about not getting any “real” work done in the house. LOL
Losing fingers since 1969

Beautiful Lamp Brian!
You did a great job and explained the process quite nicely.
Abbas, Castro Valley, CA

Nice Lamp Brian, and I like the story that went with it. I have never worked with acrylic before but I thought maybe med. viscosity C.A. glue would also work. Furniture maker Paul Schurch told me he used polyurethane glue to glue veneer to acrylic(might be a bit messy for this type of work).Just a couple other glue options to try if you ever work with it again,not that I know they would work any better. The pallet wood looks great also. I like this type of post because it gets me thinking of cool things to try that are a little outside the box so to speak.
-- Paul--- Creativity is allowing yourself to make mistakes. Art is knowing which ones to keep. — Scott Adams
I am reading your post again Brian now that I got some quiet time to myself.
The frosting of the acrylic is something new to me. That give it a lot of character.
Thanks!
Abbas, Castro Valley, CA
Ian the sanding works great. I did that on my cabinet doors bit only one side was sanded so the outside was still smooth. Believe it or not, as easy as it is to scratch, it doesn’t sand easily. I used 80 grit to get a nice frosted look. Only do this with a ROS or you’ll get streaking.
Tinman, I did some reading before I started about how to join acrylic, which is plastic. Acrylic cement is basically acetone which slightly melts the material and methyl ethyl ketone which bonds the molecules. It’s literally welding. Anything else won’t work. However, many types of glues contain both of these, including CA glue and PVC pipe cement. Those things also have other fillers for different purposes. I used PVC pipe cement for a few reasons. I have it on a shelf already and I didn’t want to buy something new. Secondly, it contains fillers that thicken it. That helps it get into the crevasses of the cut, which was far from smooth on a table saw. I watched some videos about acrylic cement and it’s very watery. You apply it with a syringe along the joint and it gets sucked in to the joint. That can only happen with a very fine edge (tight joint). Slopping PVC cement around wasn’t a problem for me because I wasn’t trying to maintain a perfect clear finish. The opposite, in fact and any run out could be sanded out. There is also acrylic weld, where the filler is acrylic. I think it comes in a tube but I made my own using shavings left on the table saw. Be careful with that. Any sawdust or other debris in the shavings you scoop up can ruin your finish – make it look dirty.
Losing fingers since 1969

Great job Brian! Looks awesome. I know you said you were extra careful there with the dado set and no throat plate, but jeez is that scary looking…

This is a very cool design and super tutorial,outstanding build.
woodworking classes, custom furniture maker
More from Brian