Brian
in almost 12 years
More from Brian
Drawer Pulls
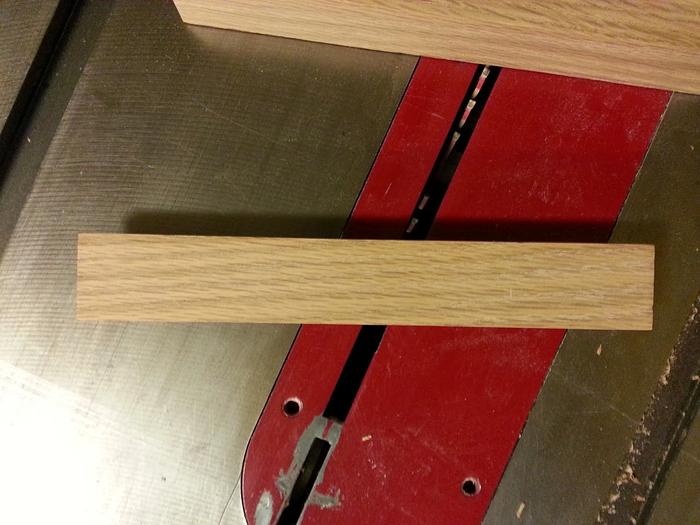
These drawer pulls were designed by my friend for my home office cabinets. The drawer fronts are 1/2" oak plywood. Its basically impossible to get the concept from looking at the picture above so please just follow along until it makes sense. :-)
I didn’t want to go with a metal pull and my friend’s design is just awesome. From the front, all you see is a small rectangle, but when you put your fingers into the recess behind, its smooth with a chamfer to put your fingers so you can pull the drawer. The drawer front gets cut to fit the pull, and also a little more underneath to fit your fingers.
The challenge was cutting the chamfer. I set up a 45 bit on my router table, but the chamfer is cut out of the center, which meant I had to somehow jam the workpiece into the bit sideways. I finally figured out a safe way to do it by setting up stop blocks on the router fence and as gently as possible moving the workpiece into the bit.
First I set up the stop blocks. They’re not just for safety, they stopped the cut at the right location.
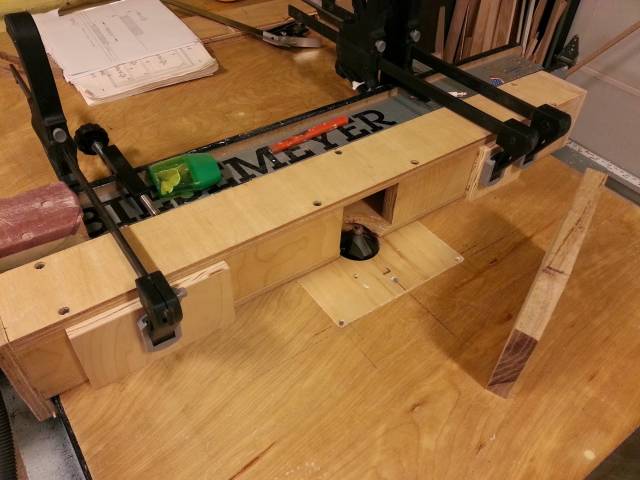
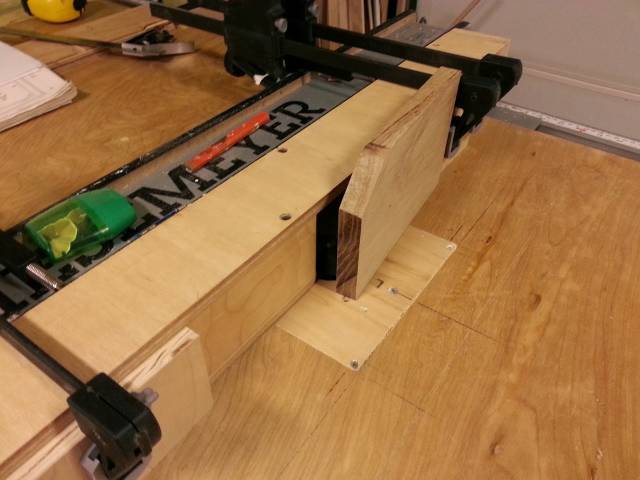
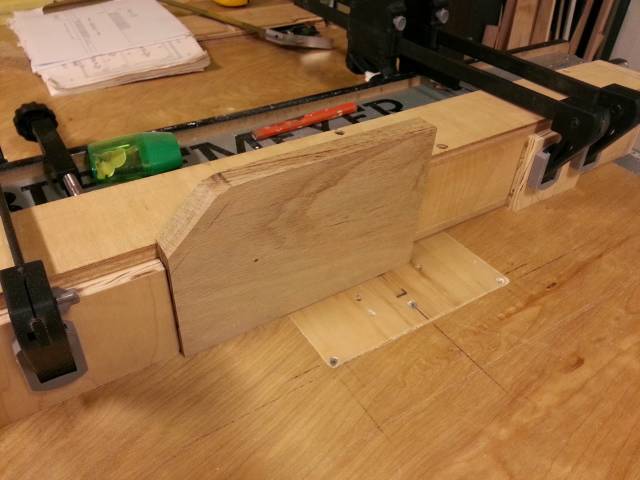
This is what the chamfer looked like after it was cut.
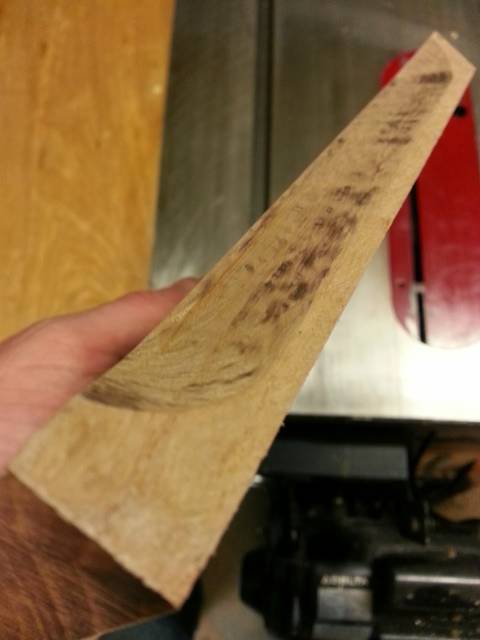
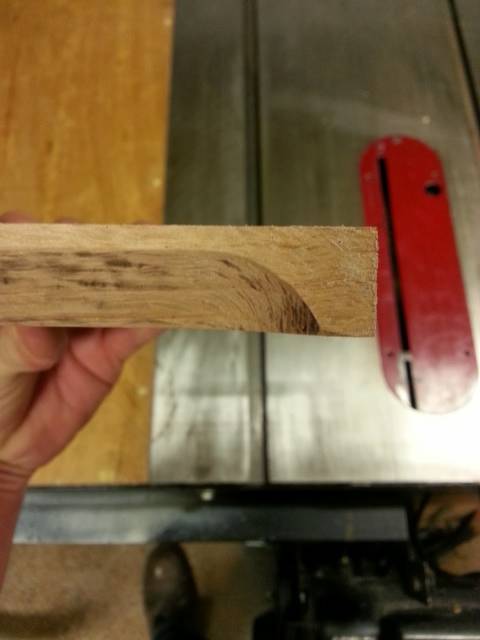
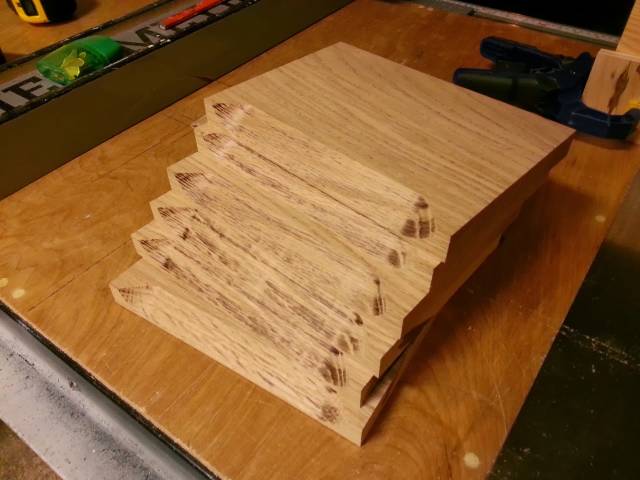
After that I rabbeted the 2 sides. The material is 3/4" oak and the cut was 1/2". That way, 1/4" sits on top of the drawer fronts. These “ears” are not just for looks – I also put a screw into them from behind to hold them into the drawer fronts.
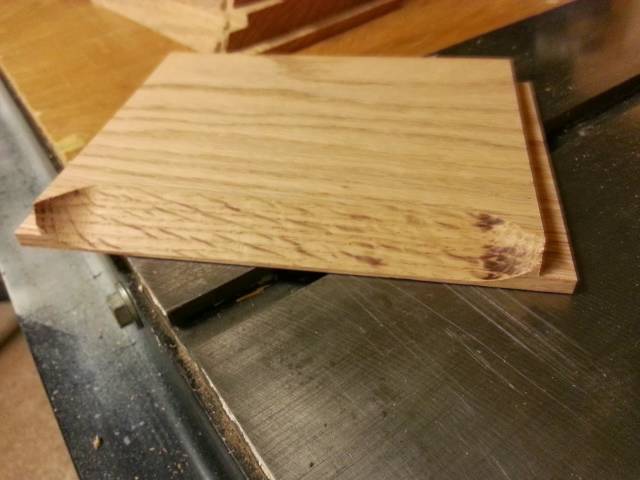
The final cut is is for height.
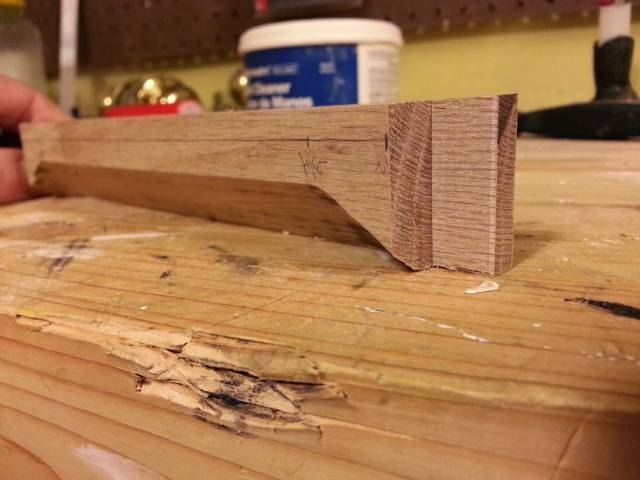
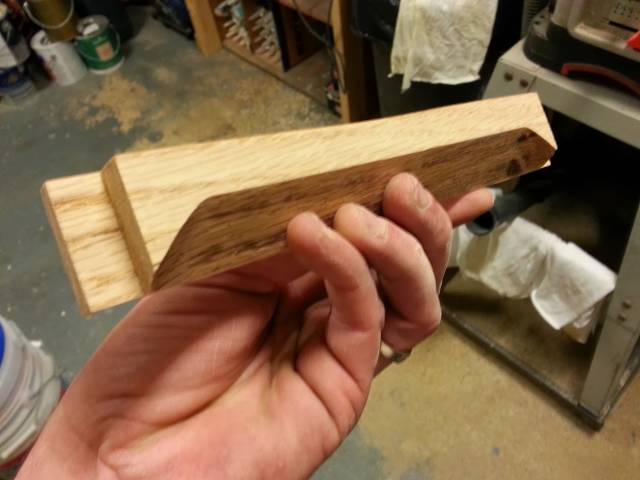
I painted the front of drawers black where the pull goes. Here is the finished product on the 6 drawers they went on.
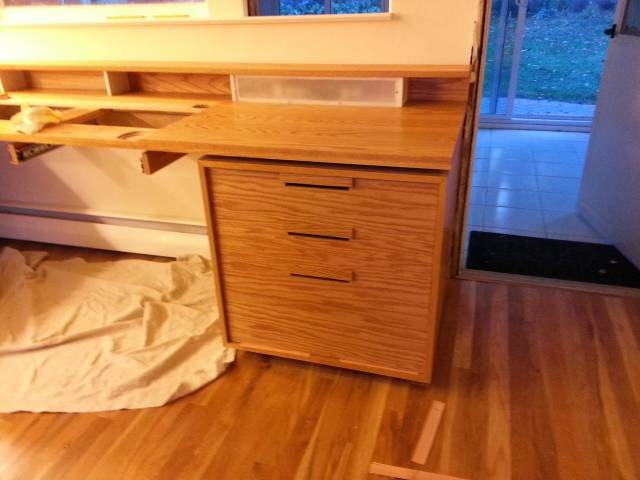
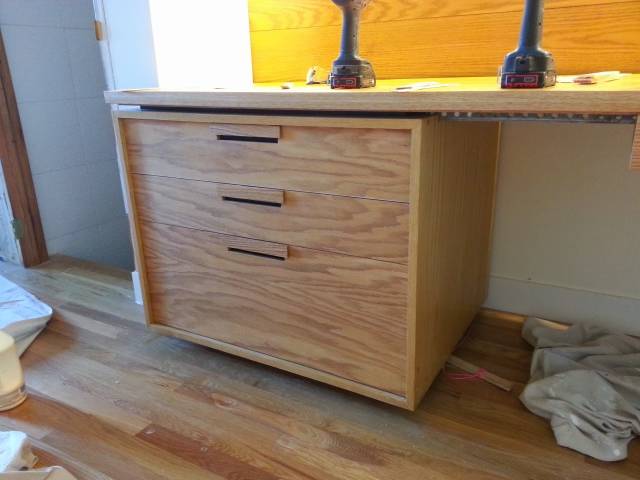
I made these pulls and finished the drawers in October 2013. I thought the design was so unique and beautiful that it could warrant its own “creation page”. Thanks for looking.
Losing fingers since 1969
8 Comments
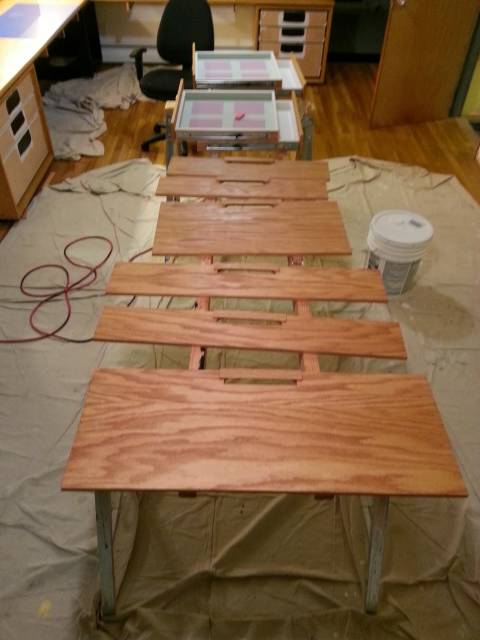
I just found this picture of the drawer fronts getting finished with poly. It may help to explain even further. You can see a gap under each pull where you stick your fingers. Also in the background you can see the drawers with a spot painted black. The black paint doesn’t draw your eyes to the hole, it helps to put the focus on the pull since it’s just sort of a shadow.
Losing fingers since 1969
It was hard to see from the first picture.; but it became clear I looked through the rest of the post.
Those are cool.
Abbas, Castro Valley, CA
Yeah for sure you can’t see what it is from the main picture. Hey, a rectangle! Yay! LOL
Losing fingers since 1969
That is one nice rectangle! LOL. J/K. Really cool idea. I’ll have to remember this one for the future!
I like these pulls. While I have a commercial fence on my router table, I will follow your methodology when making these in the future. Thanks for all of the images. They help with visualizing the complete operation. 8^)
HorizontalMike
See, now this is a good website. That’s a lot of fine detail, thanks….oh, yeah, the pulls look great, too :)
-- Alec (Friends call me Wolf, no idea why)
This is a great idea. I am trying to make finger holds on the side of a cutting board. I’m going to try your method.
Making sawdust is what I do best!
Very nice Brian,cool
woodworking classes, custom furniture maker


