MJCD
in almost 12 years
More from MJCD
Office Desk
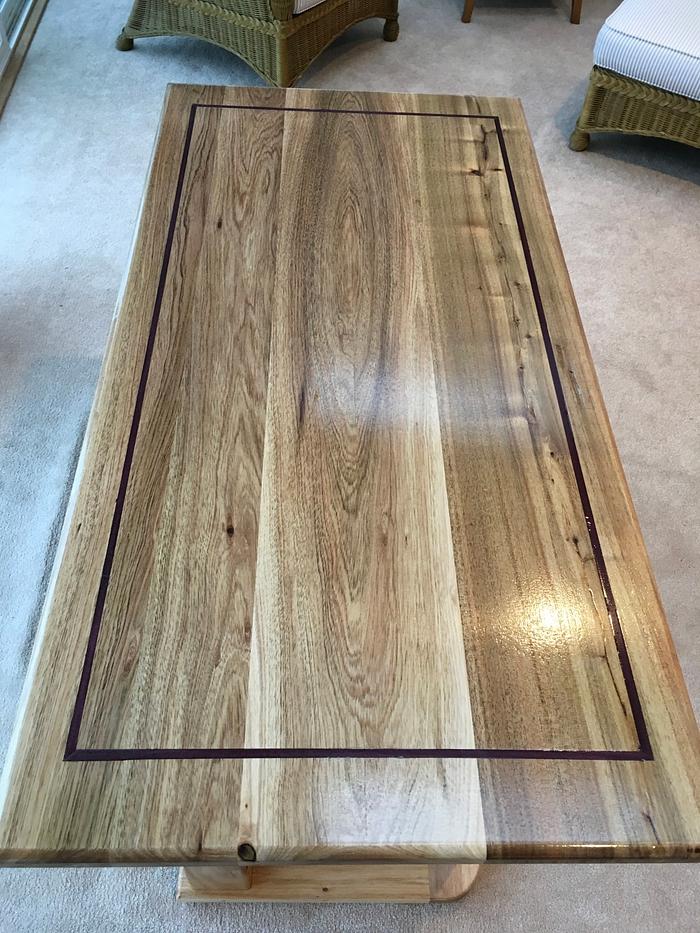
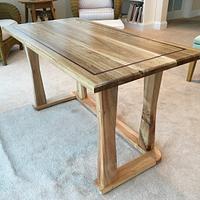
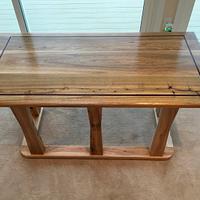
My wife asked for a traditional desk… one without the contemporary-looking arcs and curves, one without much drama. This is my version.
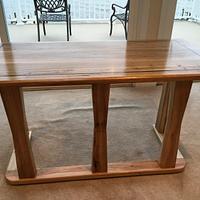
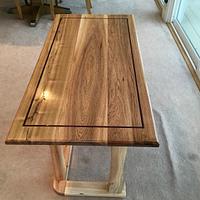
It is a small desk: 48″×24″, and 25" high – the writing surface was specified at 26". Made from Australian Blackwood, with Purple Heart inlay; and finished with 2 coats of Zinsser SealCoat and many sprayed coats of Deft Acrylic (‘Clear Wood Finish’) – I highly recommend both.
The legs have a double taper (the 4 sides converge at the center (top-to-bottom)); and the joinery is #8 Dominos.
The top is (3) 8.5" wide (nominal) boards that have been center-ripped, then grain-match glued.
While the Australian Blackwood is very nice, the grain is easily ‘pulled’ – I painter-tape areas along glue-lines, during glue-up, and the tape pulled some of the grain with it – requiring a lot of planing and sanding to correct.
This project is my first attempt at spray-finishing – I have the Fuji Mini-Mite 4P, and it is a most capable machine, in the hands of a rank amateur,
In all, a very good project. My next piece will be a contemporary rocker – I’m still working on the design.
As an aside, this will be my final post on this site. Anyone wishing to contact me: mjcdorsam at yahoo. I wish each of you safe success.
5 Comments
That is a beautiful piece Mike. As with everything you design/build, it’s all “Top Shelf.” I am certainly sorry to hear this will be your last post. You add so much to this site with your technical explanations and you builds. Wishing you the best in all you do.
Jack
A comment on the inlay:
These were done with a router, and clamped straight edges: I have a set of straight edges which clamp; and while I have not used them often, they were just-the-ticket for this application.
I guess there are hundreds of techniques for inlay work: and I marvel with disbelief on crazy ability some craftsman have. For the way I do them, there is a trick – the inlay groove is slightly wider than the router bit that I’m using; say, the router bit is 1/4”, and I’ll make the inlay groove 5/16” or 3/8”. In this manner, I can route a groove, then take a clean cut on the edges with an additional, or 2, passes: I don’t route the full depth on the first pass; so the additional passes both cut a clean edge and complete the depth – in this case, 1/4”. This approach allows for the inevitable entry hole being a bit too large, due to the router jerking a bit on initial entry. However, you need to be precise in setting and adjusting the straight edges: the desktop rectangle is dead square, so I measured an inset from the edge for both the inside and outside of the inlay path (then double-checked that the inlay path width was equal everywhere. Also, before routing layout the full inlay path, I double checked the router cut line by placing the stopped router directly over the starting & ending points – the bit has to be exactly where you want it to be – I often fashion a stop-block at the end, to ensure my momentum doesn’t over-cut the path. Preparation and layout are the keys: be patient: measure twice, cut once. For the corners, you need to chisel the edges.
For the inlay, itself, I always 45 degree miter the corners, rather than butt-joint them; and, if you need a length greater than your inlay piece, under and over miter the pieces (much as you would baseboard), so that no gap exists along the run. I make the inlay by using a jointed edge, then ripping a 16th to 1/8” heavy; then use a drum sander (or just sandpaper held along a long straight board) to fine-tune the width. This takes time to do, but it works for me.
For those who can do these with ease (much practice, I’m sure), you can probably just cut the groove on a single path, then use a drum sander to fine-tune the inlay width.
If I can provide any additional detail, please let me know.
MJCD
Very many nice features in that build.
—Madts.
Tor and Odin are the greatest of gods.
Very nice desk great job.
woodworking classes, custom furniture maker
That is some beautiful grain and inlay . Just an all around great job . Your skills are reflected in your work
Wheaties


