MJCD
in almost 12 years
More from MJCD
Contemporary Side Table
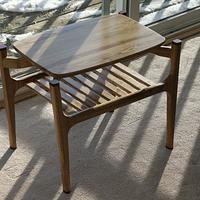
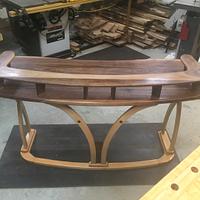
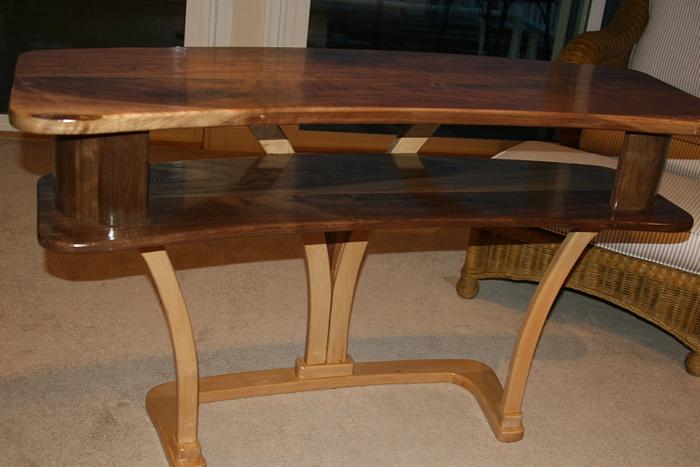
This is the Side Table to a contemporary desk I posted a last month (or so); constructed of Walnut & European Beech.
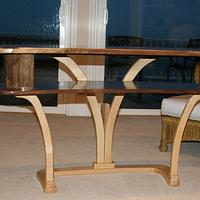
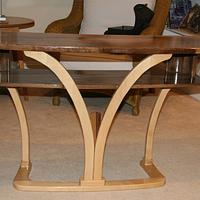
From the Desk, I’ve re-used the back legs; then modified these legs to form a complimentary front set. The shelf is supported by the front legs, and M&T (Dominos) into the back legs. The table top is supported by risers above the shelf (front) and the back legs. All joints are M&T.
Mistakes:
More than a few… the most instructive would be that I should have used a precise template to form the legs: subtle variations in the legs become annoying to me – the back legs have a decorative/functional spline which rises above the splaying arcs, and the legs should symmetrically move away from the spline as they rise – a detail point, but it may be a good ‘look-out-for-this’ to others.
As is customary for my projects, the Layout time is at least 50% of the overall build time.
If anyone has any questions, please let me know.
Everyone, Do Take Care.
MJCD
8 Comments
What a wonderful table. Well done.
—Madts.
Tor and Odin are the greatest of gods.
Amazing work. I love the arches
" Tools : everything I own " ……….that made me laugh !
Great design .
Beautiful and so unique. Congrats on your editors choice.
Jack
A cool and unique desk Mike a wonderful choice for the wood too.
woodworking classes, custom furniture maker
Thanks, everyone, for the kind comments. This piece completes an idea started several years ago: needing a computer/writing area at home. The main desk design took shape last August; with this side table requiring its own version – a lower shelf, and some artistic solution to the shorter height related to that.
The table is finished with 2 coats of Zinsser SealCoat, with a top coat of Deft Interior Poly (un-thinned); then wet-sanded at 3000 grit.
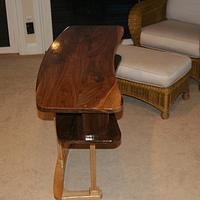
One of the design considerations was balancing the table front-to-back, due to the narrow (20") depth and open lower portion. The top (5/4 nominal) is an inch proud of the under-supports – placing more weight on the back. The shelf is 5/8" thick, and slightly inset from the front edge. The legs are 4/4 nominal, with each leg having a 3" flat at the top (supporting the walnut at various locations) – this offers plenty of glue-surface: the top of the legs are the M&T into the underside of the top & shelf, respectively. Both the top and shelf have a 1/2" by 3/4" walnut under-support bars running across the long axis – this is inset into a 1/4" deep groove – given their span (48" and 45", respectively, I wanted some additional bracing.
Racking is address several ways:
The domino M&Ts;
The back spline – between the legs – is mortised (3/4") into its base, and rises about 10" through a mirrored grove in the two back legs;
The front risers (on the shelf) form a 90 degree curve, and each are mortised at four points: two on the top and two points on the bottom. Both the top & bottom of the risers are glued along their surface to the shelf & top, respectively.
No doubt this is over-kill; however, it is how I build things.
Glue-up became its usual tense event – I applied too much, and cleaning-up the squeeze-out took more time than getting the table assembled: this goes back to days when my joints didn’t naturally close, and I relied on glue and clamps to get the job done. Maybe one milepost that you pass along the way is fine-tuning processes and techniques to create tight joints.
Moving onto bar stools.
Again, if I can provide any additional information, please let me know.
Everyone, Do Take Care.
MJCD
Great design and execution. Appreciate the time that goes into the design and planning of such a project. Mpad.
What a cool design , very impressive
Wheaties


