


Share your craft projects
Make new craft buddies
Ask craft questions
Blog your craft journey

Brian
2030 posts
and
31 followers
in about 12 years
in about 12 years
Compound Mitres
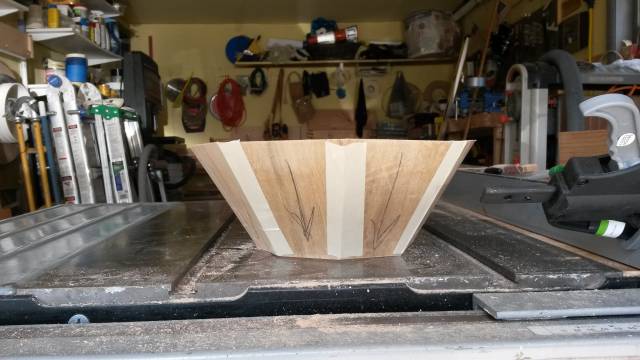
After making the baby ac duct out of acrylic and using multiple angles (but no mitres), it got me thinking about making a lamp. I have a concept of stacking 2 pyramidal octagons on top of each other to make something approaching a globe made out of acrylic. I don’t use AutoCAD nor am I math wizard but I knew 2 things: I need a jig and I need a prototype.
I found this website to compute the angles and bevels: www.pdxtex.com/canoe/compound.htm
I found that for an 8 sided box with sides that bevel to 60 degrees I needed 3 angles to cut with.
First the easy one. The sides lean outwards at 60 degrees so I need to bevel the blade 30 degrees for the top and the bottom of each piece. That way it sits flat on the table and has a flat top which will make joining 2 of them together possible.
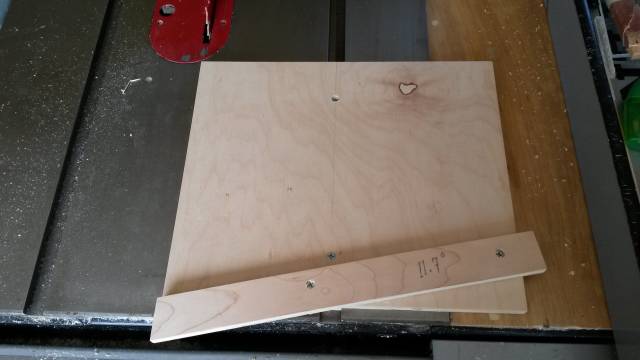
Next is the crosscut angle computed at 11.7 degrees and the crosscut bevel computed at 19.4 degrees. The blade gets beveled to 19.4 and the crosscut jig needs a fence angled at 11.4 degrees. Once I had the math sorted out I set out to make the crosscut jig.
For the prototype I used 1/4" plywood. I cut it into 5-1/2″ × 5″ pieces. Then I beveled the top and bottom at 30 degrees. This was a mistake because when I cross cut the angles, the top and bottom bevels were the wrong direction. No sweat – I fixed that after I finished cutting the crosscut bevels.
I like simple and this jig is about as simple as could be. I don’t have one of those crosscut sleds with all the bells and whistles. I used a piece of plywood and glued a runner to the bottom. Then I used a speed square to mark 11.7 degrees, drew a line and glued a piece of scrap to the line. Here’s the finished product.
After beveling the blade I cut the left edge off, set up a stop block and cut one side of all my pieces at once. That was easy! Now how the heck am I going to cut the other side? It took me a few minutes to figure out. I moved the jig to the left side mitre slot and then cut the right side of the jig the same way I cut the left side. Then I cut one side if my stop block and flipped it around so it fit the first side cut off each piece.
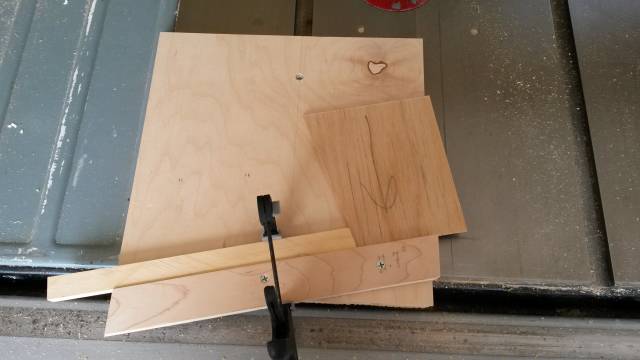
Then I cut all the pieces at once. After that I went back and fixed the top and bottom bevels.
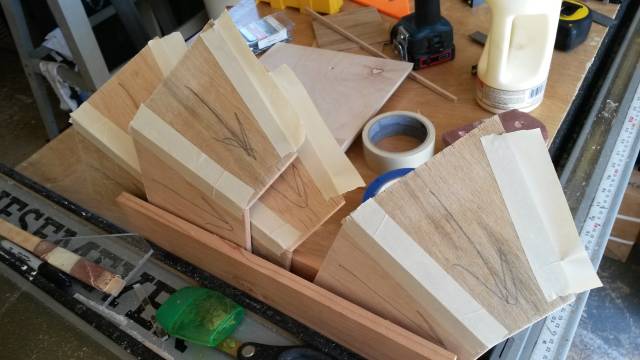
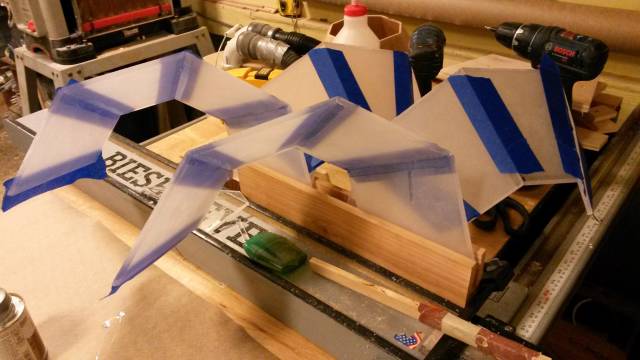
Next it was time to assemble. First I laid out all the pieces and put a syrup if masking tape on the right side of each piece. From there I glued 2 pieces at a time to make 4 assemblies. When the glue set, I put them together 2 assemblies at a time and finally the 2 halves were glued together.
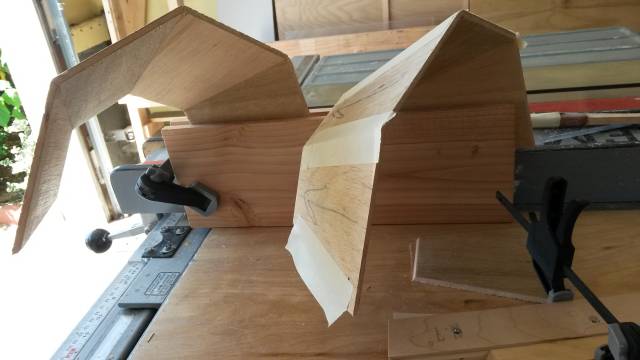
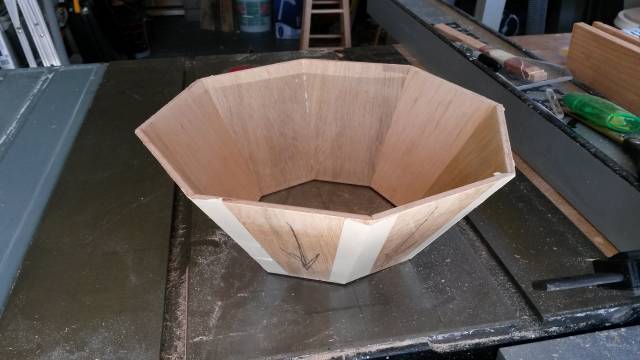
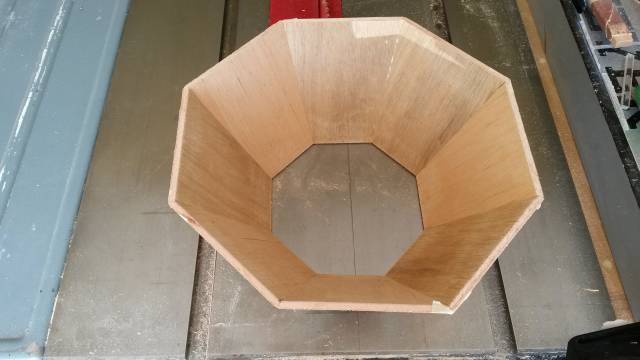
They fit together precisely as promised by the website. What a great resource.
When I make the lamp i’m going to need a helping hand to assemble the pieces to get the best results. I can’t wait to see how that comes out.
For the lamp i’m going to make, there will be 2 of the things I made today stacked on top of each other with a wood base and maybe a wood top. We’ll see.
Losing fingers since 1969
4 Comments
That turned out nice and tight and the jigs are nice and simple .
Hope you make that lamp soon and post it it sounds interesting .
I marked that website in my favorites .
Thanks
Yes that website is awesome. This project would be nearly impossible by trial and error.
I already cut the acrylic but it’s going to be a few days to get the base done, which I plan to make from oak pallets that I got for free off craigslist.
Losing fingers since 1969

That is a cool project Brian.
From what you showed us I have no doubt it will turn out really nice.
Abbas, Castro Valley, CA
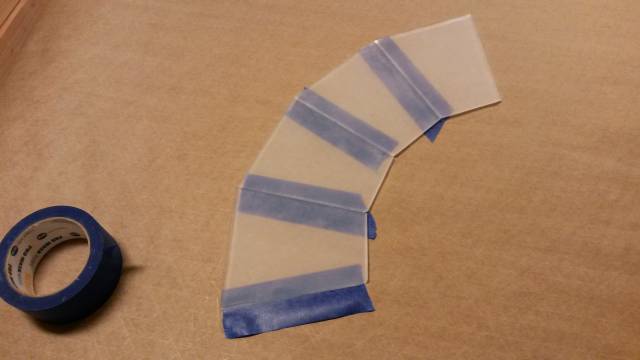
I found a better way to glue the pieces. Instead of one at a timei taped 4 together and then glued the joints and rolled up all 4 pieces together. I could take my time with the tape to make the joint as perfect as possible instead of fumbling with it while the glue was drying and making a mess. I sanded the sheet opaque before cutting so any glue that drops out can also be sanded without hurting anything.
Losing fingers since 1969