The term "slats" doesn't seem quite right. Standards? Pillars?
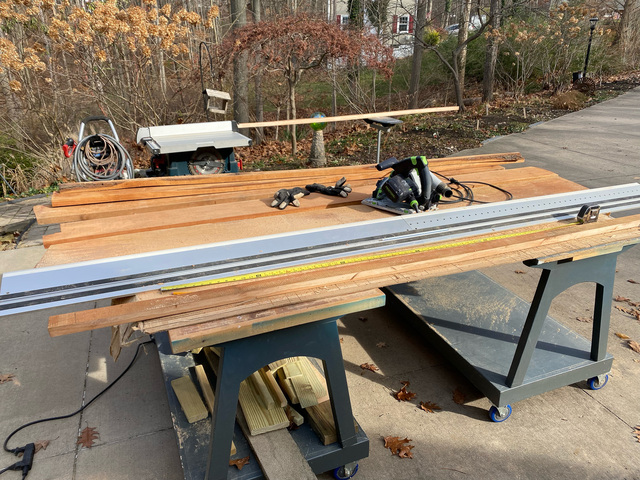
Our Thanksgiving was shifted to Friday this year, so before all our guest arrived, I had some time to start cutting the slats. It was comfortable weather to work out on the driveway. Some of the cherry planks were cupped pretty severely, so I broke them down to over-wide narrow pieces with the track saw.
Then down to the workshop to joint one face and one edge of each piece.
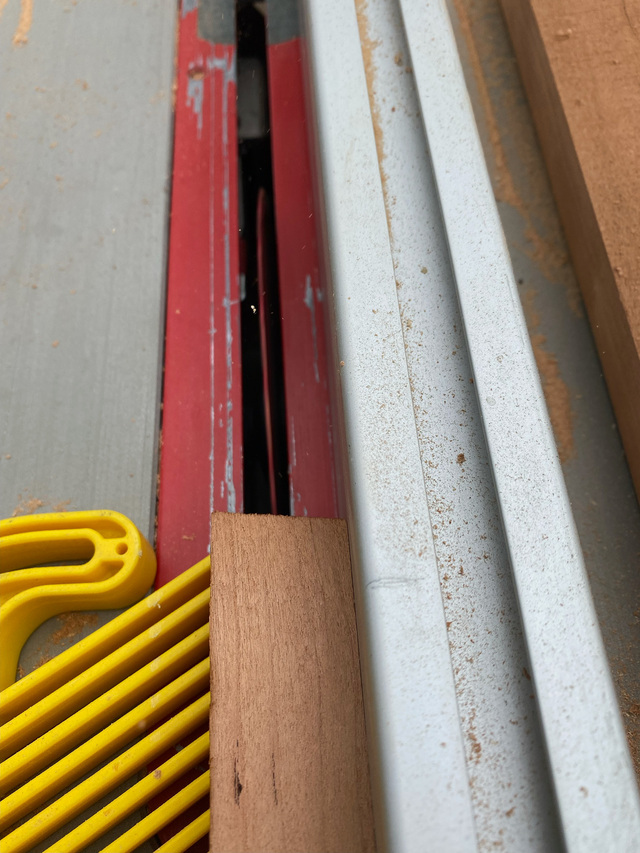
Then back outside to the table saw to trim them to final width. The dado on the foot was the same width as the slats, so I used that to sneak up on the correct width.
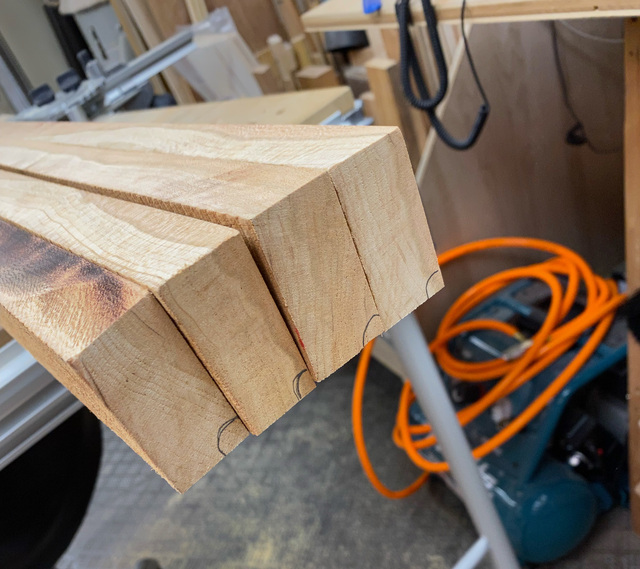
I installed a thin kerf blade for less waste when resawing each piece into two equal thickness pieces. I raised the blade just past the half-way point, made one pass over the blade, then flipped the piece end to end (keeping the same face against the fence) and completed the cut with a second pass.
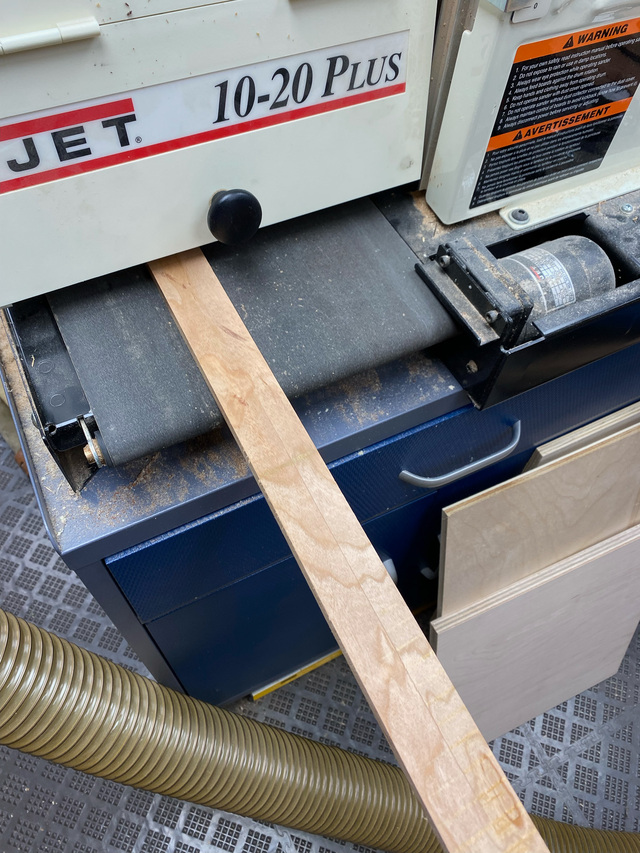
Back to the workshop to sand each of the 8 pieces to final thickness. I don't have a planer yet, so I did this on the drum sander. This cherry scorches so easily if I don't take very small bites. Even with 3 sandpaper changes, I still ended up with burn marks that I'll need to address later. The table saw left some burn marks too, so I'll be getting some practice logged on burnishing a hook on the card scraper before I'm done.
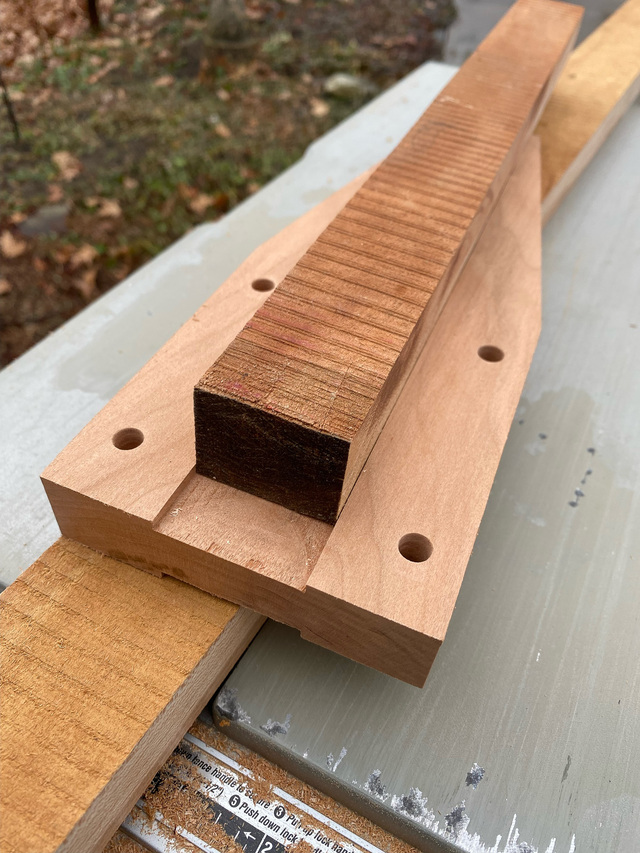
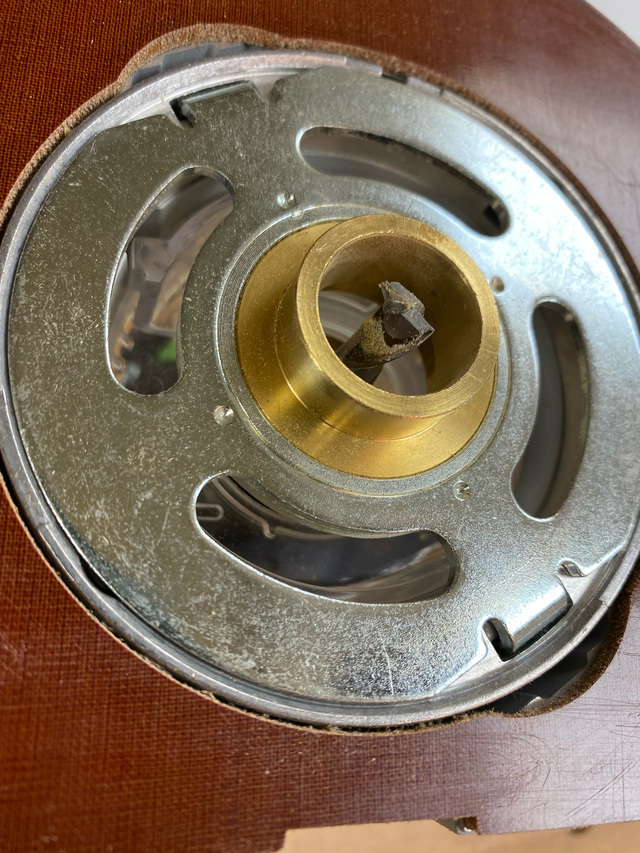
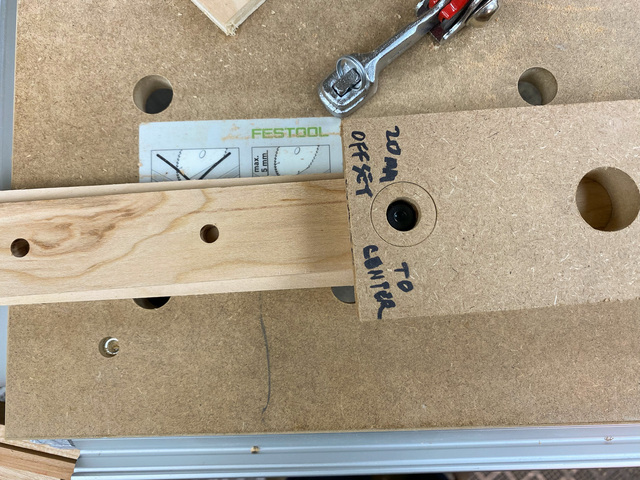
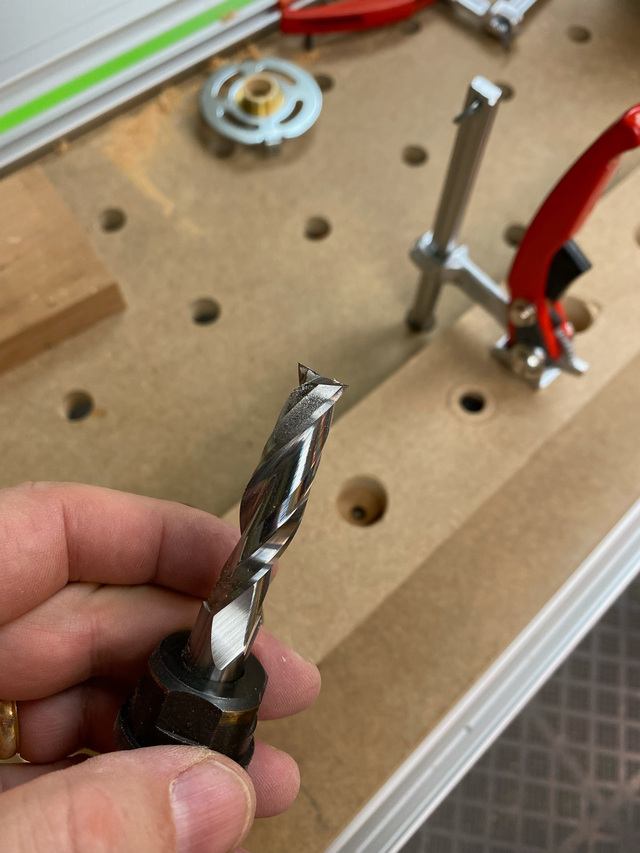
I quickly got bored with scraping and decided to switch gears and get the holes drilled in the slats. 1" guide bushing and 8mm spiral bit.
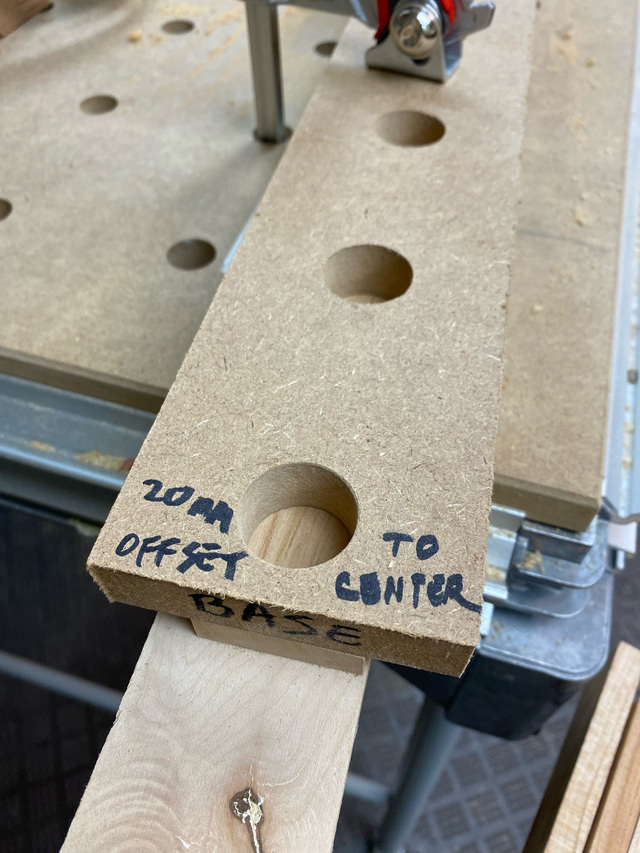
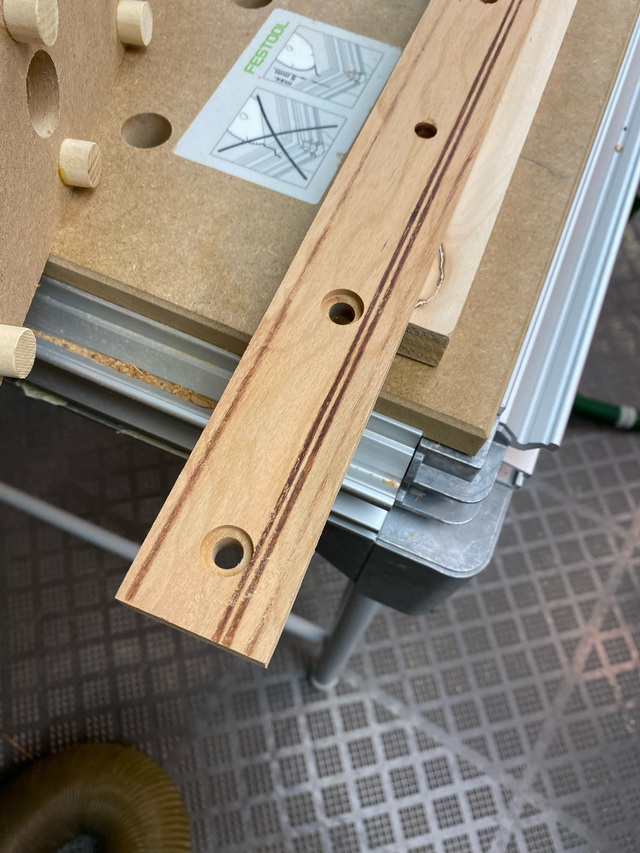
The drilling process starts with lining-up the base of the jig flush with the edge of one of the slats an clamping it in place on top of a sacrificial scrap of wood.
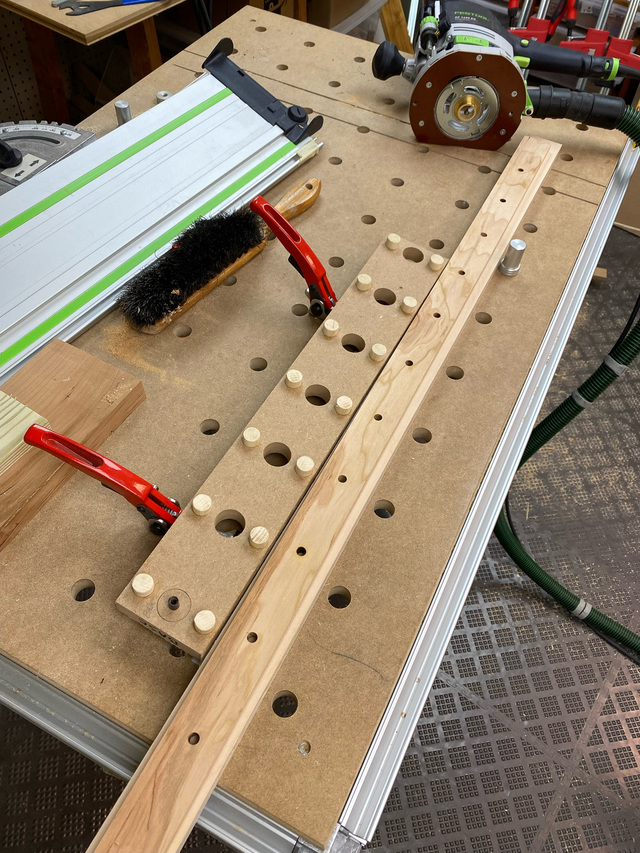
With the first hole drilled, I installed the plug in the hole and then plunge drilled the remaining 6 holes on the jig.
Once the first series of holes were done, I shifted the template up the slat and dropped the index pin into the last hole to start the next series of 6 holes.
The jig is shifted 2 more times to complete all the holes on the slat.
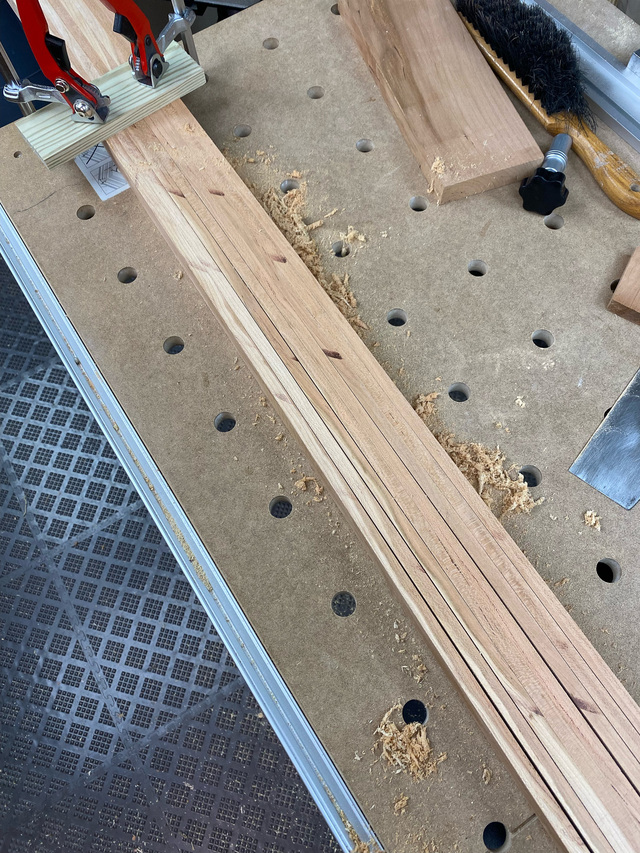
After completing two slats, I stacked them and used a connector bolt in both the first and last holes to confirm that they all lined up. +1 for the jig.
I left the slats a couple inches long - they'll be trimmed even later.
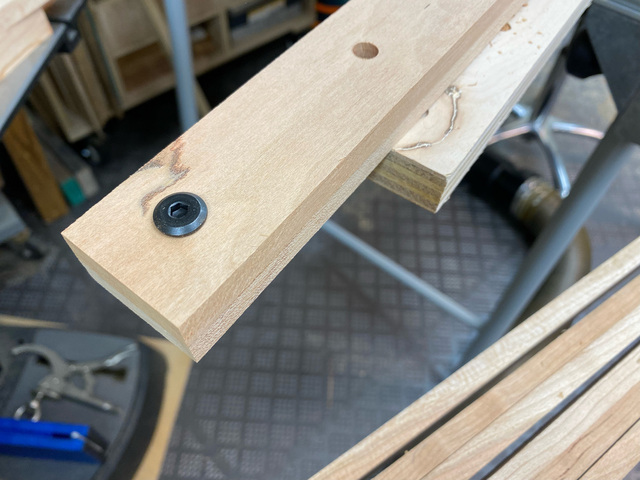
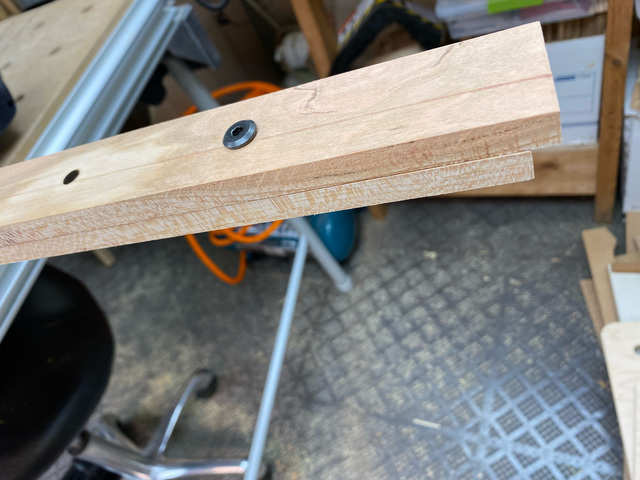
I tested out the jig for drilling the counterbores next. I picked the best side of one slat to be the outside face and setup the jig to make counterbores for the first two holes at one end (which is where the slat will be attached to a foot).
Nice burn marks.
I'll work on the remainder of the counterbores at a later time. (I need to plan where I'll place the 3 spacers will be placed along the length of the upright. Those will also get outside counterbores. Whatever holes are left will get inside-facing counterbores.)
Next I'll work on the pieces that fit into the dados on each side of the feet.
I'm enjoying the blog. One thing I do that seems to reduce the burns on my drum sander is to run the pieces through at an angle. The theory is to limit the time any area of the sandpaper is at work and hopefully prevent (or delay) a buildup in the paper. Seems to work.
I did a test assembly of one of the uprights to check proportions. The vertical supports (thanks, Ron) seemed too beefy. I went back and looked at photos of the original for comparison, and my supports are definitely thicker. I know that the thumbnail edge that I'll be adding to them later will visually make them appear thinner, but even so, they're a bit too thick.
Back to the drum sander. With luck, I can use a light touch and get rid of the burn marks. Win-win!
I reduced the thickness of the struts (I think I'll switch to "struts", Ron) down to just under 3/8" (9.25mm), and that looks better to me. I took it slow on the drum sander, so no burn marks this time.