


Share your craft projects
Make new craft buddies
Ask craft questions
Blog your craft journey

Ron Stewart
953 posts
and
24 followers
in over 3 years
in over 3 years
Sewing Supplies Cabinet with Inlaid Metal Tile Accents #5: (Adventures in) Finishing
This is
part 5
in a
6 part
series:
Sewing Supplies Cabinet with Inlaid Metal Tile Accents
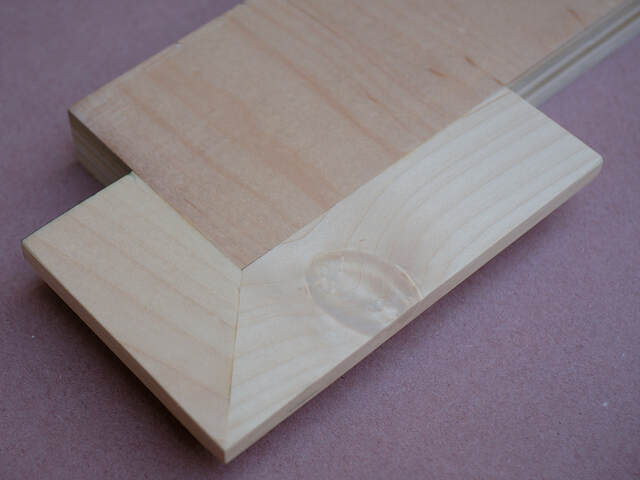
My wife wanted a light/whitish finish for the cabinet. Maple is pretty light toned, so my first thought was to use a clear water-based poly finish. When I made the cabinet top, I also made a small test piece. I applied two coats of General Finishes' High Performance Water Based Polyurethane (flat sheen) to it, and that's when we ran into our first big problem. In the unfinished sample piece, the solid maple was lighter and brighter than the plywood, which had a darker, pinkish cast. The poly didn't change the solid maple much, but it darkened the plywood a bit.
From some viewing angles, the discrepancy wasn't too terrible to me.
From some viewing angles, the discrepancy wasn't too terrible to me.
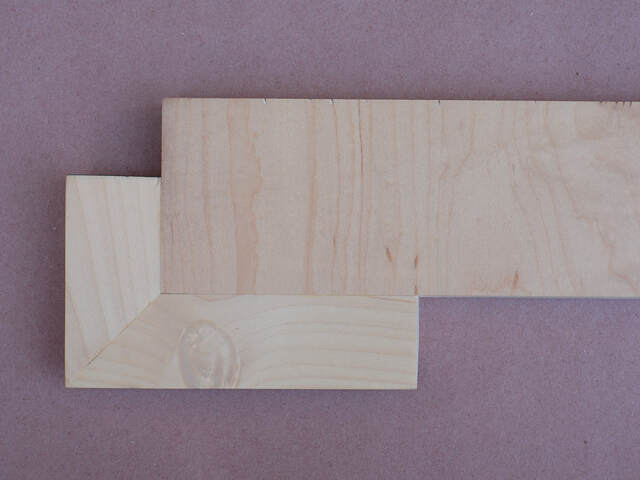
From other angles, the difference was very prominent and, to my wife, unacceptable.
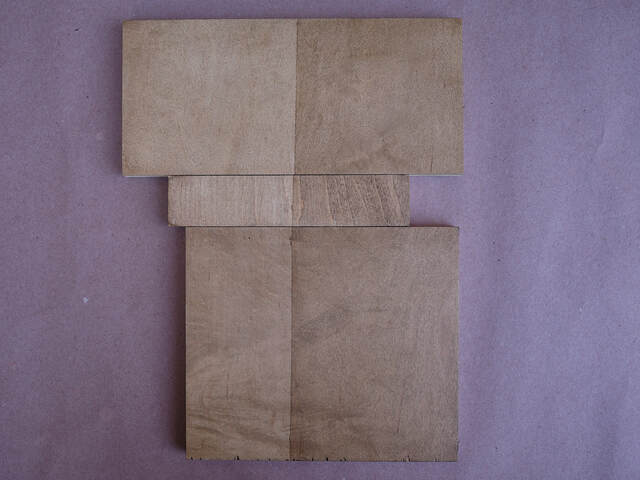
She didn't want a painted finish, so my next idea was to try a stain to reduce the color discrepancy. I really liked the GF water-based poly, so we looked at GF's water-based stain. The lightest color was Antique Oak, so I ordered a pint and tested it on scraps sanded to 150- and 180-grit. I tried both one and two coats (topcoated with the poly).
The results weren't too bad for a pigment stain on the close-grained maple. It resembled leather to me. To my wife, it looked dirty because of the pigment particles in some of the grain, so the stain wasn't the answer either.
I've never tried toning/tinting clear finishes before, but I had always wondered how well it worked. I had nothing to lose, so I tried a roughly 10% solution of 1 part stain to 10 parts poly on wood sanded to 220-grit. It looked much better than the stain, but slightly uneven (because of sloppy brushwork on my part). So I tried two coats of a weaker 2.5% solution of 1/4 part stain to 10 parts poly). The latter was very promising-more even and slightly paler. It didn't mask the differences between the solid wood and plywood, but it somehow made them more acceptable.
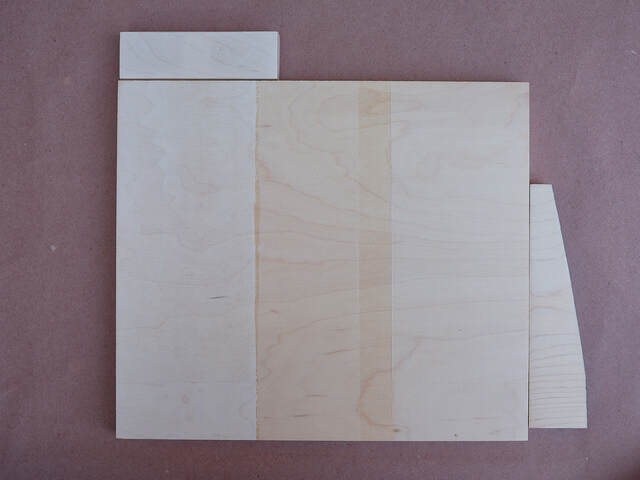
In the photo below, the 10% solution is at the top, and the doubled 2.5% solution is at the lower left and lower right. The other parts are the raw wood.
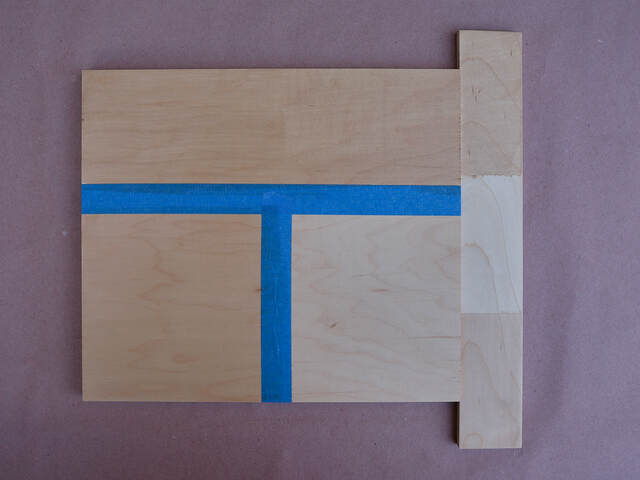
I was pretty sold on the 2.5% solution, but it was still too honey-colored for my wife.
At this point, I started reading about bleaching wood. It sounds like a two-part peroxide solution yields good results, but I wasn't sure how it would affect the plywood (like separating the face veneer, etc.), and my wife was concerned about the noxious chemicals, so I didn't pursue the idea. I did try household bleach on a sample. It actually darkened the wood very slightly, so that was out too.
Now I was starting to run out of options (and scrap pieces for testing), but I had been reading and watching videos about whitewashing. I thought it might produce too much of a rustic/weathered/shabby-chic finish, but I saw that GF sold a water-based whitewash stain. I thought it was worth one last try.
I tried the whitewash stain as intended (as a stain, although it goes on like a very thin paint), and also as a toner for the poly.
In the photo below, the stain (topcoated) is on the left, and the toned poly is on the right. When I showed the samples to my wife, I finally saw her face light up-the toned poly was finally the finish she had in mind, very pale and even while still letting some grain show through.
What a relief! I was finally ready to finish the actual cabinet. I mixed larger quantities of the 2.5% solution and applied two coats (sanding with 600-grit paper in between), intending to follow up with one last clear coat. But, for reasons that aren't clear to me, the color was too weak, not as white/pale as the sample. To solve that problem, I used a 10% solution of the toned poly as the final coat, and all was well (slightly whiter than the sample board, which was okay).
My wife is beyond happy with the final color (even though the plywood and solid wood on the cabinet top are still mismatched a bit). That makes all of the experimentation worthwhile.
When I finished the cabinet and decided to document these finishing experiments, I took a "family portrait" of all of the iterations.
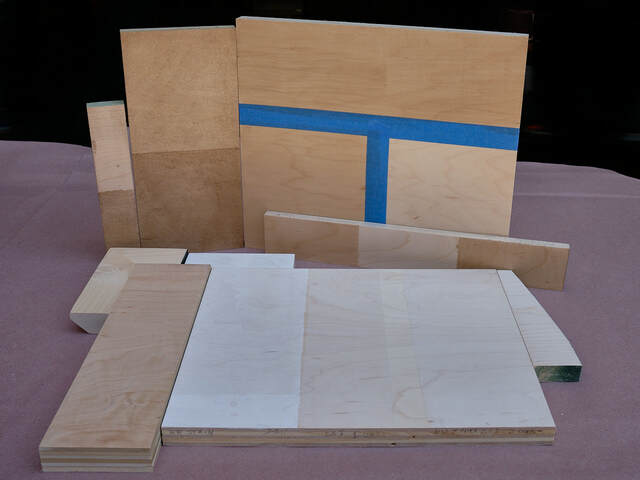
Even if this saga doesn't help anyone else, I'll refer to it myself the next time I attempt a toned finish.
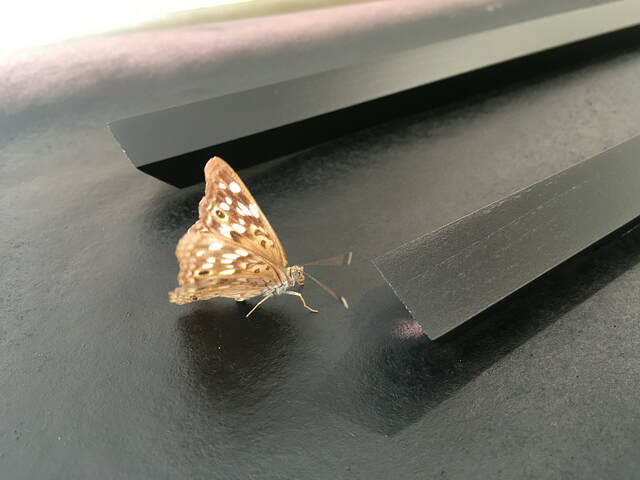
The other finishing step was painting the black trim pieces. Thankfully, that was uneventful. I just sanded the pieces to 220-grit, applied a shellac seal coat, sanded again, and sprayed on four light coats of Rust-Oleum Painter's Touch 2x Flat Black spray paint (from a rattle can). I even passed the stringent inspection from a local QA expert who dropped in. (I had to shoo it away once it climbed onto one of the pieces and started probing with its proboscis.)
With all of the finish applied, I had one last job-assembling and mounting the doors.