Share your craft projects
Make new craft buddies
Ask craft questions
Blog your craft journey

Ron Stewart
954 posts
and
24 followers
in over 3 years
in over 3 years
Sewing Supplies Cabinet with Inlaid Metal Tile Accents #4: Door Construction
This is
part 4
in a
6 part
series:
Sewing Supplies Cabinet with Inlaid Metal Tile Accents
...
-
Case Construction
-
Door Construction
-
(Adventures in) Finishing
...
- Case Construction
- Door Construction
- (Adventures in) Finishing
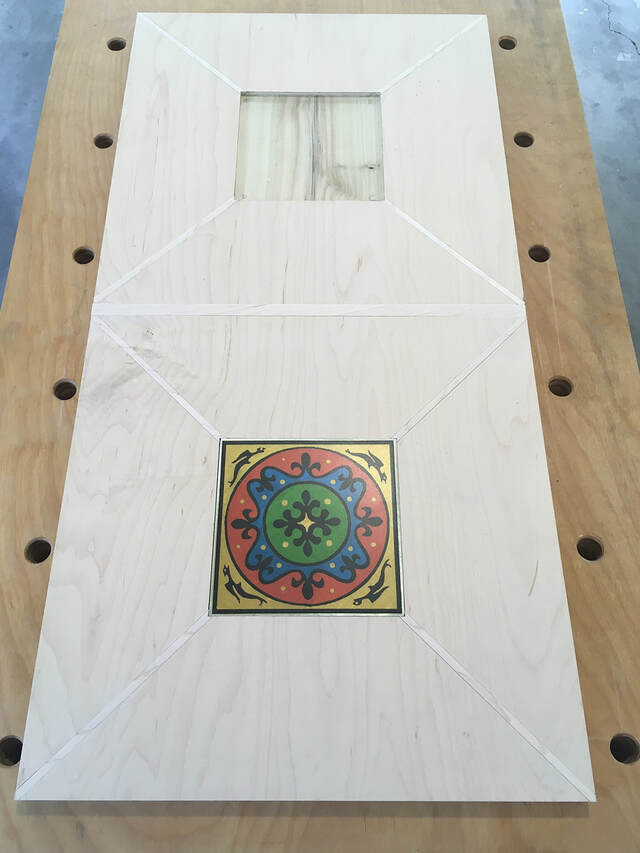
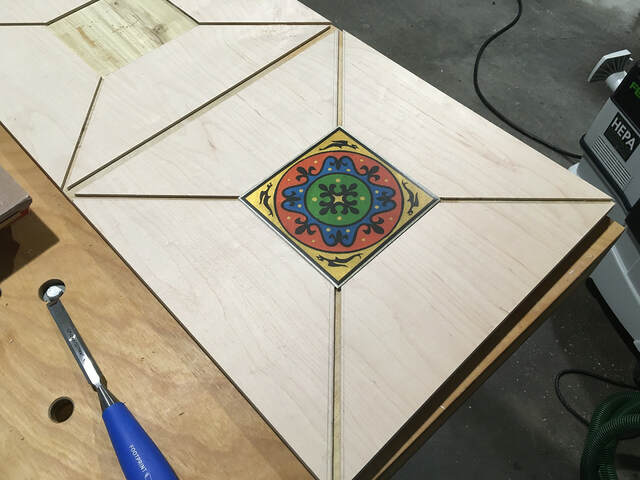
The doors are 3/4" maple plywood slabs with 1/2" wide solid maple trim and inlaid tiles and accent strips. They were by far the most difficult part of the project, mainly because they required a lot of careful routing for the inlays. Finishing concerns added to the complexity. I wanted to paint the trim and accent strips before assembly and attach them after applying finish to the slabs. That meant I needed to be very careful with clamping (to avoid marring the paint or finish) and that I couldn't sand the trim after assembly to make sure it was flush with the slabs.
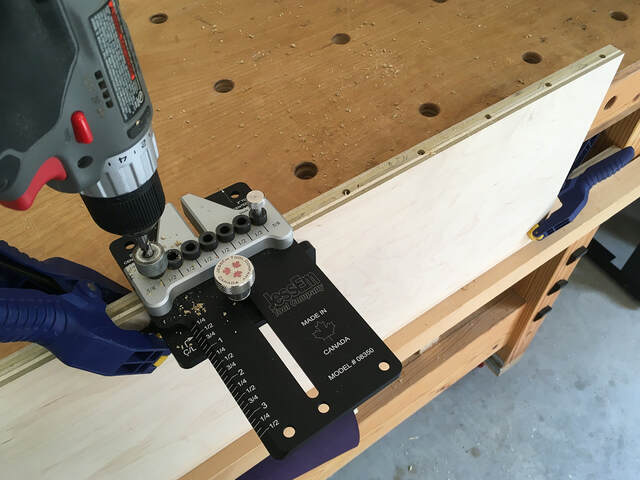
I used dowels to attach the trim to the door slab edges. I drilled the holes first into the slab edges and mating trim sides, leaving the trim pieces long. After that, I dry mounted each trim piece to the slab before marking and cutting the mitered ends. The dowels ensured that the front faces of the trim were flush with the slab faces and helped align the trim during subsequent gluing. I didn't take many construction photos of this part of the project.
I used dowels to attach the trim to the door slab edges. I drilled the holes first into the slab edges and mating trim sides, leaving the trim pieces long. After that, I dry mounted each trim piece to the slab before marking and cutting the mitered ends. The dowels ensured that the front faces of the trim were flush with the slab faces and helped align the trim during subsequent gluing. I didn't take many construction photos of this part of the project.
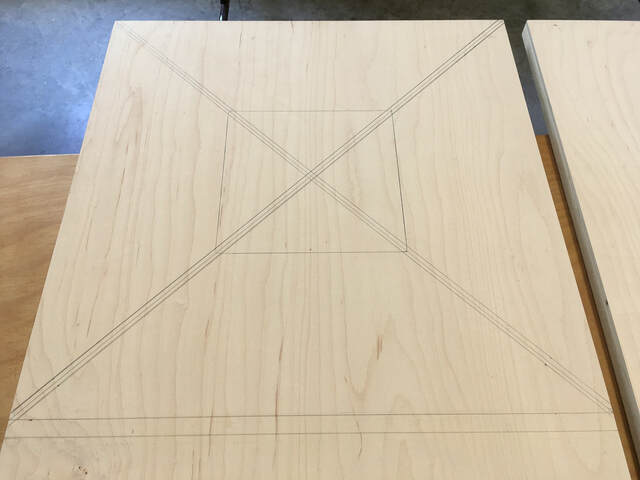
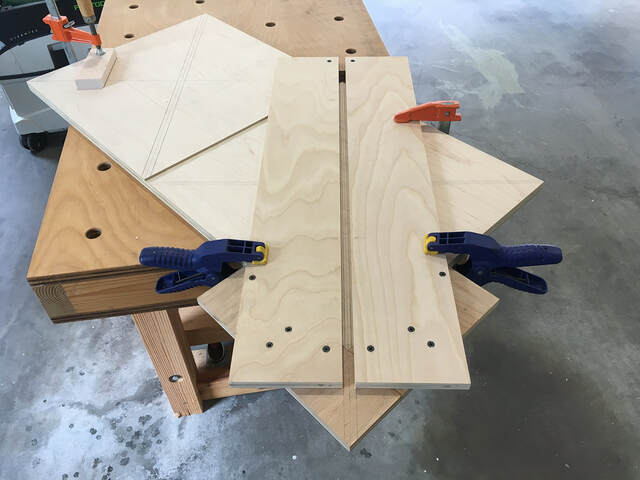
With the trim pieces cut, I turned my attention to the routing for the inlay, starting with laying out the routing lines.
The first channels I routed were for the 1/2" wide center divider strips. I don't have a dado jig, so I just carefully aligned and clamped two guide boards to the door slab and used a 1/2" pattern bit to route the channel.
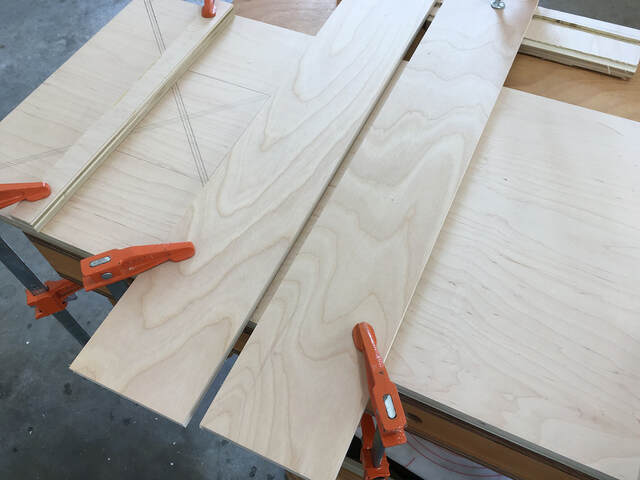
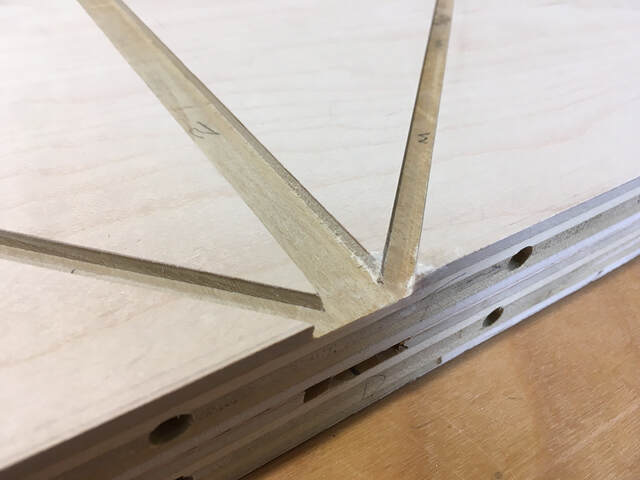
Then I turned my attention to the 1/4" wide channels for the 'X' inlay strips. I built a template for my 1/2" diameter router guide bushing. It's just two straight pieces of plywood spaced 1/2" apart and screwed to an L-shaped corner fence. (I should have built this jig first because I could have used it for the center divider strips too.)
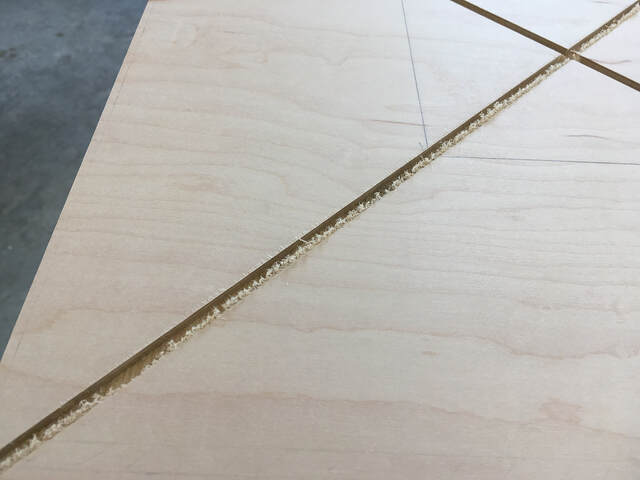
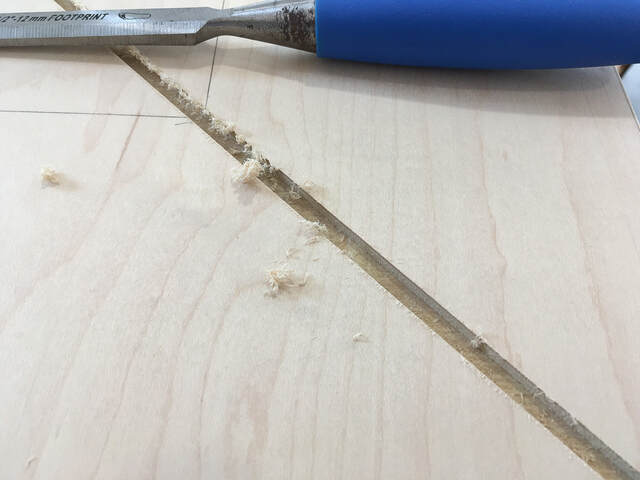
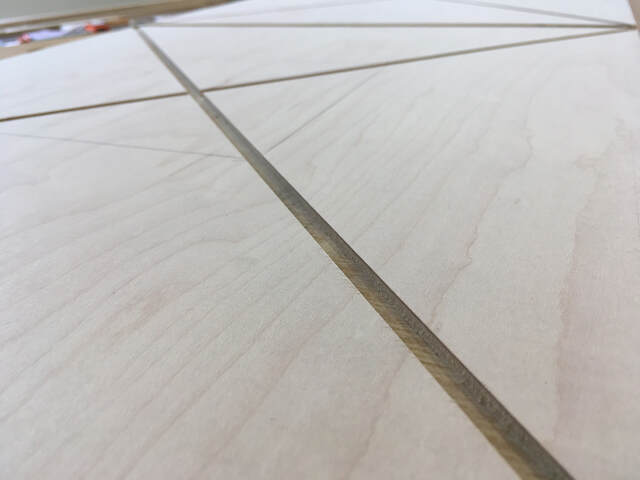
I used a 1/4" spiral upcut straight bit to route the channels. It yielded nice clean edges on one side of each channel and furry edges on the opposite sides. I cleaned up the furry edges with a chisel and some sandpaper.
I got some minor chip-out at the ends of two of the channels.
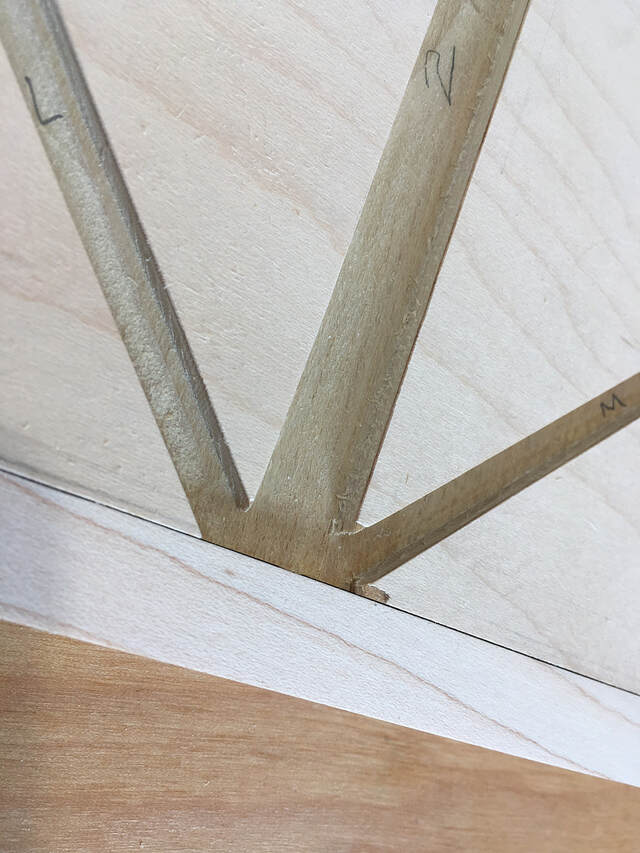
I attempted to fix it with a sawdust and white glue paste.

The result isn't perfect, but good enough not to draw attention to the problem areas.
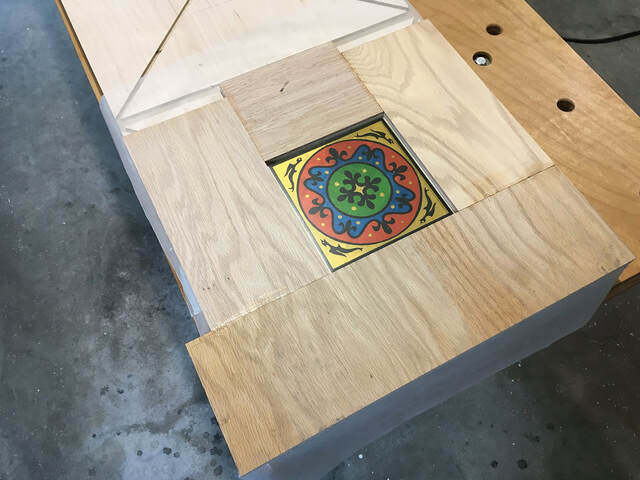
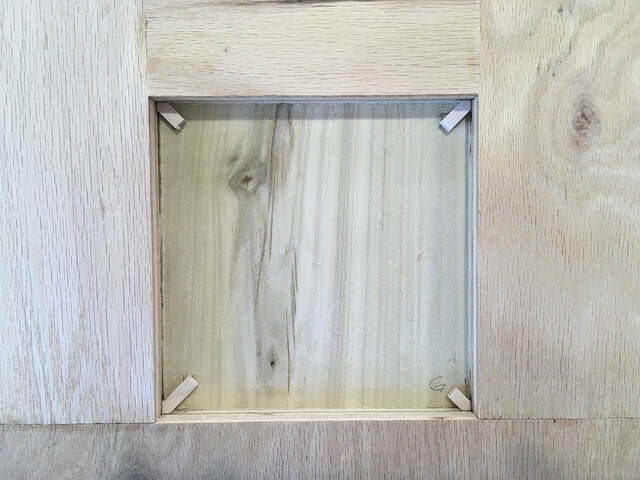
Now all that remained was routing the tile recesses. To help with that, I made another jig by gluing four pieces of scrap plywood around a tile. (I trimmed the protruding bottom left edge after I took the photo below so the template's width matched that of the door slab. That made it easy to position the template.)
Then I used my 1/2" pattern bit to rout the recesses. I took three shallow passes, starting with the perimeter each time and then hogging out the interior.
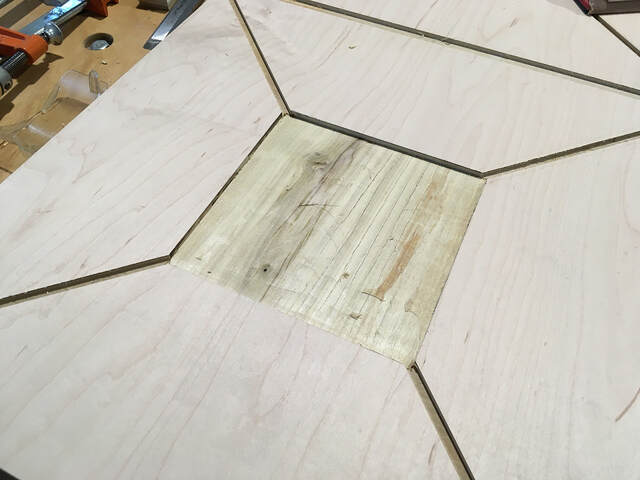
After routing, I had to use my chisel as a scraper, followed by some sanding, to remove a tiny bit of material along each edge before the tile would drop into the recess.
I used the tile routing template to mark the inside edges of the accent strips.
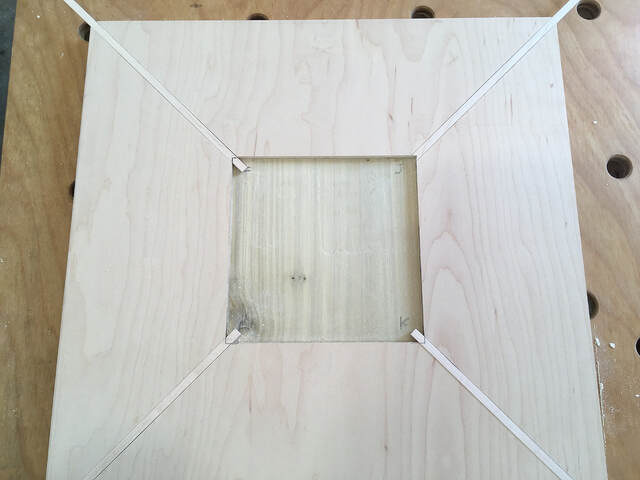
The channels for the 'X' accent strips weren't all perfectly aligned with the corners of the slab or with the corners of the tiles. They were close, but with such a narrow (1/4") channel, any error is noticeable. It wasn't bad, but it meant that I needed to custom cut every accent strip (and carefully label everything so I could put the strips in the correct channels during final assembly).
I cut the notches on the tile ends of the strips with an old X-Acto saw I've owned since I was a kid building plastic models.
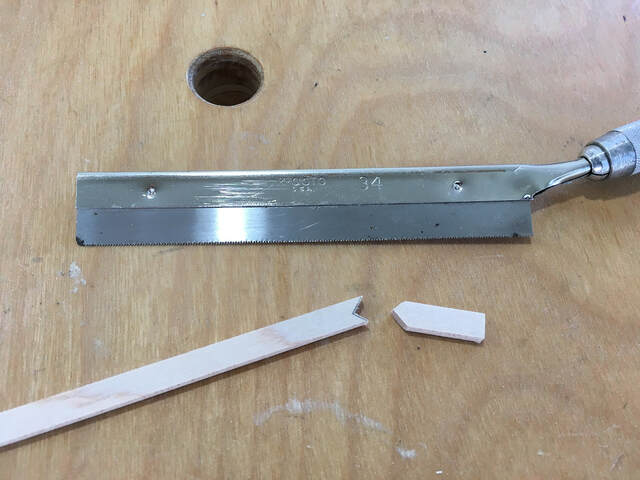
To cut the opposite (pointed) ends, I placed the strips in the channels and flush-trimmed them with the same saw. With that done, the doors were ready to finish and then assemble.