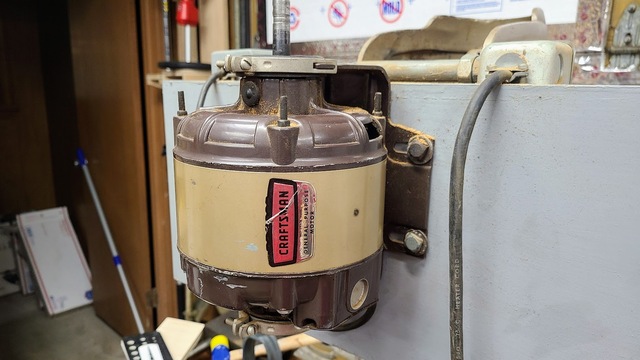
Back to the grind with this drill press restore. The first thing I decided to tackle once I got the new cabinet built is the disgusting motor. Really the whole damn thing is disgusting. I don't think the previous owner knew what dust collection was. Even the main column has sawdust in it somehow…and that thing has a top cap on it so dust can only get in from underneath. So you can imagine the motor was literally caked with dust on the inside
Here is the motor in question.
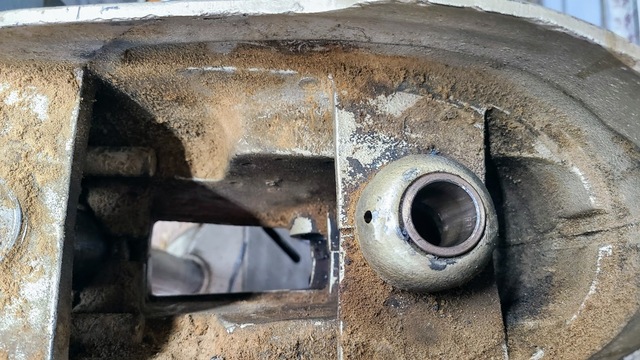
Unfortunately I've been busy as hell restoring planes while working on this so I forgot to take an pick of the inside of the motor. So imagine it looks like a bunch of copper coils caked in crud like the headstock in this image.
The first thing I did was cranked the compressor up to just below dangerous pressure levels and blew as much crap out as I could. After that I used some electrical contact cleaner and sprayed the windings down with it THOROUGHLY. I'm not sure if you're supposed to do that but it worked.
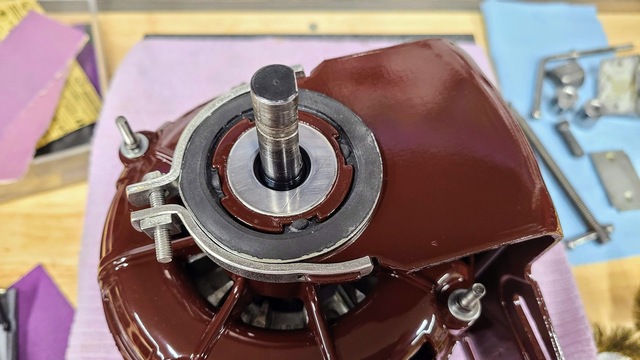
The top and bottom caps I took to the kitchen sink and scrubbed down. Those weren't all that terrible to clean. Only issue I had with those is this motor doesn't use bearings. The top and bottom caps contain a bushing with a bunch of foam around it that holds oil. I was careful not to get those areas too wet but it did happen. So I sprayed the foam down with water displacing oil and let them sit a couple days to drain out.
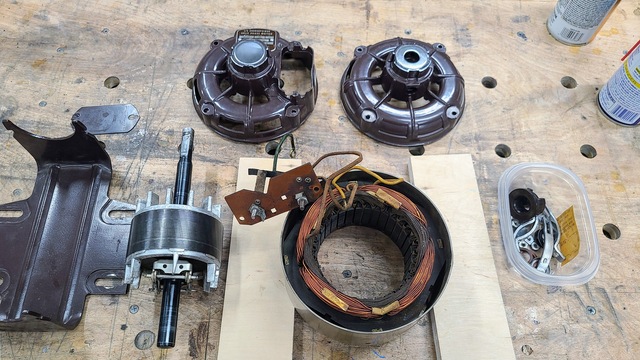
Here is all my parts all cleaned up
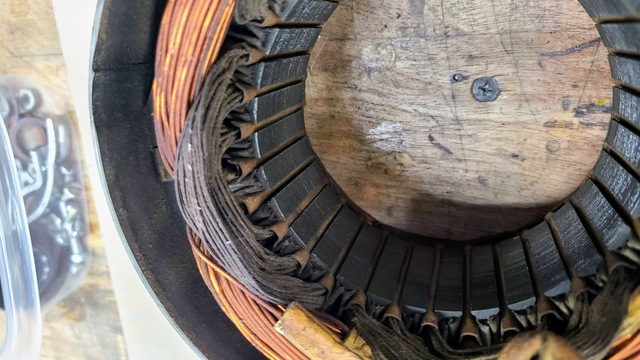
And a close up of the motor windings. This is as good as I could get it.
Next step was take the bracket and wiring cover plate to the blast cabinet. I couldn't blast the caps because I couldn't get the bushings out without destroying the seals and I did not want to spend a crap load of time doing trial and error to find replacements. Instead I used some steel wool to scuff them up prior to paint. That was all pretty standard paint prep you can look up just about anywhere online so no pics to cover it.
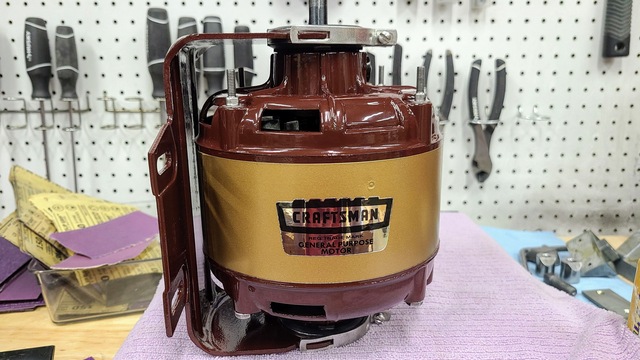
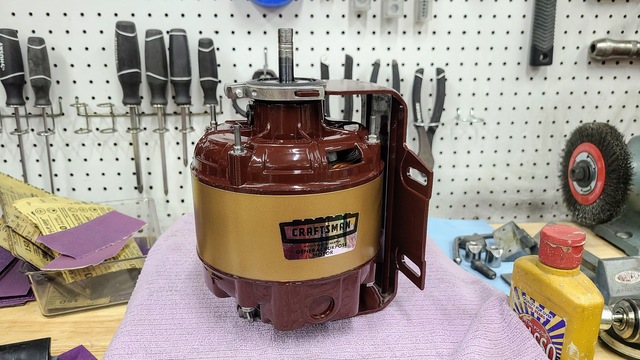
I guess now its time for the reveal of the restored motor. The center of the bottom cap is actually mirror polished. Not sure why it shows up brown but I assure you it is a mirror you can see yourself in.
Now if you look closely you can see I did screw up on one thing. The new rubber mounting rings I got use some fairly flimsy metal. I tightened the screws down to the same amount of torque the originals could handle and I squished them slightly. I don't think it will hurt anything but I am kind of bummed about it.
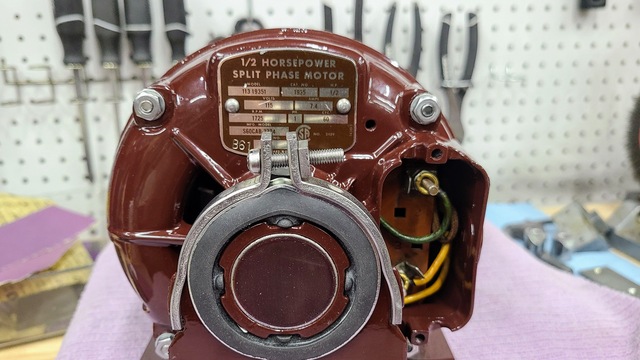
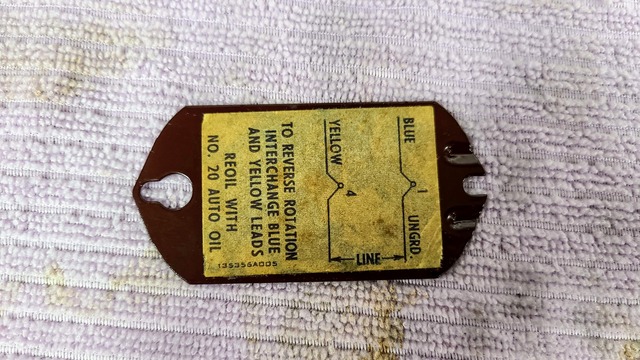
And as a bonus the wiring cover plate even managed to retain its original diagram. That thing just fell off in one piece so I used some spray adhesive and put it back on.
I must say I am quite proud of how this turned out. When I sent a picture of it to my brother he thought I bought a brand new motor. I'd say that's a win for anyone who likes restoring old tools.