One thing I find comical and oddly refreshing is the utter lack of safety measures on this old drill press. No cover for the pulleys and no power switch. You plug it in and it starts spinning. If you left stuff or yourself in the way well that's on you. That being said I did want as switch on this thing.
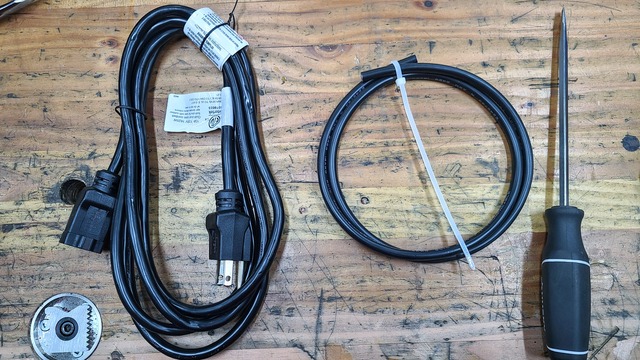
I start off with an inexpensive 14 ga extension cord and some shielded 14 ga twisted copper primary wire. I know you can buy power cords but I have found most of the "power cords" are short and have stupidly fat insulation that doesn't play well with these older motors. Meaning its super hard to get the cover back on because the notches for the power cord aren't big enough.
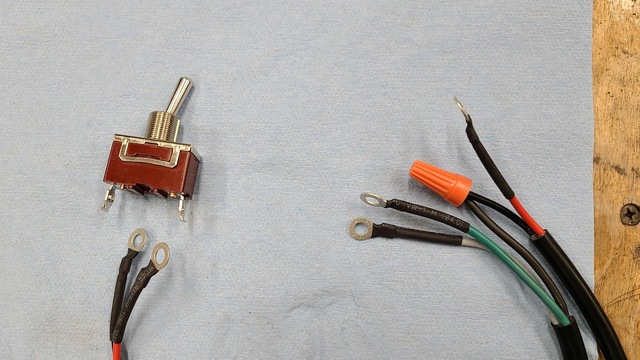
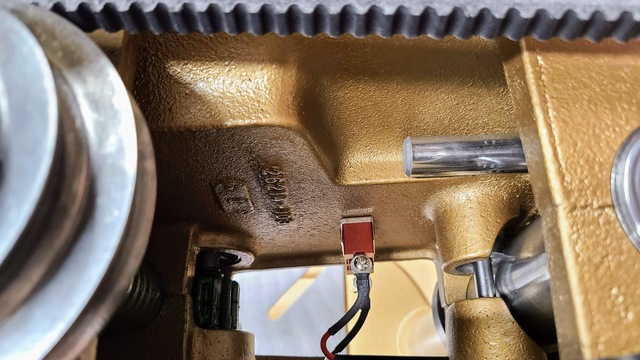
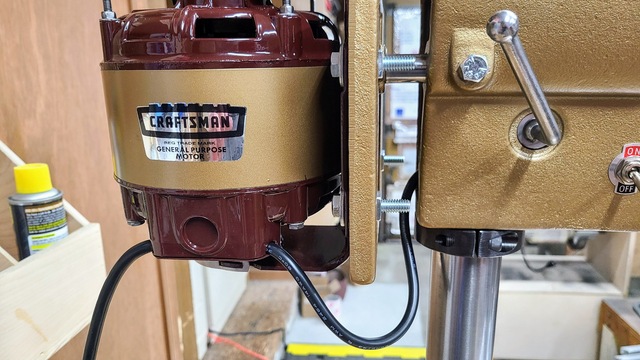
Next up is prepare the wiring and switch to be installed. I'm not an electrician so if I did this wrong feel free to call me stupid but if you call me stupid at least tell me how to not be stupid. I have a red and black on the switch. Twisted the black from the primary and black from the power cord together. Then on the motor I put white on one terminal and red on the other according to the wiring diagram on the cover. Finally the ground attaching directly to the housing. I did sand the paint off under the ground. One thing I learned is small zip ties make great "stops" to keep your wires from pulling out of the housing.
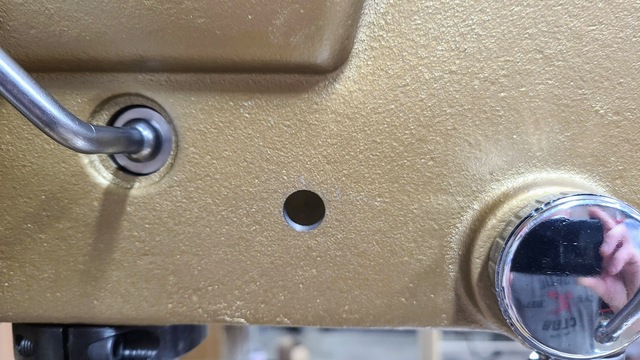
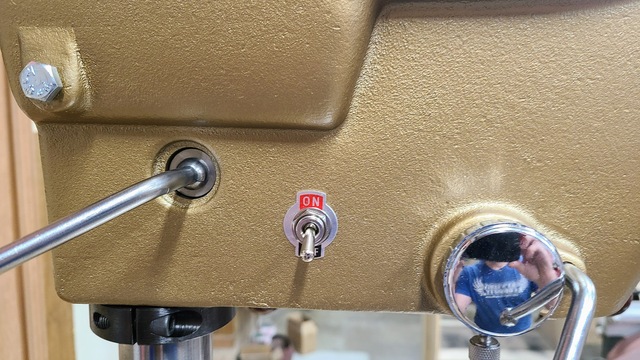
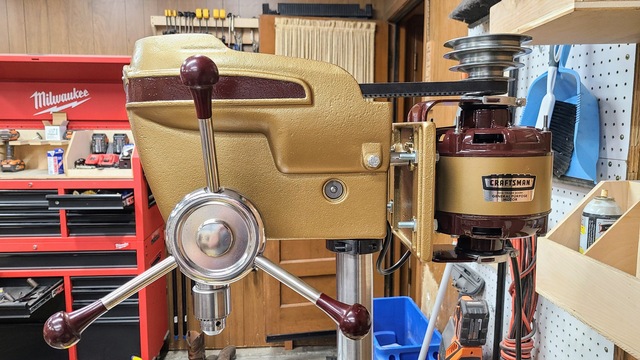
I wanted to mount the switch on the right side of the headstock but the resto-mod handle gets in the way so I ended up using a big clean spot on the left side of the headstock. I started with a 3/16" pilot hole and stepped it up to 1/2". I spent quite awhile getting it lined up just right to look OEM as possible.
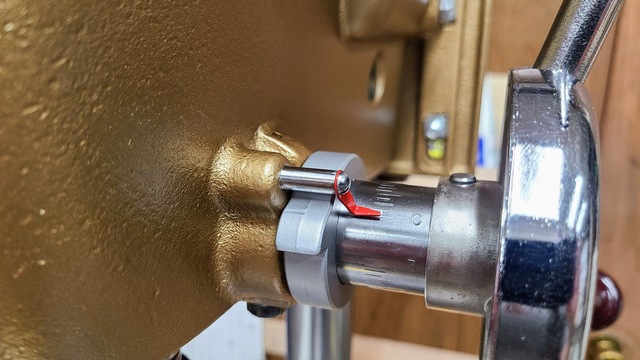
Here is the switch installed. I quite like how it looks. Between the bakelite case and the decorative plate it looks like it could have come on this machine from the factory.
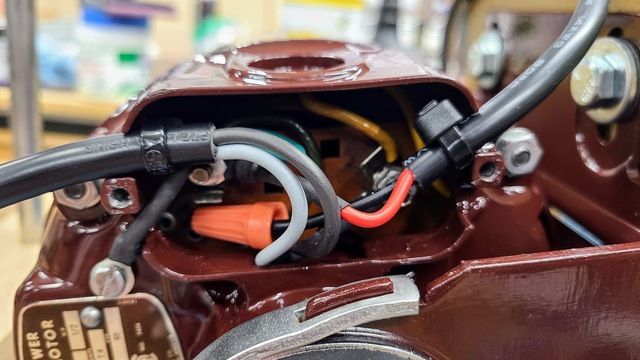
And a view of the switch inside the headstock for those who are curious.
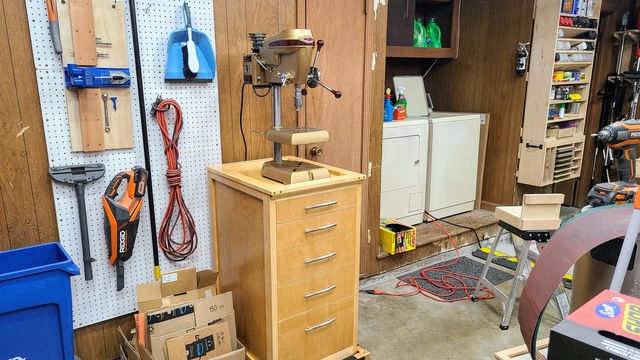
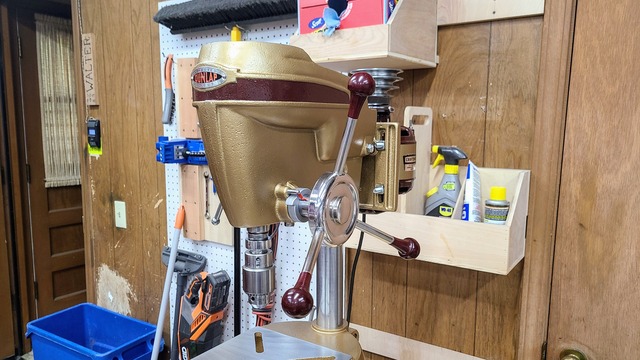
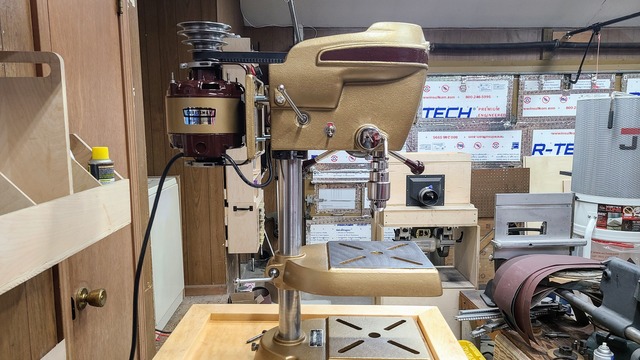
I guess now all that is left is to show a bunch of images of this old gal in all dressed up and in her new home.
Since I finished this I have also restored some accessories for it like a vise and mortising kit. I have also upgraded the original motor pulley and learned to do a DIY static balance on the pulley. So stay tuned for one more entry on those bits.