Today I want to show off a few accessories I got for this drill press. One of them was an eBay find I paid more than I should but it seemed fitting and the other came with the drill press for free. After that I will go over how I balanced both the head stock pulleys to get this thing running super smooth.
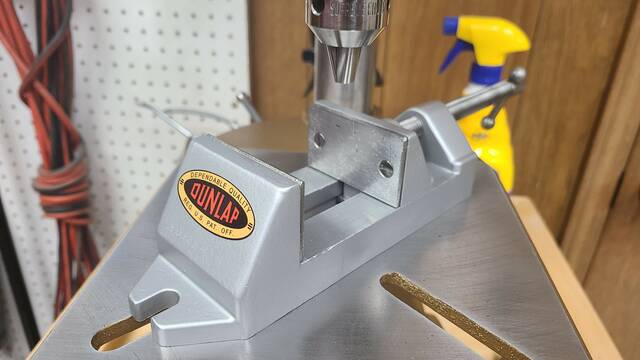
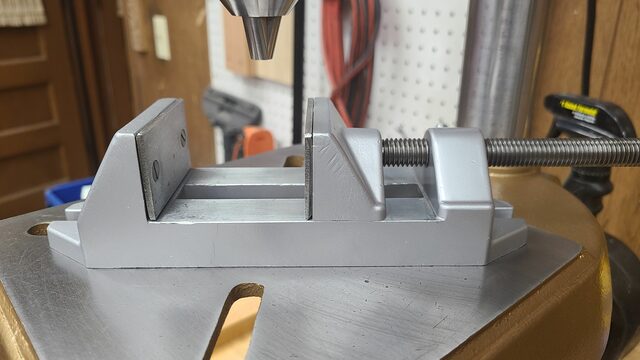
First up is the Dunlap drill press vise. This thing is pretty low budget being made of cast aluminum with steel jaws. But they are smooth steel jaws so maybe it will be good for drilling soft metals like brass. This one was simple. Blast it all clean, toss all the steel bits into shock water for a couple cycles, polish steel bits with a wire wheel, and spray the body with Duplicolor cast coat aluminum. Oh and spend $10 on some Dunlap decals for a vise worth probably $5.
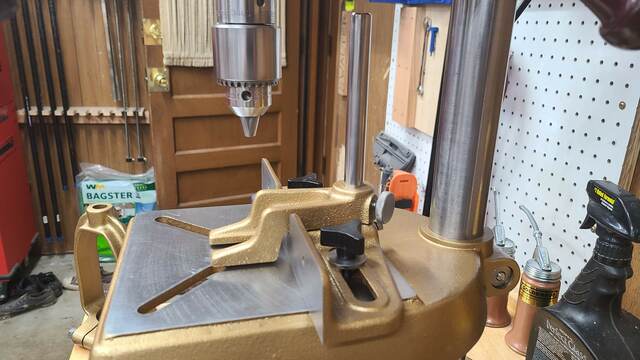
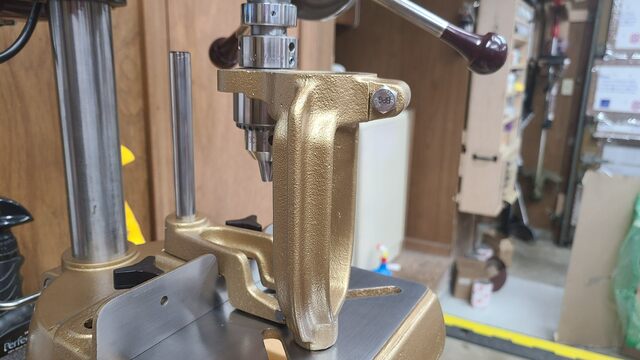
Next we have a mortising kit for the drill press. This thing will probably never get used. I've tested it with the one 1/2" bit that came with the tool and it works but my god is it a pain to use. You have to take off the chuck to slip this jerk on and then put the chuck back on. I may actually make use of the fence and the hold down though. That fence originally had A LOT of tooling marks in it so I took it over to the trusty surface plate and lapped it flat. That takes much longer than typing it out makes it seem.
Now on to how I made it purr like a kitten. First I have to say it never really ran bad it just had some noticeable vibration in the table that was bugging me. After so much work went into replacing all the bushing and learning to ream those precisely I was a little bummed at the vibration. So after some extensive internet research I came to the conclusion the pulleys aren't balanced well.
The first thing I did was bought a brand new pulley for the motor. This new pulley was made for 1/2" shafts without using a sleeve. To my surprise it was harder to find than I thought. Turns out most pulleys come with a 5/8" shaft hole and a collar to reduce that to 1/2" just like I started with.
Next thing was figure out how I was going to balance the pulley. There are 2 ways I found that pulleys are balanced. First method is static balancing which from what I understand is ensuring the pulley is balanced around the shaft. The second method is dynamic balancing which requires a bunch of fancy machines and other things I don't have or didn't understand.
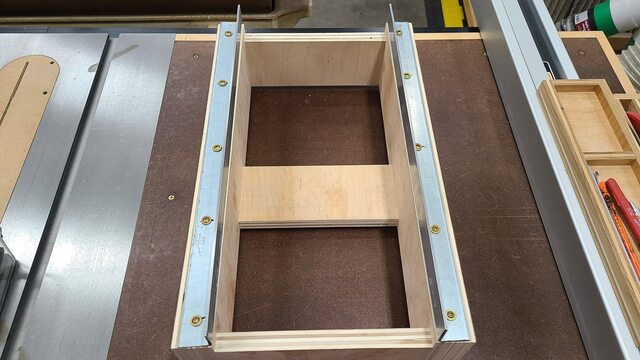
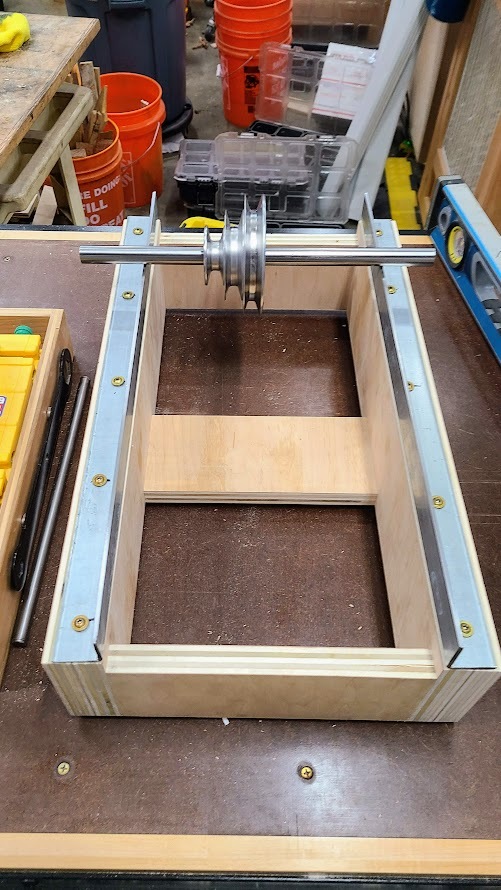
To static balance the pulley I built this thing... It looks goofy but it has a purpose. On top are 2 pieces of L-channel steel. Those are ground as dead flat as I can get using files and my surface plate. Underneath are 4 leveling feet in each corner so I can get it as dead on level as possible.
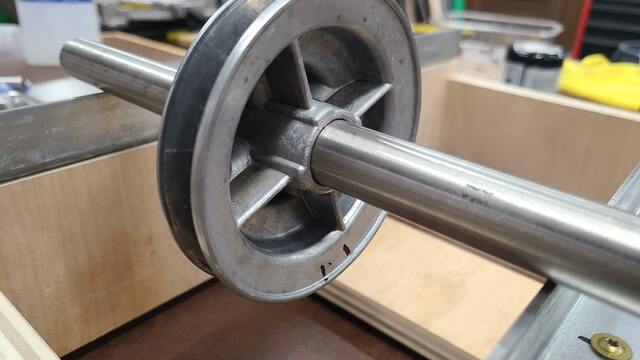
To use this funny little contraption I went to McMaster Carr and purchases a 1/2" x 12" precision guide rod. I insert that rod into the pulley and lay it across the 2 steel runners. You push the pulley forward and let it settle...this is slow and annoying...then mark the bottom of the pulley where it settled to a stop. You then pull it back and let it do the same. Mark it again if those spots aren't the same. Then drill a dimple either on the line if it settled in the same spot or centered directly between the lines if they are different.
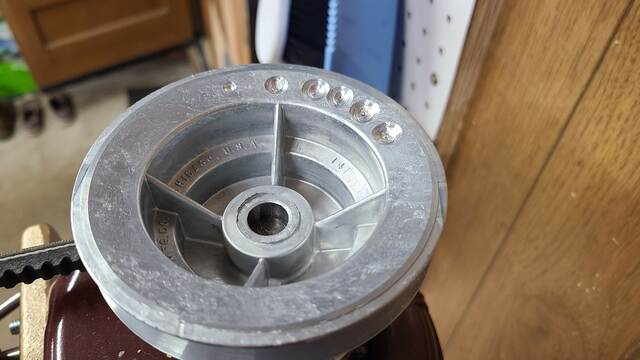
I don't have examples images from the drill press pulley because it was a big experiment that could have gone down like the Hindenburg but here is an example from working on my Shopsmith headstock pulley. One line is from rolling forward and letting it settle and the other is from rolling it back and letting it settle. I would then dimple the top edge of the pulley between those 2 marks to remove a slight bit of metal. Then repeat the whole process as needed until you can roll the pulley and it stops where it stops. Basically if it no longer rocks and just stops in place you are balanced.
The final result for the drill press pulley looks like this on top... This particular roundish bastard was a pain to balance. Yet the 2 pulleys off the Shopsmith went stupid simple only requiring 2 or 3 adjustments.
That was a whole lot of work and half way inventing a method to do it on the spot. I watched a video of a Russian machinist doing something similar but he had access to welder and much nicer equipment so I had to improvise.
It was a lot of work, and kind of expensive for the guide rods, to balance both pulleys but it was worth it. As a test I stood 3 unsharpened pencils on the drill press table and fired it up. All 3 pencils stayed standing. If you would like to see that test here is a link to the 15 sec video on imgur.
That is a wrap for the drill press. It started as a $60 purchase from an estate sale with probably 2 or 3 times that amount put into it...and that's without counting my time. If I had to do it all over again I would. This thing looks as good as it did new and I would bet its never ran this good in its life. Its proudly sitting as my favorite tool in the shop right now.