Not a lot to cover on this entry but I'm trying my best to at least cover all the major steps.
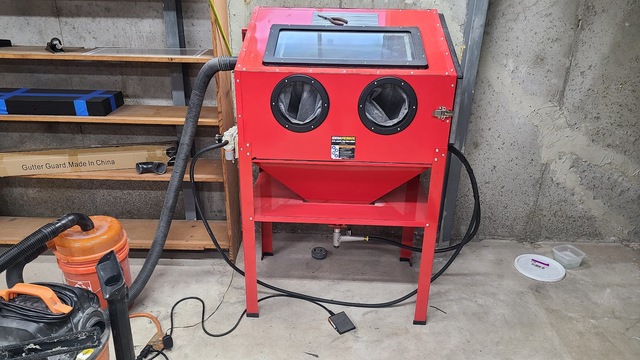
For paint prep of cast iron its pretty straight forward. Remove the old paint and clean the snot out of the cast iron. How you remove the paint is up to you. Wire wheels or blast cabinets tend to work best. These days I use a heavily modified Harbor Freight blast cabinet.
The blast cabinet looks kind of like this…its in a constant state of flux it seems.
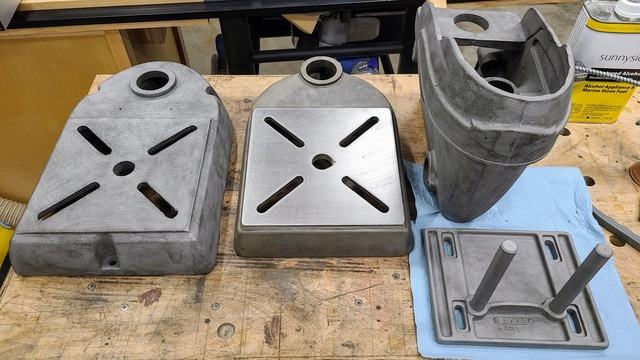
Once cast iron comes out of the blast cabinet it looks kind of like this.
From there I take everything outside, glove up, mask up, and spray the hell out of every part with brake parts cleaner. Bring it back in and blow it off with the compressor.
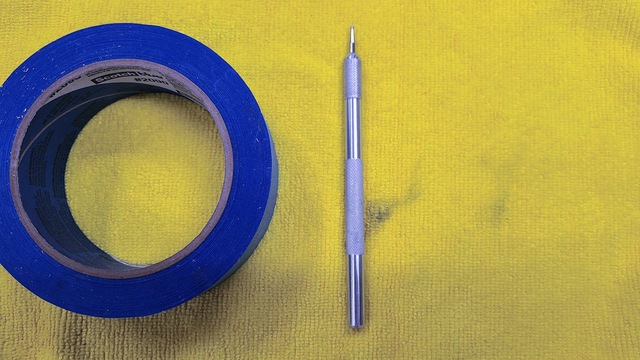
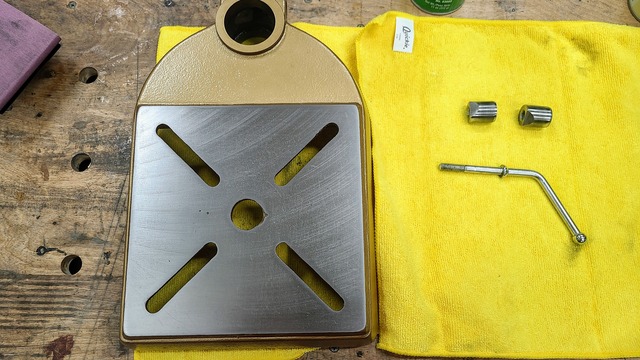
All that's left is to tape off the areas you don't want paint on. Taping flat surfaces is pretty simple so I didn't take images to go into detail. Sharp exacto knife or straight razor is all you need to make nice crisp edges. However some parts do require a special tool.
For the detail work I use a burnisher. And not just any burnisher its a specific kind designed for dry letter pressing. It looks like this.
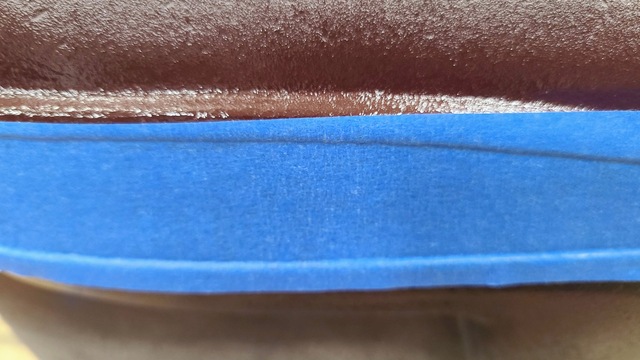
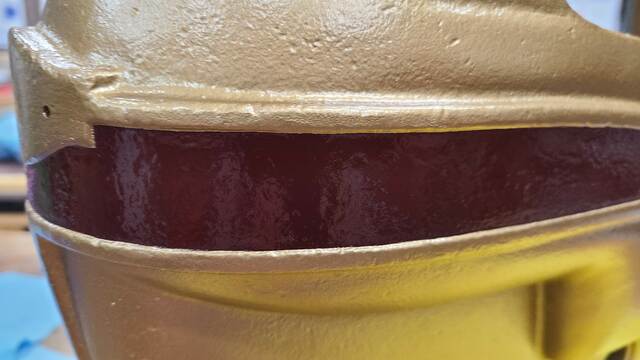
The reason I love this little shiny falic looking bastard is it can get into creases and help give you nice clean edges like so.
All you need to do now is use your sharp exacto knife and trace it out like so.
(never mind that thick over spray…I was stupid and had to sand it down as my punishment)
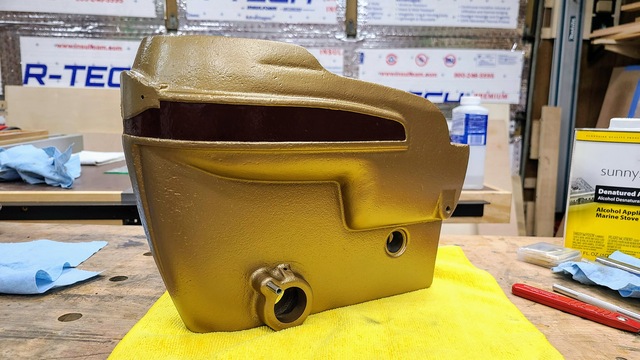
If you did everything correctly you don't need to do any touch up and it looks like this.
Like I said not a lot to cover in this one so I will just post some images of the rest of the parts I painted so far.
I'm much farther ahead in the project than the last image shows but this is as far as I've gotten sorting my images. So stay tuned for more progress posts coming out quickly.