Each cabinet is a relative simple box. The only thing that made it at all difficult (or, more accurately, inconvenient or awkward) is its size: 43.5" x 8.5" x 15.5".
The entire cabinet is made of 3/4" MDF. MDF is common for speaker cabinets (as is Baltic birch). It's dense and fairly dead (in most designs, deader is better) and is a good substrate for veneer. It's also messy, and a lot of speaker builders prefer Baltic birch. Solid lumber isn't used as often, mainly because builders are worried about wood movement. You don't want any gaps to open up, which would impact the sound.
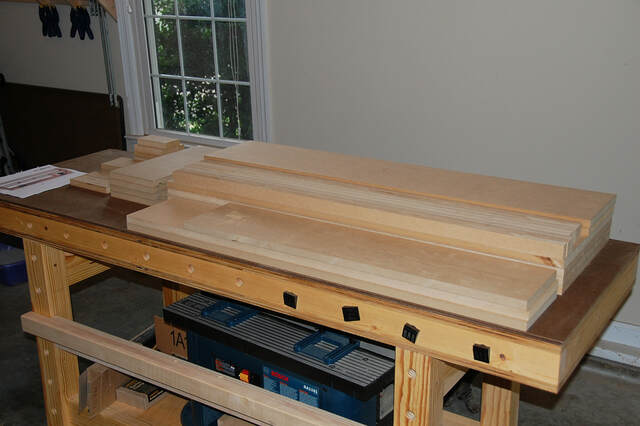
Here are all the pieces cut to size, ready for assembly.
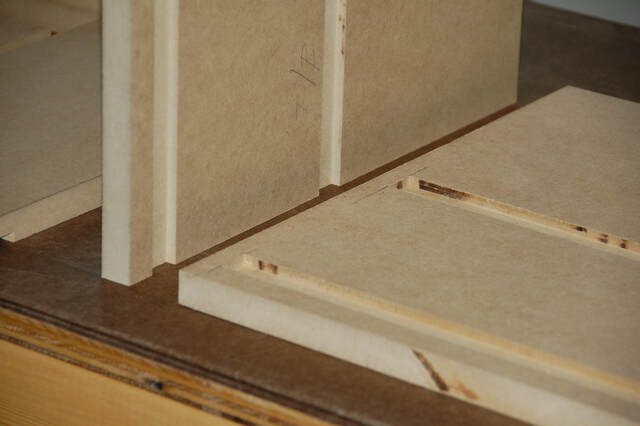
The ladder brace near the middle of the cabinet and the back brace (to which the back panel is screwed) fit into dados.
Here, I'm testing the fit of the long brace sides.
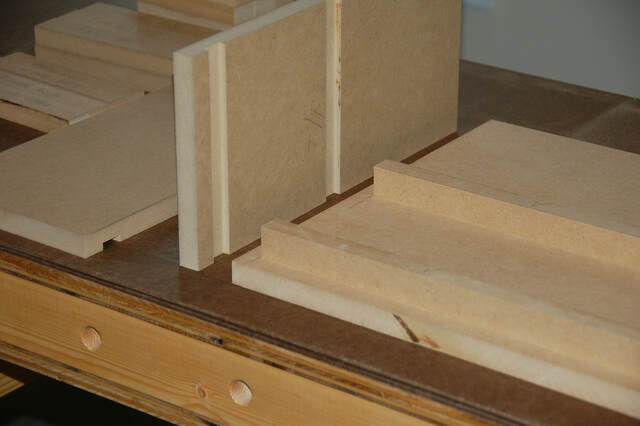
Here are the ladder and back braces. It's a bit hard to tell, but I used pocket screws to build them.
I didn't take any more in-progress photos of the cabinet build, but I used my Jasper circle-routing jigs to cut the holes for the tweeter, woofer, and port and pocket screws to assemble the cabinet. I also used my router and rabbet bit to cut recesses for the woofer and tweeter. In general, you want the fronts of the drivers to be flush with the cabinet front.
Using pocket screws without glue is very simple--just clamp the pieces, drill the holes, and drive the screws. Using them with glue is trickier because it's hard to keep the pieces from sliding around. To avoid that problem, I used a two-step process. First, I clamped, drilled, and drove the screws (without glue). Then I removed the clamps, applied the glue, and re-drove the screws. That made things easier, as the screws helped align the pieces. Overall, it made for a less stressful glue-up--no clamps needed.
Even so, I cut the side panels 1/8" too high/long, and the baffle 1/8" too wide and long, to leave a 1/16" or so overhang (slop) to account for any movement. After the cabinet was assembled, I trimmed the overhang with my router and a flush-trimming bit.
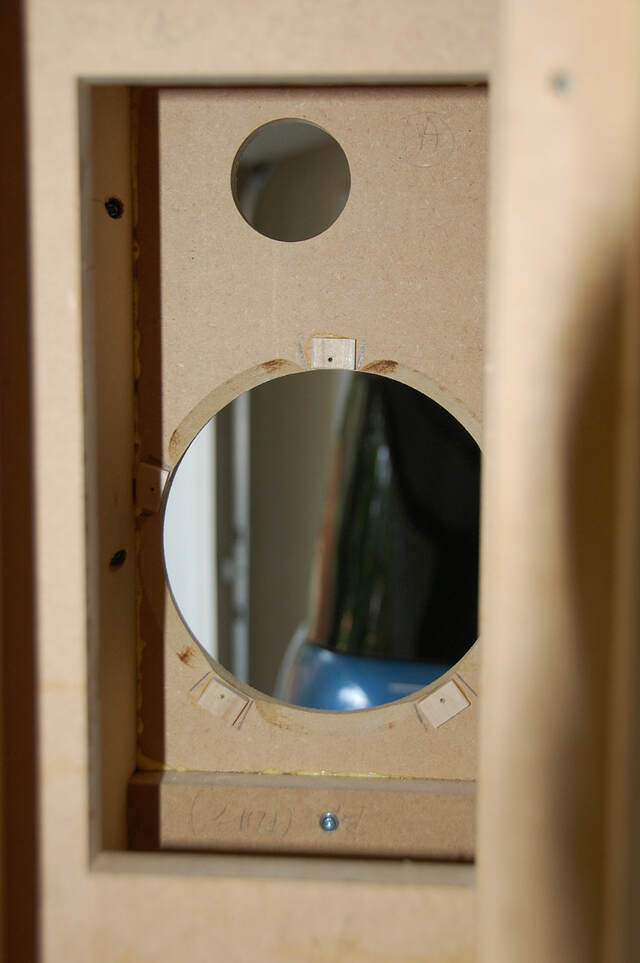
It's typical to cut scallops around the back of the woofer hole to give the cone more breathing room. Because MDF doesn't hold screws as well as wood, I glued some small, 1/4" thick maple blocks behind the mounting screw holes to give the screws something solid to bite into.
I wanted the back panel to be removable, so I installed fourteen T-nuts along the perimeter of the back brace. I used a bar clamp like a vise to insert the T-nuts. I just hand-pressed each nut in place, squeezed the clamp jaws around the nut and brace, and tightened the clamp screw to finish the job. That was quick and easy.
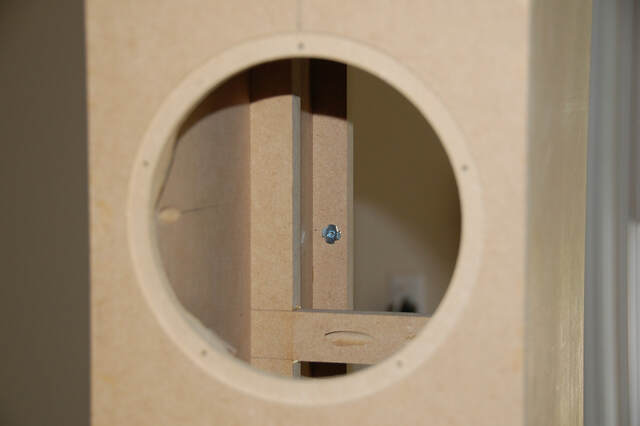
Here, you can see one of the T-nuts through the woofer cutout. You can also see the recess for the woofer that I mentioned above.
At this point, the cabinet was complete except for the back panel, which is the subject of my next post.