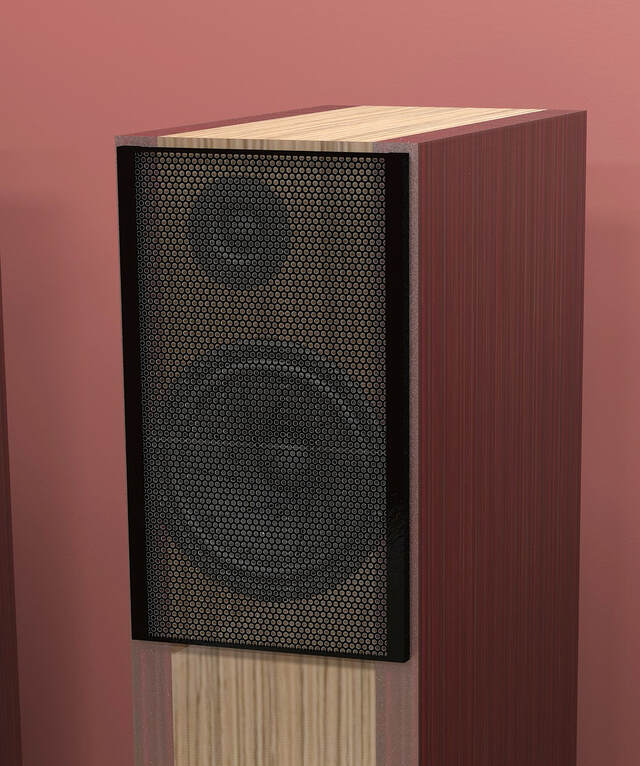
Before I started veneering, I came up with a concept for protective grills. Here's a rendering. Note the narrow frame on top and bottom, and the way the grill is inset a small amount from the cabinet edges.
For the grills, I didn't want to use black cloth; I want something semi-transparent that doesn't completely break up the vertical lines of the overall design. My plan was to use a 1/2" wide (or so) frame on the sides, with a minimal frame (maybe narrow "U" channel or something similar) on the top and bottom. I wanted the grills to float away from the baffle by about 3/8" (to reduce diffraction effects from the frame).
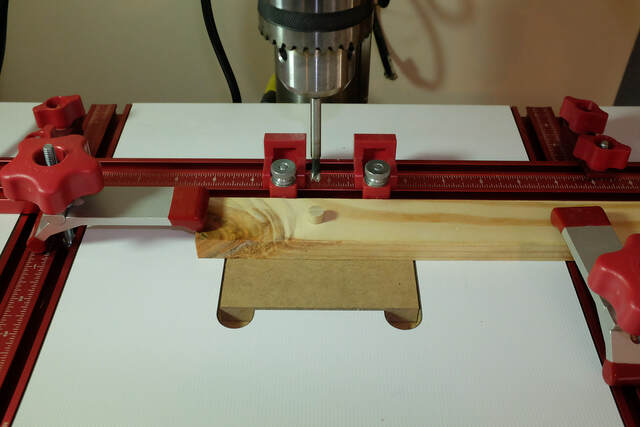
Why is it important that I planned (more or less) the size of the grills before veneering? Because I planned to embed disc magnets in the cabinet, under the veneer. Matching magnets in the grills would hold them in place. To make sure the magnets would line up, I made a simple drilling template.
It took me nearly nine months, but I finally got around to constructing the grills. I actually built them twice.
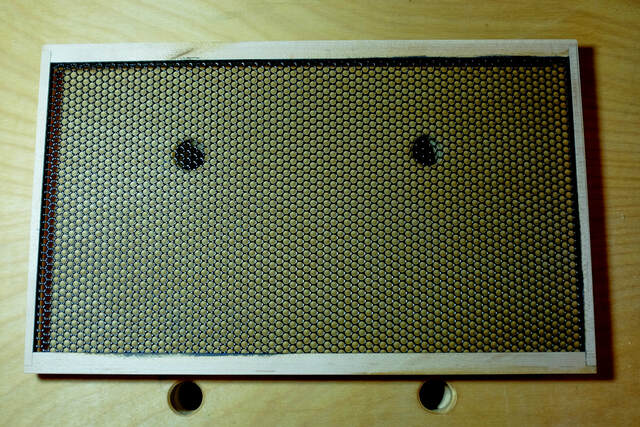
I made them from perforated metal with 5/32" holes (Reliable Hardware Part #RH-3152). Their open area is 62%, which is about the best I could find. I highly recommend Reliable Hardware. My order specified a size of 13 1/4" x 7 5/8" for each piece, and that's exactly how they measured, with crisp, clean edges.
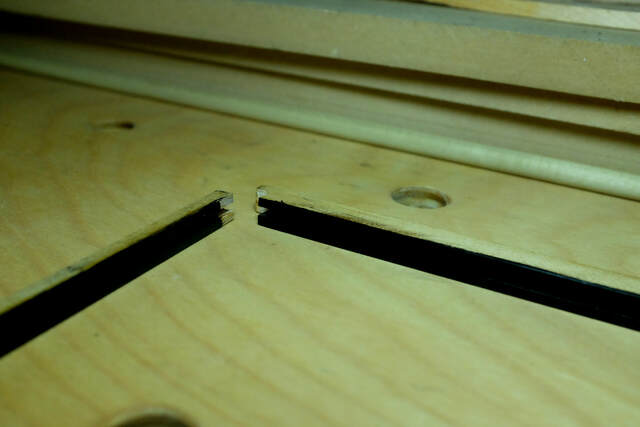
I didn't use U-channel for the top/bottom edges. I just built a frame out of narrow pieces of scrap. A saw kerf formed a channel for the perforated metal. I painted the inner edges before glue-up to make sure I didn't get paint on the metal when I painted the rest.
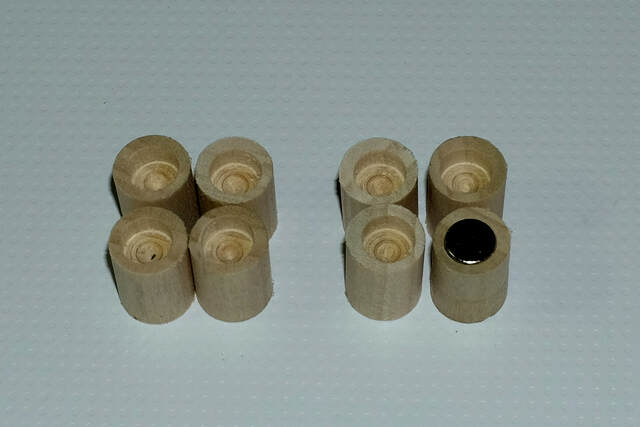
For the standoffs, I cut 1/2" lengths from a 3/8" dowel. I drilled 1/8" deep holes in the frame to hold the dowels.
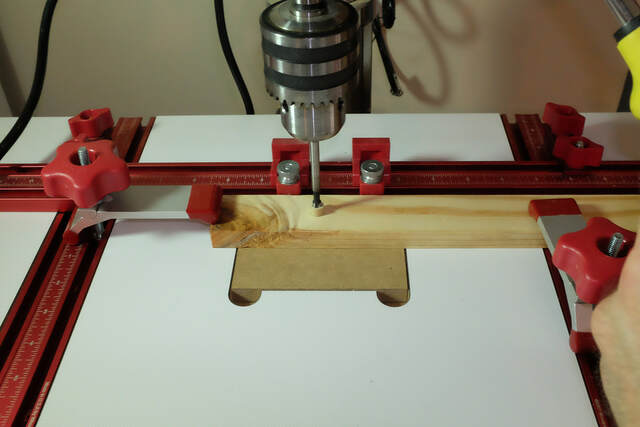
To counterbore the magnet holes in the standoffs, I clamped a piece of scrap to my drill press and drilled a shallow 3/8" diameter hole to act as a cradle. Then I put each dowel segment in the hole and drilled a stopped 1/4" diameter counterbore. (My magnets were 1/4" diameter.) The first dowel segments I drilled rotated inside the scrap and burned. After that, I just held each segment in place with needle nose pliers while I drilled to keep them from rotating.
After painting the frames, I installed them on the speakers, and I was done.
No I wasn't.
Two members of the family (who will remain unnamed here), decided they didn't like the narrow top/bottom frame segments. They didn't like the inset frame either, telling me it looked like a mistake. I don't think my paint job was very good either. Grr... I pulled up the rendering at the top of this post. "Look, this is what I showed you before I started!" Did they care? Were they persuaded? No, they weren't.
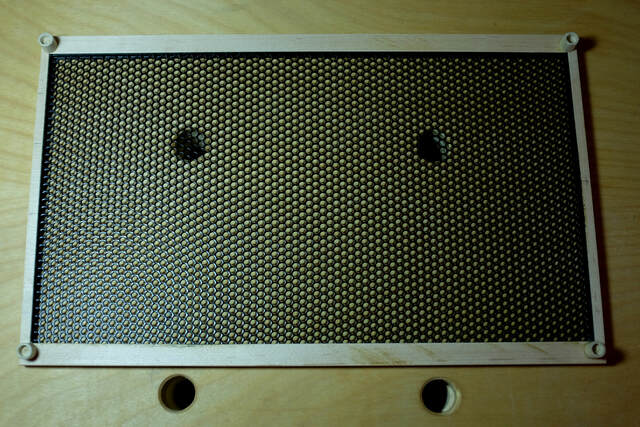
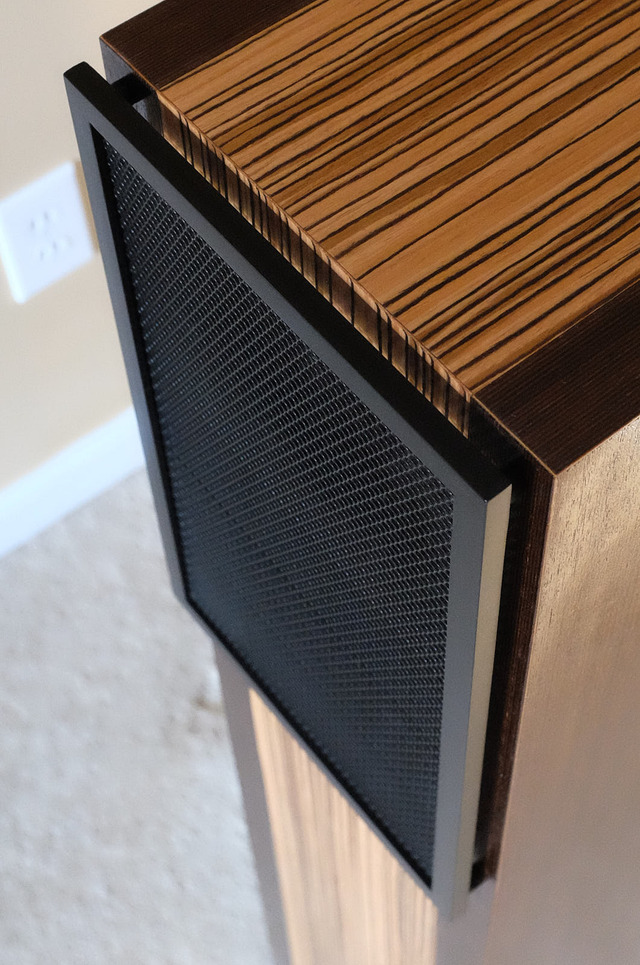
I rebuilt the frames using a uniform 1/2" width stock with mitered corners. As with the first set, I used the saw kerf slot to hold the metal, and I use the same type of standoffs. To make sure my paint job was up to standard, I sanded them carefully, sealed them with shellac, and sprayed on two coats of Rust-Oleum semi-gloss black. I painted them after assembly, so I had to use cut sheets of paper to mask off the metal.
Oh, the things I do to preserve domestic tranquility... I do have to admit that the new grills look just as good to me as the originals.
Thanks, Ross and Eric! Building speakers is really fun, particularly when you get to hook them up and give a listen.
Thanks for using the technically correct spelling “grilles,” Ross. I see it spelled without the ‘e’ frequently, but I probably should use the ‘e’ variant.