There are several ways to attach veneer: hide glue, contact cement, cold glue in a press, etc. The only method I've ever used is the iron-on wood glue method. I start by spreading Titebond glue evenly over the entire substrate (piece being veneered) and back of the veneer, wait for it to dry, and repeat to make sure I've covered everything evenly. To attach the veneer, I place it over the substrate (it's try so it's easy to position) and use a hot iron to melt the dried glue and press the veneer onto the substrate. I also use a wood block to apply pressure as the melted glue cools.
I always cut the veneer oversized and trim the excess with a router and flush-trimming bit. I also use two-ply veneer because it's easy to work with and helps hide minor imperfections in the substrate. This time, both practices caused problems I haven't had before.
Jointing the Veneer Pieces
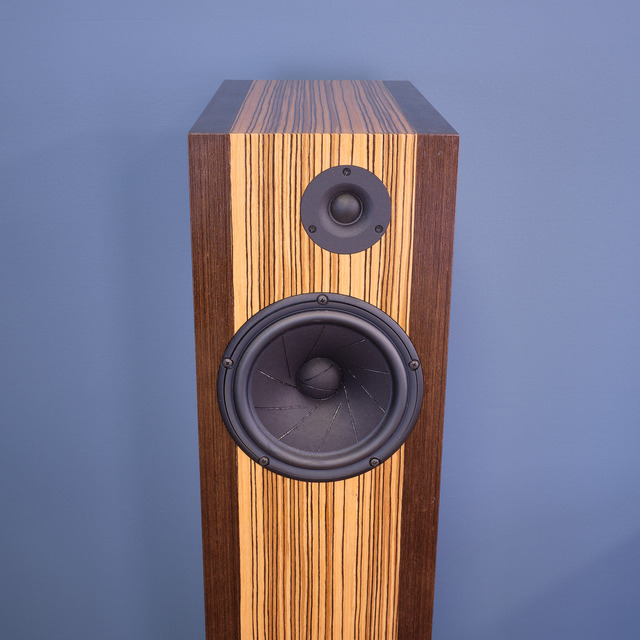
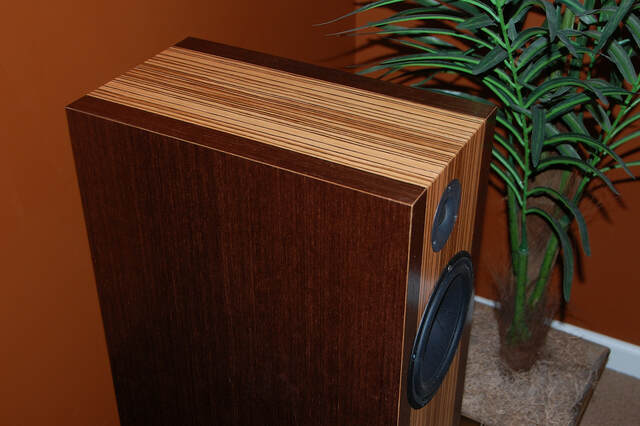
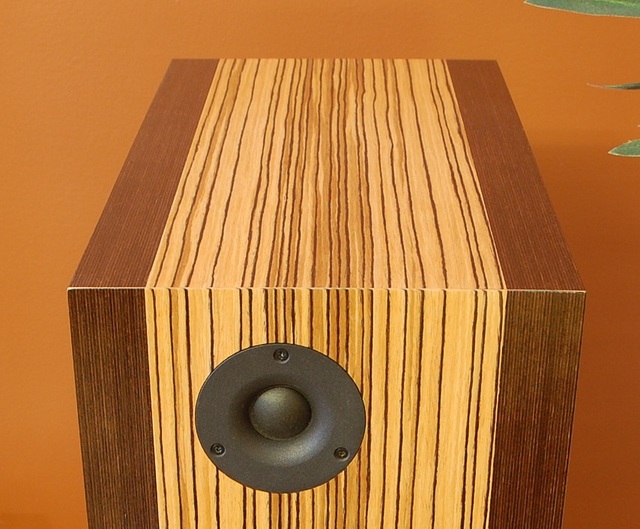
I've never had to joint veneer. In this speaker, each cabinet side is covered by a single piece of reconstituted wenge veneer, and the front panel and sides have wenge veneer on the edges with zebrawood in the center. Making those joints tight was the key to making the speakers look good.
I did it with my router, a flush trimming bit, and an MDF trimming jig.
I didn't take photos during the actual build, but I reenacted the process afterward when someone asked me now I had done it. Below, I used a piece of teak veneer in place of the zebrawood.
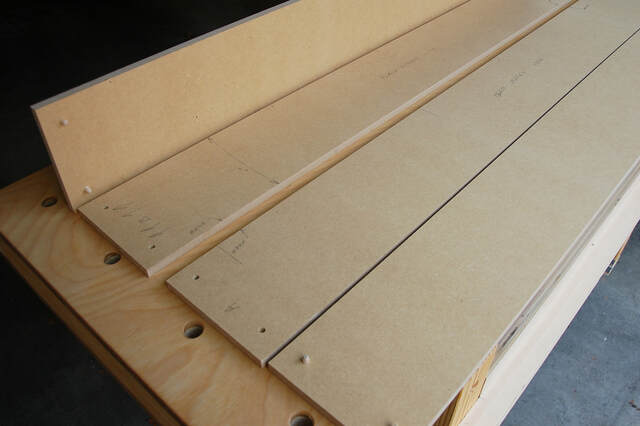
To build the jig, I ripped a 2' x 4' MDF sheet lengthwise. Then I stacked those two pieces, carefully aligned the edges, inserted alignment dowels in each end, and ripped the stacked pieces again. I glued the dowels to top pieces only.
The idea is that I had two MDF "sandwiches" that, when sitting side-by-side in their original orientations, would fit perfectly, with no gap in between, even if my cut wasn't perfectly straight. It'd use one sandwich to trim a given piece of veneer, and the other sandwich to trim the matching edge in the other veneer piece. In the end, I think that was overkill. My cut was straight enough that I really needed just one sandwich.
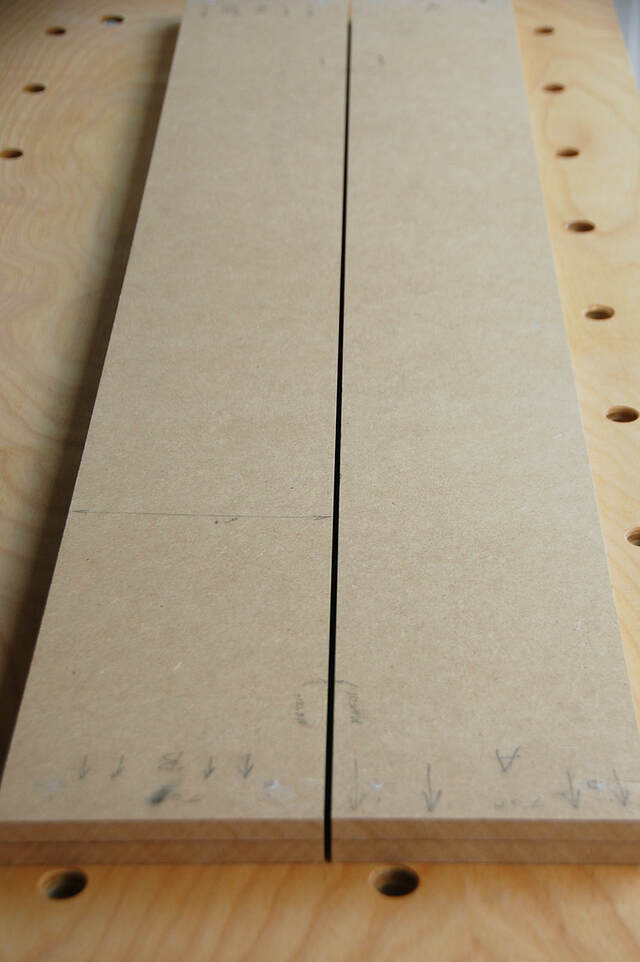
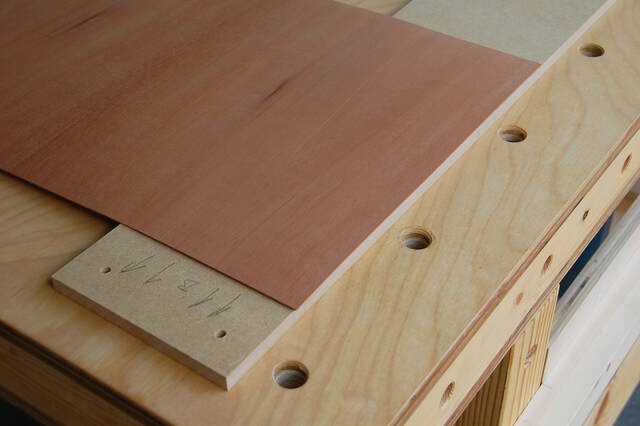
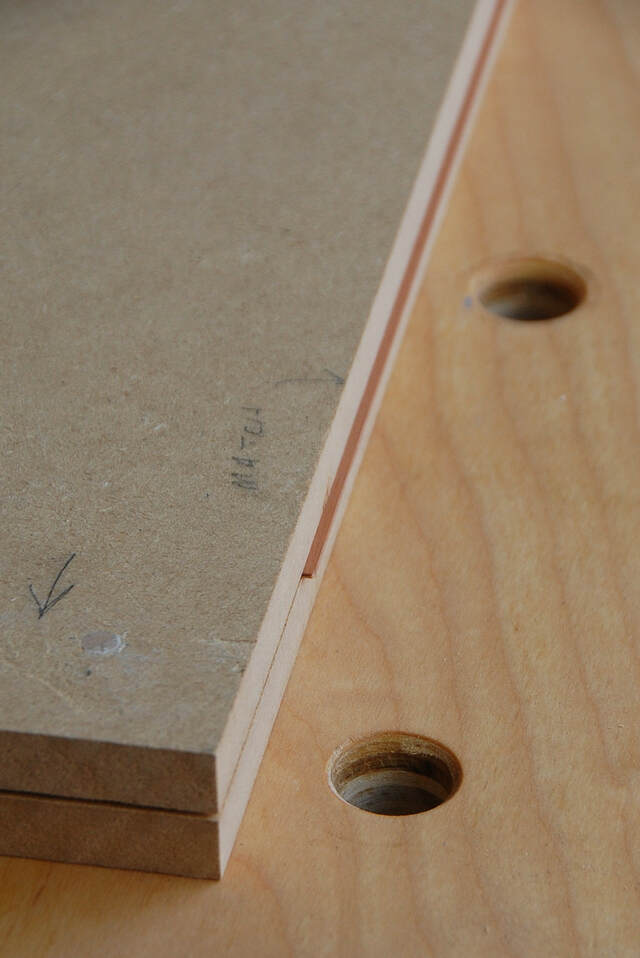
Here's the jig in action. All I did was press the zebrawood (teak here) between one pair of MDF pieces, with just a bit (1/16" to 1/8") of the veneer edge exposed. The dowels align the two MDF pieces. Then I clamped the sandwich to the bench and trimmed the exposed edge. The result was a straight, square veneer edge.
I repeated the process with the wenge strip, using the other MDF sandwich. Because the wenge strip was so narrow, I wanted to make sure it didn't slide, so I taped it to the bottom of the jig before clamping.
Then I trimmed the other edge of the zebrawood and the other wenge strip, flipping the direction.
With the veneer pieces cut, the next step was taping the wenge edge strips to the zebrawood centers. I didn't have any veneer tape (which I think you use on the glue side and therefore leave in place), so I decided to try painter's tape on the finish side.
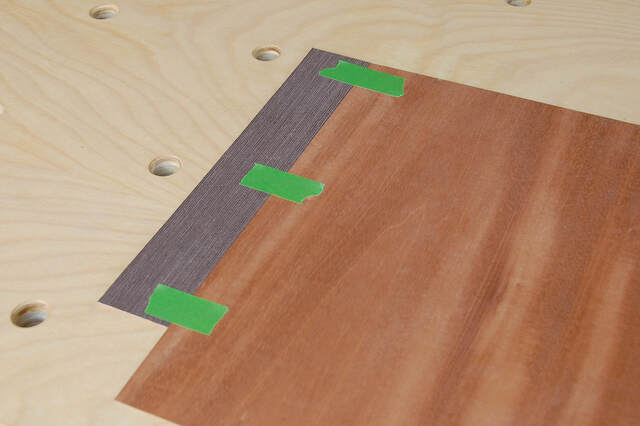
To tape the veneer, I placed the pieces face (good) side up, pressed the pieces together as tightly as I could, and used a short strip of tape across the center. Then I worked my way out, spacing the tape about 5" - 6" apart.
After that, I ran a piece of tape all the way along the seam. (It looked like the laces on a football.) The rationale for this piece was to keep any glue from going through the seam and fouling the veneer faces. Now the taped pieces were ready for glue.
Attaching the Veneer
I carefully flipped over the taped piece and rolled on TiteBond just like I would have for a single piece of veneer. I used the pictured glue bottle as a roller only. I just squirted glue on the veneer in sort of a spider web pattern, then used the roller to spread it.
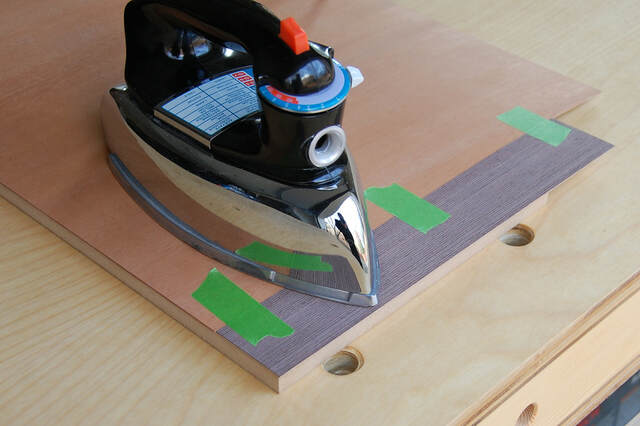
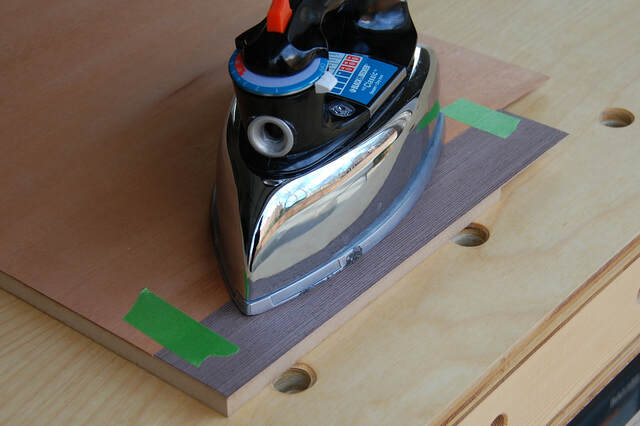
When the glue was dry (on both the veneer and cabinet face), I placed the veneer on the cabinet and removed the tape covering the seam. I started ironing near the center of the veneer, making sure not to move the iron over the tape. (I used a piece of cloth between the iron and the veneer, not shown here.)
Then I just worked my way out to each edge with the iron, removing the tape as I went.
I was worried that some of the heated glue would expand and escape the seam onto the face, but that didn't happen. That was a big relief.
Problems
I'm happy with the way the speakers turned out, but, as usual, a few things aren't quite perfect.
The first problem is the opposite of the usual "black line" problem people see with paper-backed veneer. (The paper is darker than the veneer, making a dark line.) The use of two-ply veneer bit me this time. The cross-backer ply on the wenge is very light. (See the glue roller photo above.) After I glued and trimmed the veneer, I didn't try to darken the resulting "white line". I thought the poly might darken it enough that it wasn't a problem, and I worried that I would just make things worse if I tried to color or stain those light edges.
You can see the problem in this photo, highlighted by the flash. With normal room lighting, it's not really that bad, and it's not a problem at all from a distance. But I still wish it weren't there. If it ever winds up bugging me more, I can try running one a furniture touch-up pen/marker along those edges, just enough to darken them a bit. That might work, but I'd try it on the back first.
The second problem is a mismatch of the zebrawood grain where the baffle meets the top. When I cut the veneer, I correctly used a continuous piece for the front/top so the grain flowed over the corner. But I left too much overhang, so I effectively cut out a 1/4" to 1/2" piece between the front and top, enough to keep the grain from lining up. And the white line doesn't help here either.
Again, this isn't a big problem in the room, at usual listening/viewing distances. But I wish I had done a better job here too. At the very least, I probably could have used a pencil or marker to connect the grain lines over that edge before I applied the finish.
I wanted to try a glossy finish on these speakers, so I wiped on six or seven thin coats of Arm-R-Seal. It turned out okay, but I probably should have stopped after three or four, because I see more of a plastic look than I wanted.
In any case, the speakers sounded great, and I set them up in our family room. The last thing I wanted to do was design and build some grills to make the speakers more decor-friendly. I'll talk about it more in the next (and last section), but I embedded small disc magnets into the front panels before I veneered. Matching magnets in the grills will hold them in place.