Many might say "I haven't got a laser"... hell, many people can't speak English, but do we stop writing English articles because of them? I can lead a horse to water, but be buggered if I'm gonna give out free floaties.
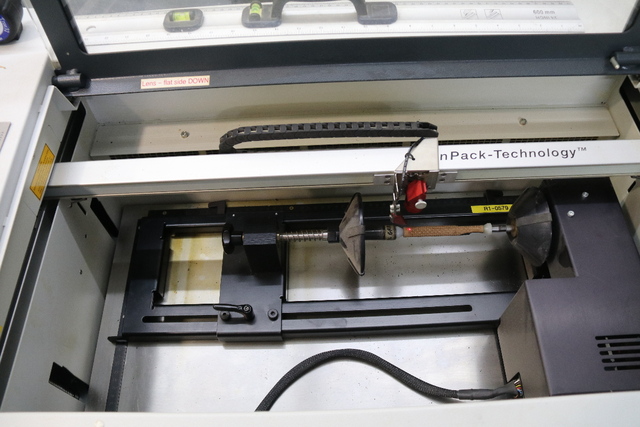
For anyone that may be interested, here is my experience with laser engraving using my Trotec Speedy 100 with a 30W lens.
I'm no mechanical techo and refuse to be, but as a layman I can try to pass on my experience to anyone interested.
I am about to succumbed to my typical "digression", into what people couldn't give a stuff about... but, it's my blog!
13 years ago I was a systems programmer and in all "proud humility", one of the better ones in my field (it's a limited field). My forte was assembler programming for the IBM mainframe (and the dodgy Fujitsu), that is no longer being taught openly at any institution 'cept the Arkham Assylum... Yo bfatman, I sent out an APB asking if anyone wanted to understudy me... I only got 1 reply... which was a simple NO! ⏰,13 years later, I am getting 📧📧📧📧📧emails asking if I want a job as there are NO/Very-FEW competent ASSEMBLER programmers still available. The $300 per hour I have been offered (only one, not all, most cheapskates were offering only around $200-$250ph) would not entice me... though most with unlimited overtime at 1.5x ph to boot.
So don't be too proud to take my advice as in 13 years time you can all go and .....
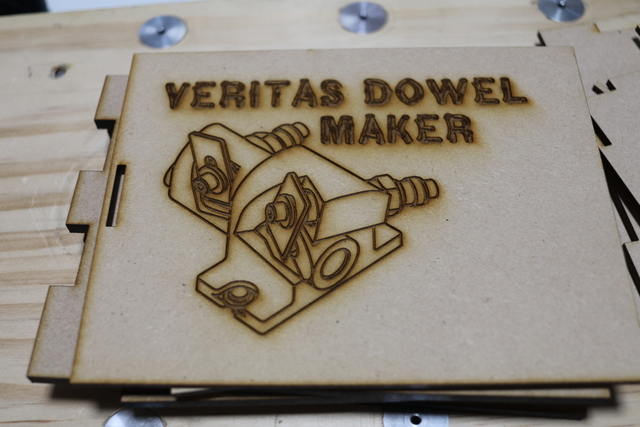
I set up my laser to engrave to approx. (a maj measurement - long story) 1mm to 1.5mm depending on media using a standard 2 pass engrave (no level/height change). Depending on the media, I can make many passes with up to 5mm height change between all the passes.
This usually guarantees me with sufficient depth to be able to fill the engrave void with my choice of Timbermate (or any other wood filler) without bottoming out when sanded, which could become aggressive 120G/150G, though my preference is 240G.
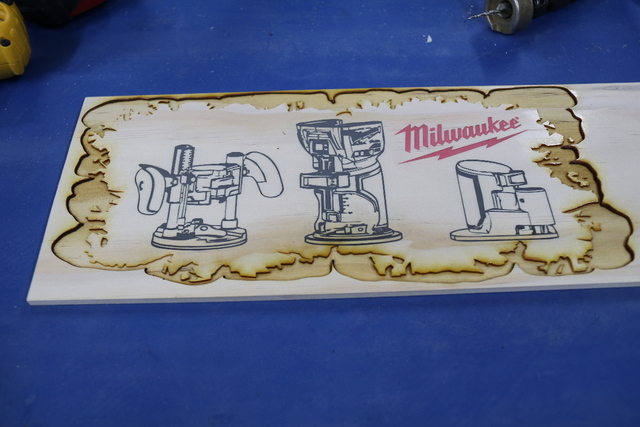
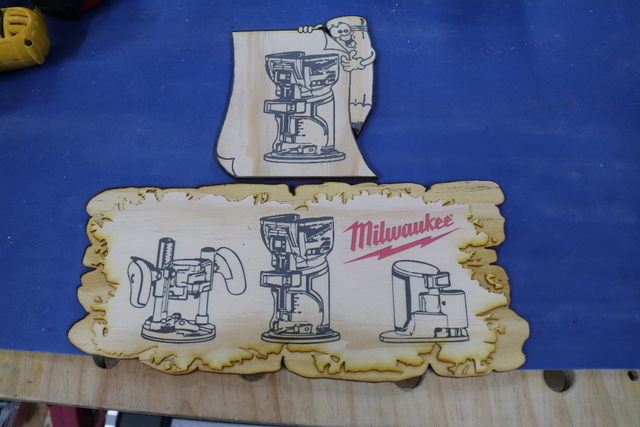
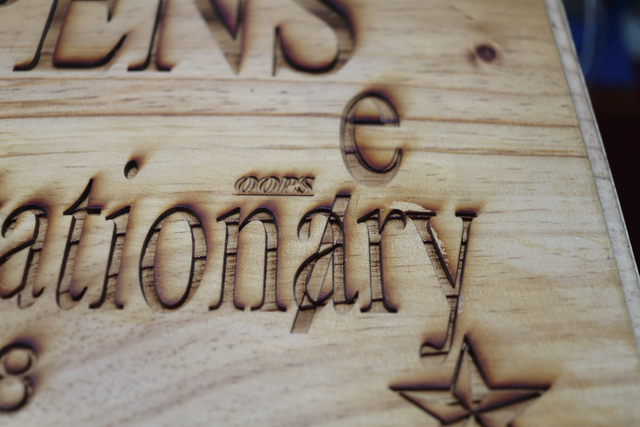
This engrave is about 6 passes (and maybe some depth change... too long ago to remember details), with all the circled (and many not circled) grain that protrudes just below the top level. If I filled the void and sanded, some of those ridges may poke through, though I may/hope to have about 1-1.5mm lee way for sanding. Any less passes and that gets worse.
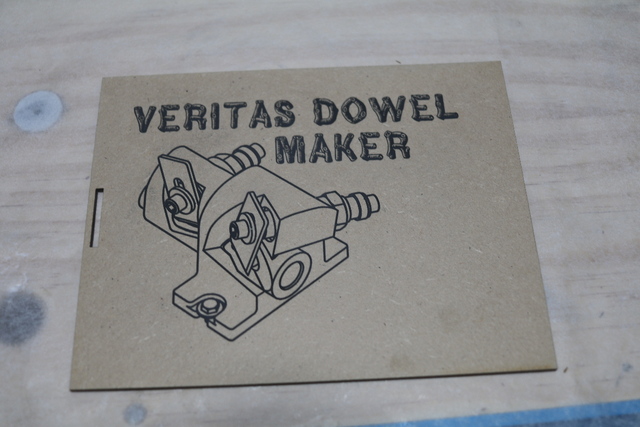
In this case I found that filling was probably not an improvement, and the oops below, is an indication of why you don't move the object if re-engraving (educated daughter spelling... DOH!),
In MDF and pine , I usually make 2 passes to get my 1mm-1.5mm depth, however, if the area is large, I may take 2 more passes to ensure sufficient depth to allow for "concavety" when sanding the larger area without bottoming out. the see through in the above MDF is quite obvious, unless you're a perv.
You need to watch out for inconsistencies in MDF/timber, that objects to the laser, ... the corner of the head had some tough material to cut through.
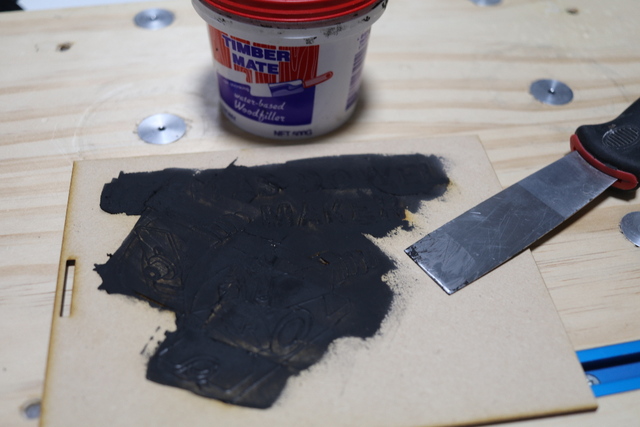
After the engraving, I immediately Timbermatefill, sand and re-fill voids blemishes and then re-sand,
I've been asked about pre-finish... I normally don't use it so I'm no way an authority on it (any feedback would be appreciated), however, I see no reason why tung oil may not be used. Not having experimented, the words oil and woodfiller (water based) do not compute. My thought would be more along the line of sanding sealer... yazall know about 1:10 shellac and metho mix, don't you?
One thing I would recommend is, depending on the timber used, is to sand to a good level 240G at least to cover up the pores so that the woodfiller used would not fill them and contaminate the area.
Lets go through a gallery of me using Timbermate on my engraving, pine, more pine,
same pine, same camera,
the "MIlwaukee" red was food colouring on natural wood filler.
Ebony Timbermate on MDF,
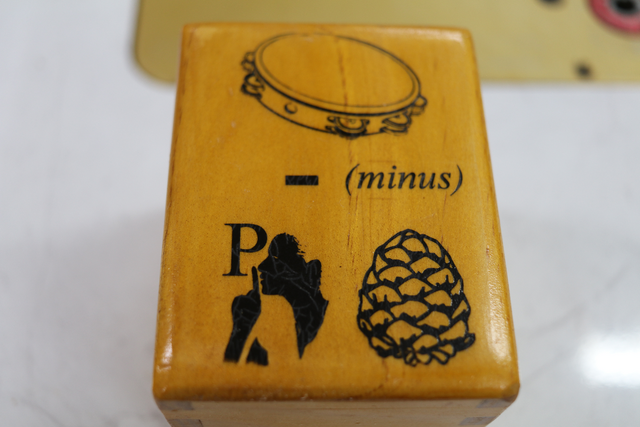
Find the elipipolante (yeah... my childhood)...
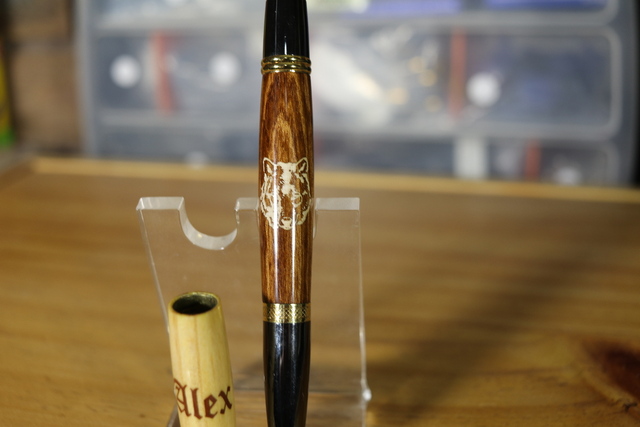
White Timbermate on ??? pen blank (Sierra pen, wolf engrave) Ebony Timbermate on Faux Ivory pen blank... garn the Woods!...
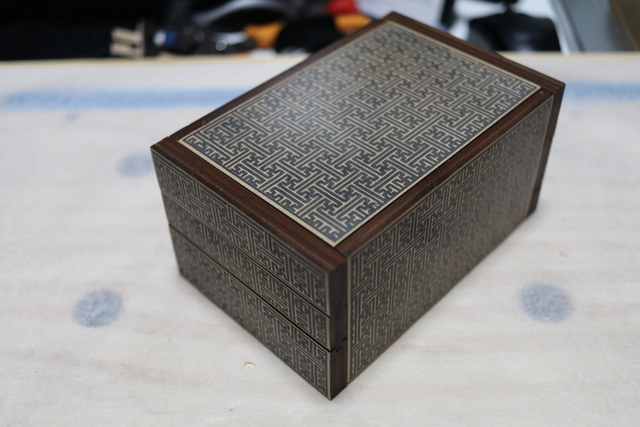
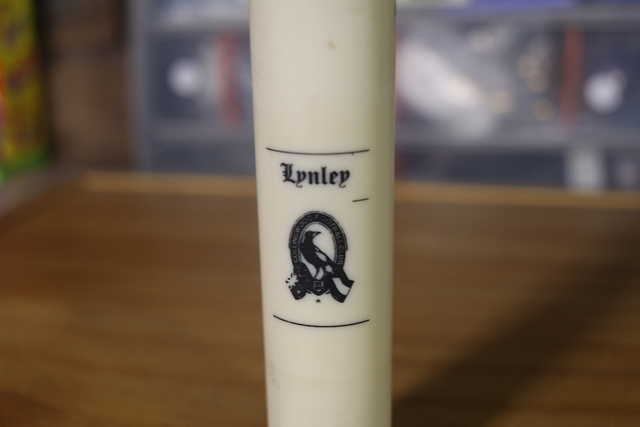
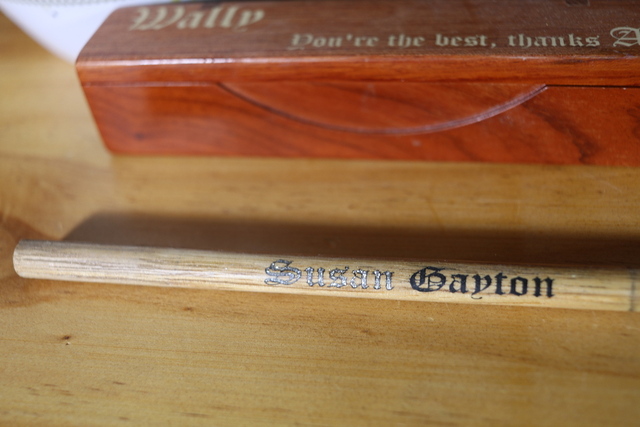
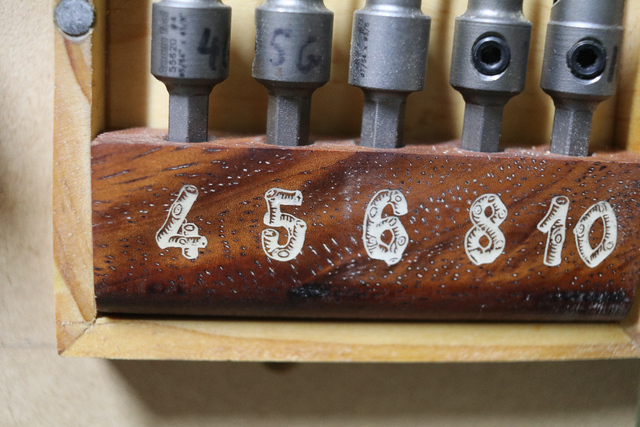
White Timbermate on pen box and below silver bling and ebony Timbermate on sample dowel (love me wedding present),
The Pen box (white Timbermate)
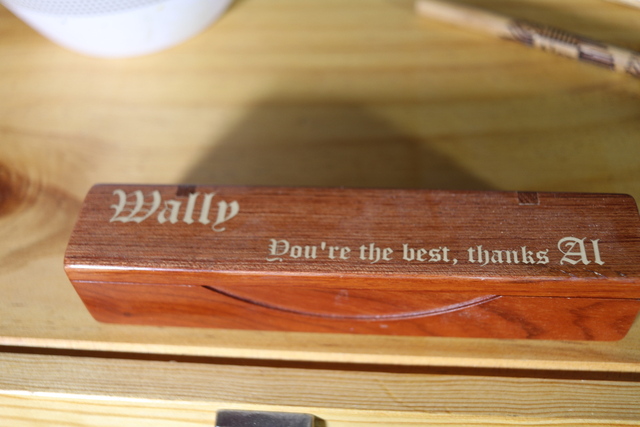
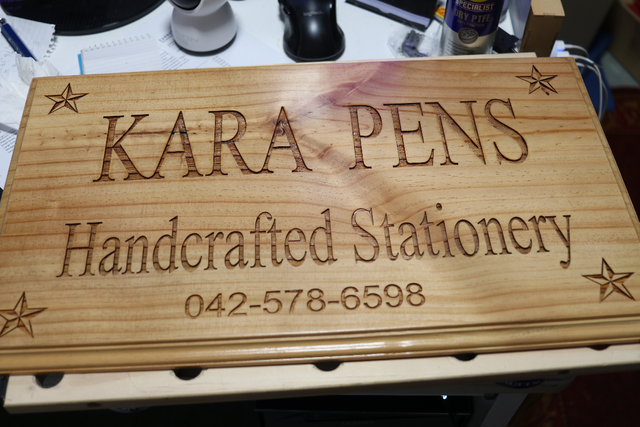
I love Old English font...
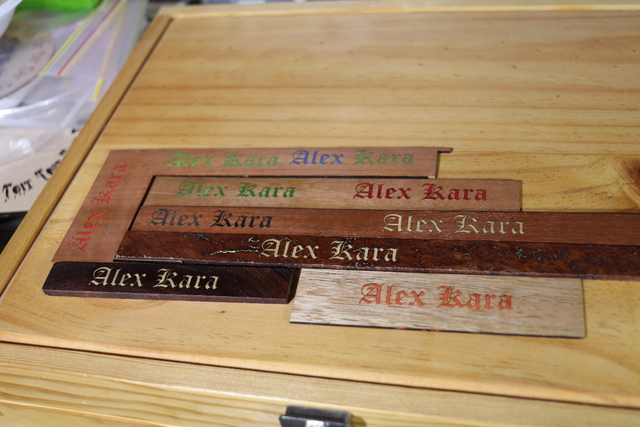
Testing various food colourings on neutral Timbermate,
With the laser on various projects... some of the samples available... Ebony,
Legible ebony and clip art,
Jarrah wood filler,
White filler (check out the pores filled in the background... may not be desirable),
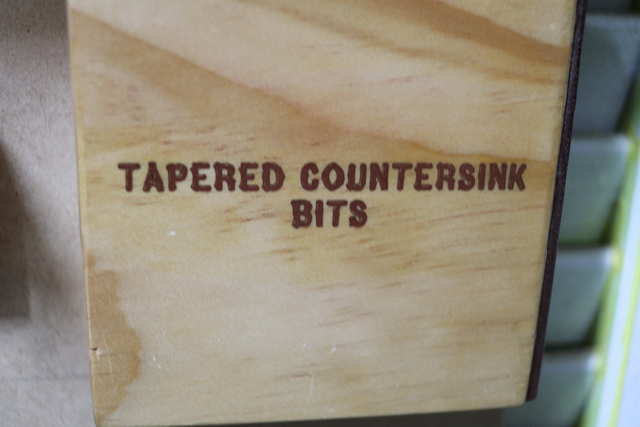
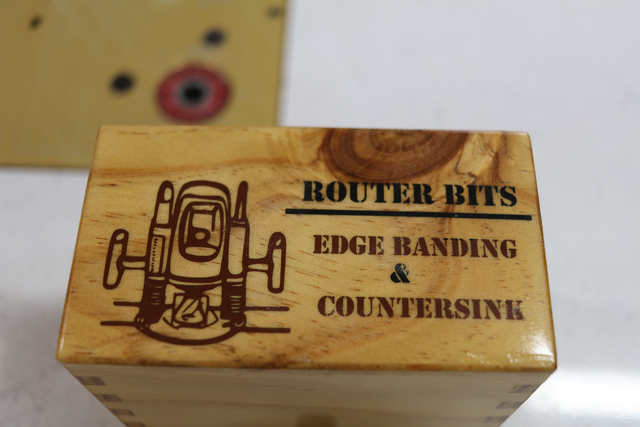
Cryptic box name (ebony Timbermate),
Ebonyand JarrahTimbermate,
One thing I did find... I couldn't for the life of me engrave over Timbermate... On "concrete" setting, it couldn't even cast a shadow.
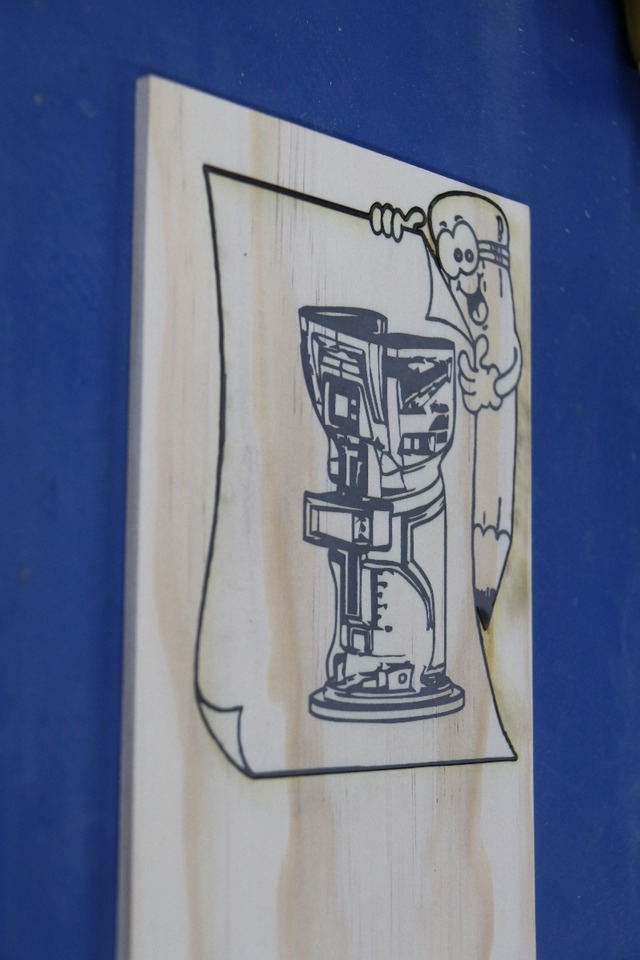
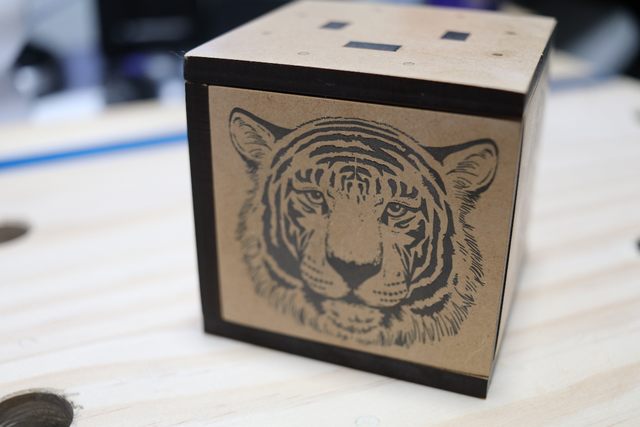
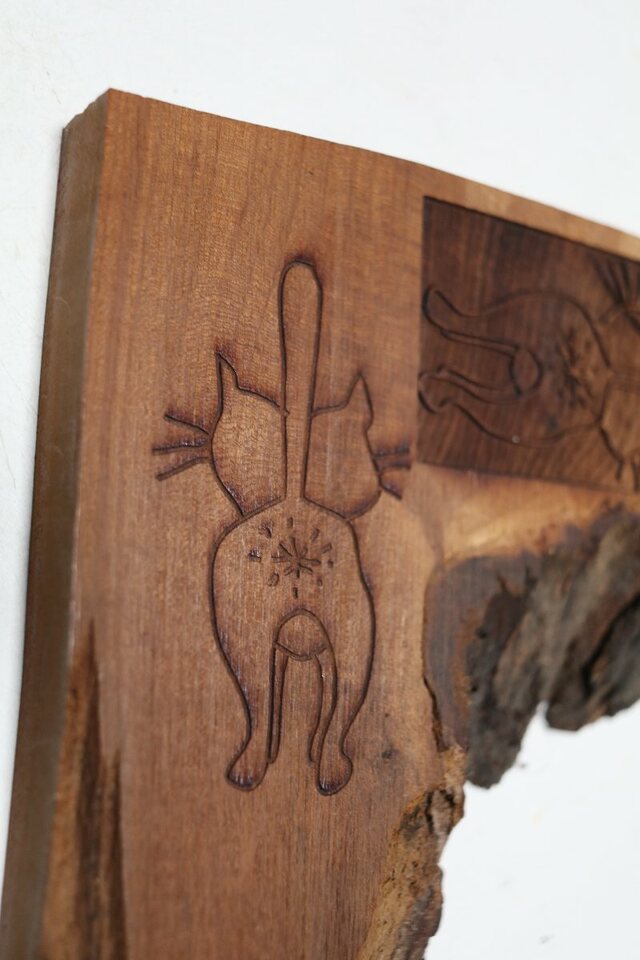
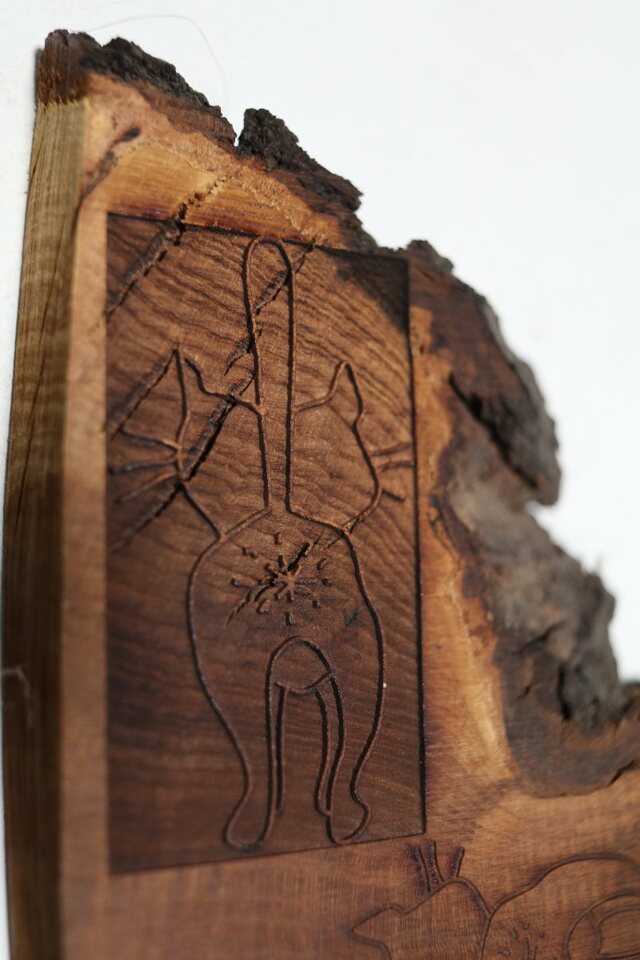
And I can tackle cats,
This gives the impression of grain vs laser. (made out of LOSR).
If your first cut is too short... Take the second cut from the longer end... LBD
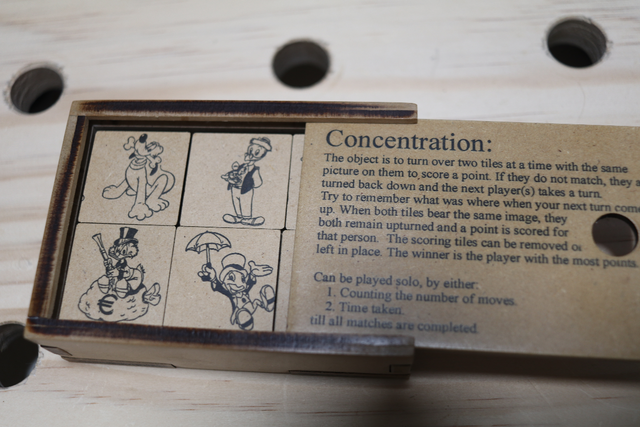
I saw the concentration game photo and wow, that’s a good puzzle; but reading/skimming I found Alex is attempting to gain Timbermate sponsorship along with expounding the joys of his lazer craftsmanship. Surely one very clever duck!
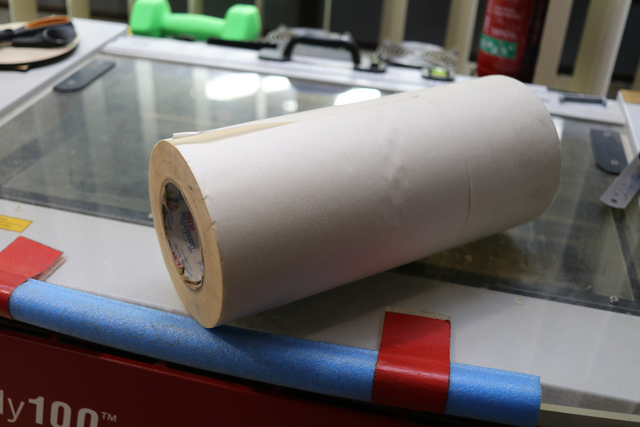
That pore filling can be a real bugger. Haven't tried it yet (the TM looks like a winner choice), but what about taping over the surface before etching? Might be a way to easily mask off the area and at least reduce the grief.
I’d try pore-filling with a 1# cut of shellac (commercial stuff cut 50-50 for those who don’t mix their own), then some sanding, then another coat of the shellac. Do not remove the sanding dust between passes, as that’s what you’re hoping to fill the pores with.
Should be fairly laser-friendly. Definitely better than timbermate. Reminds me that I need to write up my pore-filling experiments one of these days.
crowie I saw the concentration game photo and wow, that’s a good puzzle; but reading/skimming I found Alex is attempting to gain Timbermate sponsorship...
They wont even offer me a spoonful of water to soften up some hardened stock.
SplinterGroup commented 42 minutes ago new That pore filling can be a real bugger. Haven't tried it yet (the TM looks like a winner choice), but what about taping over the surface before etching? Might be a way to easily mask off the area and at least reduce the grief.
TM or any brand will do the job. f you chose to colour, I found food colouring from the major food stores to be better than formal colour stains. Did get some raw paint pigment/concentrate, but the lid wasn't put on tight enough and by the time I got around to test it, it had dried.
I have some dedicated laser masking tape, mainly use on acrylic as sanding mars the clear surface... for timber, just a quick pass with the ROS will do the trick. I found that the unevenness of the filler usually requires more than hand sanding... That is another reason to get that little extra depth. I usually find I need at least two layers of filler (sometimes three) with sanding in between, to get that flat finish.
Depending on the detail of the engraving, the bits of tape left over that then needs to be manually removed (using a sharp blade) is more effort than it's worth... at least on timber... and if you're gonna sand, why use it.... though for specialty engraving, I might bend that rule.
If your first cut is too short... Take the second cut from the longer end... LBD
Hit my first major shortfall with my little diode laser. I had great success with lasering images and words and backfilling them with TM to this point. However, on a current project I did a test run, really just to test backfill colors, and quickly found I sanded away the entire design. It would seem the laser doesn’t engrave as deep on harder woods, thus the void to fill is (much) more shallow. Glad I found it out before I started in on the finished project!!
The question, which will require some test work I’m sure, is: do I slow down the travel speed or increase the intensity? Or make multiple passes with my standard settings?
I’ve found a work around for this project. (Cover your eyes ducky…) The Shaper Origin is gonna save my bacon for this…but that’s because it all exterior marking. The beauty of the laser is that I can dial it in to engrave inside built pieces, so I don’t have to worry about fouling the engraving during assembly or pre-finishing.
What say you Laser Geeks? What’s the better way to proceed?
Ryan/// ~sigh~ I blew up another bowl. Moke told me "I made the inside bigger than the outside".
I have different setting for the type of wood. Have slowed the speed and increased the intensity based on hardness.
Nevertheless I tend to rely on passes more so... I usually engrave with a double pass unless it's just for markup. The secret is to not move the piece after engraving, check it out and then apply more passes. If needed, determine the depth after 1 or 2 passes, adjust depth and maybe repeat passes.
If your first cut is too short... Take the second cut from the longer end... LBD
Yeah ducky, that’s definitely one area where this little diode laser falls short. As long as I don’t do any jog steps during setup, and only use the repeat function I can get multiple passes. Once you start using jog, nothing wants to line up again…or if you try to recycle an image, you’ll never get the original placement right again. For what it does, I still think it’s a great little tool…but it’s got its limits!
Ryan/// ~sigh~ I blew up another bowl. Moke told me "I made the inside bigger than the outside".
Honestly duck, I’m a bit stuck on this one. I love the small size and portability of the engraver I’ve got, and I don’t know where I’d put a bigger one. But, as with most cheap tools, the limitations make it tough to go beyond the basics…
Ryan/// ~sigh~ I blew up another bowl. Moke told me "I made the inside bigger than the outside".
I'm not necessarily advocating an new laser.... I'm just trying to make suggestions that may compensate for the potential "shortcomings". Even if it may be just a wattage upgrade to get greater depth.... but then again the extra depths is only beneficial if you decide to wood fill and then sand away any staining... you might be able to minimise it by careful filling. You may get away with masking and hopefully sand away the mask material after you've woodfilled and manage to sand away the excess with the mask before bottoming out... I just hate sanding away "paper" tape/templates etc...
If your first cut is too short... Take the second cut from the longer end... LBD


.png)
.png)
.png)
.png)