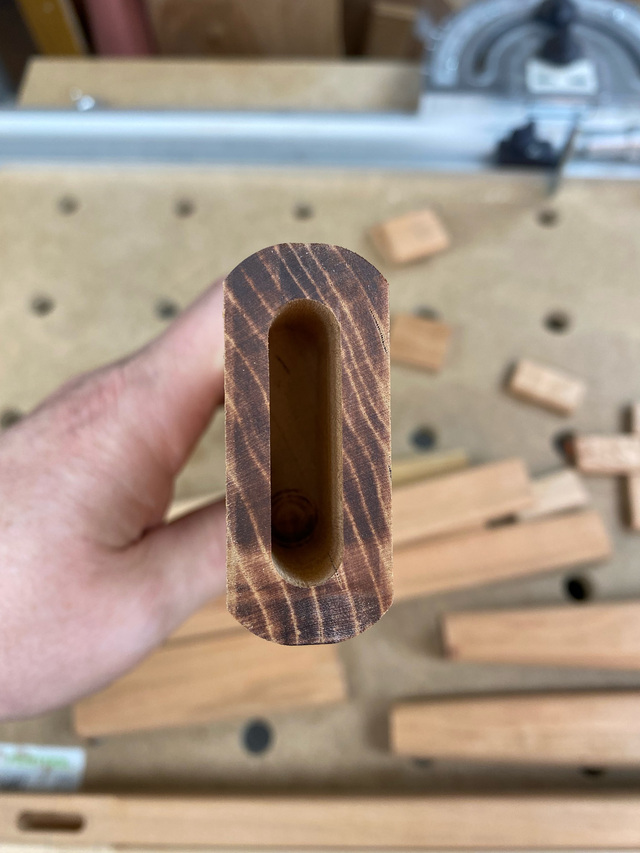
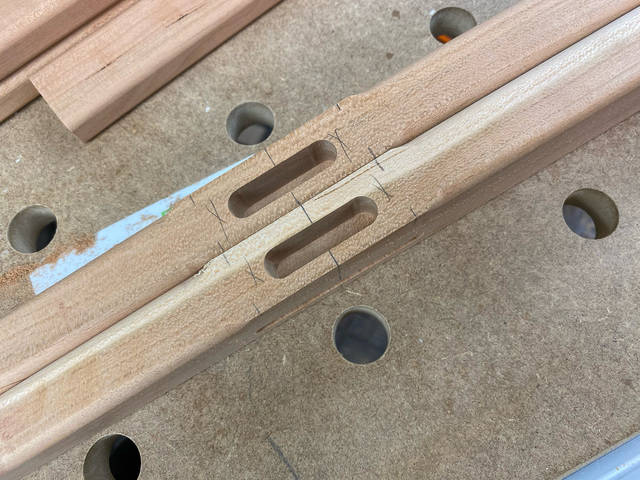
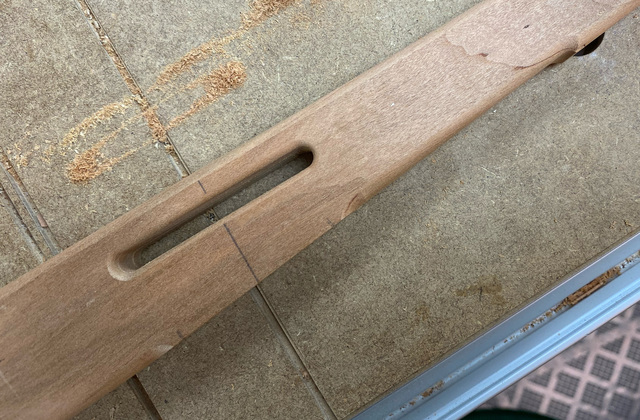
The leg edges and leg stretchers received a fingernail profile. This was done with a 1/2" radius roundover bit in the router table. Note my slightly off-center mortises. It's not ideal, but because I kept the outer face of the legs and top rails against the mortise jig when cutting the mortises, the error doesn't affect the final fit. The rails and rail stretchers all received a modest 3/16" radius roundover. I avoided the rail/leg joints, which I'll blend-in by hand once the legs are attached. The edges of the slots received a 1/8" roundover.
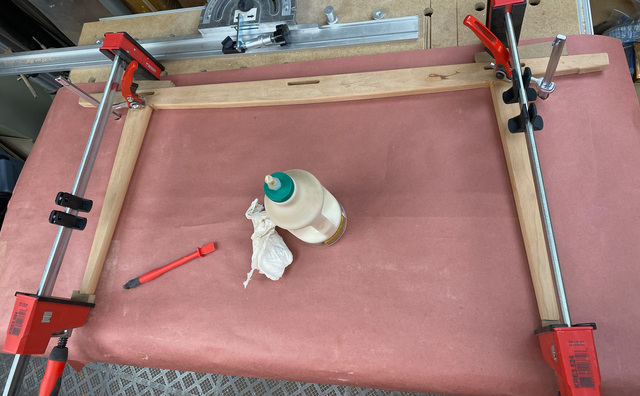
Once I had all the individual pieces sanded, I started the glue-up with the side assemblies. I made some small wedges for the top rail and bottom of the legs to keep the clamping force perpendicular to the joint.
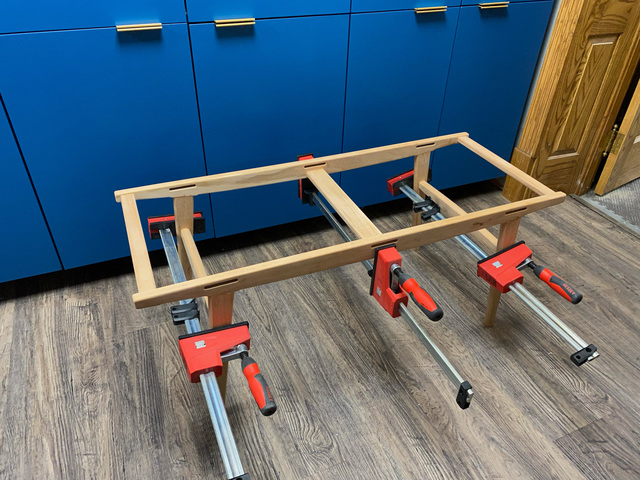
With the sides assemblies glued-up, it was time for a sit test. I was not sure about the strength of the rail at the leg joint - whether it would be compromised by the weaving slot and the shallow mortise joint. If I could detect any flex, this would be the time to add a longitudinal stretcher between the leg stretchers. I temporarily clamped the existing stretchers in place, put a piece of plywood in the center (not shown) and sat myself down. It seemed rock solid, to I pressed on.
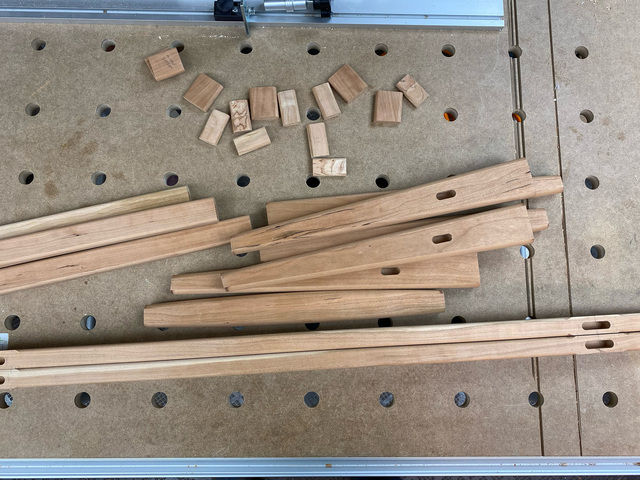
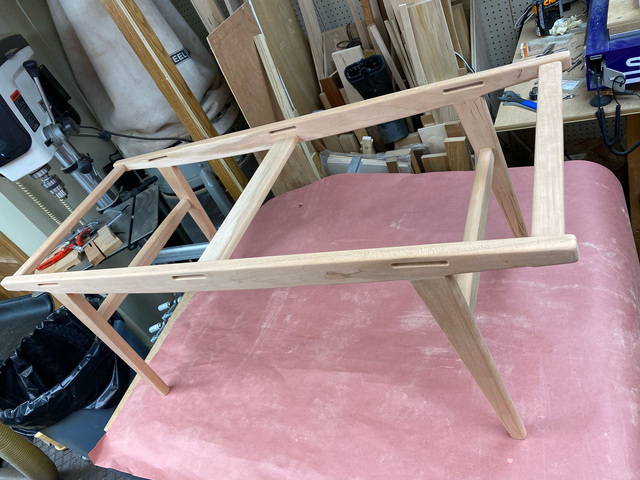
With the remaining pieces glued-up, the frame was done.
Rounding corners is one chore I don't look forward to, especially the hand-work areas. Very important however!
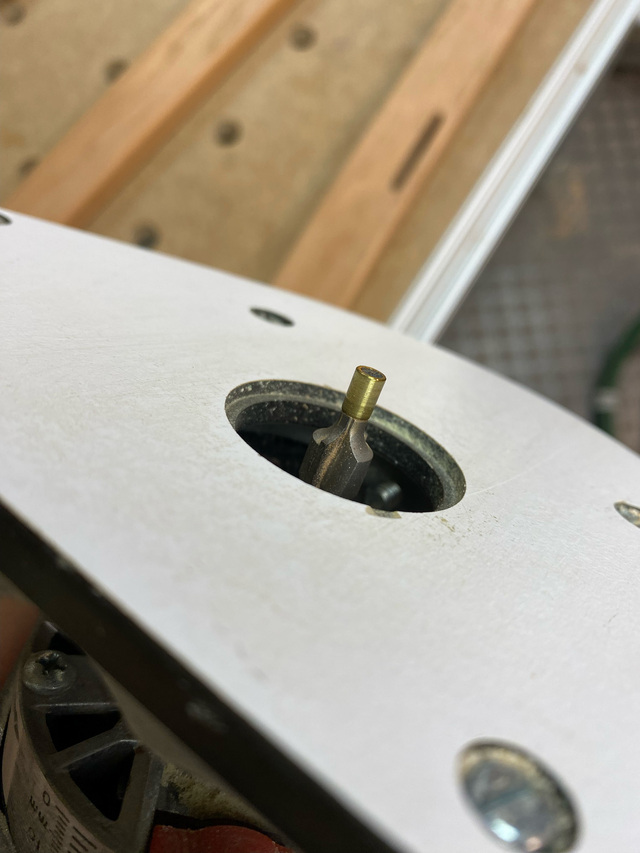
I have the same style of bit, brass guide bushing. I have some 70's era bits with a steel bushing and they always burned the wood where the bushing spun, the brass don't seem to do that.
This entire project seems to be a testament to minimal wood usage/engineered structure, gonna look great!
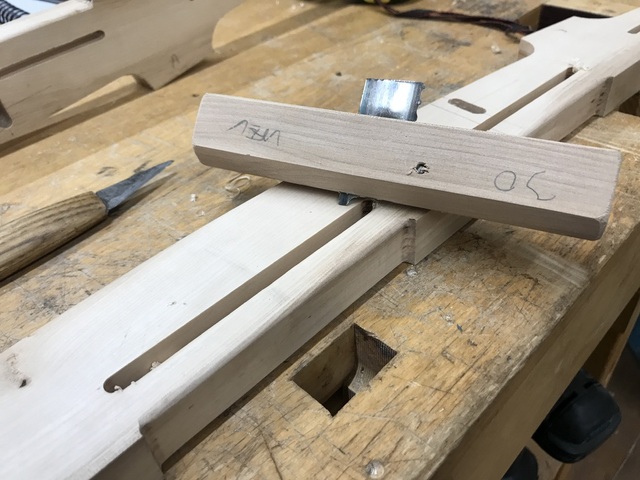
Coming along great! On the bench I made, at the holes for the cord to come through, I made the roundovers with a scratch stock in order to not round over the side of the slot that is visible. Just a hand-filed pieze of band saw blade in a wooden block. Worked super fast and also left the ends of the slots crisp. (Hope the photo makes sense)
"The good chair is a task one is never completely done with" Hans Wegner