Smitty
in almost 12 years
Old Store Counter #4: Top Work and Moulding Install
This is
part 4
in a
5 part
series:
Old Store Counter

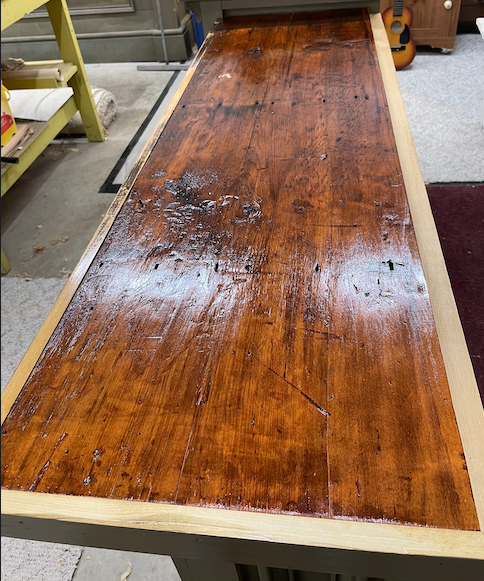
The piece was 1 1/2" too narrow, so I decided to add a small 'shelf board' that creates a small rear tray to the top. It's turned out looking pretty good. Here it is getting a fifth coat of wipe-on "3-2-1" finish.
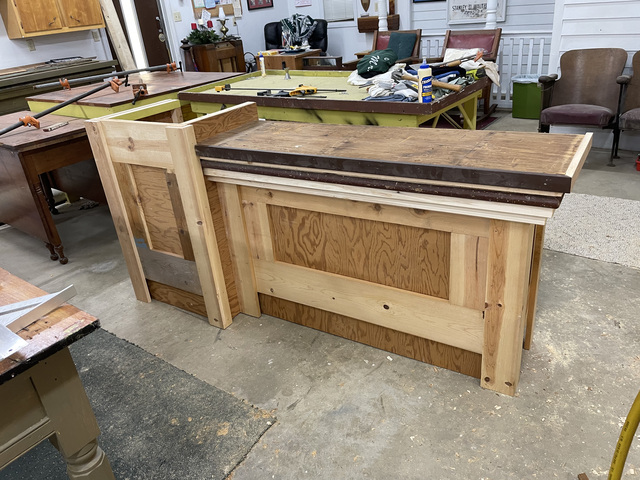
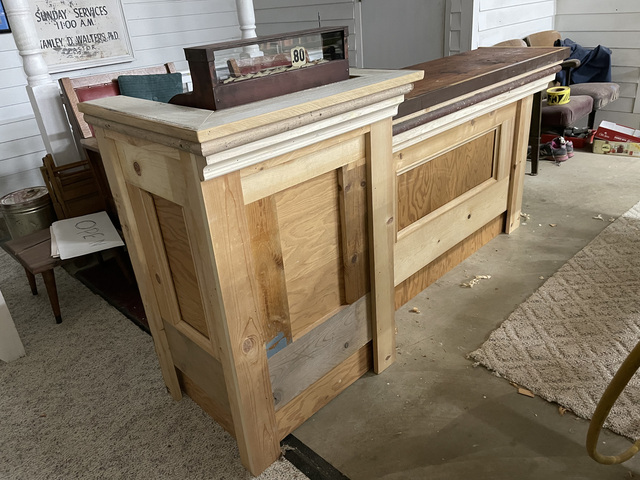
To support the top, I recreated the step moulding profile of the original as best I could, using the custom profile I made in the previous installment along with some salvage 1/2 round stock we had on hand. And I opted for a simpler profile to top off the pedestal.
You can see the register in place in the second pic, along with progress placing the moulding inside the relief panels. Here are a couple close ups of that work. Making some...
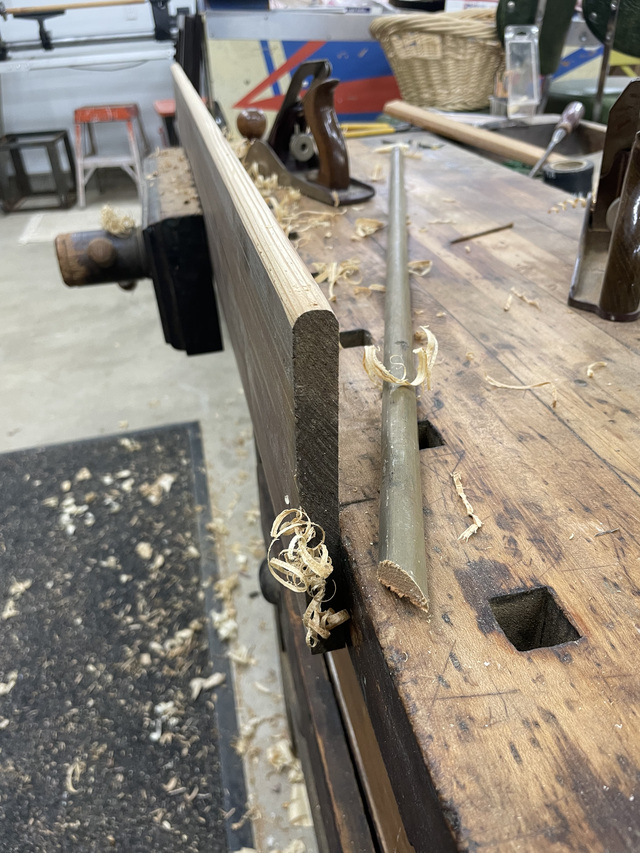
Nailing some...
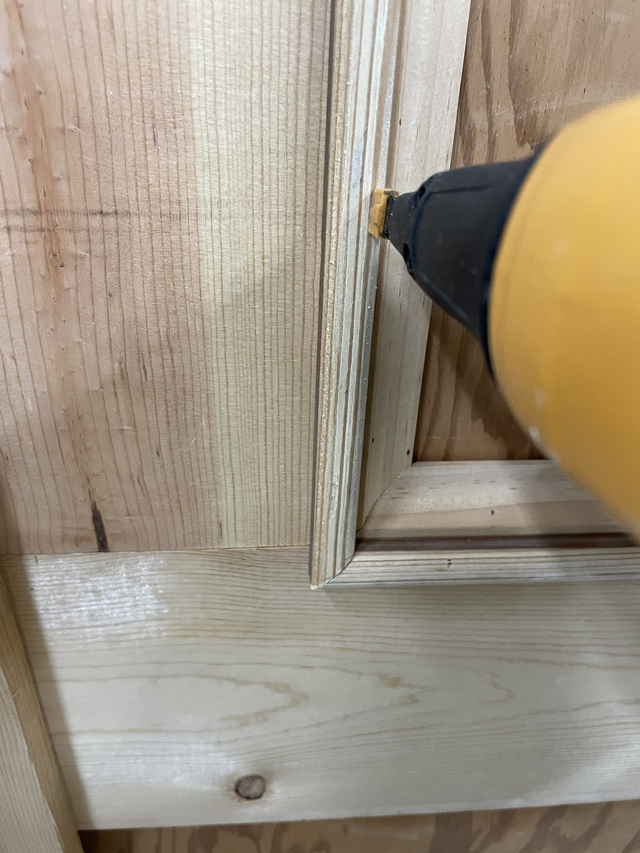
And enjoying the results.
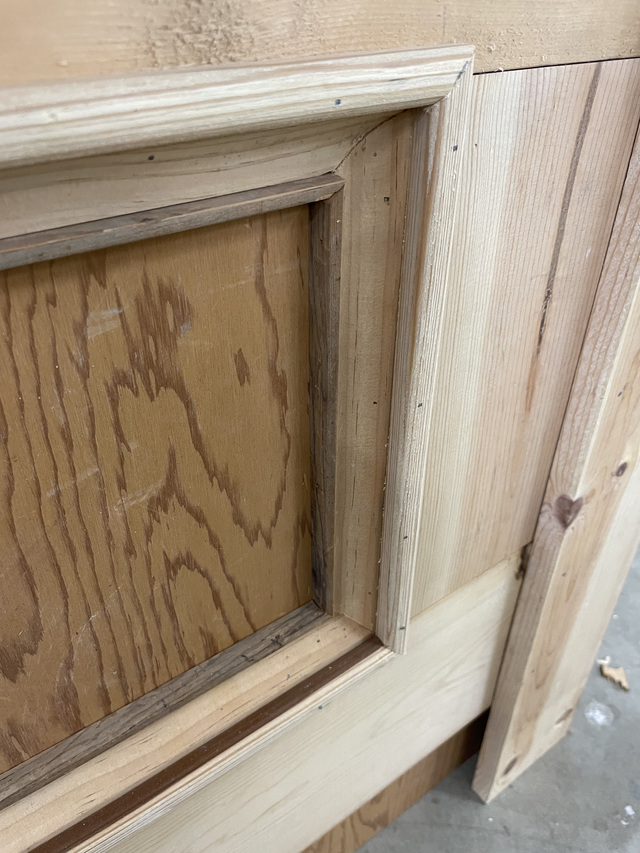
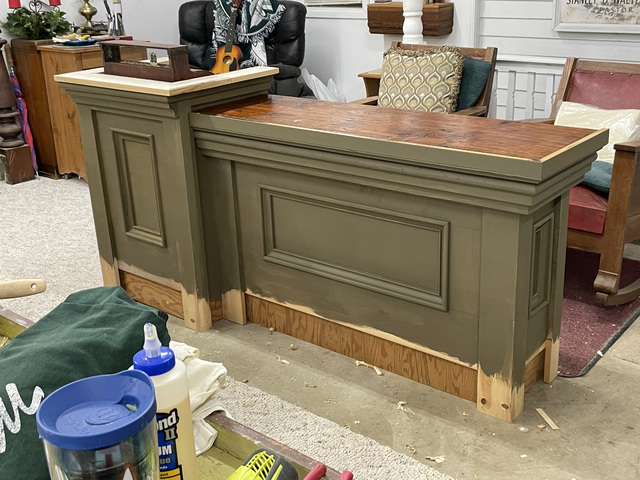
Then add some paint! I'm really smiling now!
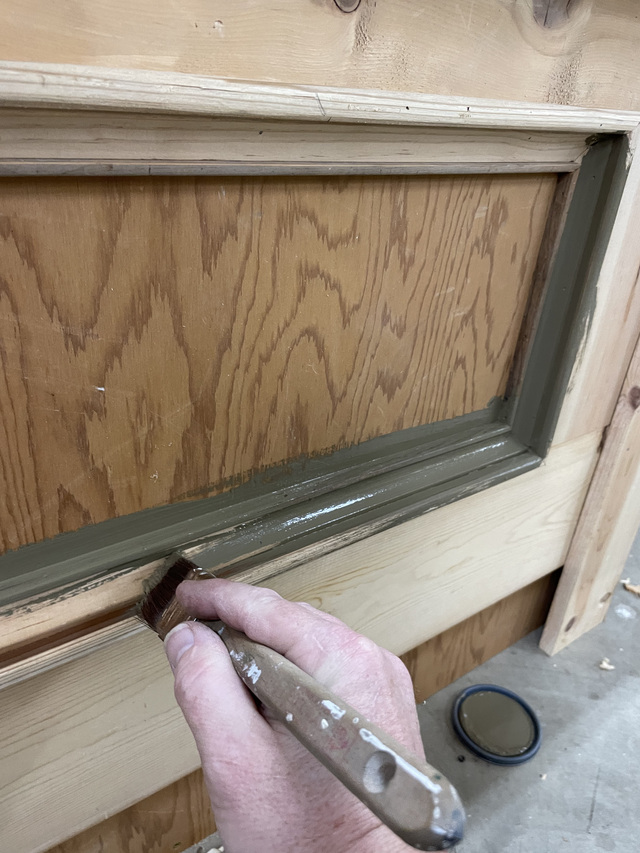
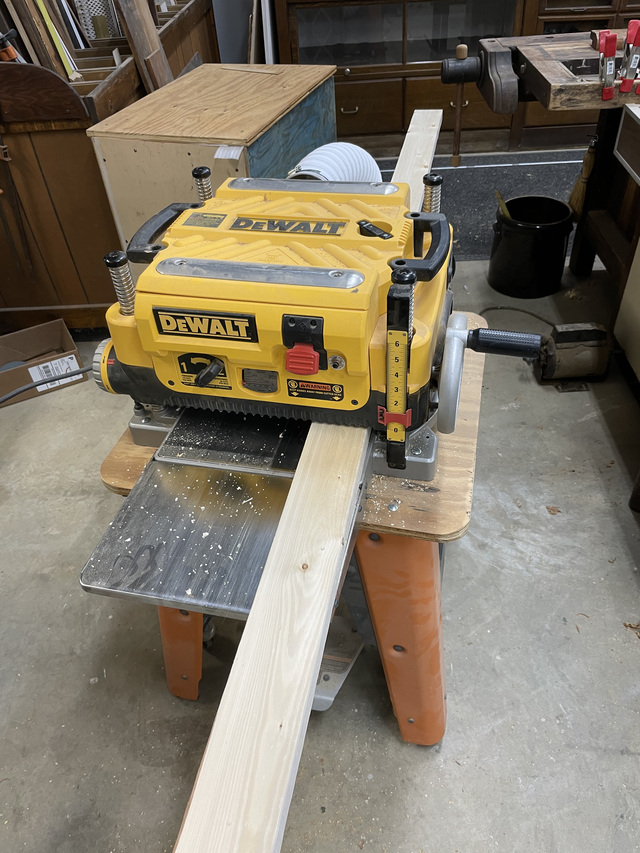
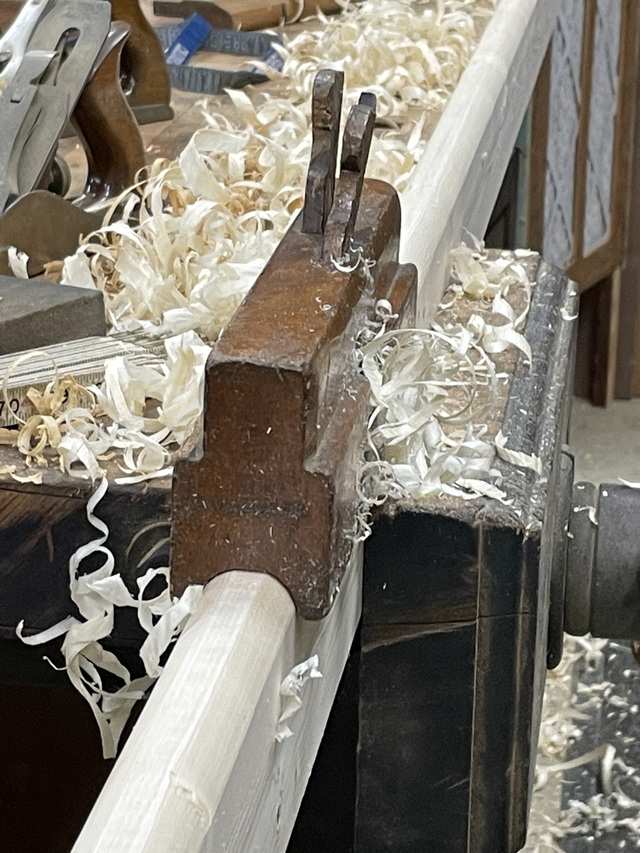
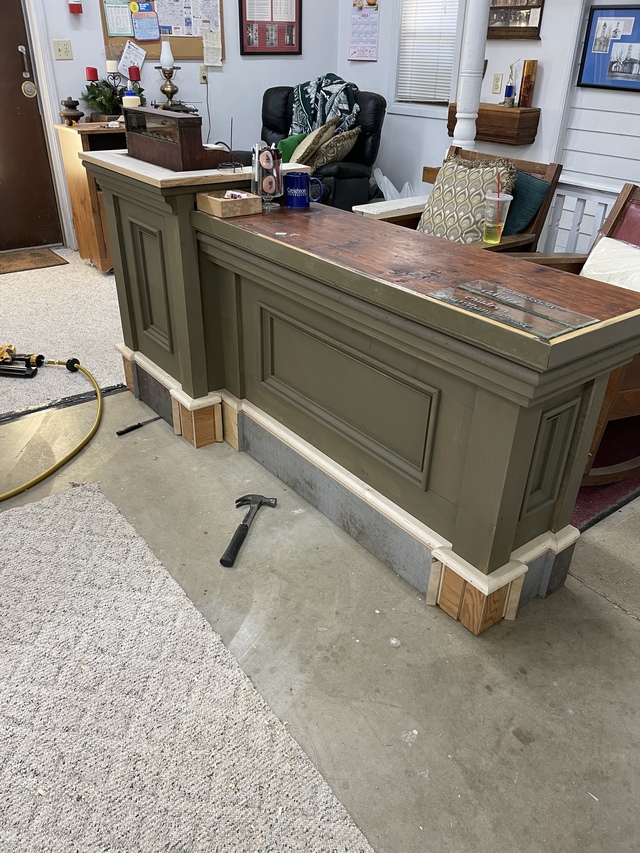
Then made some base moulding.
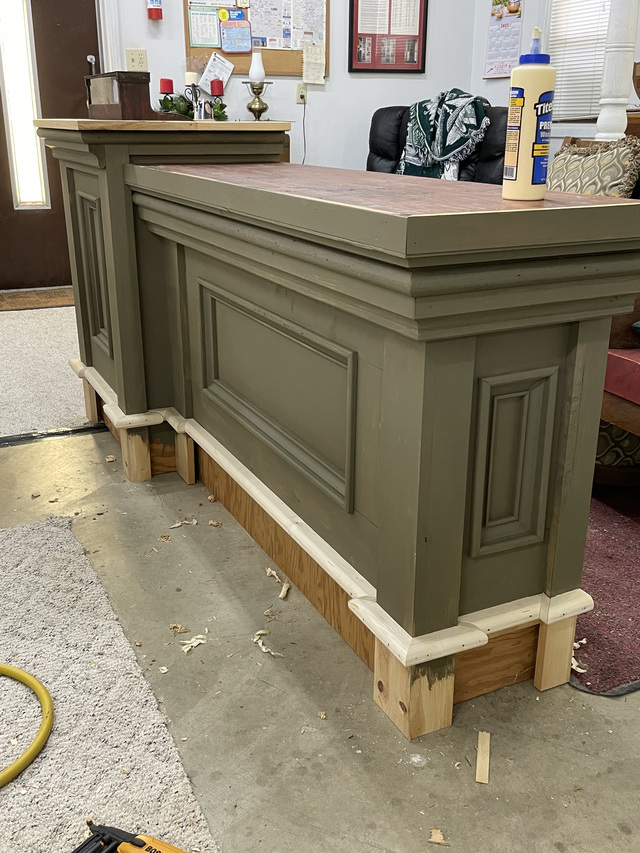
And applied it. Lots of mitres.
Next time, base plate and completion! Thanks for looking!
Don't anthropomorphize your handplanes. They hate it when you do that. - OldTools Archive -
12 Comments
working with my hands is a joy,it gives me a sense of fulfillment,somthing so many seek and so few find.-SAM MALOOF.
*TONY ** Denver * ALWAYS REMEMBER TO HAVE FUN
Main Street to the Mountains
May you have the day you deserve!

Another backside pic:

No more work today! :-)
Don't anthropomorphize your handplanes. They hate it when you do that. - OldTools Archive -
Fine fine work as always.
Watch and learn, practice and learn, create and learn
-- There is nothing like the sound of a well tuned hand plane. - https://timetestedtools.net
Don't anthropomorphize your handplanes. They hate it when you do that. - OldTools Archive -
Nearing the finish line.
Six more base cuts, then shelf and drawer and corner stopped chamfers.!
Don't anthropomorphize your handplanes. They hate it when you do that. - OldTools Archive -
Main Street to the Mountains


