


Share your craft projects
Make new craft buddies
Ask craft questions
Blog your craft journey

crowie
806 posts
and
33 followers
in over 3 years
in over 3 years
Rat Rod Truck #1: Rat Rod Truck for Marcus
This is
part 1
in a
1 part
series:
Rat Rod Truck
-
Rat Rod Truck for Marcus
- Rat Rod Truck for Marcus
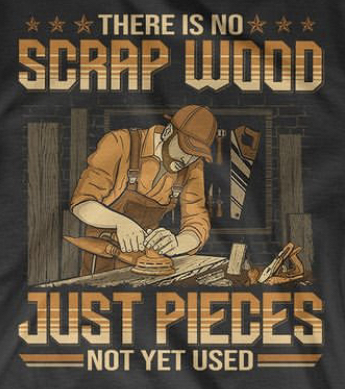
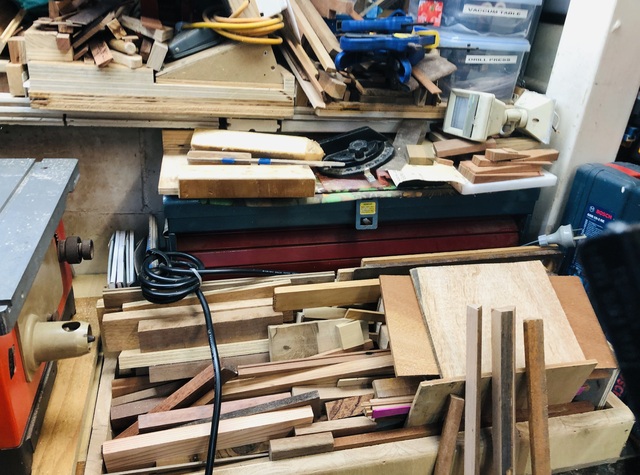
I have started the Instagram #offcuts only challenge put up by Mark Dainer, a maker from Townsville.
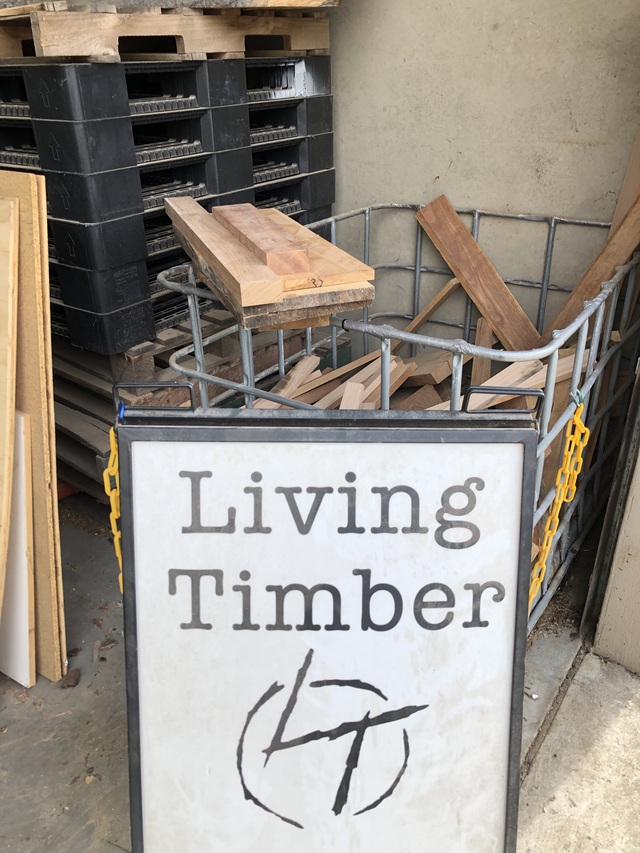
Thank you to Dean & Francine of Living Timber in Penrith for some of their larger offcuts.
I’ll be doing a Rat Rod Truck with inspiration from Steve Darnell of “Welder Up” along with a few other Instagram older trucks, as a gift for our newest grandson, Marcus.
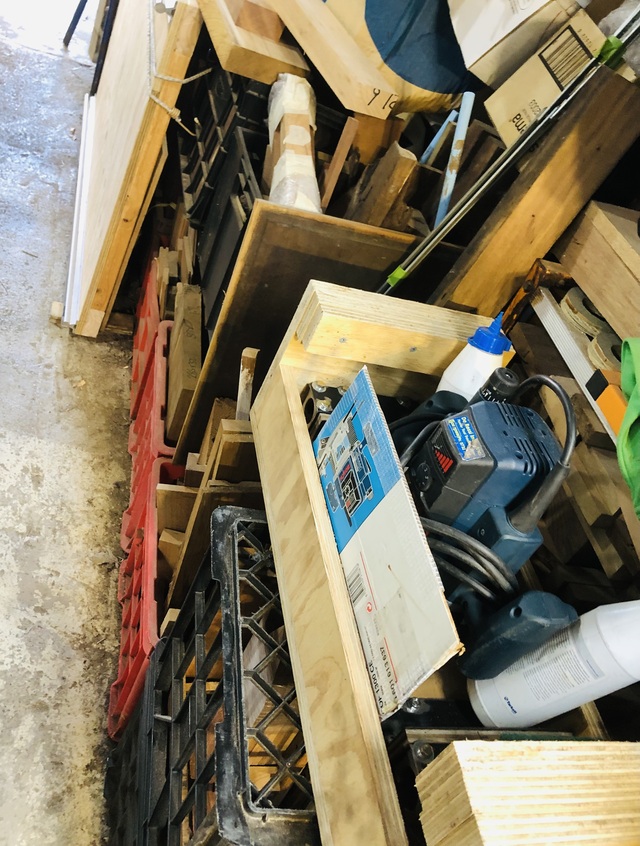
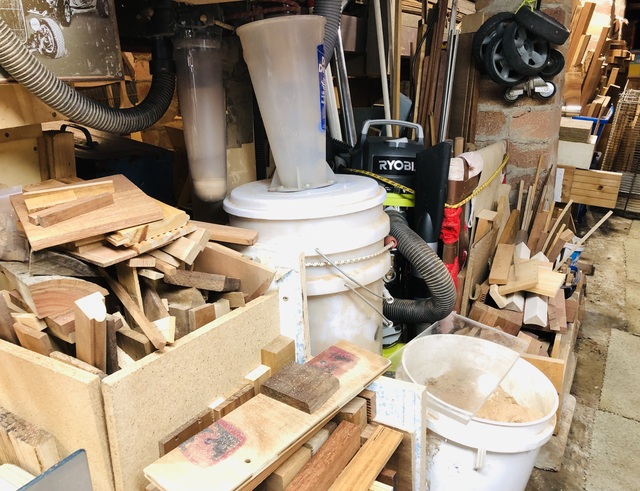
Let the fun begin, I have plenty of offcuts awaiting a project.
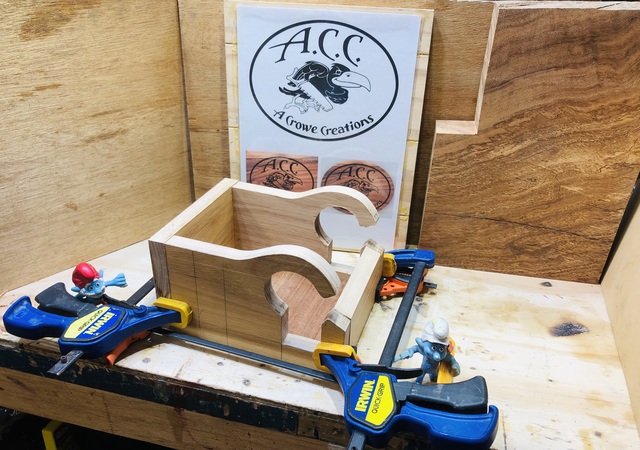
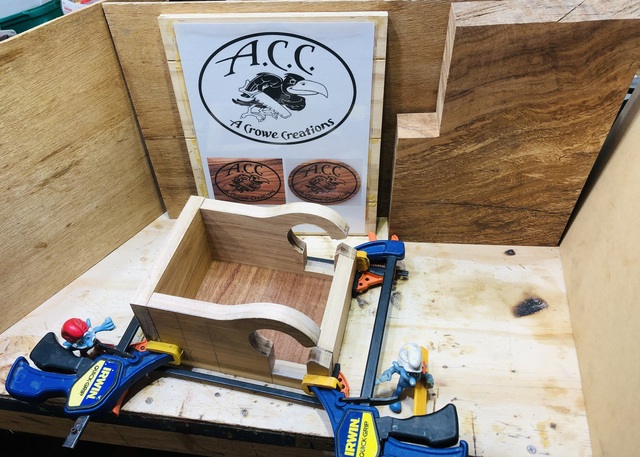
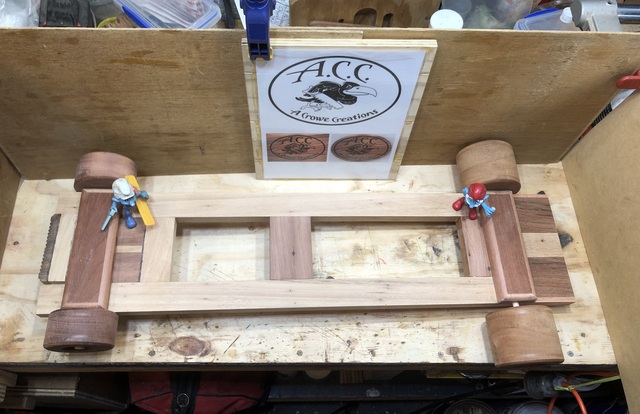
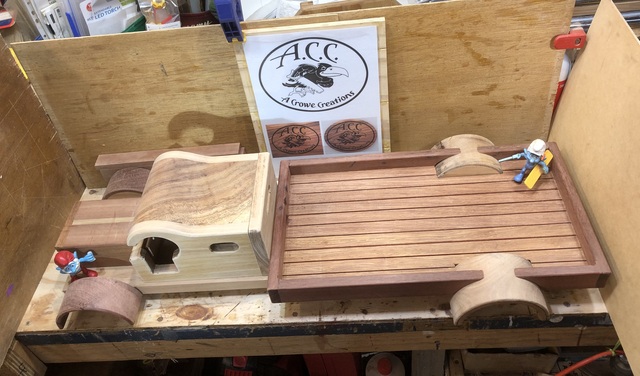
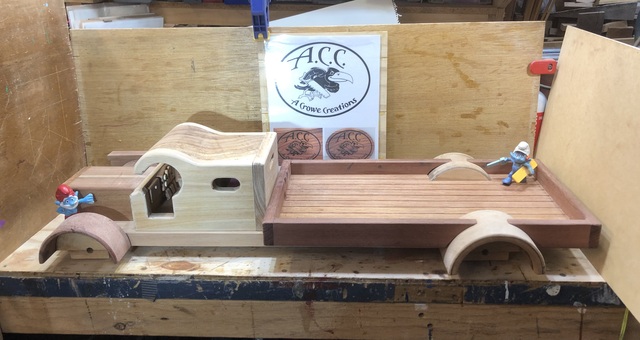
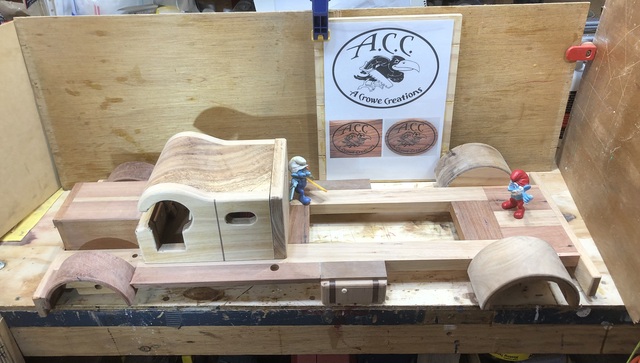
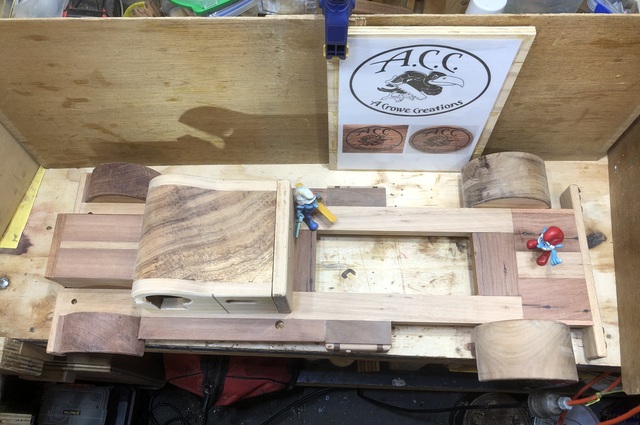
We have the bones of a sleeper cab for this Rat Rod Truck underway and the shed supervisors are already looking impressed.
For sleeper cab I used the timber offcuts from Living Timber in Penrith, then the roof of the cab will be off the remaining offcut of a piece of “Blackwood” I was given by Liam & Molly of Goat Works in Penrith.
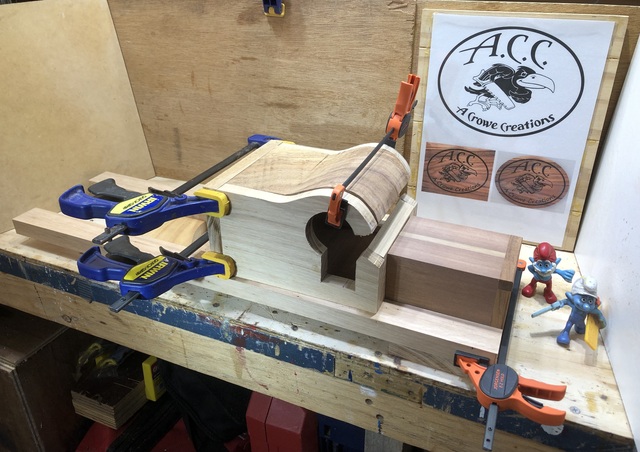
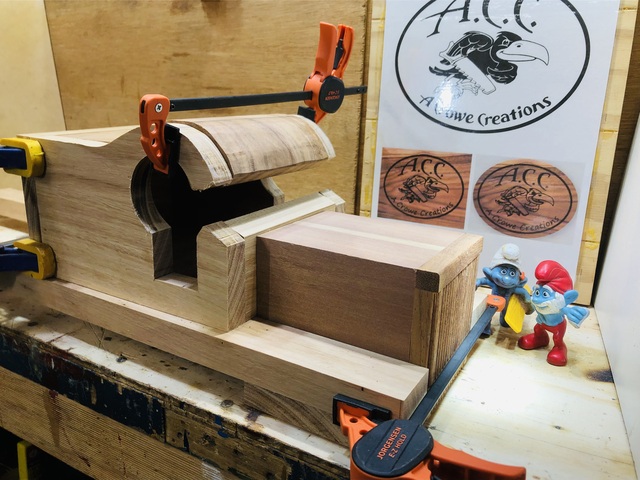
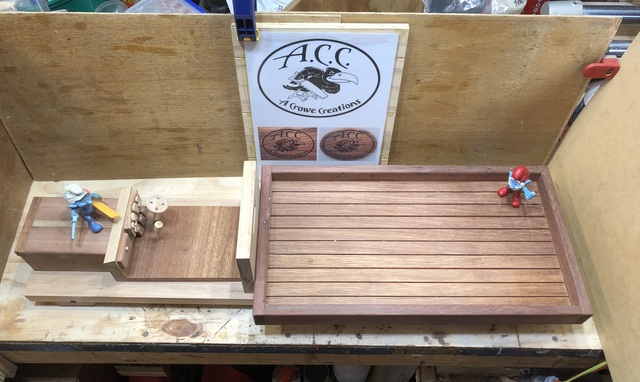
The Rat Rod Truck for the continues with the piece for the engine coming the offcuts from Living Timber in Penrith along with another piece for the chassis rails, though the radiator is from the underside of an offcut of Merbau Decking.
The cab roof is some of the slab offcut of “Blackwood” from Goat Works in Penrith.
So far this rig will be something like 660mm long x 240mm wide x 200mm high
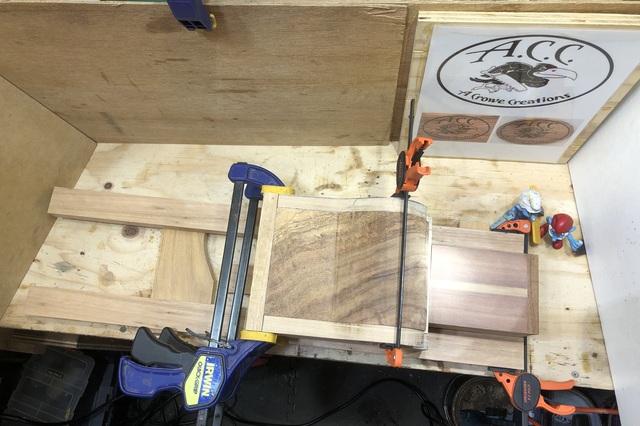
The progress on the Rat Rod Truck continues for the build making the tray from some offcuts of Merbau Flooring.
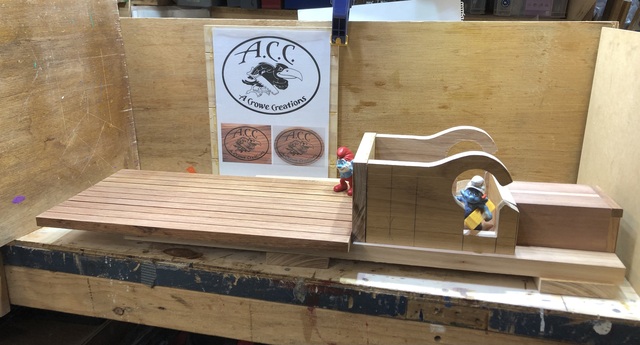
Still heaps to do but a good start.. Cheers crowie
Life’s Good, Enjoy Each New Day’s Blessings
21 Comments


cant wait to see it will be following along 👍
*TONY ** Denver * ALWAYS REMEMBER TO HAVE FUN

Off to a good start Peter. It is nice to receive drops from folks and seeing them put to good use.
Main Street to the Mountains

Looking good, Peter!
I find myself wondering whether I can legitimately call something like that half of a 12/4 by 10 inch board (about 4 feet long, or 75mm x 250mm x 1.3m) of ash I have “left over” from my fancy laundry hamper (which I need to finish one of these days) would count as an offcut, since I was required to buy the entire 10ft (3m) length at the lumber yard.
In any case, it’s a fun challenge you’ve set yourself, and you get to build more toys!
May you have the day you deserve!

Look'en good so far.
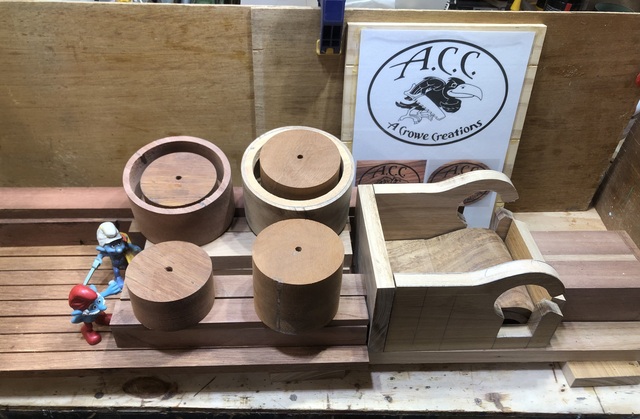
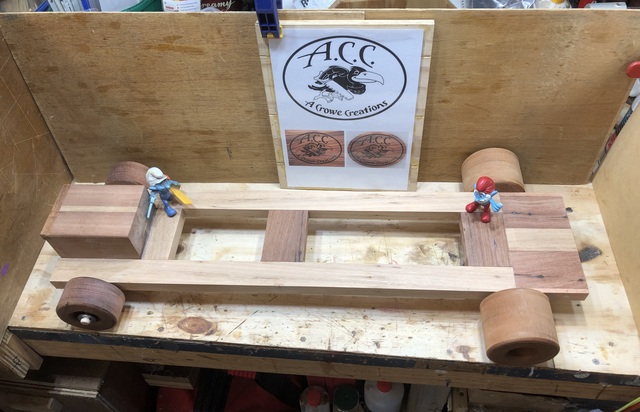
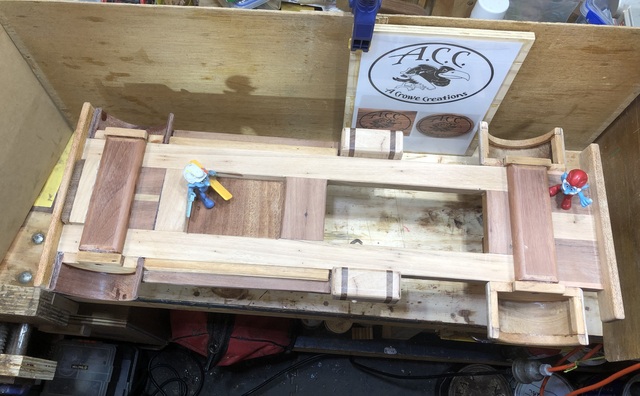
I made a miscalculation!
Papa Smurf is always telling me to "Measure Twice and Cut Once"!
I tried to blame Handy Smurf but he said I just do the cutting, you do the measuring!
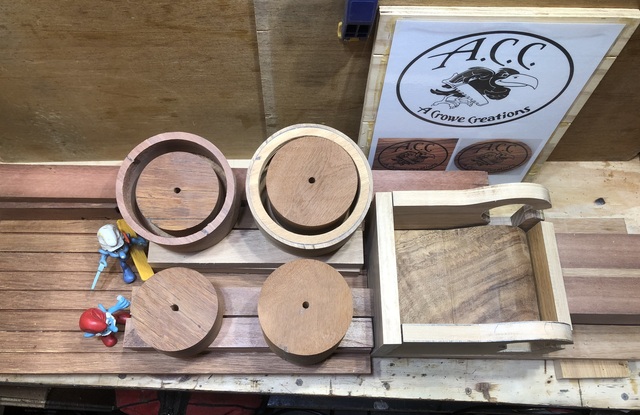
The miscalculation has occurred on the rear mudguards/fender in that either the inside diameter of the guard is too small for the wheel diameter.
It's a cutting the guards using two [2] holesaws into old Aussie Hardwood so I've got out of jail by adding an internal rim to the guard.
The guards are made as one full piece with a snug fitting blank though the back to make a dish.
The will be cut in half later.
I'll use a forstner bit to hollow out the centre of the wheels later too.
Rear Mudguards/Fenders - 130mm x 122mm [plus the inner rim] by 76mm wide
Rear Wheels - 90mm dia x 75mm wide
Front Mudguards/Fenders - 120mm x 100mm by 65mm wide
Front Wheels - 85mm dia x 45mm wide.
Papa Smurf is always telling me to "Measure Twice and Cut Once"!
I tried to blame Handy Smurf but he said I just do the cutting, you do the measuring!
The miscalculation has occurred on the rear mudguards/fender in that either the inside diameter of the guard is too small for the wheel diameter.
It's a cutting the guards using two [2] holesaws into old Aussie Hardwood so I've got out of jail by adding an internal rim to the guard.
The guards are made as one full piece with a snug fitting blank though the back to make a dish.
The will be cut in half later.
I'll use a forstner bit to hollow out the centre of the wheels later too.
Rear Mudguards/Fenders - 130mm x 122mm [plus the inner rim] by 76mm wide
Rear Wheels - 90mm dia x 75mm wide
Front Mudguards/Fenders - 120mm x 100mm by 65mm wide
Front Wheels - 85mm dia x 45mm wide.
Life’s Good, Enjoy Each New Day’s Blessings
Guess that will happen at times.
Main Street to the Mountains
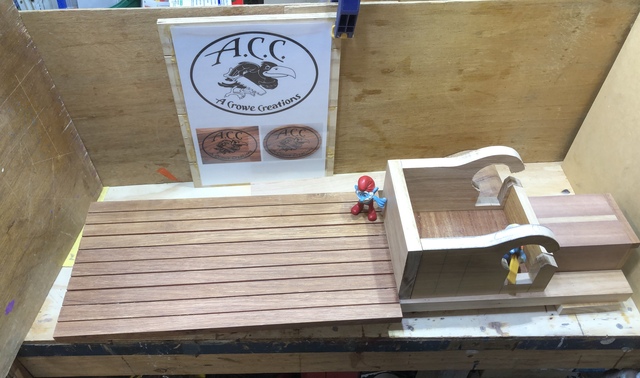
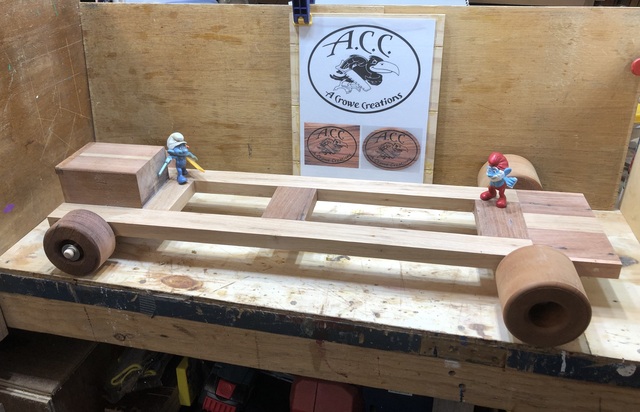
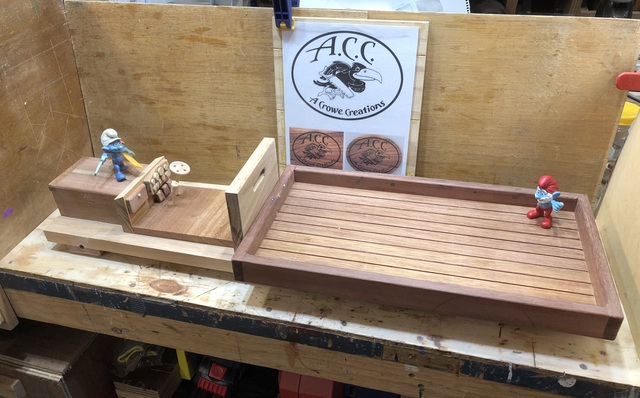
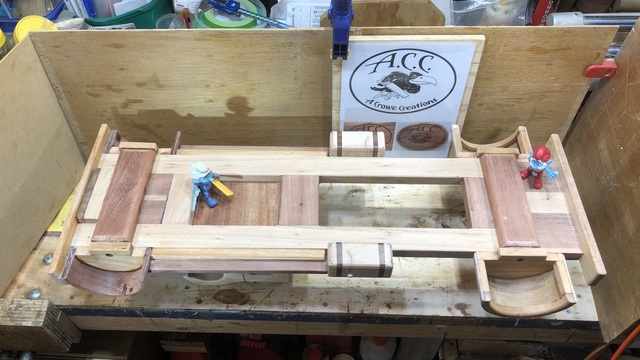
We have a rolling chassis!
Life’s Good, Enjoy Each New Day’s Blessings
The tray is finished, now to work out the fitment of the mudguards/fenders....
Life’s Good, Enjoy Each New Day’s Blessings
Well done Peter.
Main Street to the Mountains
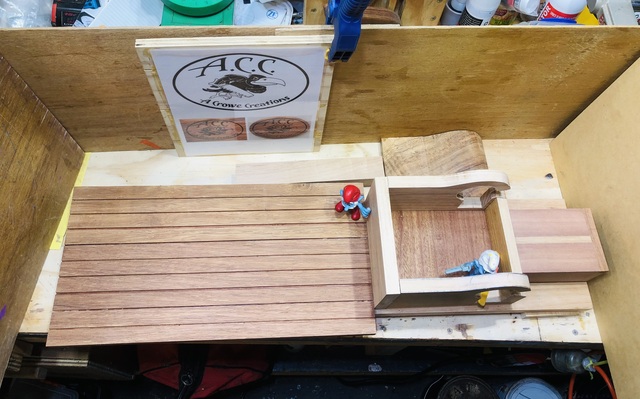
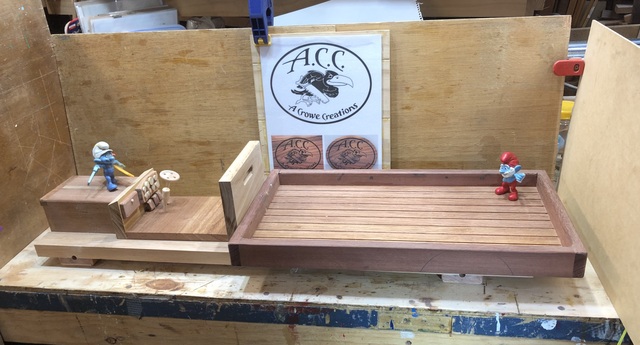
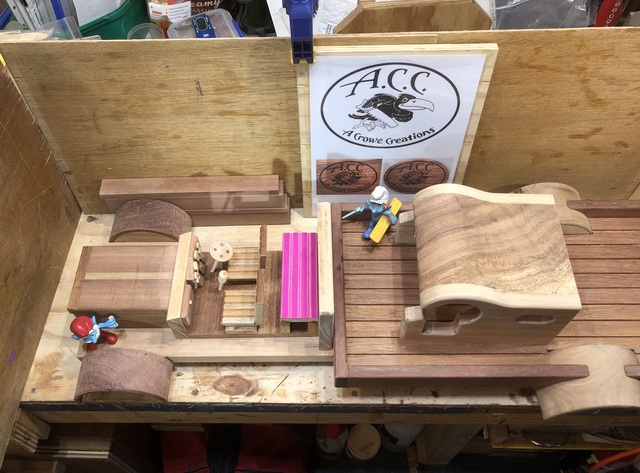
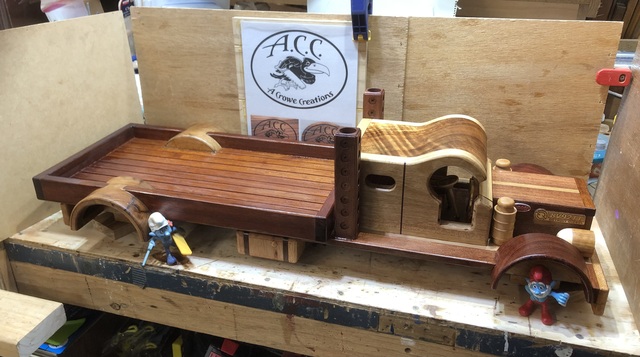
We're about half way done!
Papa Smurf and Handy Smurf are pleased with the progress, posing for photos!
Both the front and rear mudguards [fenders] are in place....
The Sleeper Cab is in place with the roof & walls completed....
The tray/bed has had the cutouts done to accommodate the mudguard [fender]....
Papa Smurf and Handy Smurf are pleased with the progress, posing for photos!
Both the front and rear mudguards [fenders] are in place....
The Sleeper Cab is in place with the roof & walls completed....
The tray/bed has had the cutouts done to accommodate the mudguard [fender]....
Life’s Good, Enjoy Each New Day’s Blessings
Well done Peter.
Thank you Eric ..... Fun build!
Just wondering?
Do I need to add a small "kerf" on the sizes of the cab to delineate the sleeper?
Appreciate thoughts, thank you!
Just wondering?
Do I need to add a small "kerf" on the sizes of the cab to delineate the sleeper?
Appreciate thoughts, thank you!
Life’s Good, Enjoy Each New Day’s Blessings
You are coming along nicely Peter. If you are talking about a vertical line for the sleeper, that would define it. A single hand cut kerf then follow with a V-Gouge would work. It all depends on the amount of details you would like to add in into it. You are the builder.
Main Street to the Mountains

It's looking good Peter!
Looking good, Peter! I would use a v-tool to put a line to denote the sleeper, but I’m pretty comfortable with that tool after spending most of the week carving.
May you have the day you deserve!
Thank you Eric & Dave,
I’ll have to have a few practices to carve with the small “V” gouge across the grain.
I’ll have to have a few practices to carve with the small “V” gouge across the grain.
Life’s Good, Enjoy Each New Day’s Blessings
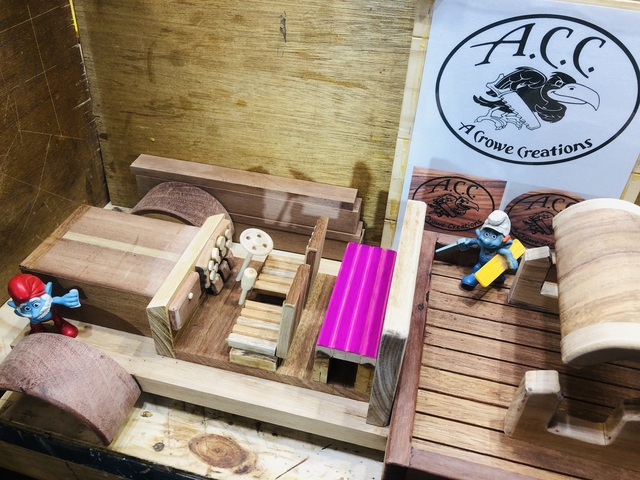
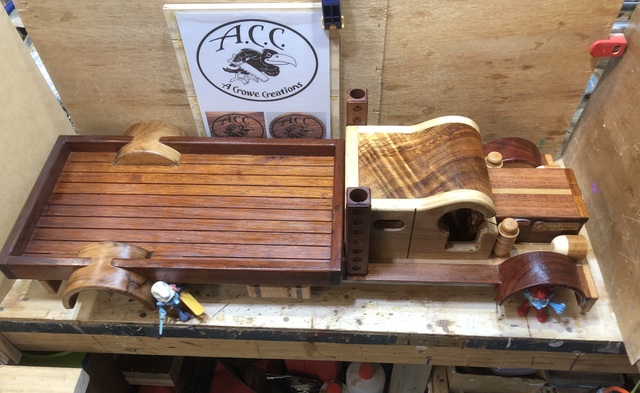
Did the Cab Sleeper line with a thin inlay strip of Walnut...
Now the front and rear bumper bars are done;
as are the side steps and fuel tanks....
Now the front and rear bumper bars are done;
as are the side steps and fuel tanks....
Life’s Good, Enjoy Each New Day’s Blessings
Nicely done Peter, you are adding some great detail to this build.
Main Street to the Mountains
Nicely done Peter, you are adding some great detail to this build.
Thank you Eric, the detail makes the build extra interesting and challenging for me....
Life’s Good, Enjoy Each New Day’s Blessings
The first coat of finish is on
I'll post the completed truck in a new project..
Thank you all for following along...
Life’s Good, Enjoy Each New Day’s Blessings