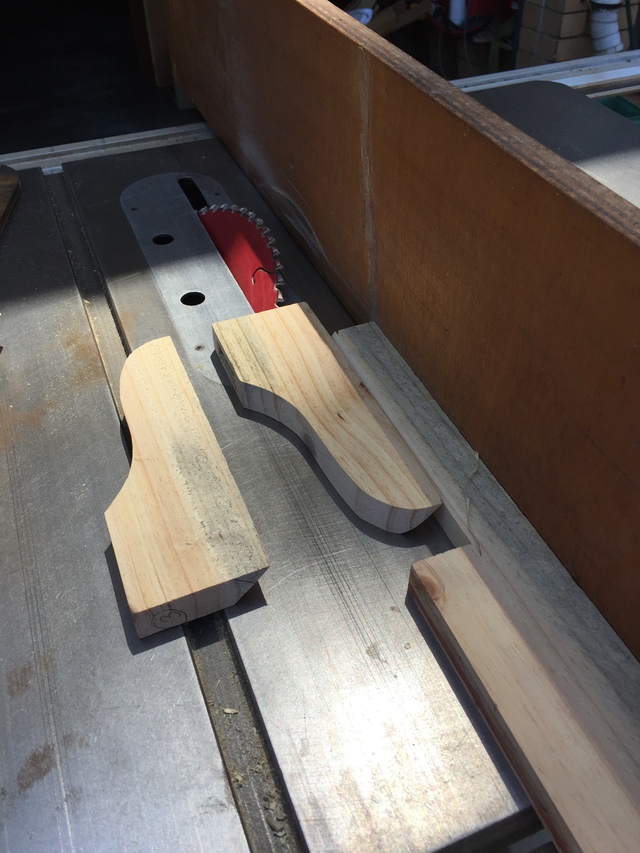
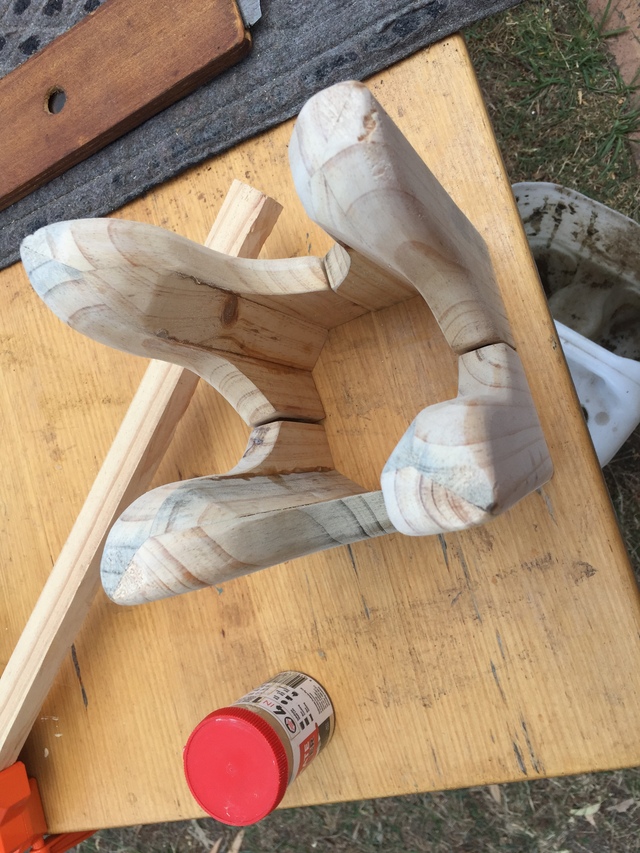
as promised I played with QA legs today and added some bling. First up was a radius profile of the outside.
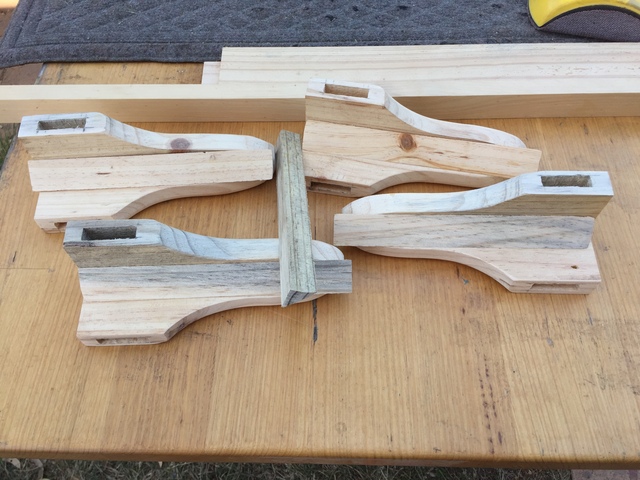
Once I had the right height all the legs were profiled on the outsides. Next I decided to add some internal support .
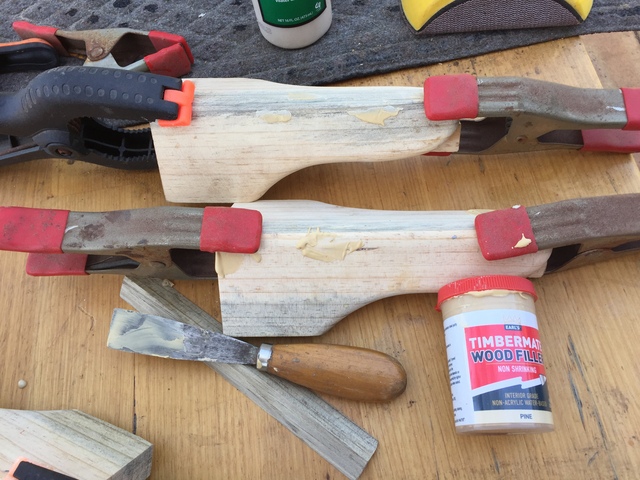
When I cut the 45 Deg angles for the glue up I had various pieces of triangular offcuts.
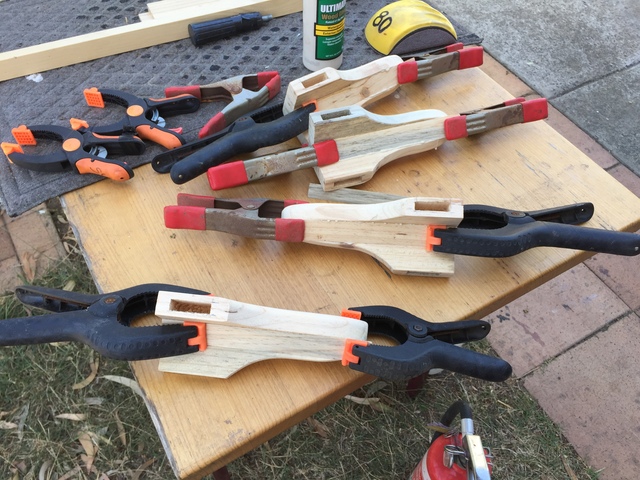
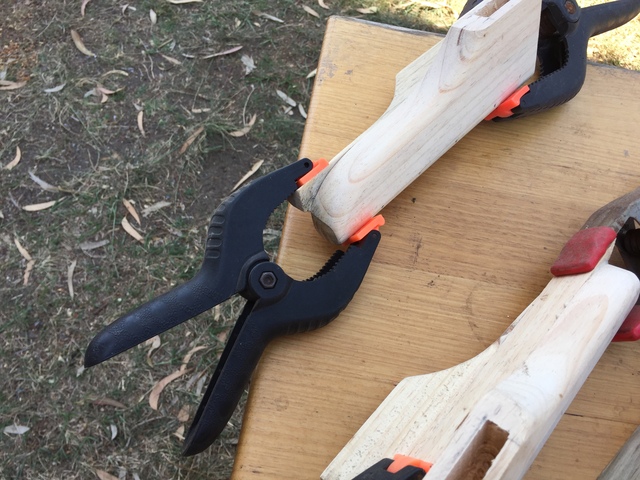
So sorting the off cuts into the best possible grain match I ended up with this. Applied glue and used some spring clamps to hold the sections in place. here is a close up of the result. While the glue was setting I filled any defects with Filler.
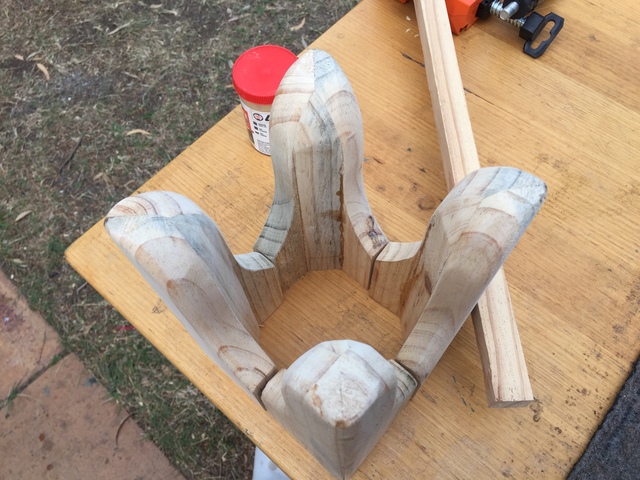
Using my trusty pull saw I trimmed off the excess and sanded the legs to a suitable finish. All looking pretty nice I thought
next I guess I will have to stain them with Walnut, Cherry, Maple or Mahogany to fool even the most critical antique furniture critics !!!!
Hey Splint you devil I was not up in the high society family enough to be afforded a peek so I will have to take your word on that aspect. I wonder how it all came about anyway I will have to do some WW research and see if I can find an answer. LBD may know as it seem s he may be a foot man.
Standby for some interesting facts (well maybe some loosely prepared facts)