I finally got to switch gears and do some work on the legs/support for the cabinet. Some of the rough shaping I had done a while back, but didn't have enough photos to constitute a decent post. Well, I've got a load now, so here we go.
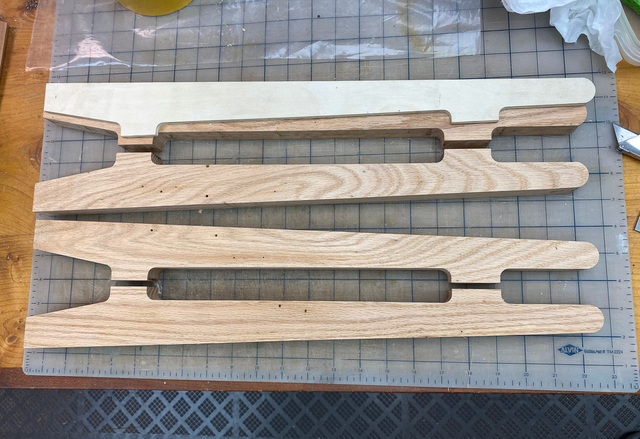
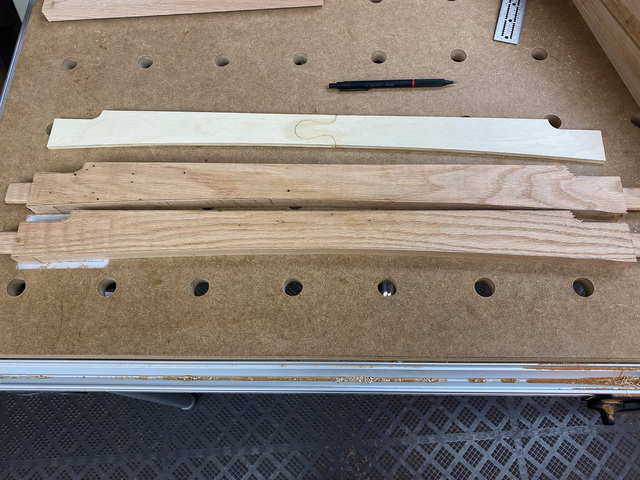
The legs and their stretchers will be made from some red oak that I got from my brother-in-law who felled the tree and had it milled. It's got quite a lot of borer holes, but since I'll ultimately be ebonizing the oak parts, they probably won't be terribly noticeable. After planing to thickness, I rough cut the legs an brought them to final shape with a router template.
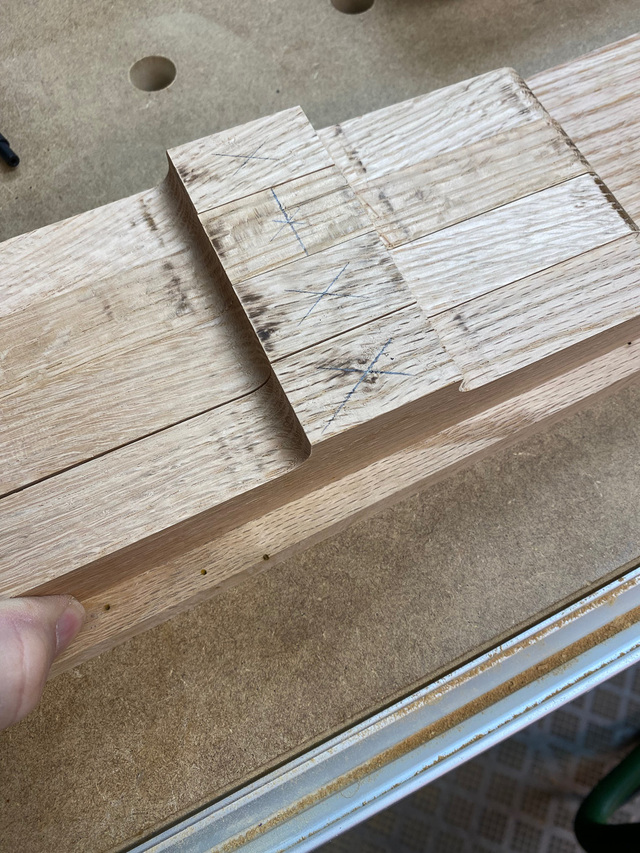
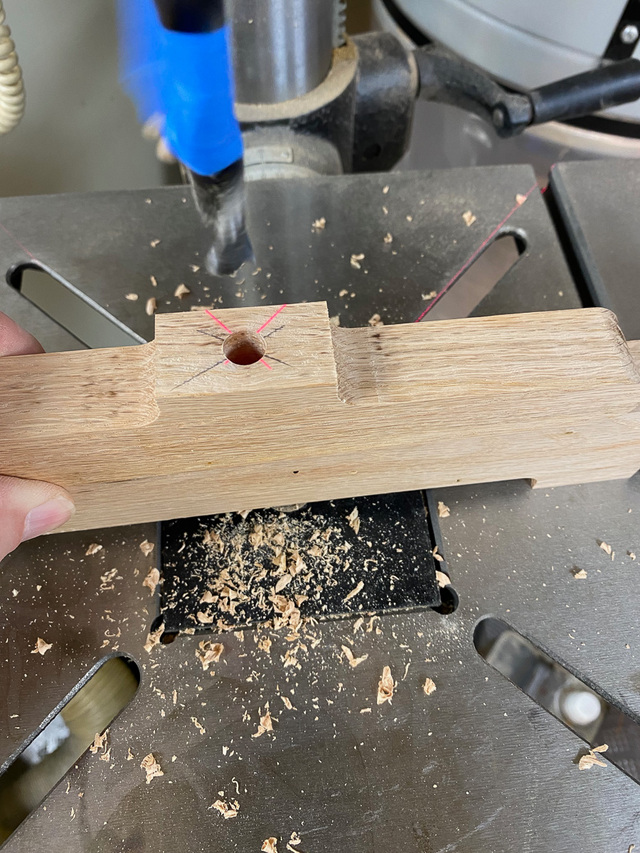
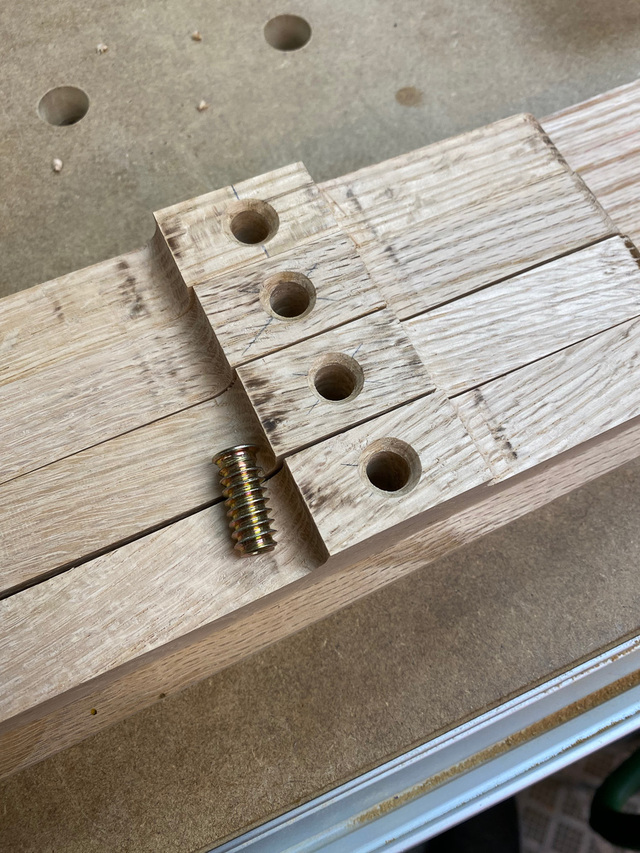
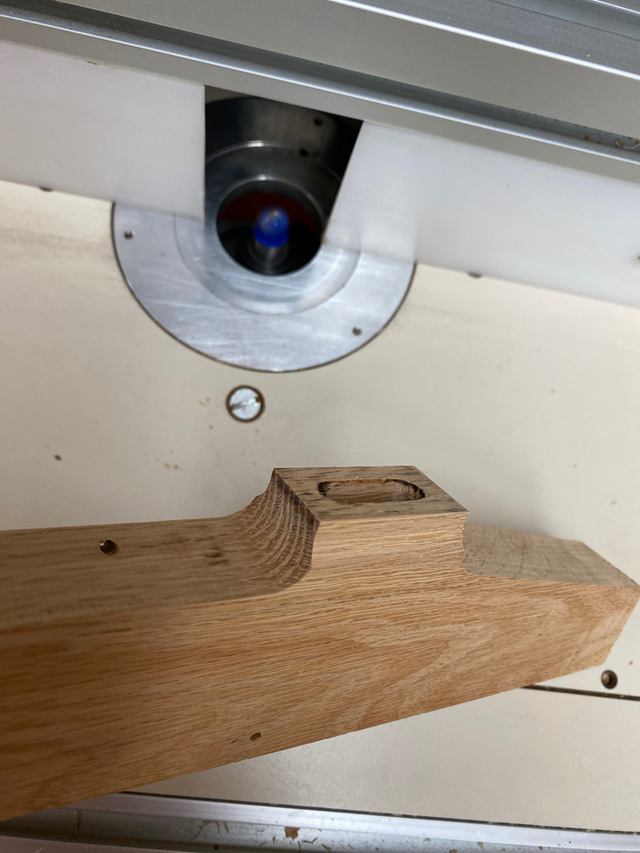
The integral spacer at the top will receive a threaded insert to receive a furniture bolt from inside the cabinet. I first marked out the center of each spacer.
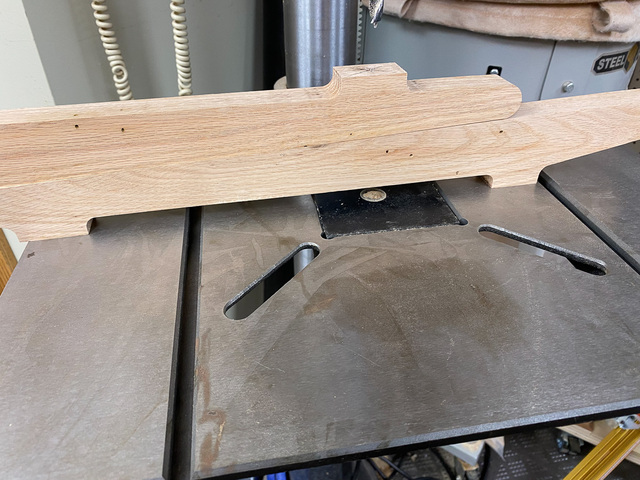
With the centers marked with an awl, I used a brad point bit to drill out the hole for the insert. To keep the hole perpendicular to the face, I stacked two legs together in reverse orientation.
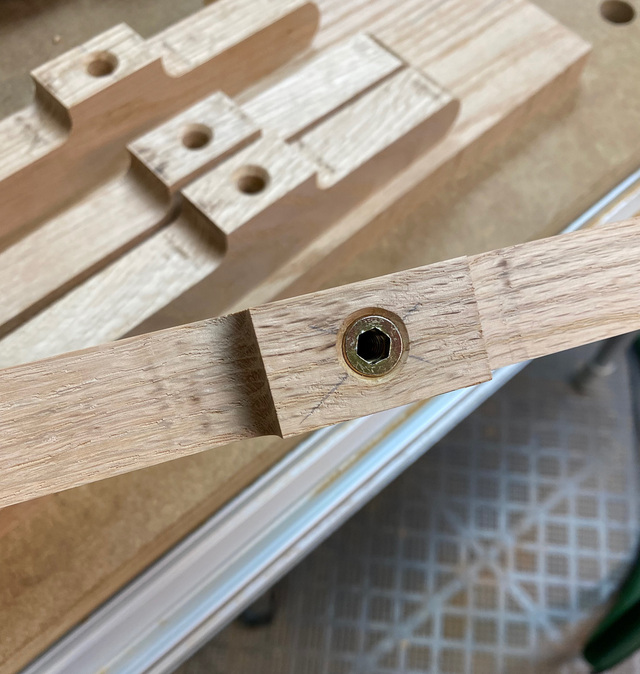
I added a healthy countersink to each hole to ensure that the lip of the insert would be recessed.
Checking for fit.
I recently picked up an older model Leigh mortise and tenon jig. The price was right and I couldn't pass it up. I'll be using it for the first time for some of the leg joinery - the mortises in the lower end of the legs and tenons on the stretchers. I took some time to do some practice joints with the jig. I produces good results, but clamping for mortises can be cramped, and indexing for repeated operation is only decent for tenons. You're left to your own devices for mortises.
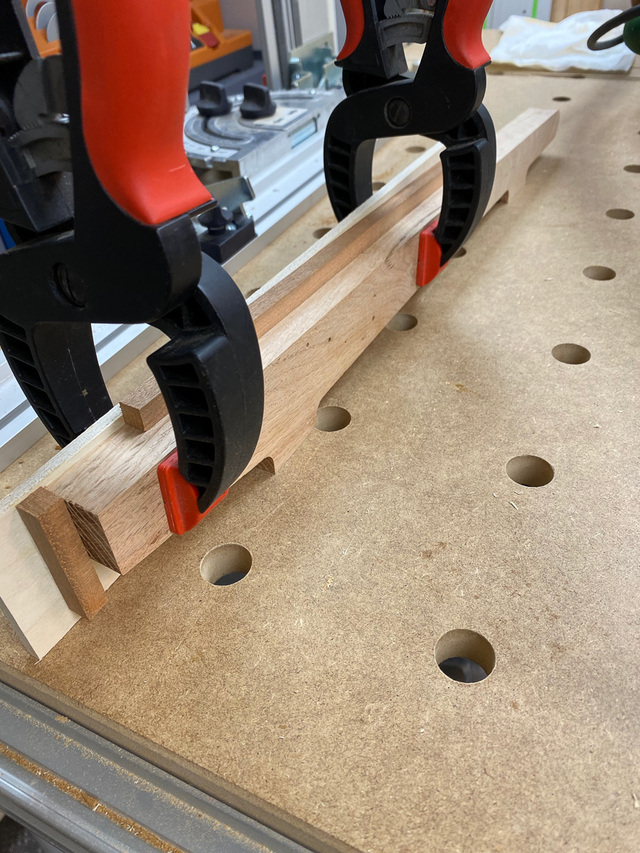
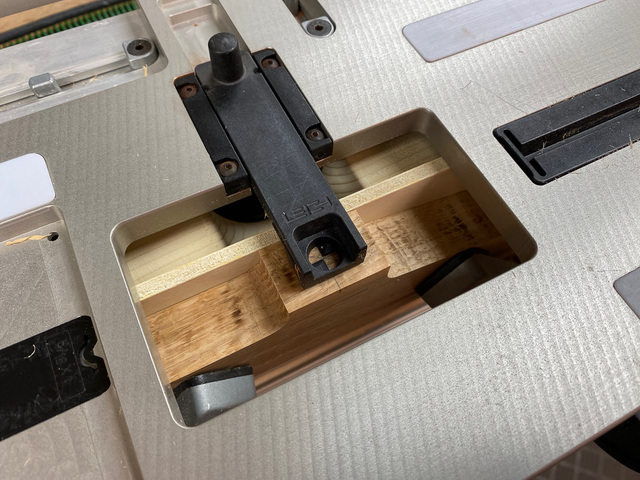
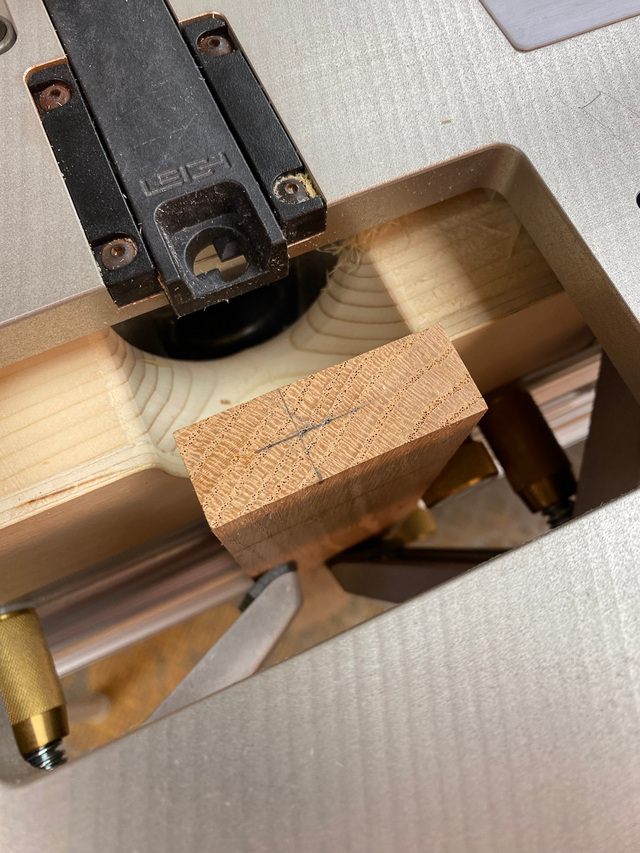
For the mortises, I made a simple jig with a scrap of 1/4" ply and some stops to hold the leg in position. This will ensure that I'm plunging perpendicular to the surface.
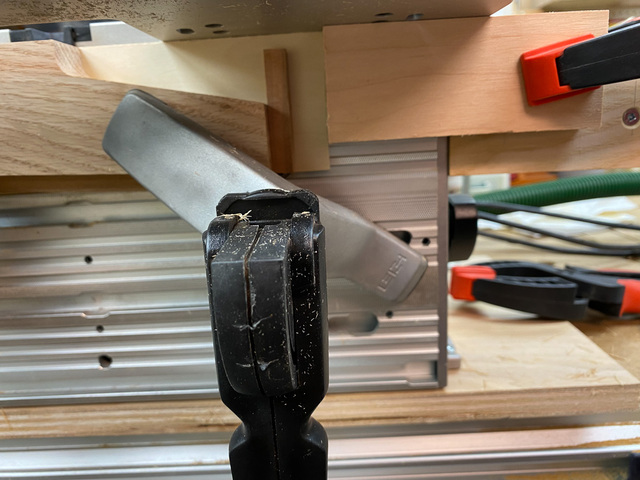
I added this small wing to the Leigh jig so I could clamp a stop block for one end of the leg cradle jig.
With this setup, I could get the remaining 3 legs into exactly the same position.
Only the first leg needs to be marked for centering.
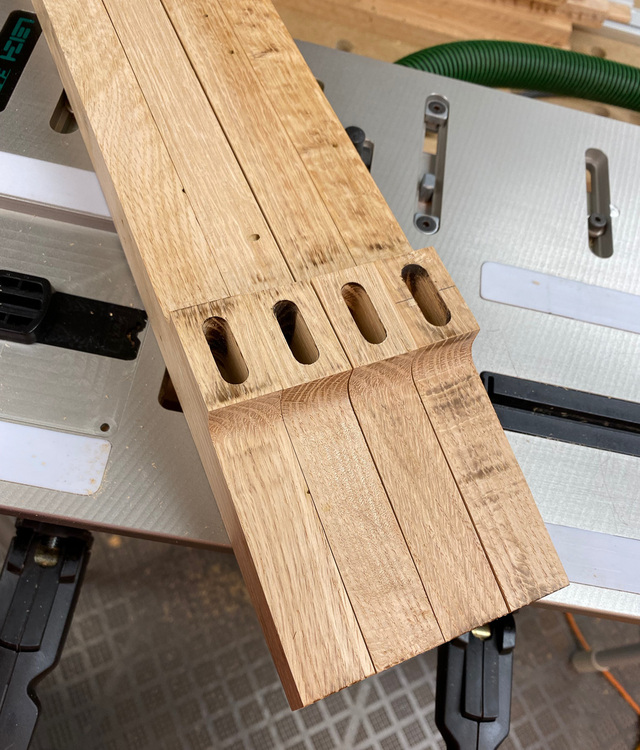
The mortising took no time at all.
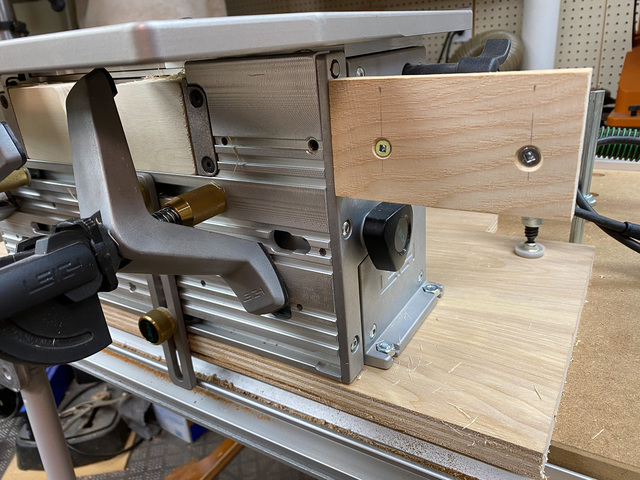
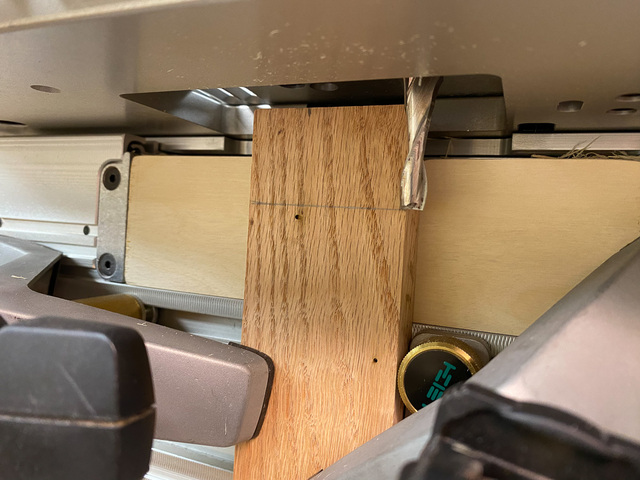
Setting up for the stretcher tenons was a little more straightforward. The Leigh has a fence that can be mounted vertically to support repeated operations. The older Leigh fence didn't have an integral square on it, so I did that manually. I made a filler block to provide more clamping surface when doing mortises, but I realized it would get cut into with tenons, so I popped it out before the first tenon. The tenon is offset towards the bottom of the stretcher, which will make more sense when the stretcher is cut to its final shape.
Checking the plunge depth for the shoulder.
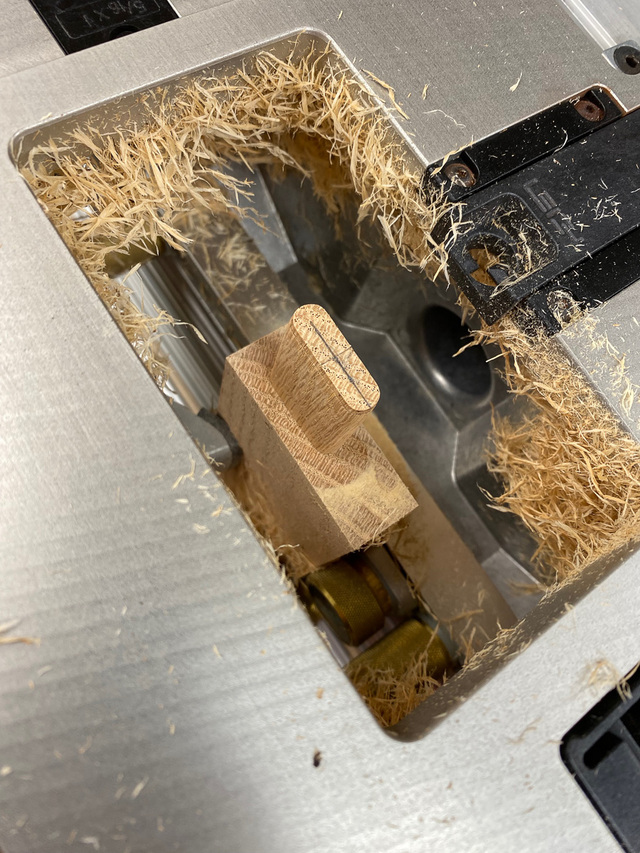
Cutting the tenons went very smoothly with this jig. You start with a climb cut circling the end to establish a bit of a shoulder, and then reverse and cut the remainder in the usual direction. Super smooth result.
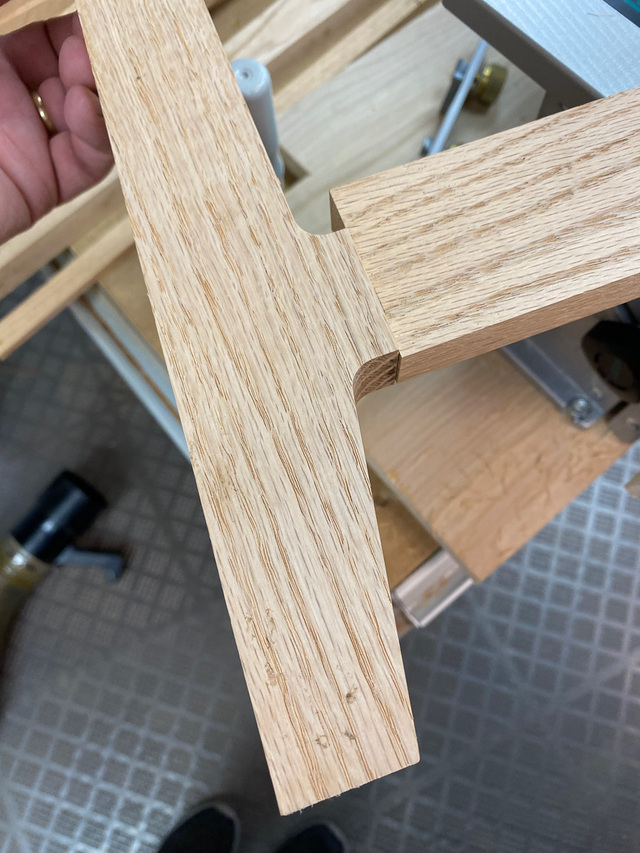
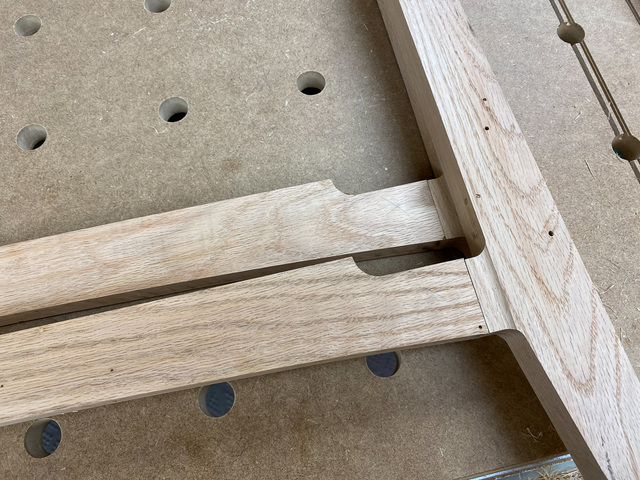
The fit was spot-on. I intentionally started with a wider stretcher because I wasn't sure if I could count on exact alignment from the jig. The excess on the top and bottom will get trimmed off shortly.
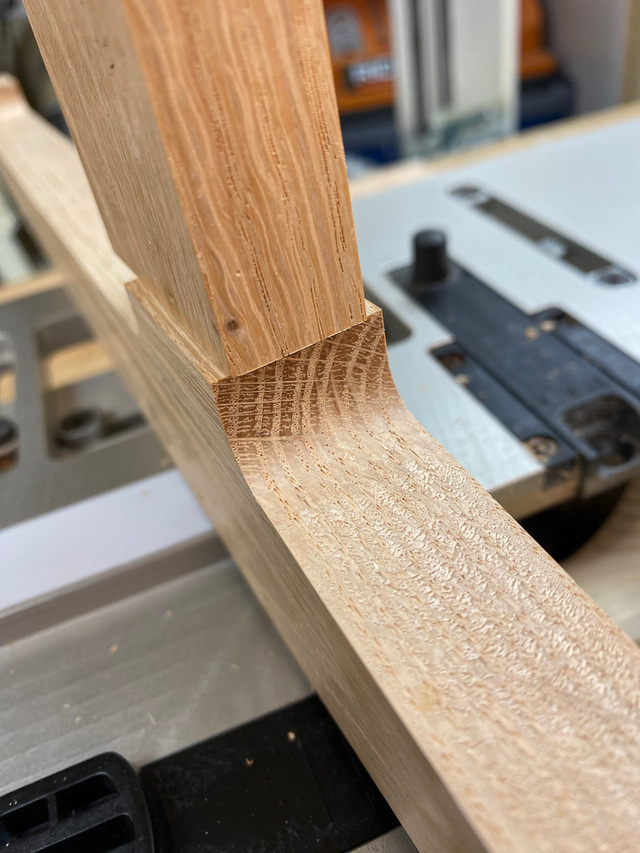
At this stage, the neck on the leg is wider than the stretcher. I'll taper this in by trimming that area on the leg with a core box bit on the router table.
I may need to go a little deeper into the leg with that curve to help blend it it. I won't know for certain until I'm working on the roundovers on the remaining edges.
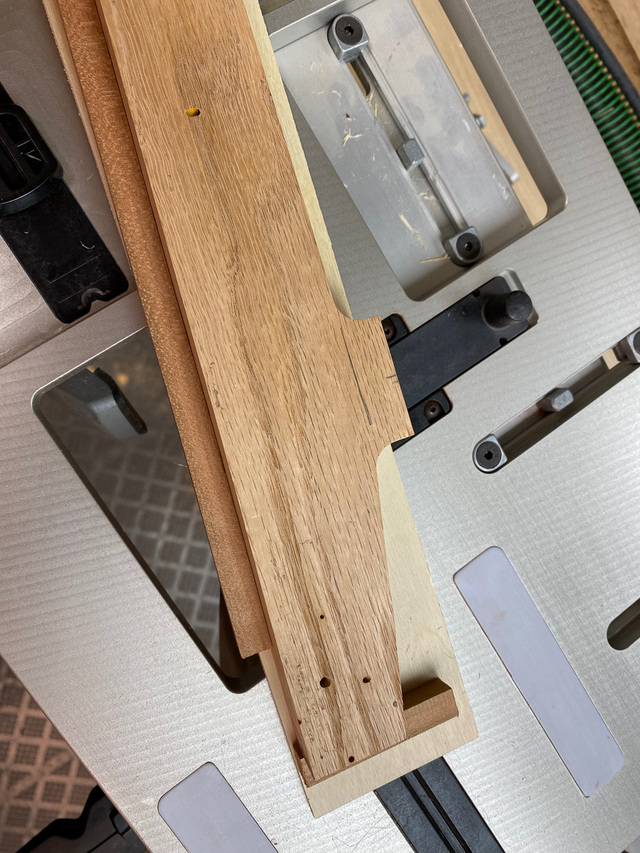
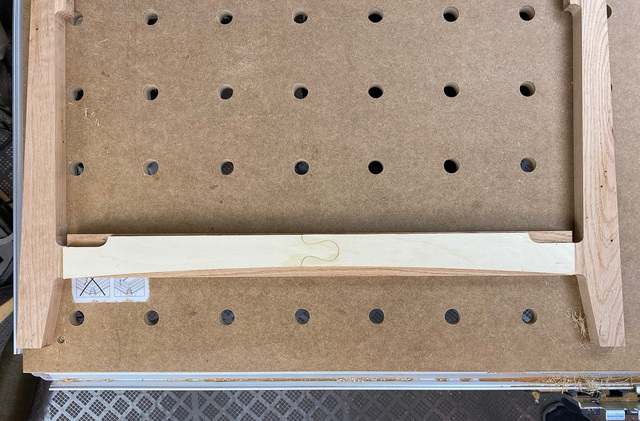
I made a router template for the final stretcher shape. I had to puzzle-piece it because it was longer than the 1/4" ply I had on hand.
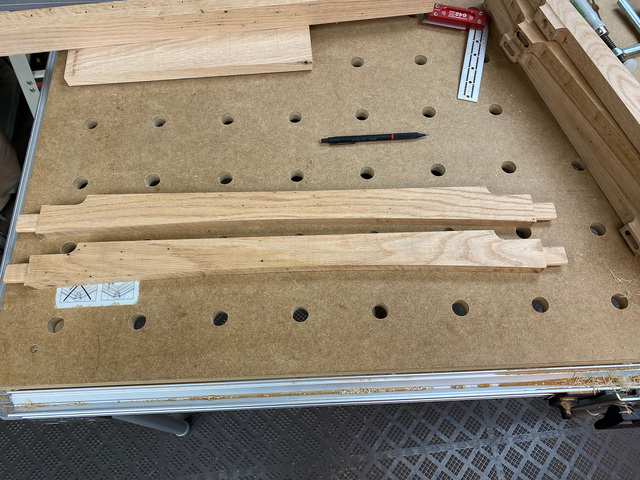
With the outline transferred to the stretchers, I removed bulk of the excess on the bandsaw.
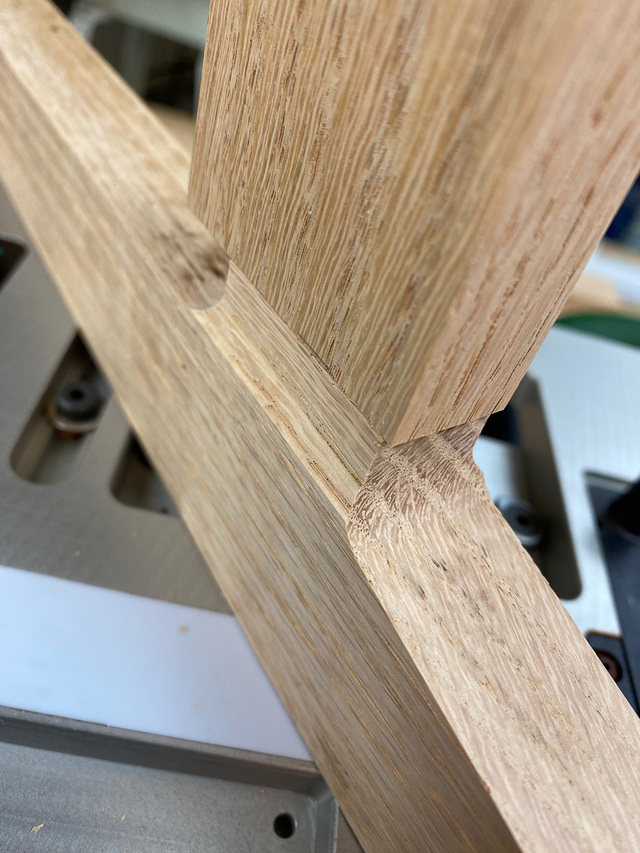
I trimmed it to shape on the router table with a double-bearing flush trim bit. It really helps to always cut oak going downhill, and with that bit you can.
There's still a tiny amount of cleanup I'll need to do to give the joint a smooth transition, but that will be easily done after glue-up.
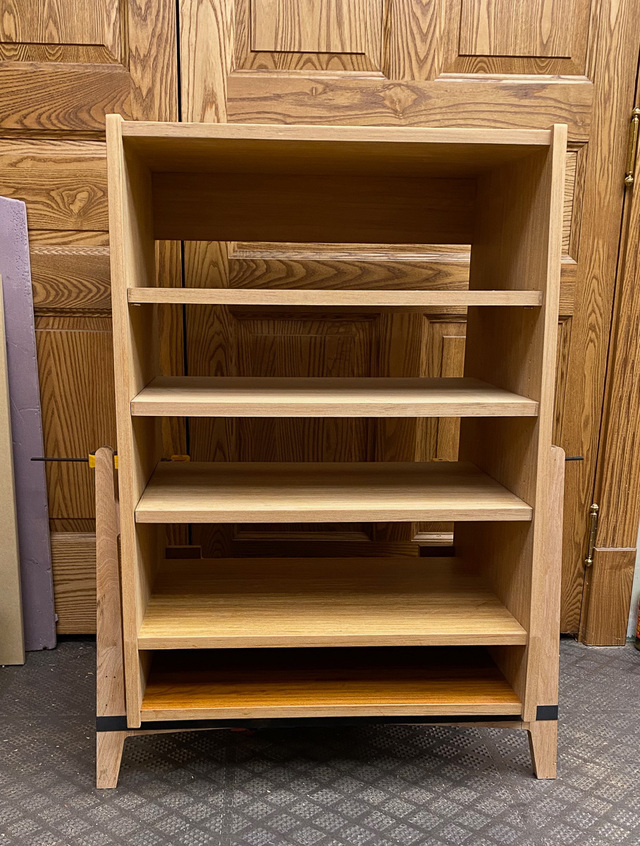
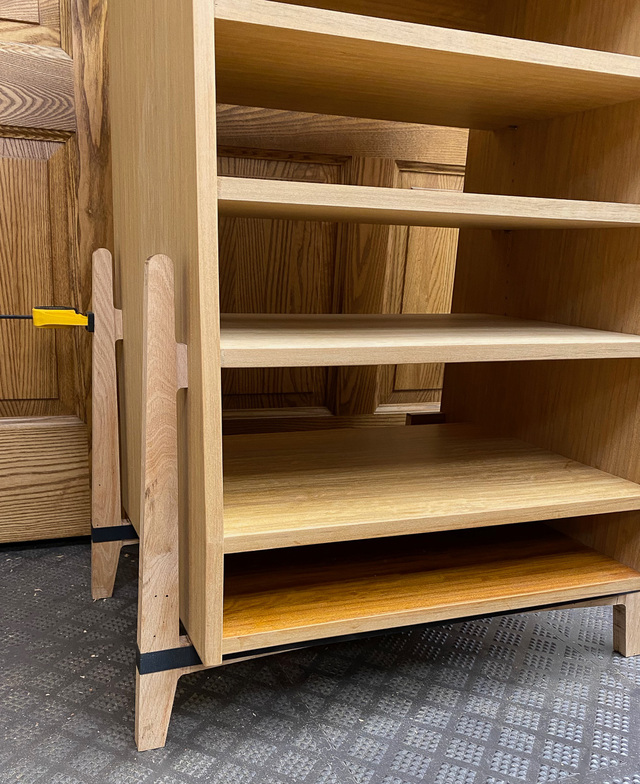
I couldn't resist a test fit of the legs. I used a couple strap clamps to keep the joints tight and carefully propped-up the cabinet and put the legs underneath. It's coming along.
Looking good. Takes away some of the heavy feeling that boxes tend to have. Didn't quite get the part about the Leigh jig, but the end result looks neat and accurate, great
"The good chair is a task one is never completely done with" Hans Wegner
Impressive work, Ross. I greatly prefer the look of this style of leg compared to the splayed tapered round legs on the bottom like I see in a lot of MCM furniture.
How do you decide when to use pattern routing like you did here vs. using your CNC? Is is the size of the parts? the type of wood?
How are you going to position the hole in the cabinet for the bolts that will fit into the inserts at the tops of the legs?
Kaerlighedsbamsen commented about 10 hours ago Looking good. Takes away some of the heavy feeling that boxes tend to have. Didn't quite get the part about the Leigh jig, but the end result looks neat and accurate, great
Ty - Sorry I wasn't clear on the Leigh jig description. I just was pointing out that while it's a clever jig and produces great results, you still have to do some fiddling with it to consistent results when doing multiples. Yeah, I hope the more round-ish legs will help balance the boxy cabinet.
Ron Stewart commented about 2 hours ago new Impressive work, Ross. I greatly prefer the look of this style of leg compared to the splayed tapered round legs on the bottom like I see in a lot of MCM furniture.
How do you decide when to use pattern routing like you did here vs. using your CNC? Is is the size of the parts? the type of wood?
How are you going to position the hole in the cabinet for the bolts that will fit into the inserts at the tops of the legs?
Ron - The legs were inspired by a Niels Vodder sideboard from the 50's and similar pieces. Their legs were probably turned, but I'm not setup to do turning at the moment, so I just borrowed the general idea and used familiar techniques. Regarding the use of the CNC - I will generally use it to make the pattern, especially if I'll be doing multiples. In past projects, I did use the CNC more for cutting the final pieces, and that does work, but it is so easy to mess things up on the CNC. Especially if your work shifts a little. I feel I have more control when I use a router template. For positioning the hole for the top of the leg, I was just going to place some masking tape on the outside of the cabinet in the general area, transfer the horizontal and vertical centers of the spacer to the tape, extend the marks to find center, and drill. In actuality, I may not permanently mount the legs or stretchers to the cabinet. I'll just set the cabinet in place initially. I have an idea for lighter-looking turned legs, but I'll need to practice turning first. For now, the original leg design will have to do. 😀
Thanks, Ross. I have no CNC experience, so it’s interesting to hear from those of you who do. Your hole positioning plan sounds good (if you need it 😀).
Ron Stewart commented about 15 hours ago Thanks, Ross. I have no CNC experience, so it’s interesting to hear from those of you who do. Your hole positioning plan sounds good (if you need it 😀).
Other considerations: my CNC is fairly small (24" x 18" bed), so it's harder to cut longer parts (although it can be done). For smaller parts where using a template wouldn't be safe, it makes sense to cut the part on the CNC. Also, generally the CNC takes longer to setup and cut a piece compared to what it would take to rough cut on a bandsaw and flush trim with a template.