My goals for this weekend were to get the boards for my mom's flag box thicknessed and get all the boards for both projects ripped to width. Then to get the main case members joinery done and get the backer board fit. But I also had to replace the turn signal switch on my truck and the 2 hours I estimated for that turned into about 8 so you know how that goes.
I started by thicknessing all the oak boards for my mom's box. That went fine except they were too thin and I ended up having to plane them down to .700" instead of 3/4. But that's no big deal, it will look fine and won't affect the design.
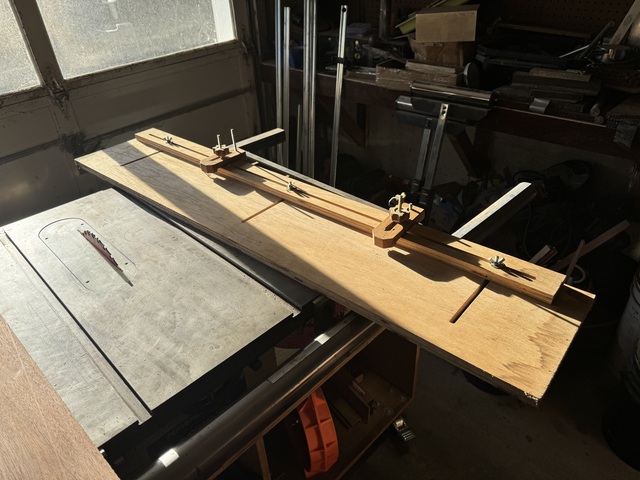
I gave my jointer away to a friend a while back. It sat in my shop taking up space for years and I just rarely used it. So I showed the jig I use to joint faces with my planer in the last entry. So how about jointing the first edge? For small projects, I use a hand plane. But for this many linear feet of board, that's too much work for me! So I have another jig I made to do some tapered legs for a project years ago but I use it mostly to rip a straight edge on rough boards.
Just a piece of plywood with a sliding fence and a couple clamps. The fence can be set at whatever angle is needed and the clamps positioned anywhere along the fence. The edge of the plywood behind the fence just rides the fence.
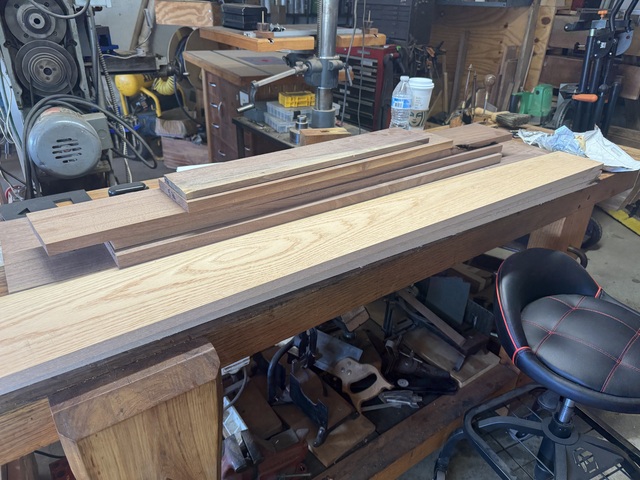
So I went through all my boards and ripped a straight edge and then ripped them all to width.
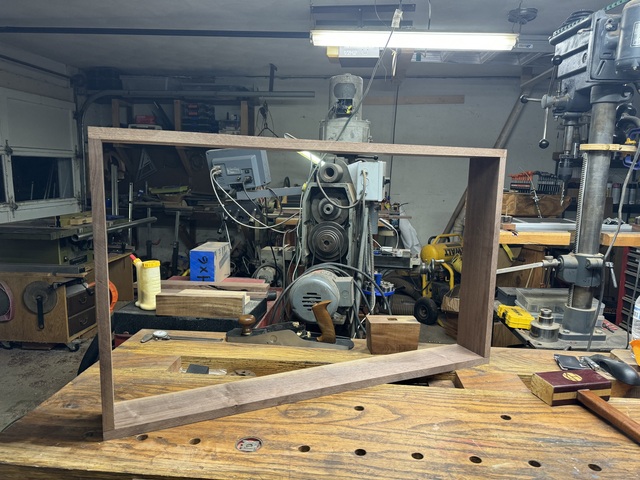
Then I crosscut my case members to length to cut the corner joints. Which is where I went down a tangent...
My table saw is a workhorse and I LOVE my Incra miter gauge. But, my saw is old and had lived a hard life when I got it. So the miter slot has seen a lot of bars and has taken some wear. Even with an adjustable bar like the Incra has, there's going to be some slop in the fit. If I adjust the bar so it's tight at the blade, it won't slide through the slot near the front or back of the table. With smaller boards, it's not a problem because I know to keep the gauge pushed against the inside of the fence. But with the 36" long case pieces, I have to extend the fence on my miter gauge and that causes some loss of rigidity and it's harder to control the gauge. So I don't always end up with cuts that are dead square on long boards. Which was the case this time.
Normally, having ends that aren't dead 90 isn't a major issue but I'm using box joints on this case and I use the Incra iBox jig for those. So if the board isn't true square, you can end up with some tiny gaps at the bottom of some fingers and joints that require a little extra coaxing to the keep the corner square. And I don't like dealing with either. So I wanted dead flat bottoms on both ends of all the members. Normally I use a low angle block plane and an square and just work them in by eye. But I also want the top/bottom and two side pieces exactly the same length.
So what's a fella to do? Well, there exists a very established tool for this very purpose and I have been meaning to build one since I bought my low-angle jack plane a few years ago. A shooting board. I just never think about it except when I need it. So this time I needed it and decided to do more than just wish I had made one.
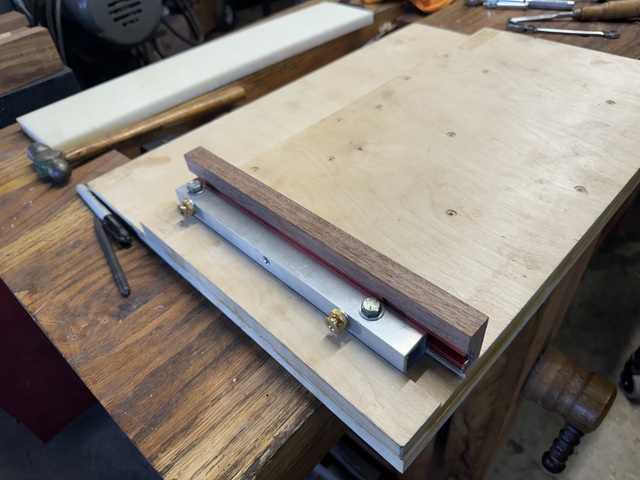
I had a piece of Baltic Birch plywood I bought for the purpose shortly after getting the plane and it's been sitting on my lumber rack for 3? 4? years now. So I did some googling and figured out a general path to go down and started winging it. I split the board to form a lamination with the top surface for the work and the lower for the "runway" for the plane. I ended up deciding on a 14" wide work surface and 5" runway which will be trimmed down when I decide for sure if I'll use the LAJ permanently or buy/make a dedicated shooting plane. I contemplated making a ramped runway so the same portion of the blade isn't doing all the work but that adds a lot of variables and I can modify it later if I decide I want it.
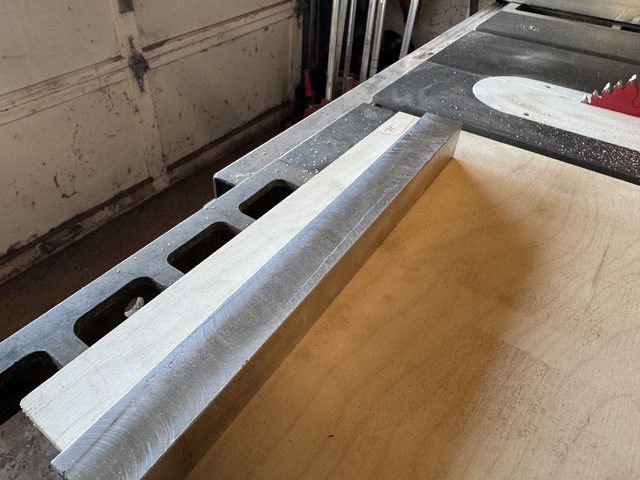
Then I started digging through my metal stock to find a fence. Most folks just use wood but I wanted something I could attach that wouldn't move or wear and would be totally stable that I can attach a sacrificial fence to but use the same attachment points to attach other accessories like miter fences or donkey ears in the future. I didn't have any solid bar that was long enough but I had a piece of 1" square Aluminum tube that I decided would work fine. So I put it on my mill and squared two faces to use on the bottom and face. This way I know they are perfectly flat and dead square to each other. The top and back don't really matter so I left them as extruded.
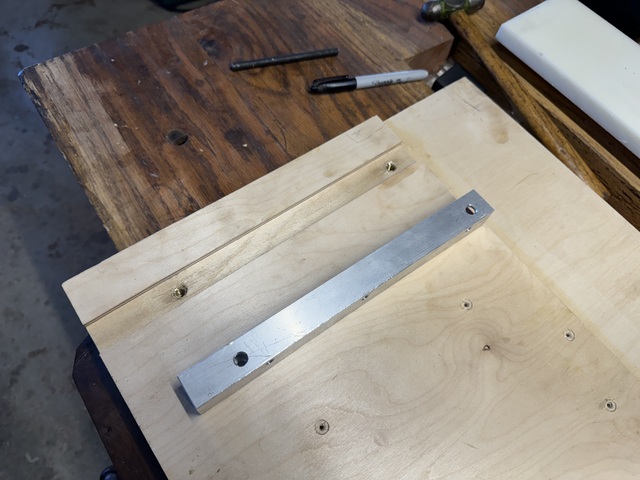
I used a square to find a true corner of the work piece board to work off to make sure I got my fence as square as possible to the runway edge. Then used a router with an edge guide to cut a dado the width of the aluminum tube. Then I put the tube back on the mill and drilled holes for attaching it to the board and for attaching fences/accessories to it. Then transferred the hole locations to the dado and installed threaded inserts.
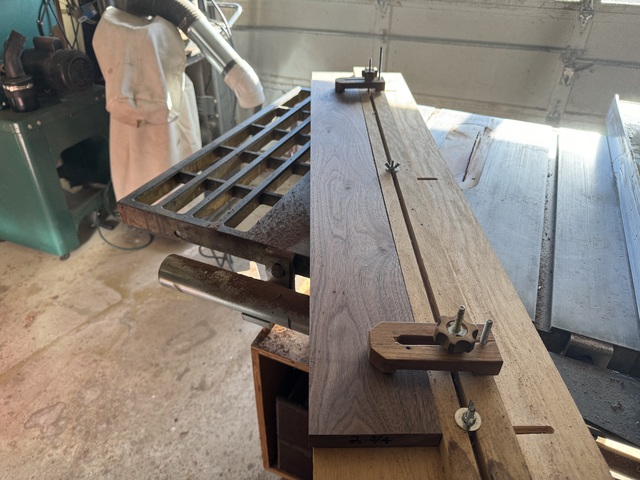
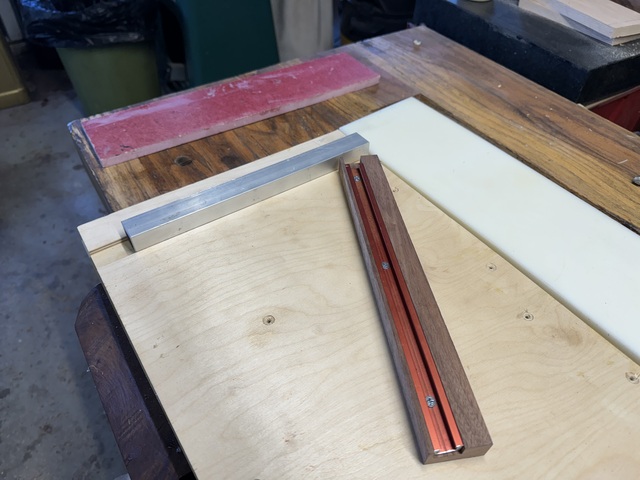
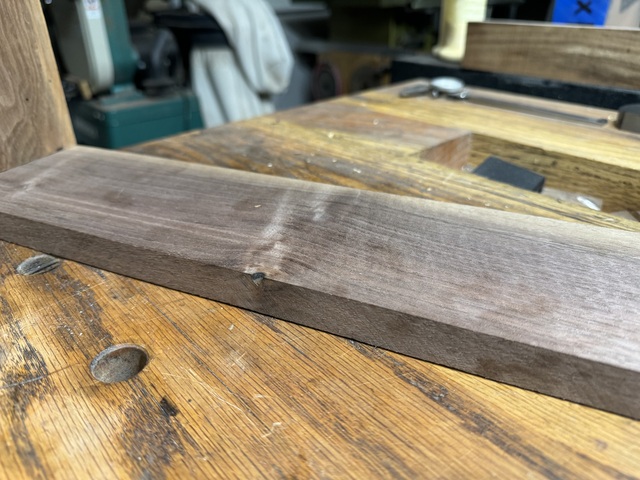
Next up was a sacrificial fence. That's all I need for the moment and my goal is to get this in service as quick as I can. So I took a Walnut offcut from my project stock and hand planed the faces parallel and cut a dado in the back for a length of t-track.
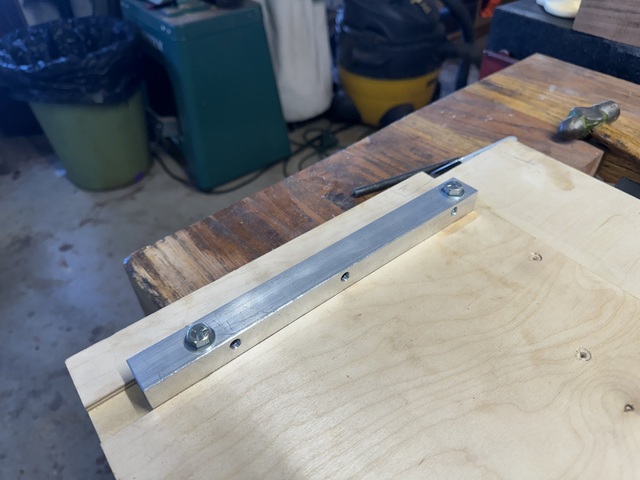
Then attached it to the Aluminum fence.
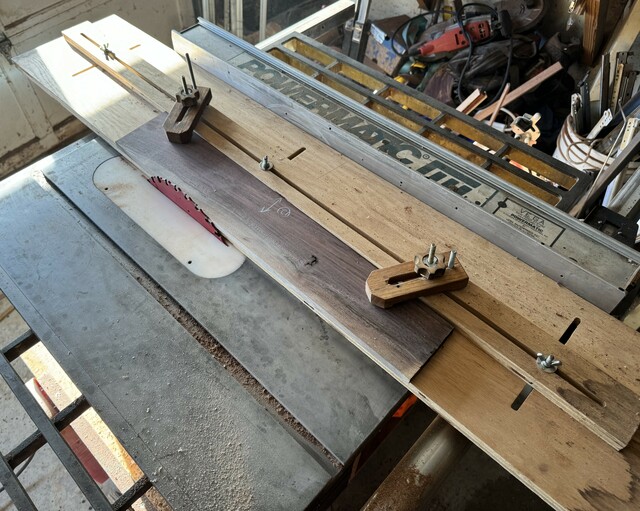
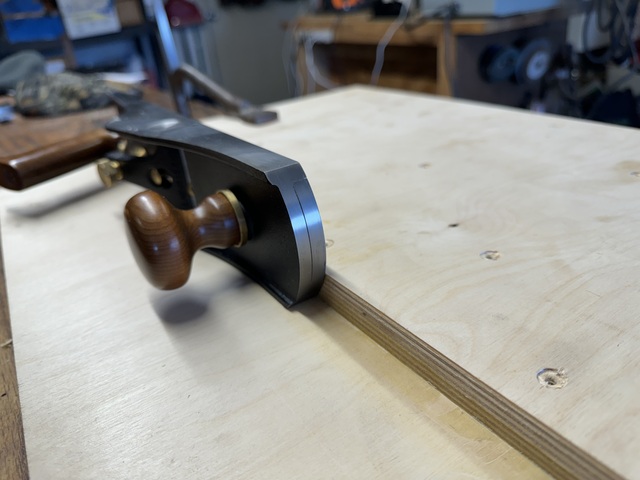
The extra hole in the fence is just for ease of making other attachments. I extended the sacrificial fence to the edge of the runway and ran my plane a few swipes to cut a clearance rabbet for the blade. Before doing so, I sharpened the blade and made sure it was set parallel to the sole. (I should note here that before attaching the fence, I laminated to two plywood pieces overnight. There was a slight bow in the sheet so I put the bowed sides inward and had to use screws to pull them down flat. Which sucks because I have a bunch of screw/washer holes in the face now that look ugly. I may put some veneer on in the future when I finish it up.)
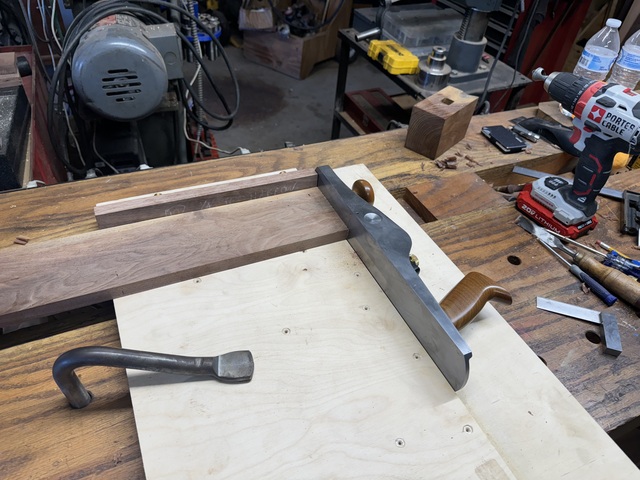
So at this point it was ready to try out. I put one of my case members on and pushed it against the fence and went "shick, shick, shick" with the plane until it was taking shavings from the full width/length of the endgrain.
I was very pleased with the results! It wasn't perfect but it was damn close. I need to tweek the fence/runway angle slightly and the runway/work slightly but it got me what I needed for my box joints.
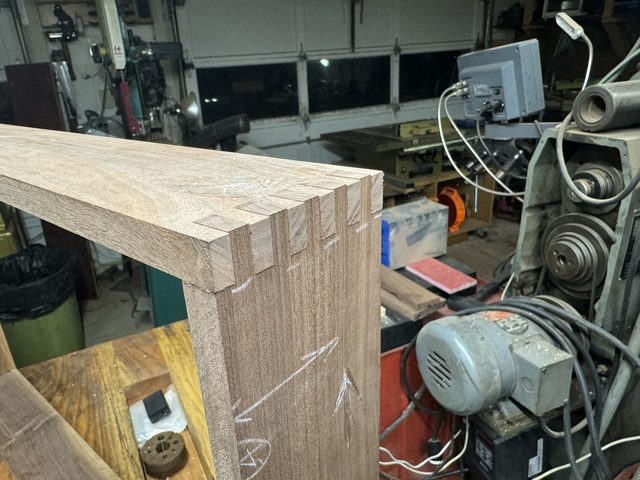
So Sunday evening I finally got to doing what I had intended to have done Saturday - box joints. I didn't take any pictures but I used my Incra box joint jig and a Freud box joint blade stack at the table saw. I love the jig and the blade but I can never get the depth set just right no matter how hard I try. So I would up with fingers that are a little proud and will have to be pared down.
But they are all a perfect fit that just required a little light tapping to get them fully seated with no gaps. And the dry fit showed that the sides and top/bottom are the same width apart along the full length which means there won't be any problem getting it square during assembly.
I have two corners where the edges aren't dead flush but it's minimal and can easily be corrected with a block plane or sandpaper. I managed to get most of the defects so they are in places they won't be visible. The only one showing is this small knot that ended up on the face of the bottom member.
But I'll fill it with either filler or dyed epoxy and the door overlay will hide it unless the door is open.
So next up will be cutting the plywood backing and cutting the rabbets on it and the corresponding grooves into these case parts to fit it in. Then a buttload of dados into the plywood for all the coin shelves.
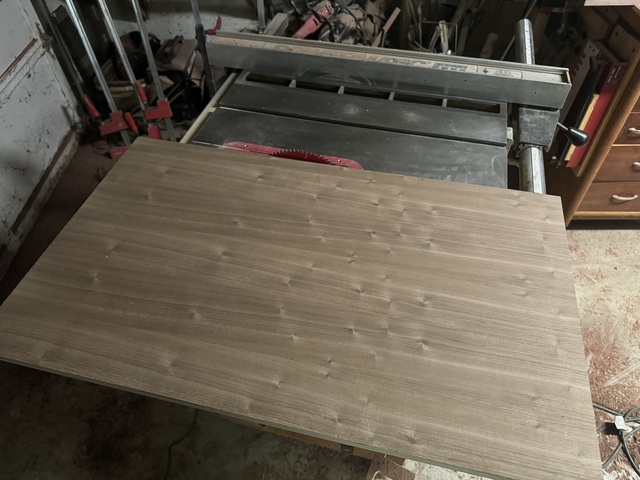
Well I cut my plywood to width then set my fence to cut to length. Then forgot to turn the plywood.🤬 Just dropped another $50 on another sheet of Walnut plywood…
3/4” buth they have 1/2” too. I can’t get it locally but you can order it online and get free delivery or free pickup at the store. It’s by far the cheapest I could find it online.
I managed to cut the replacement plywood the right size. It’s a better piece too. The first on has a big void under the veneer on one side. No voids on this one and some bonus birdseye figure too.
After I posted that last night, I realized I screwed the pooch AGAIN! I cut the length to fit the inside dimension of the box and didn't allow for 1/4" lip on each end to be dadoed into the case members 😡 That's what I get for measuring instead of looking at the plans... Fortunately it won't affect the build significantly. Just dadoing it into the top members will make it plenty strong enough so no real harm done. Good thing too 'cause I ain't buying another piece.
No need Duck. It'll be rabbeted into dado in the the horizontal case pieces and the internal piece that runs across the center will be rabbeted into the back and mortised into the sides. So there will be plenty of support to hold it in place without the rabbets on the sides. If I was worried about it, I could just glue some strips on the sides to act as the rabbets but I'm not concerned.