I waited until the the main part of the cabinet was built to work on the removable rear panel. That way I could take the actual dimensions of the opening.
On all of the previous panels, I veneered the plywood first, then cut to size and applied the hardwood edge. I was reluctant to do it in the reverse order due to the fragile end grain of the veneer, thinking the veneer edge would be more vulnerable. However, since the rear panel ultimately won't be very visible, I took the opportunity to flip the order of edging and veneering. I just wanted to see how it would work out. So this time I applyed the edging first, followed by the veneer.
With the edging applied for a slightly oversized rear panel, I used the jointer to remove a hair at a time from the edges to sneak up on the right fit for the opening - just able to set comfortably in place without binding.
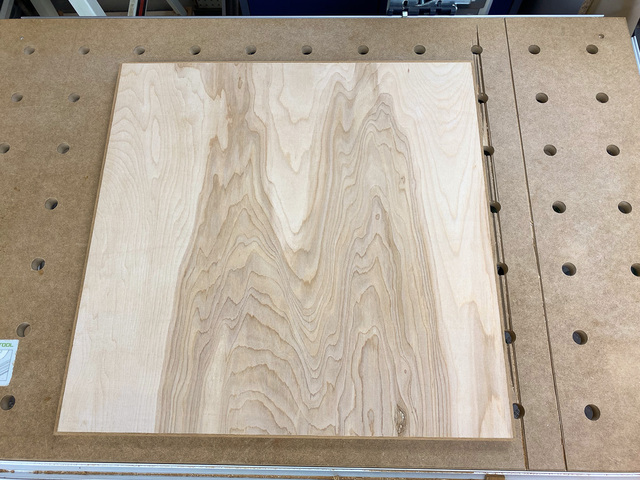
With the panel sized properly, I could apply the veneer. The most predominant grain direction on the interior is side-to-side, so it made sense to orient the veneer grain on the rear panel that way, too.
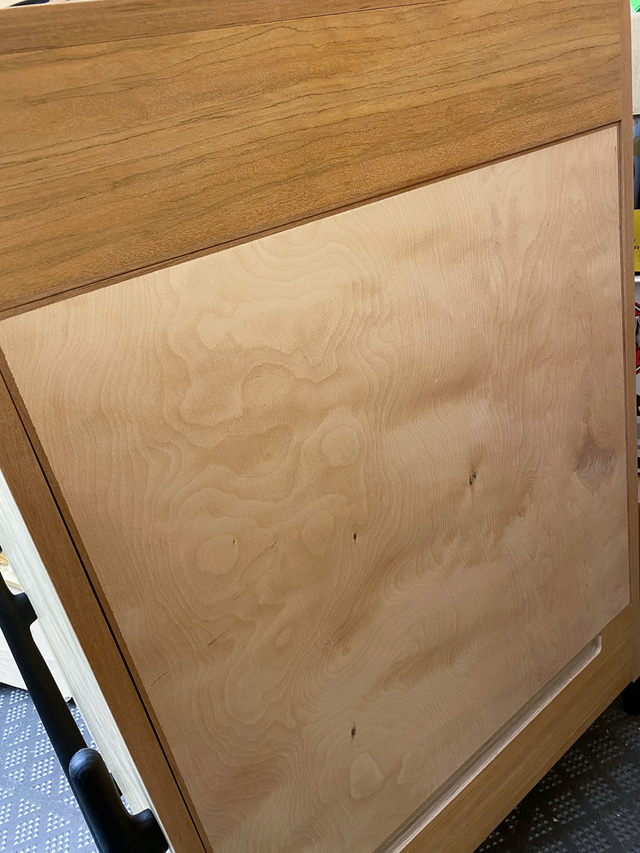
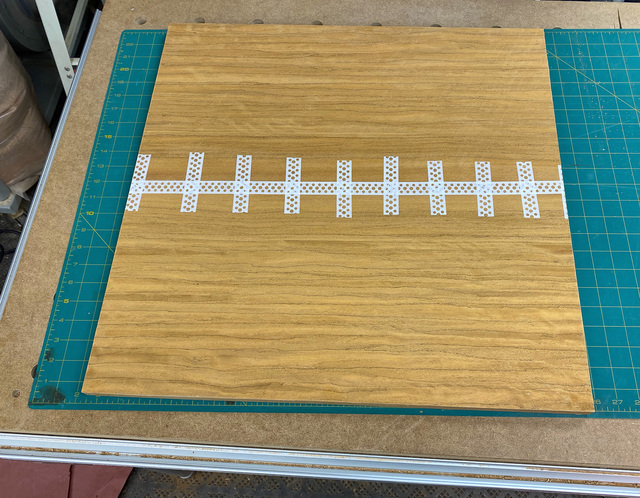
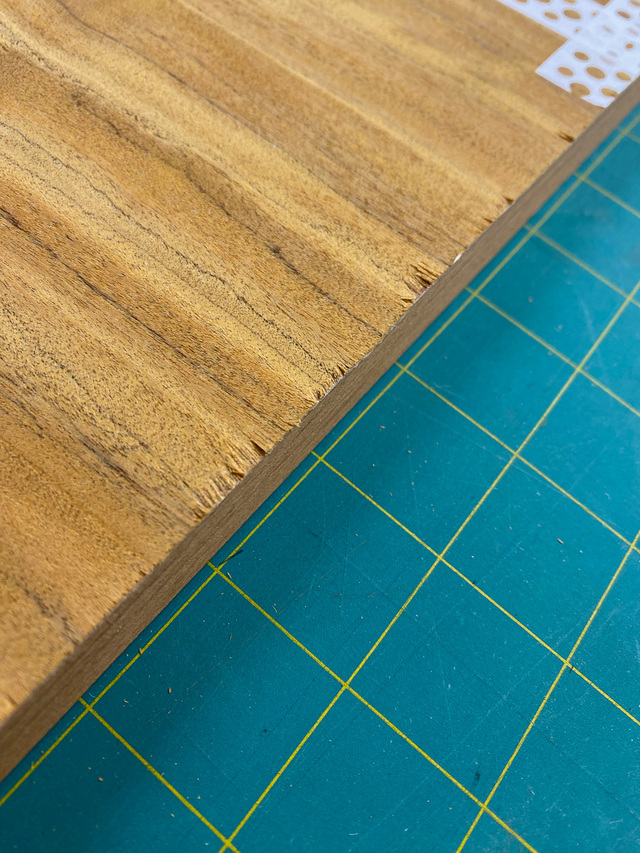
I veneered one side at a time so I could more easily trim back the excess once out of the press. I used multiple passes with a utility knife to carefully score the veneer, but the flaky Izombe end grain still got me.
After sanding, this won't look so ragged, but I think I chose correctly on the other panels of the cabinet when I veneered first, then applied the edging. Those panels weren't perfect either, but I think they had less flaking at the veneer edge.
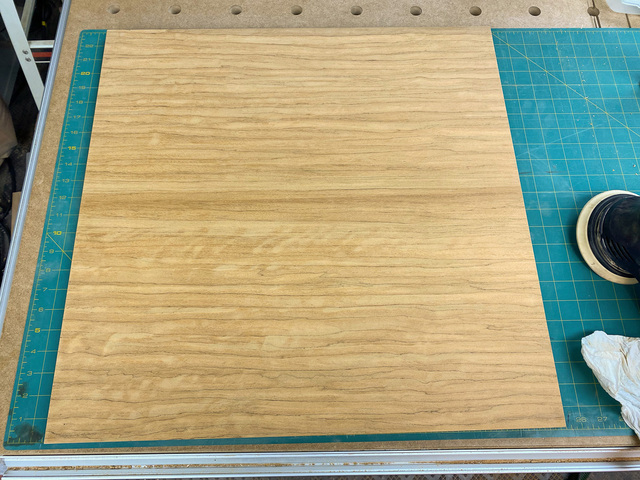
Once the veneer tape was removed and the panel sanded, it didn't look too bad for something that won't be visible.
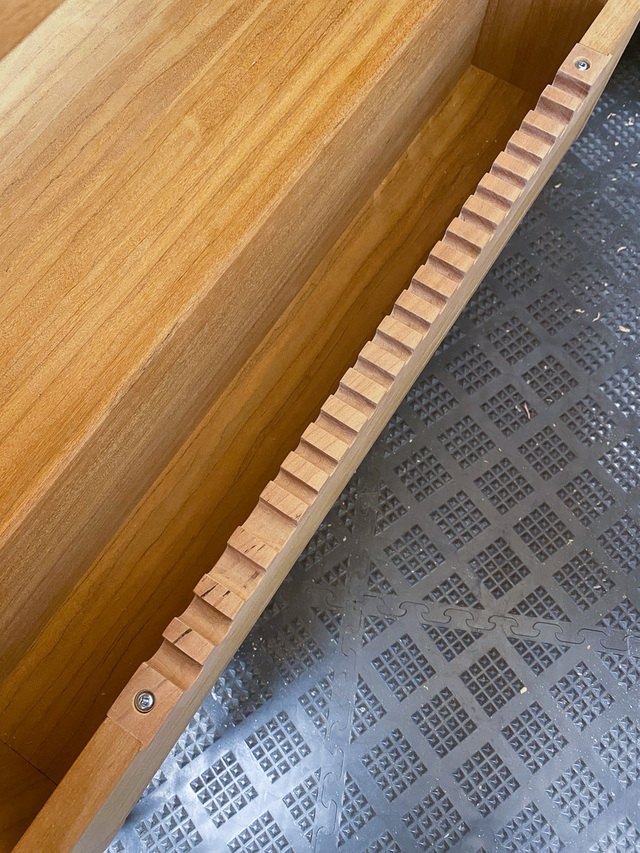
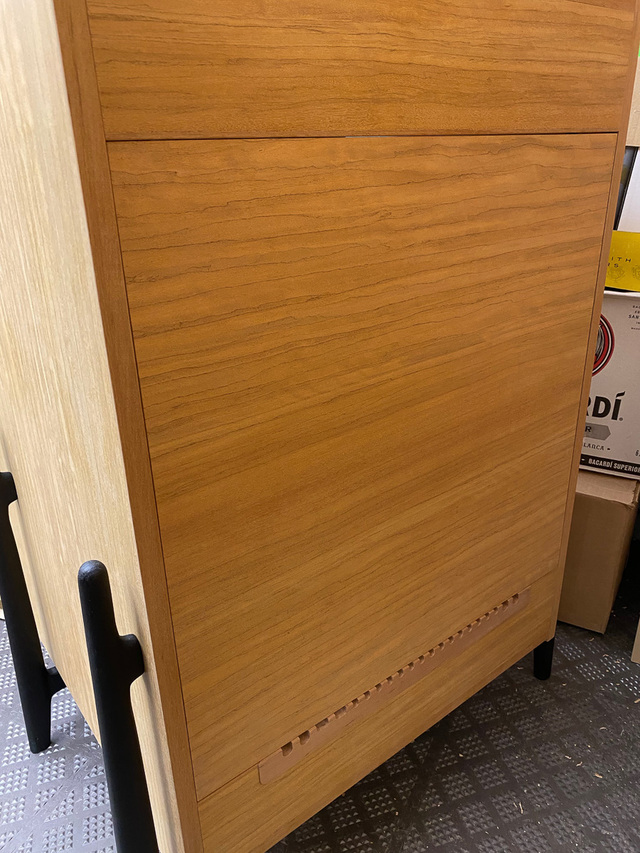
The other component of the rear of the cabinet is the insert with the cable slots. I drilled screw holes on either end and counterbored to recess the screw heads. This will not be glued in place so that I can swap it out in ten years if I decide I want a different cable routing pattern. (Never going to happen)
Putting it all together.
I still haven't settled on how to fix the rear panel in place. I want something that is as concealed as possible and not fussy. The current working idea is to install some dowel or domino nubs on either side of the cable insert that would index into matching holes along the bottom edge of the panel and then a couple magnetic catches at the top of the panel. Still noodling.
How about some magnets to hold the rear panel in place? Place the magnets in the cabinet and embed some thin washers just deep enough that they sit flush.
Are you using a router to trim the veneer on the edges? When trimming veneer on an edge I prefer to use a knife. Anytime I have used a router, I get some sort of chipping or tear out. They make special trimming knives for that but I just use a utility or Exacto knife with a fresh blade.
EDIT: I just reread how you trimmed the veneer with a knife and looked at the pictures more carefully. It probably does not hurt to score it on the backside but I usually cut downward from the front side. It might also help to have much less of an overhang on the edge when you trim it. This allows the wood you are trimming to sort of curl away as you cut.
--Nathan, TX. Hire the lazy man. He may not do as much work but that's because he will find a better way.
ross the back that wont be seen looks better than the front of many ive seen. you do some beautiful work. i like nathans idea of hidden magnets. easy to remove when needed.
working with my hands is a joy,it gives me a sense of fulfillment,somthing so many seek and so few find.-SAM MALOOF.
Lazyman commented about 10 hours ago How about some magnets to hold the rear panel in place? Place the magnets in the cabinet and embed some thin washers just deep enough that they sit flush.
Are you using a router to trim the veneer on the edges? When trimming veneer on an edge I prefer to use a knife. Anytime I have used a router, I get some sort of chipping or tear out. They make special trimming knives for that but I just use a utility or Exacto knife with a fresh blade.
EDIT: I just reread how you trimmed the veneer with a knife and looked at the pictures more carefully. It probably does not hurt to score it on the backside but I usually cut downward from the front side. It might also help to have much less of an overhang on the edge when you trim it. This allows the wood you are trimming to sort of curl away as you cut.
Thanks, Nathan. Yeah, I'm definitely looking at incorporating magnets. The challenge with the cabinet in its current state is that there are no positive stops on the interior to keep the panel from falling in. A right-angle mount magnet can provide the stop, and the natural place to mount them is on the side panels. Then the washers on the inside of the rear panel. What I don't like is that the magnet mounts would be visible through the cabinet from the front. (Yeah, I'm getting anal retentive at this point.) I have some cabinet catch magnets on order, so I'll check to see if they really are obtrusive before finalizing my plan.
Pottz commented 18 minutes ago new ross the back that wont be seen looks better than the front of many ive seen. you do some beautiful work. i like nathans idea of hidden magnets. easy to remove when needed.
Thanks, Pottz. Yes, magnets will almost certainly be on the menu.
I do like Nathan when cutting off excess veneer, For the end grain, a box cutter (Exacto for small stuff) from the veneer side on top and only pressing down with the blade at about a 45 to the surface and as close to the substrait edge as possible without shaving a corner. If i didn't biff it, I'll then use a sanding block down stroke only, to flush up the edge.
Long grain cutting really needs to go the direction of petting the cat. if the grain dives inward, chances are high of getting a really nasty crack running onto the panel.
If I can manipulate the panel on the TS, I'll tape the veneer and trim with the veneer on top, blade at max height for the downward cuts.
It is a tough choice between trim before or after. Before leaves a surface edge to edge veneer, but that edge can catch and chip. Trim after protects that edge, bit with the change in visuals.
Nathan & Splinter - thanks for the comments on the veneer trimming. In my longwindedness on magnets, I completely forgot to respond to Nathan's comment on trimming.
I'll have another opportunity to try cutting down from the top side when I make the drawer front. Actually, I should just to a test board and see how that goes. My sense is that I'll have similar tear-out/flaking due to the nature of the grain. It's kind of like a burled veneer where the grain is going all over the place, and sometimes diagonally between faces. I'm not sure if that's actually what's going on or that Izombe is just very brittle. Fortunately, from 6 ft away, you'd only see the ragged edge if you knew what to look for.
Ross, have you considered embedding some rare earth magnets on the side edges of the back panel that align with matching ones in the insides of the side panels? The panel would snap into place when you rotated the panel vertically. (I’m assuming the use of the little nubs on the bottom edge you mentioned.) If this idea actually works, it would be completely invisible from any viewing angle.
It looks like your back panel is fairly thick, so I bet you could use 3/8” diameter magnets. Some of these magnets are really strong. Maybe you could get away with one magnet on each side edge of the back panel near the top. If that’s not strong enough, you could add another pair a third of the way down. Then you could go down another third if necessary.
Regardless of what you do, won’t you also need a small pull (tastefully designed with a small projection, of course) or routed finger pull cavity near the top so you can rotate the panel down? The fit of your panel is so precise that it will be difficult to start opening otherwise.
Ron - I have considered mounting recessed magnets on the panel edges with matching recessed magnets in the cabinet. The concern I had with that method was that it relies on the strength of magnets as they're sheared apart, which is much less than their strength when separating them perpendicular to their faces. I thought it might be too weak. But, it's something I will mockup. I do have some 1/2" diameter magnets on hand.
For the pull, I had been considering a routed finger pull at center top. But I may keep it even simpler and eliminate the pull altogether. I checked, and I'll be able to reach in through the front and push the rear panel out. Not elegant, but simple.