


Share your craft projects
Make new craft buddies
Ask craft questions
Blog your craft journey

lanwater
2132 posts
and
35 followers
in over 12 years
in over 12 years
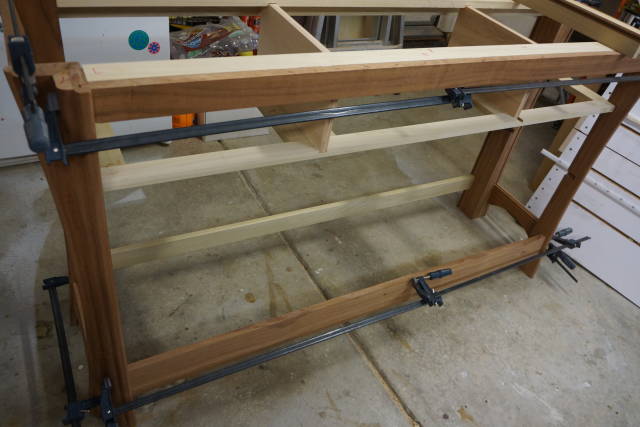
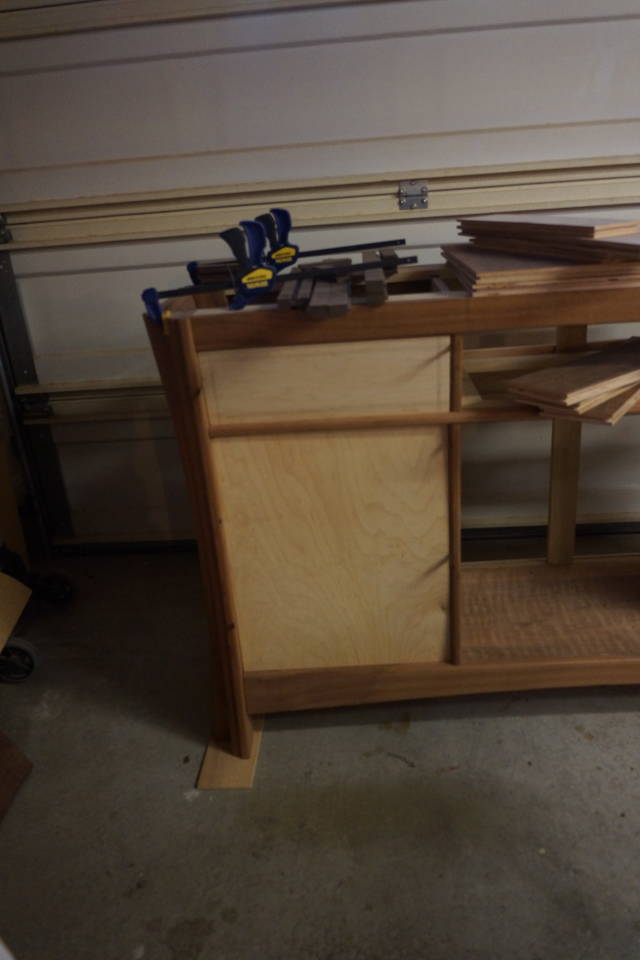
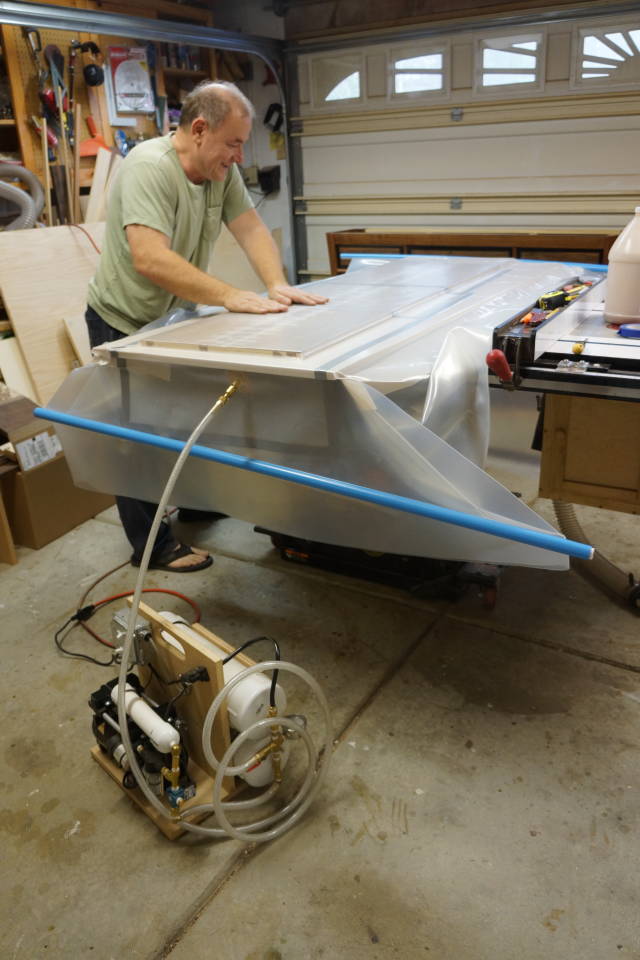
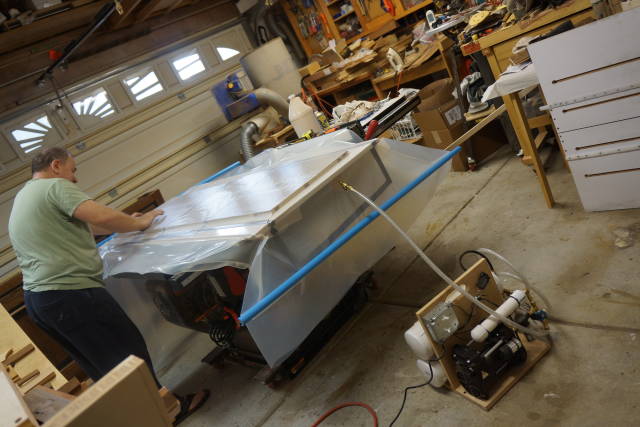
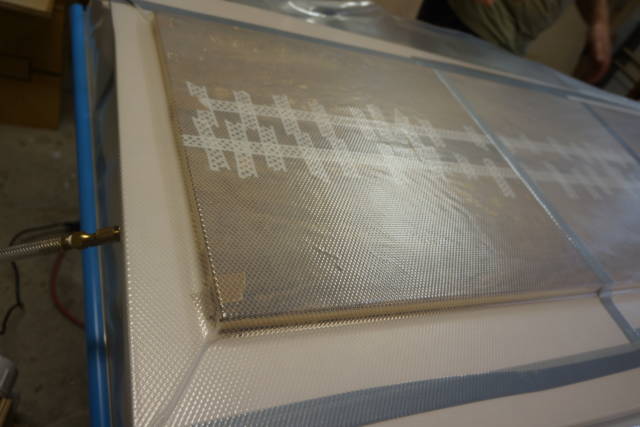
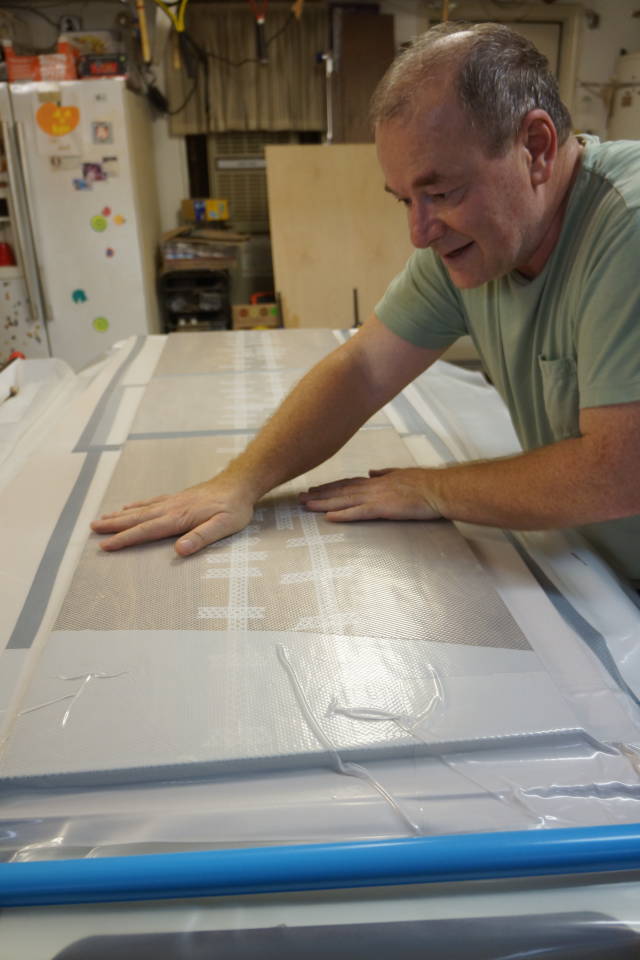
Buffet Build Pictures
This is not a step by step blog but just a bunch of picture for my buffet build.
I did not systematically take pictures to have a complete blog write up.
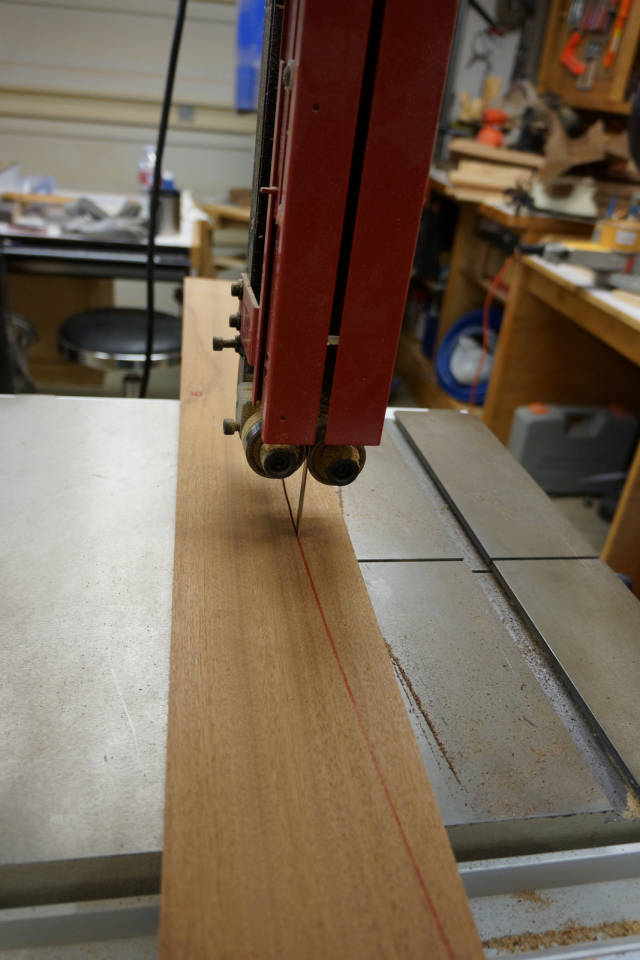
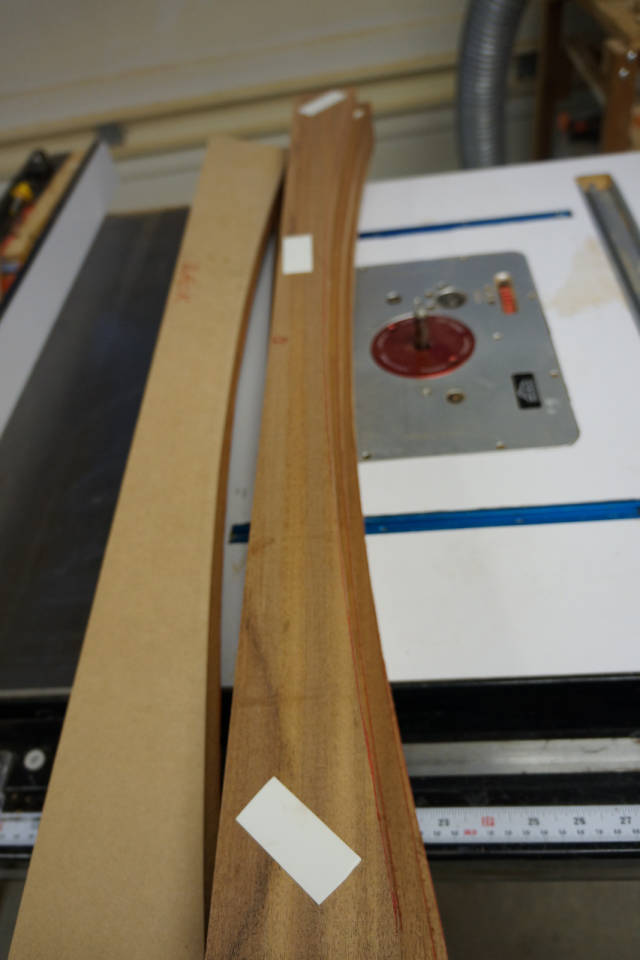
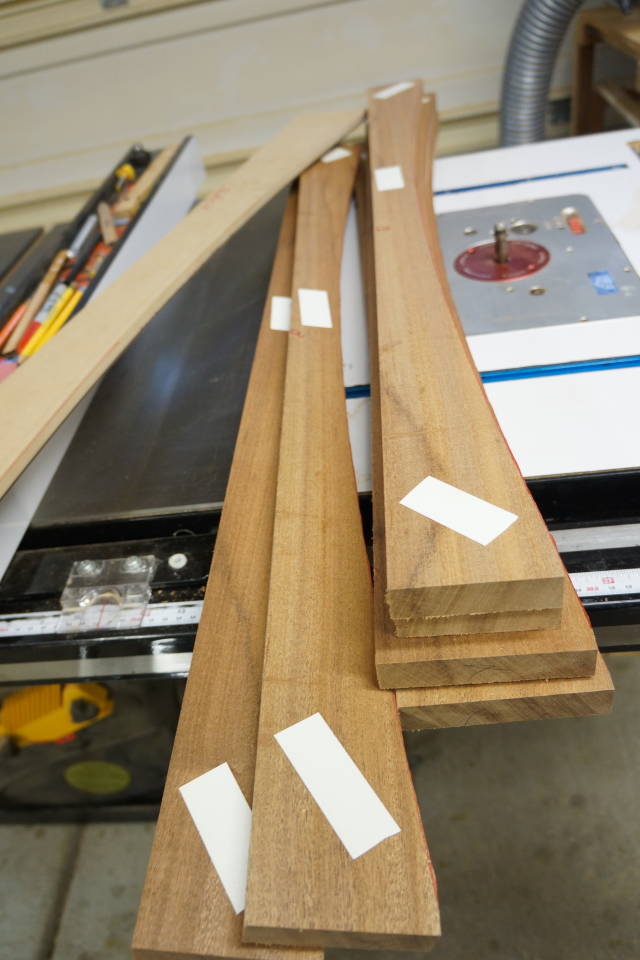
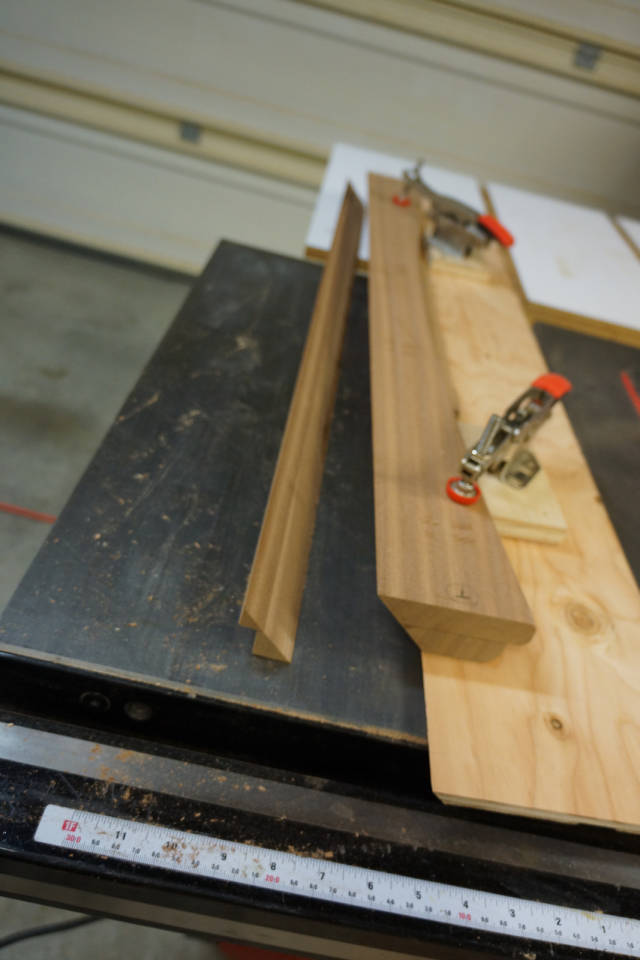
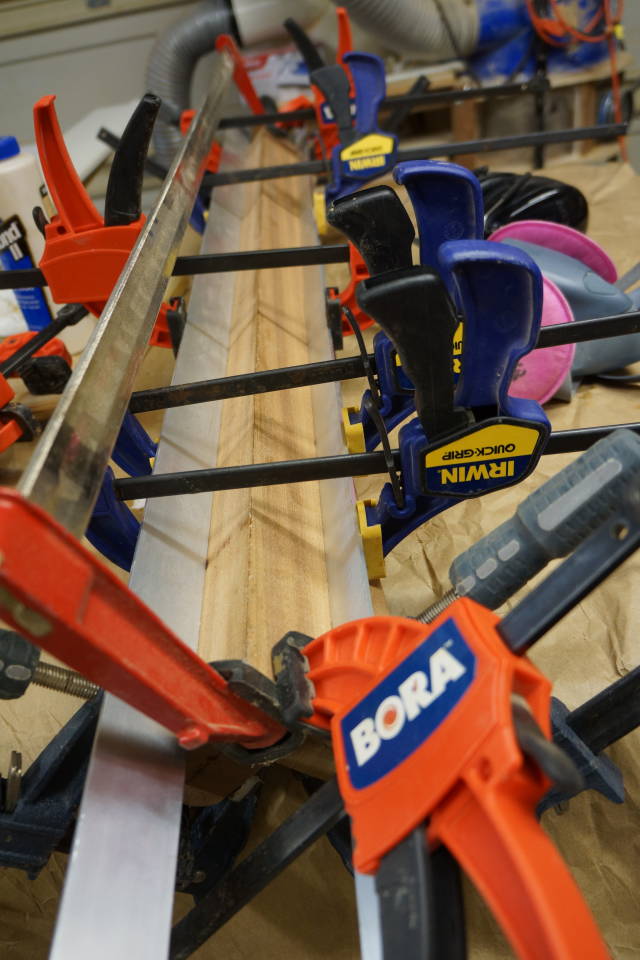
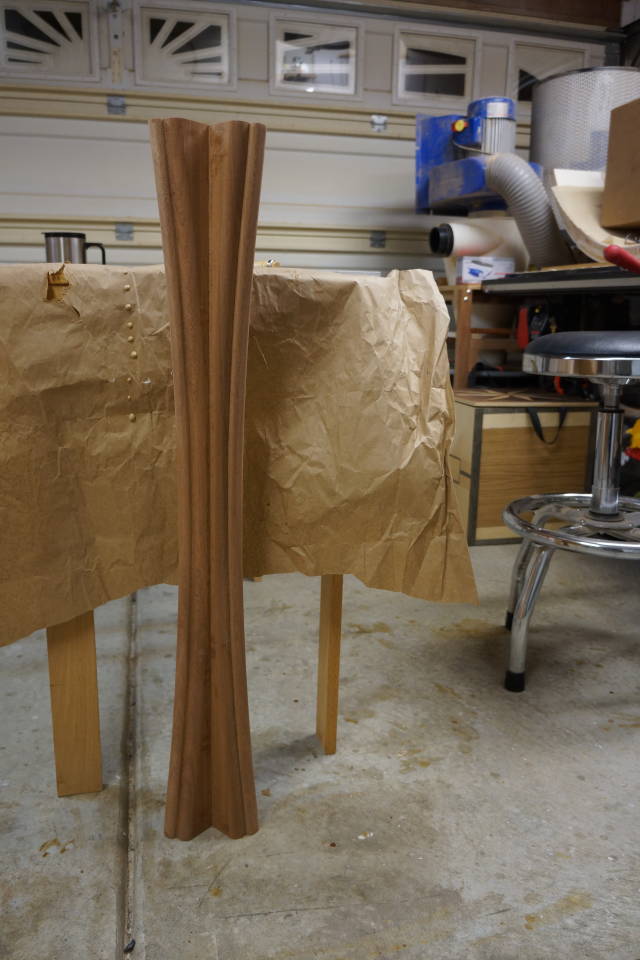
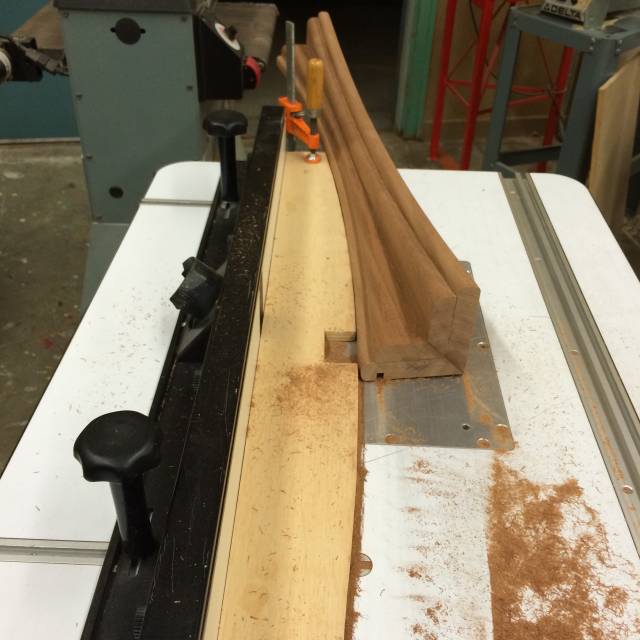
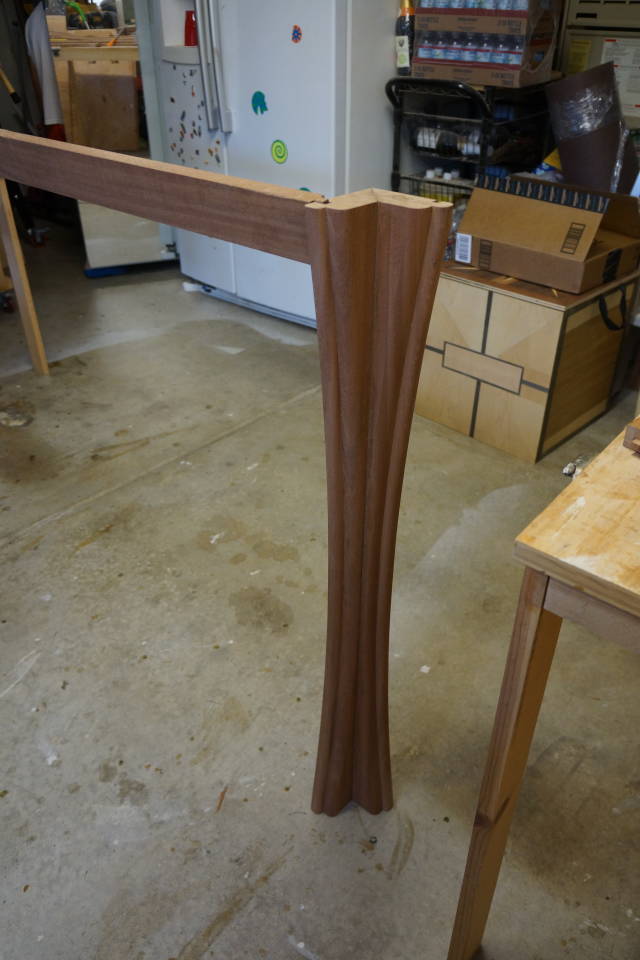
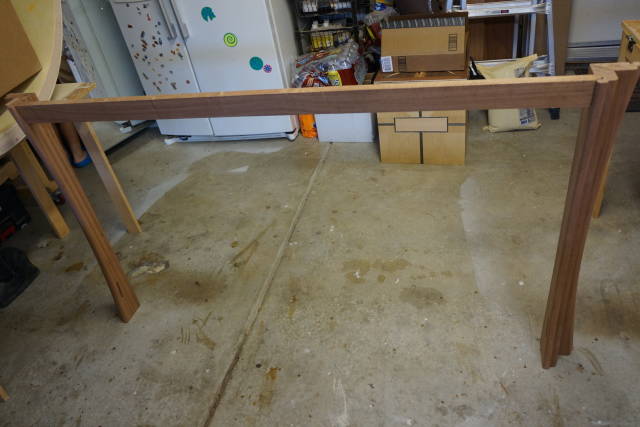
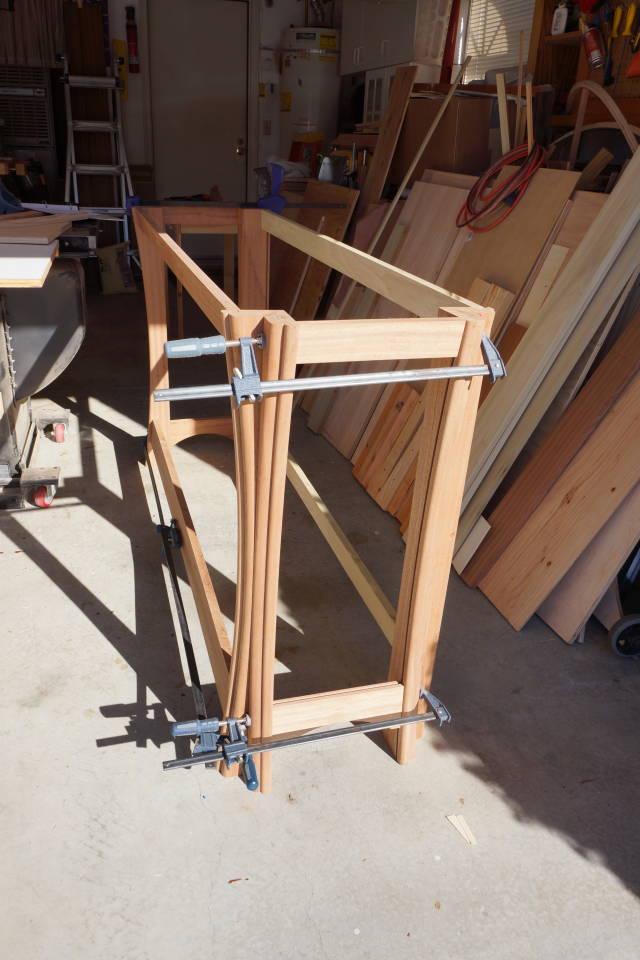
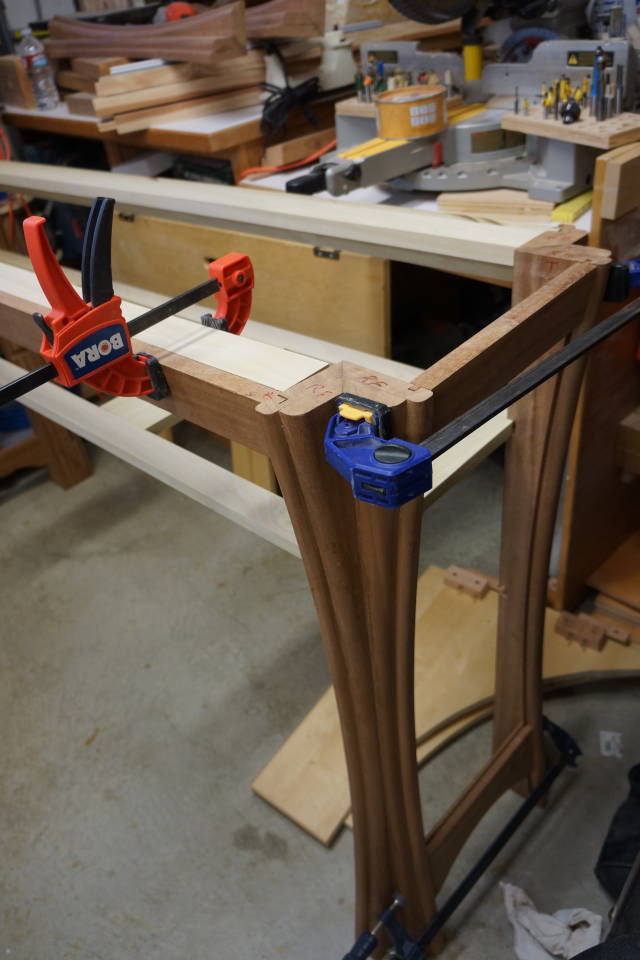
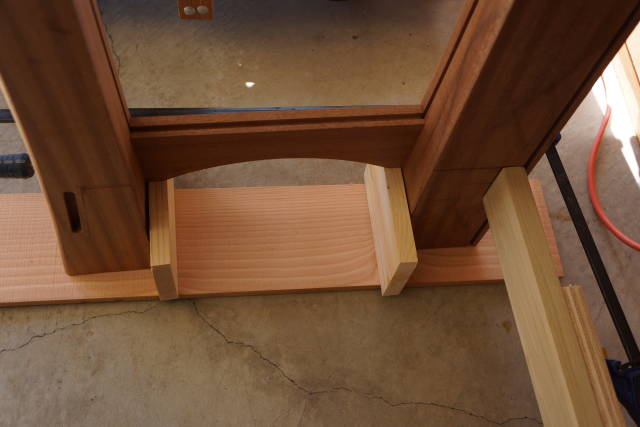
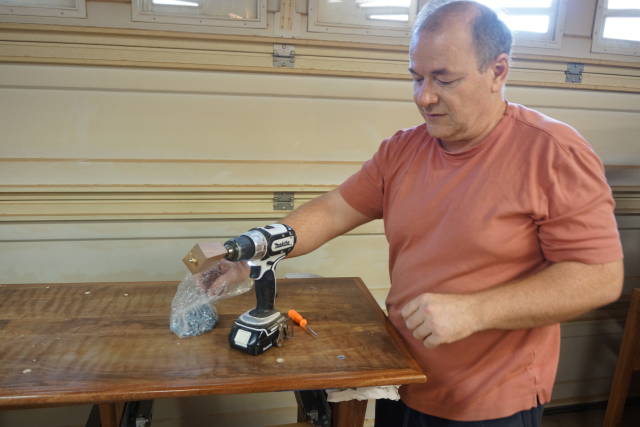
Legs Build:
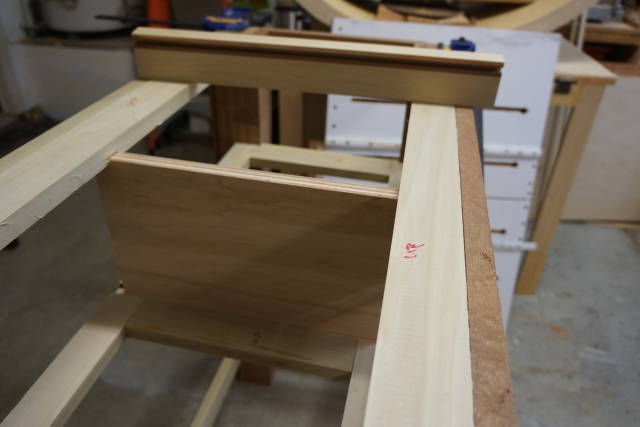
The Carcase
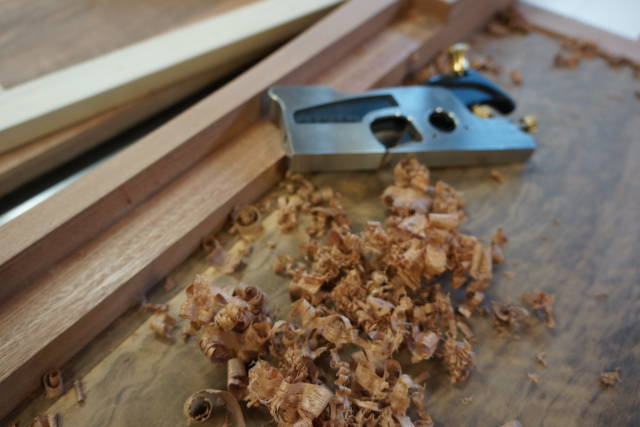
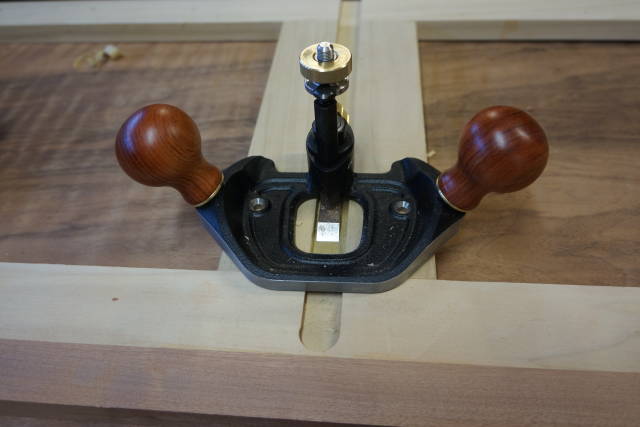
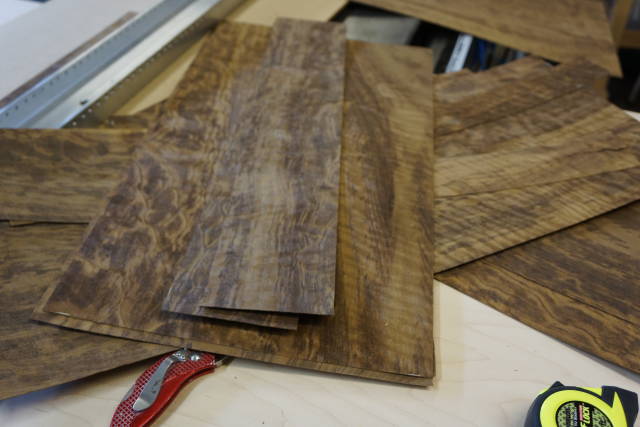
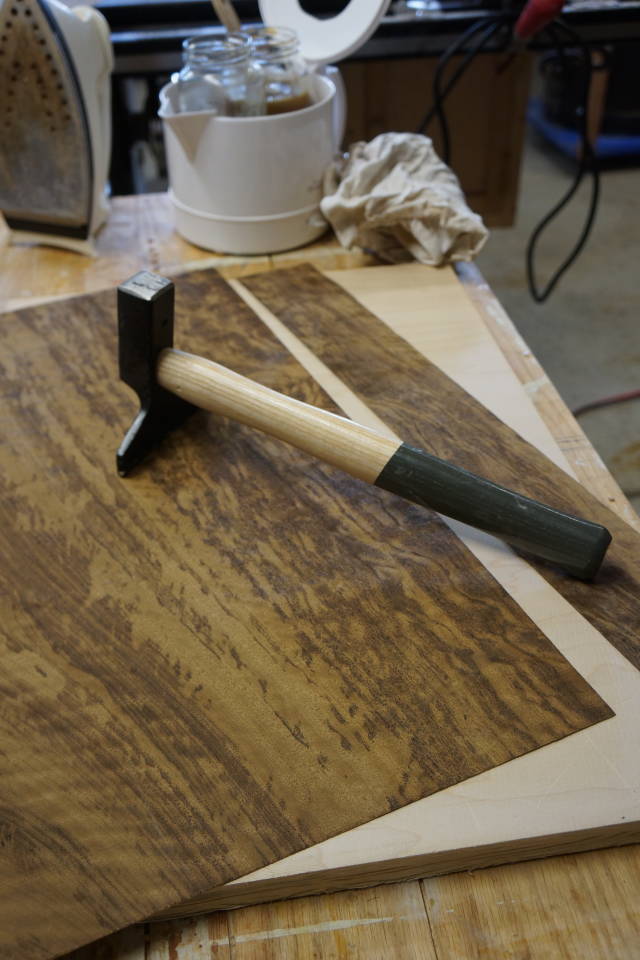
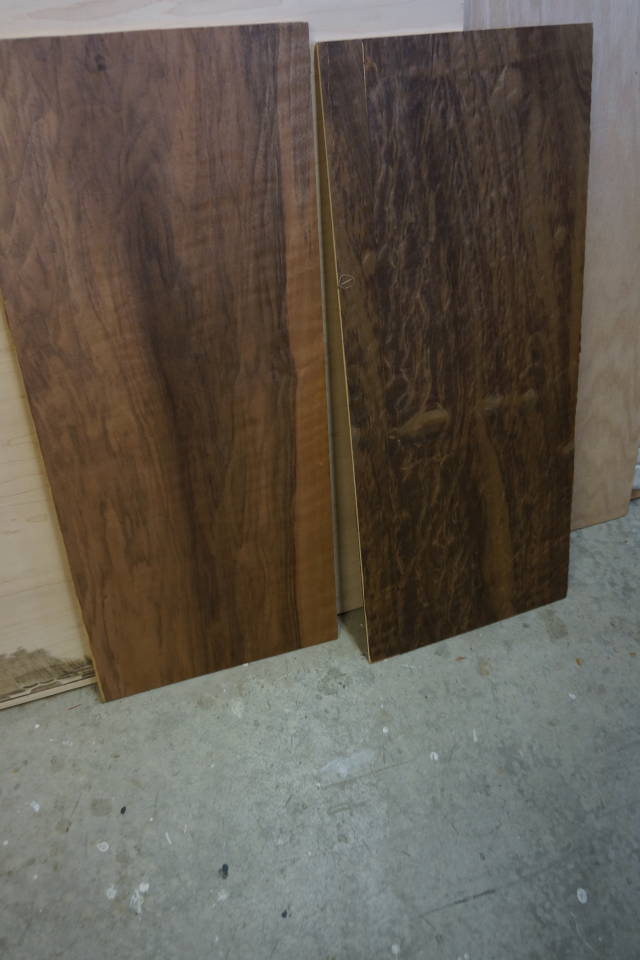
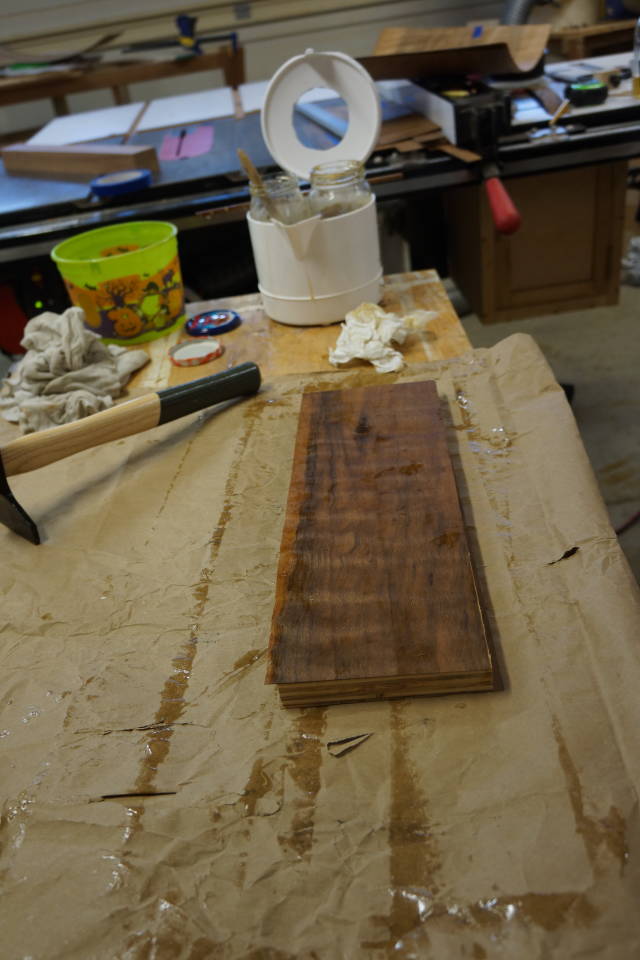
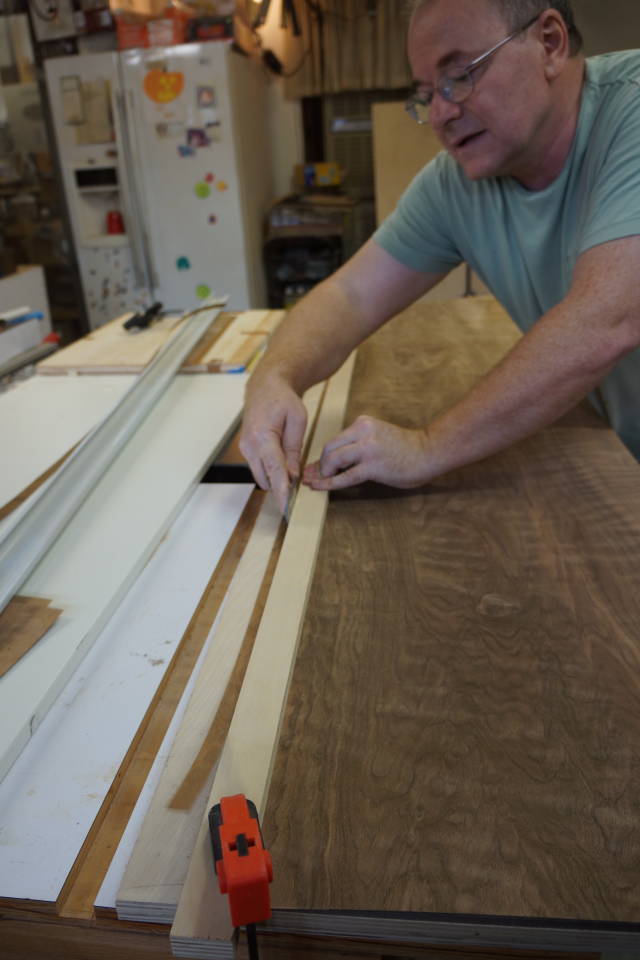
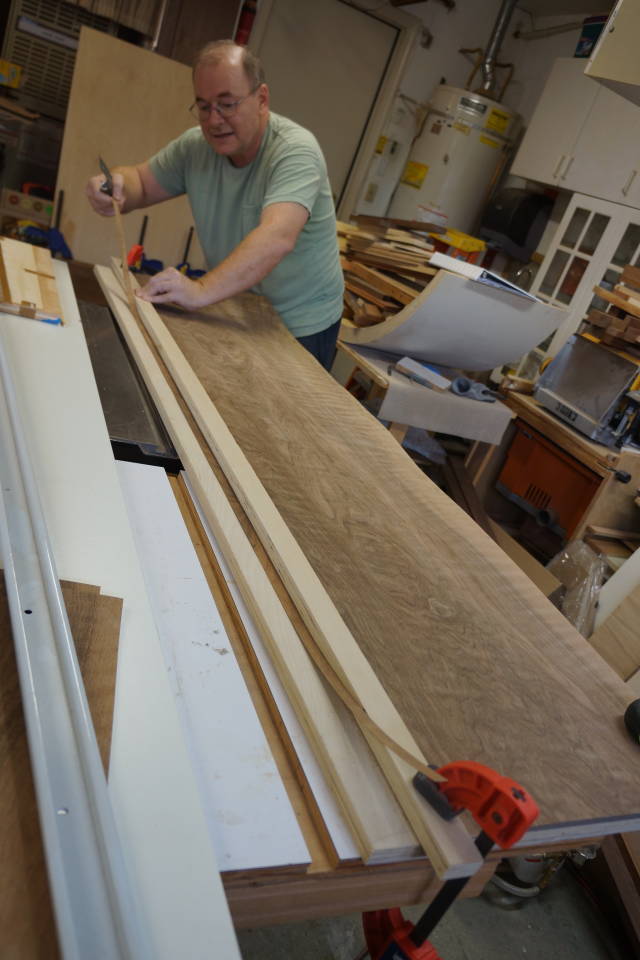
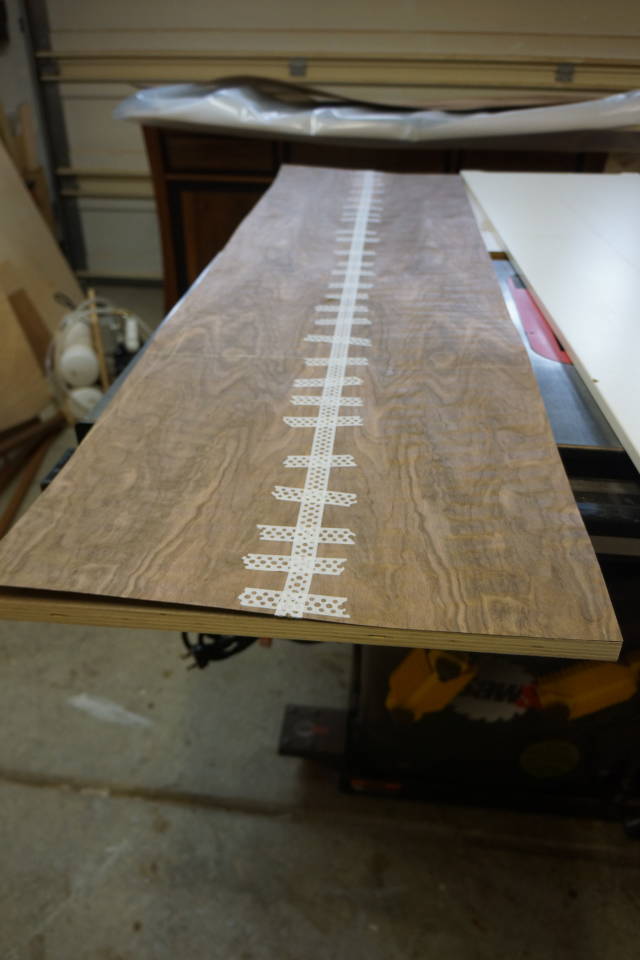
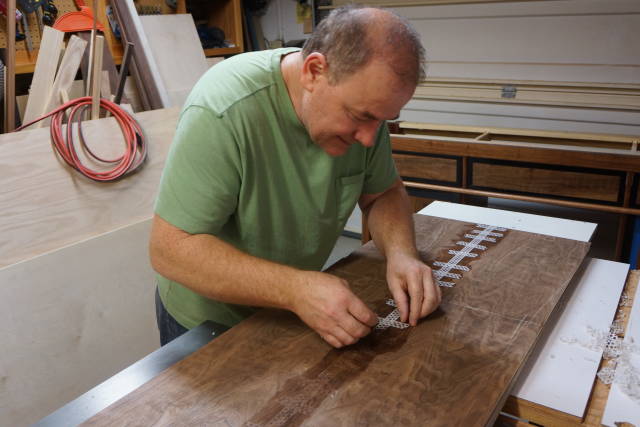
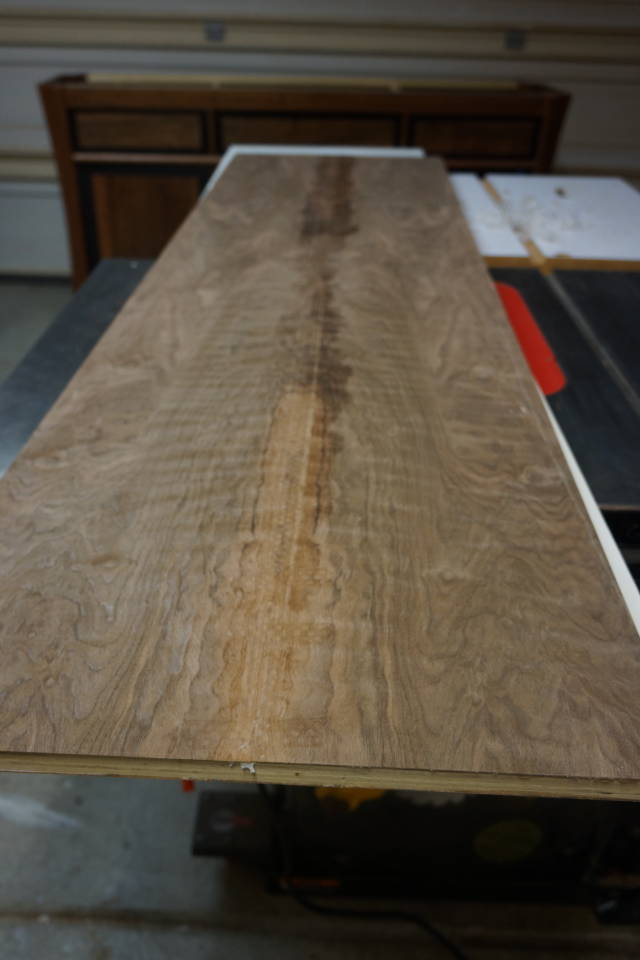
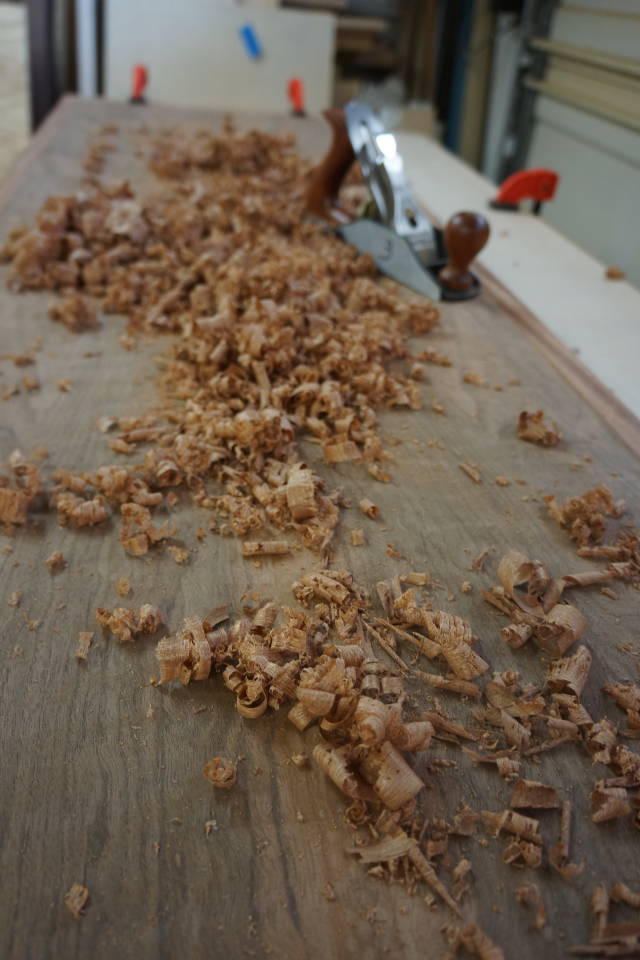
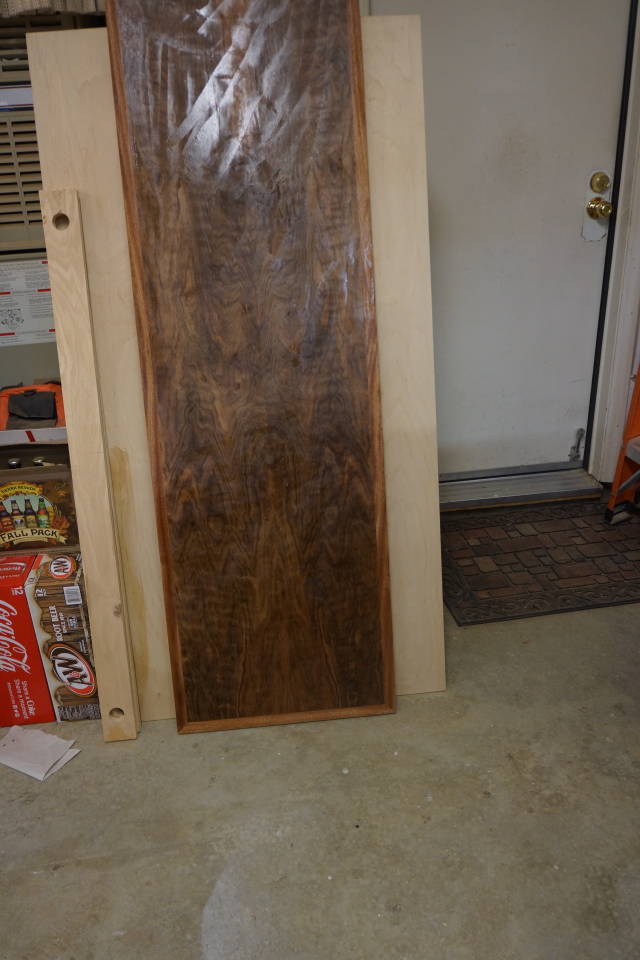
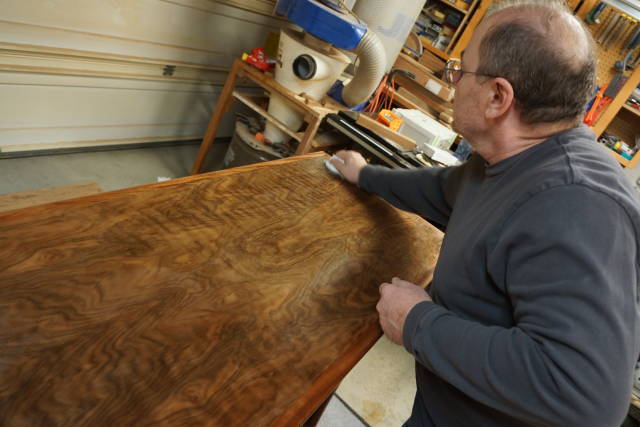
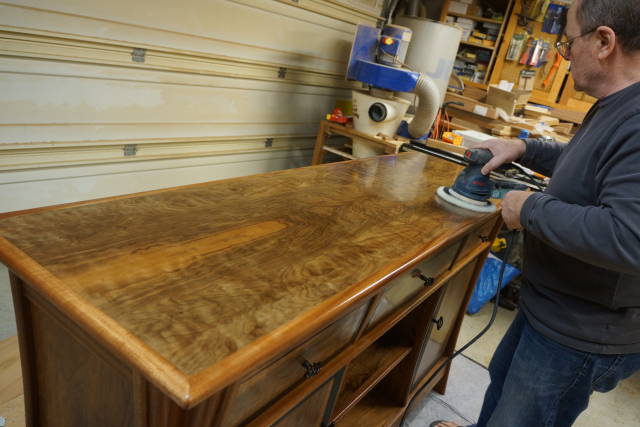
Veneering
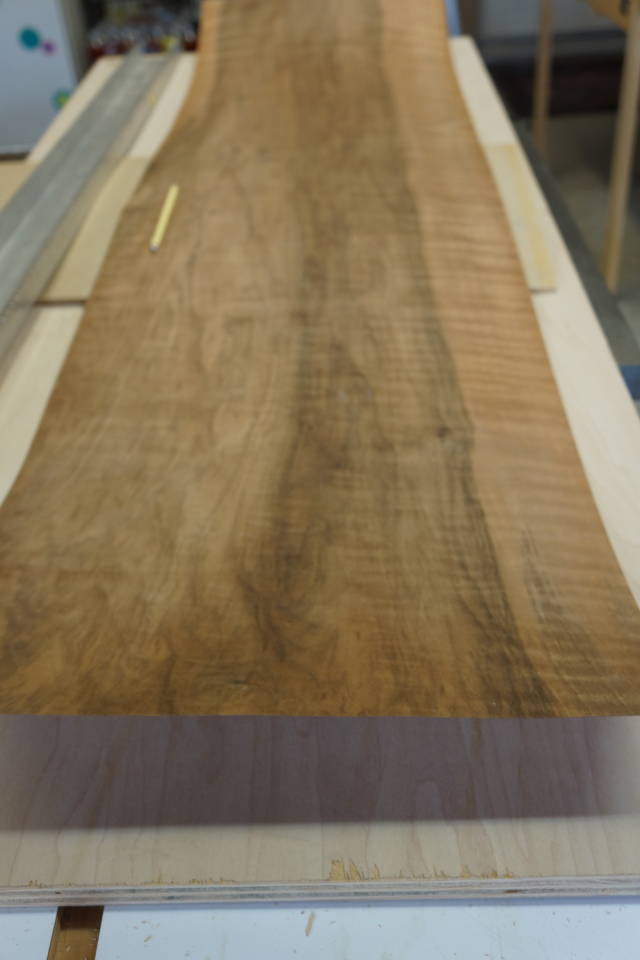
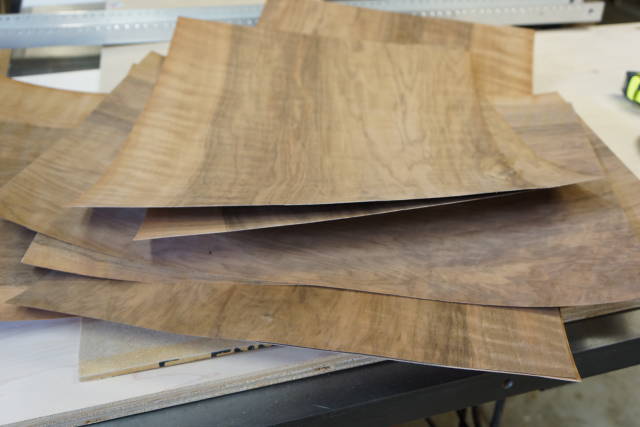
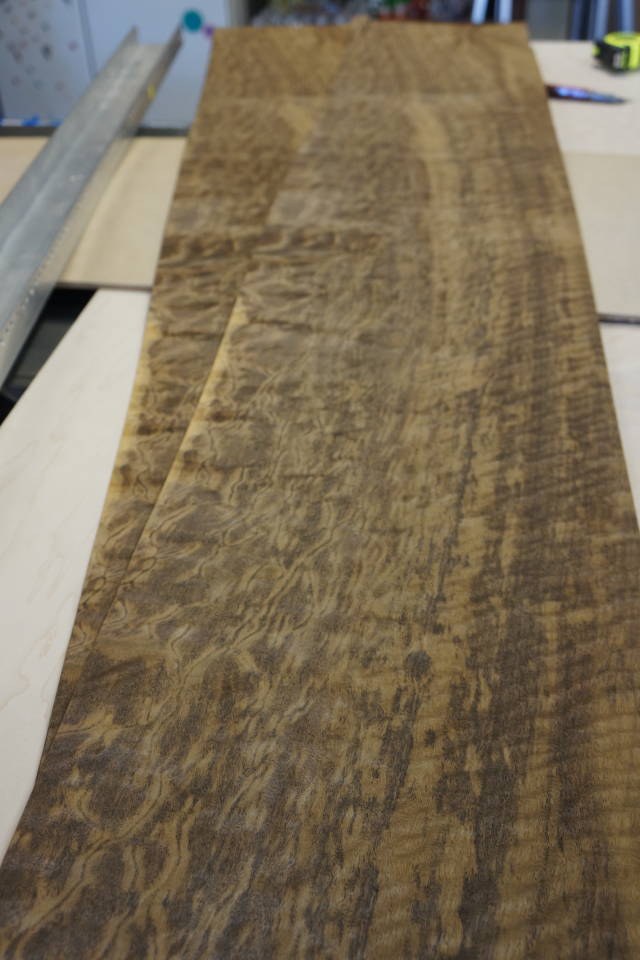
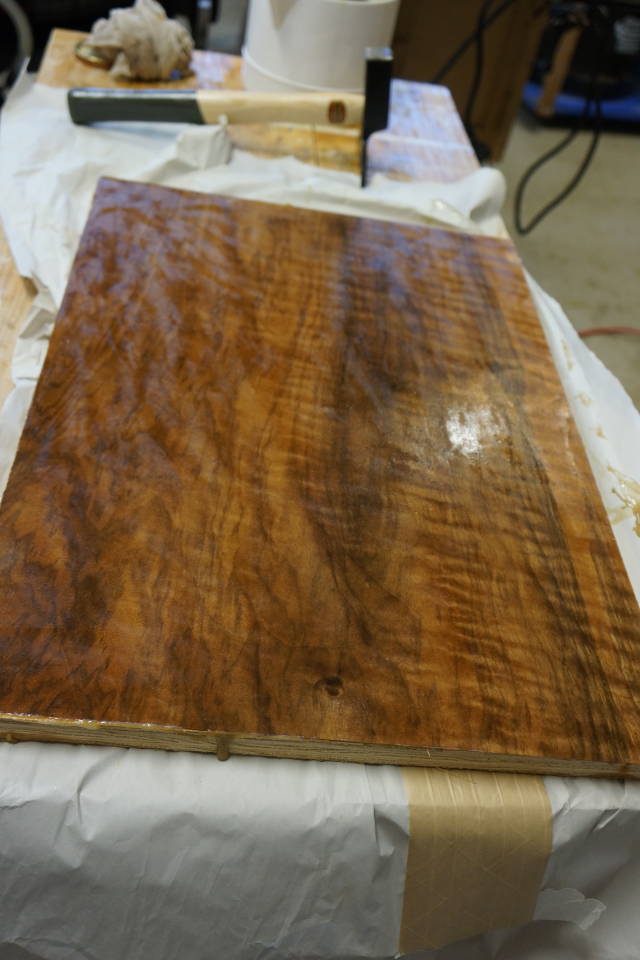
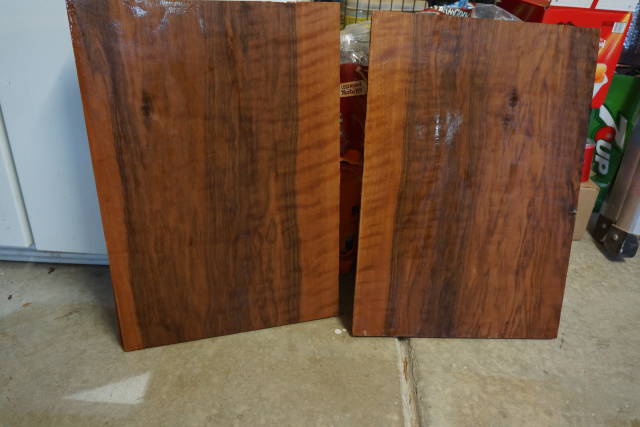
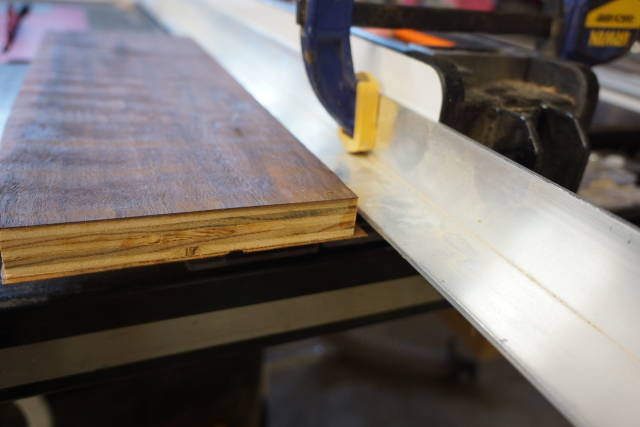
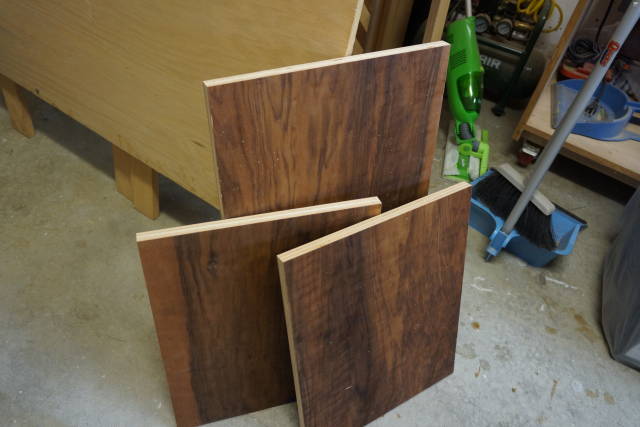
Top Veneering


Abbas, Castro Valley, CA
6 Comments

Excellent job , really impressed with the legs and the veneer , beautiful piece
Wheaties

One of my favorite details of this buffet are the legs. Thanks for providing all the photos. Well done !
Measure "at least" twice and cut once

Looks great. Love the pictures. I bet that vacuum bag must have cost a fortune?
Jeff Vandenberg aka "Woodsconsin"

First of all, you get an A+ on your hammer veneering exam. A lot of perseverance and dedication is required to learn something like that “over the net”. I’m proud of you.
Second, this is a beautiful piece top to bottom. Not an easy build by any stretch but just a sweet result. I hope your wife is over the moon about it. She should be.
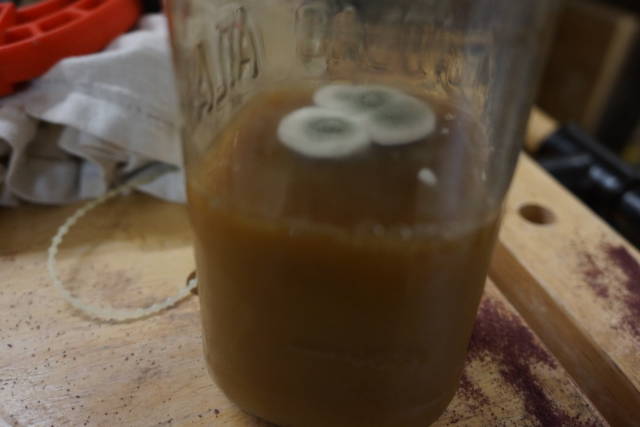
BTW, you could avoid the little glue problem you had by using liquid hide glue on the big vacuum bag glue-up. OBG would be my choice.
Congrats on a fine piece of furniture Abbas!
The early bird gets the worm but its the second mouse that gets the cheese.
Thanks Bruce. I love the veneer too.
Thanks KDC. The leg was from the original design. Jim has some very nice designs. He really thinks outside the box. He taught me a ton.
Jeff: the vacuum pump, the fitting kit,gauges etc… and the 10 ft bag with the breathing mesh cost almost $800. If you have a good compressor you could use the venturi system and save the pump. There were cheaper pump too but I wanted to buy only once. hopefully it will last. I also over bought on the bag. 10 ft is way too much. I plan to cut it in two bags
Thanks Paul!
Abbas, Castro Valley, CA
you bet I did!
Abbas, Castro Valley, CA