


Share your craft projects
Make new craft buddies
Ask craft questions
Blog your craft journey

lanwater
2132 posts
and
35 followers
in over 12 years
in over 12 years
Learning veneer #7: Redo
This is
part 7
in a
8 part
series:
Learning veneer
In the last blog I was facing bubbles and a slew of problems.
pictures of some problems below:
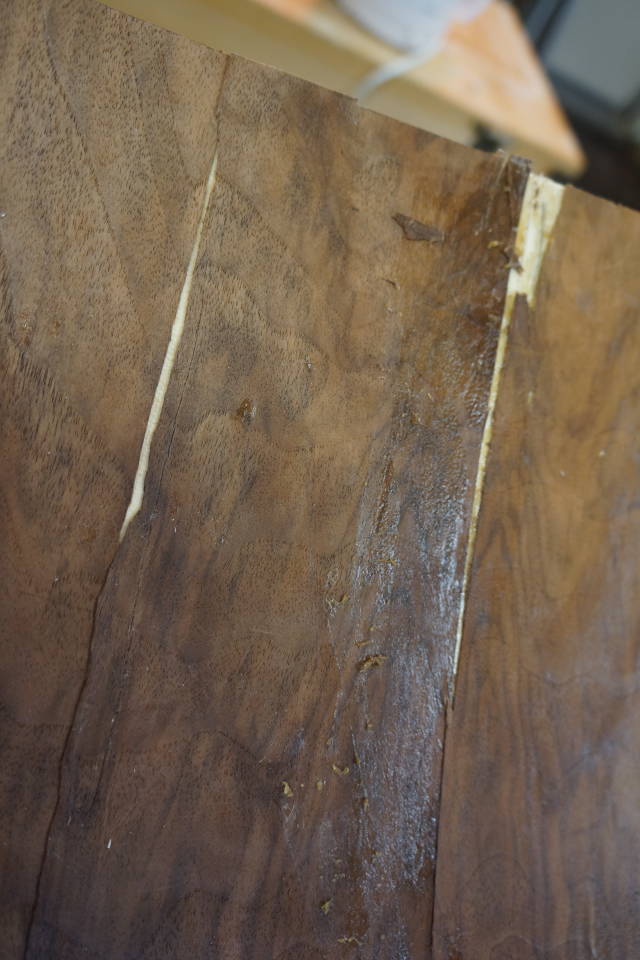
I decided to rip it apart to find out the root cause of these issues. It tuned out to be a good exercise for me.
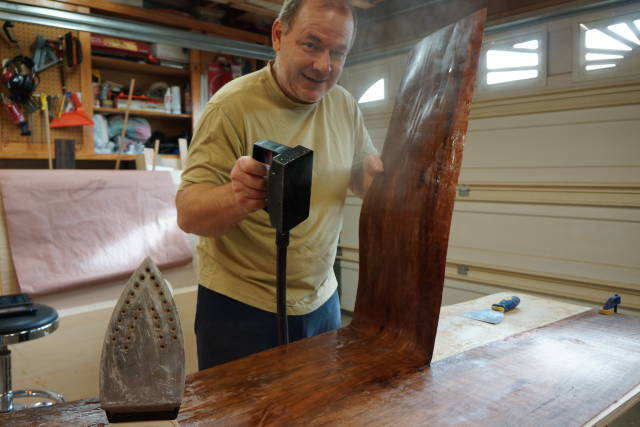
When I bought my house few years ago, one of the bathroom had wall paper on it. To get rid of it I had bought a steam wall paper remover from home depot. I figure the steam will penetrate the thin veneer as well and reach the hide glue. It worked great. I also had the feeling that the hot steam will affect the veneer, at least the color would change.
I started peeling the veneer almost immediately without much effort at all.
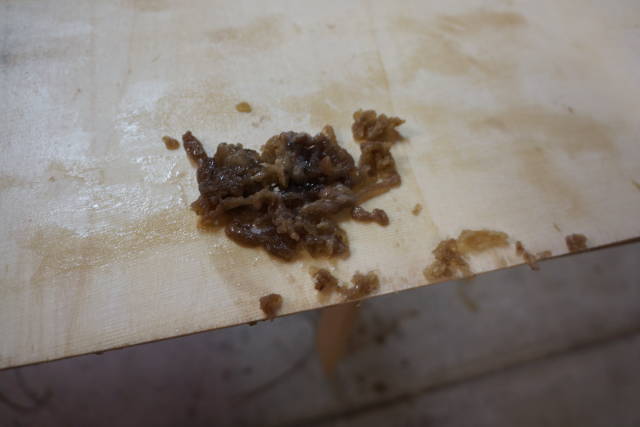
It became quickly apparent that I applied the glue too thick and it gelled fast.
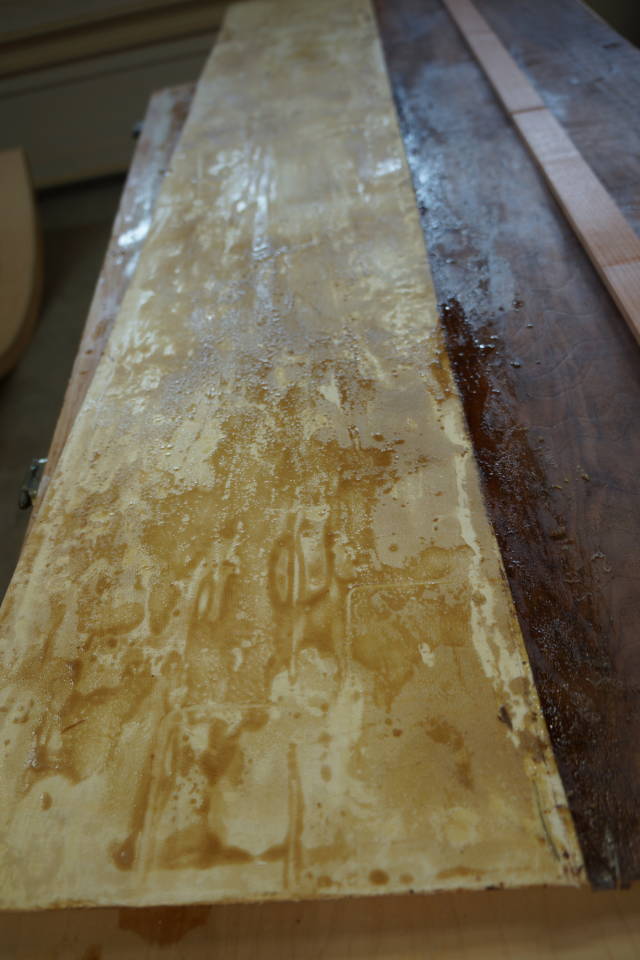
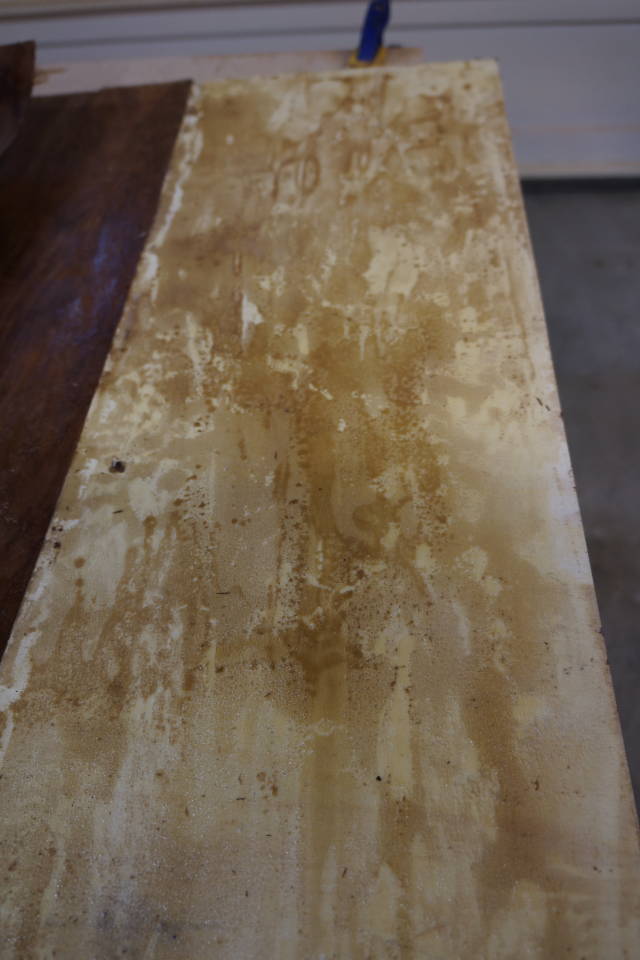
I cleaned the substrate as I wanted to re-use it again for more practice
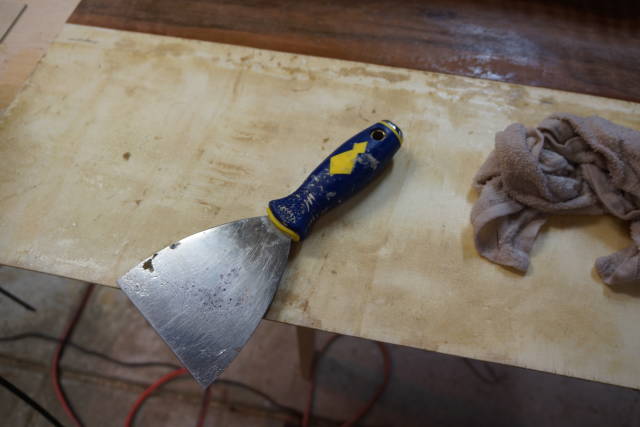
A small portion of glue removed. Way too much glue!
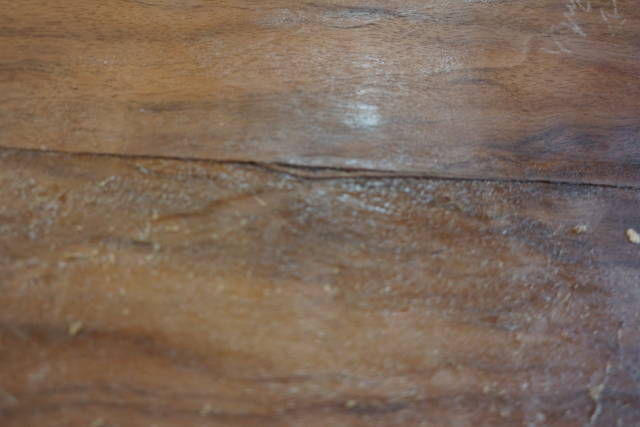
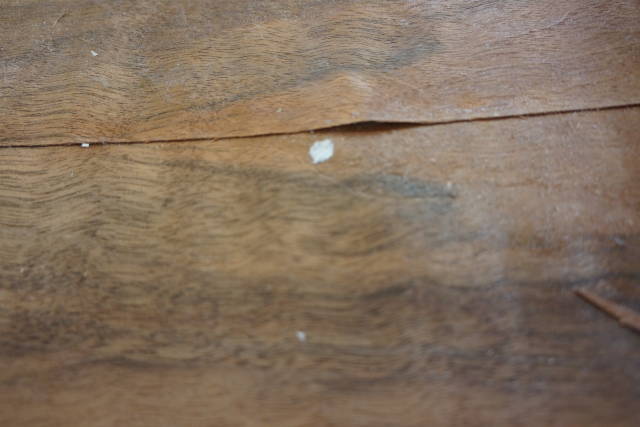
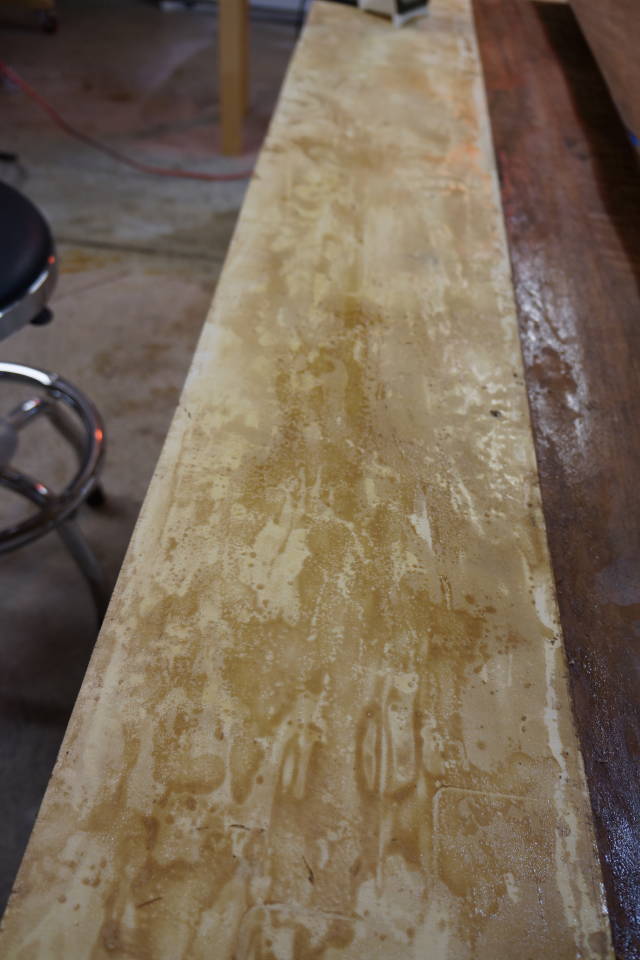
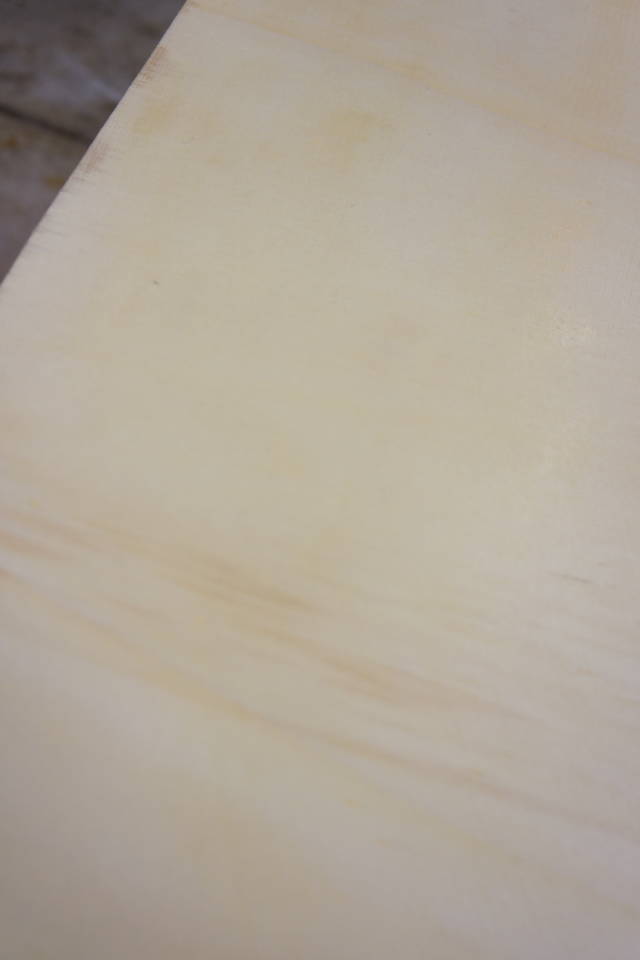
All clean. It was not easy to scrape the glue.
I cut out all the areas with the tear out, cut a clean edge and re-use the veneer again.
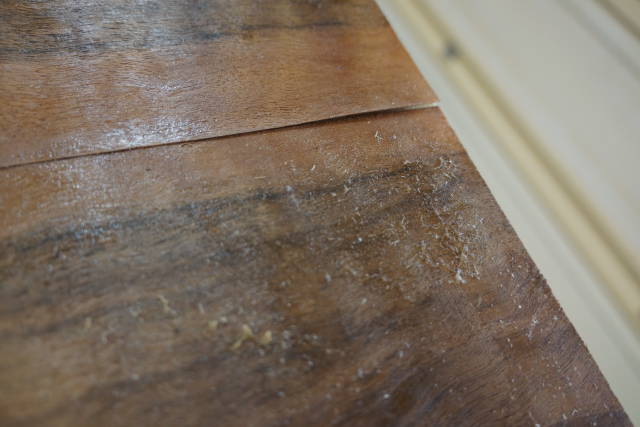
This time I thinned my glue a little more and hammered the veneer side by side without overlap.
The purpose is to gain a bit more time to hammer the veneer.
I also did not use water to clean up this time. I worked much better.
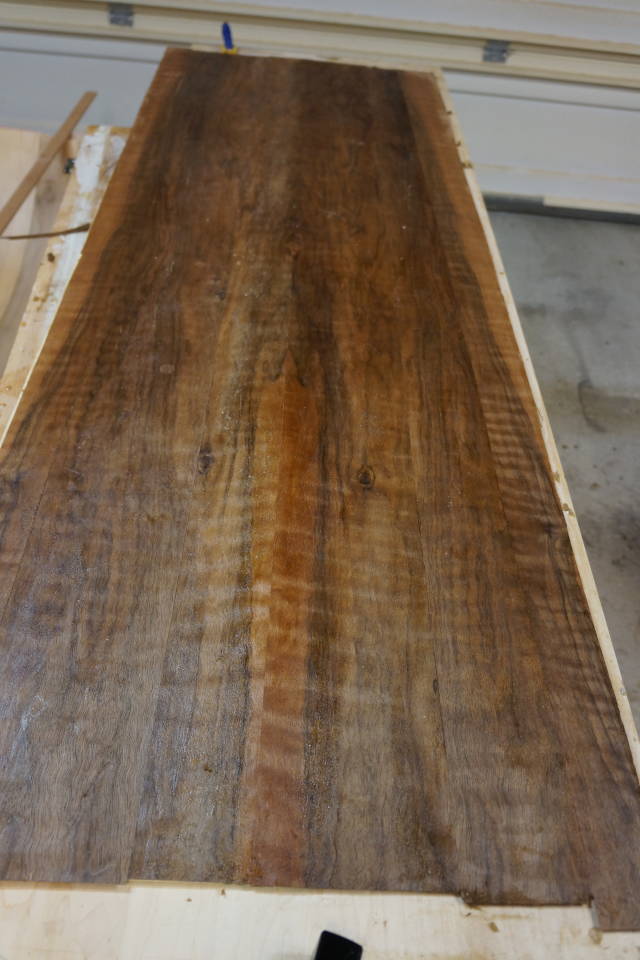
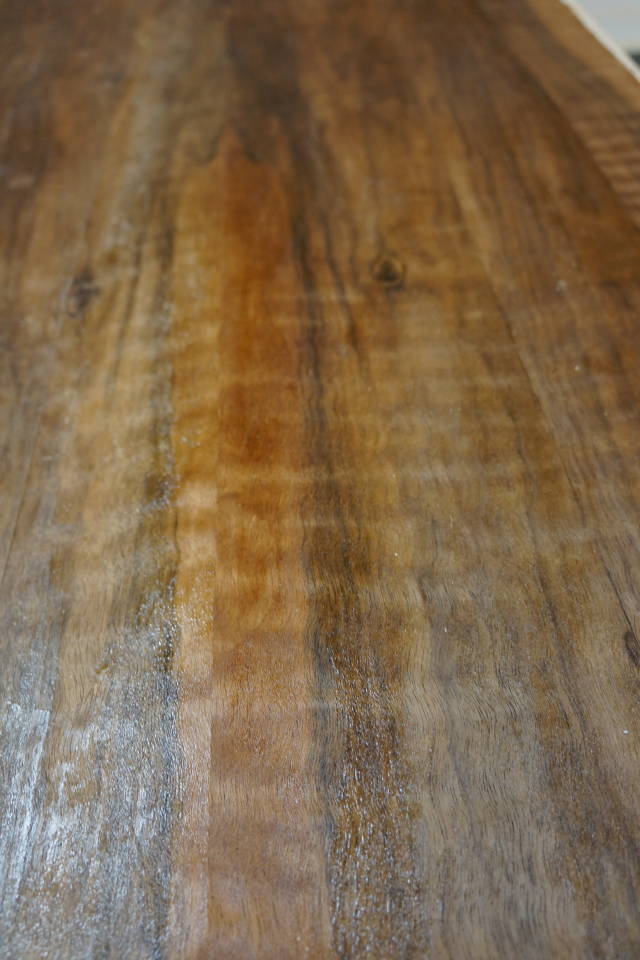
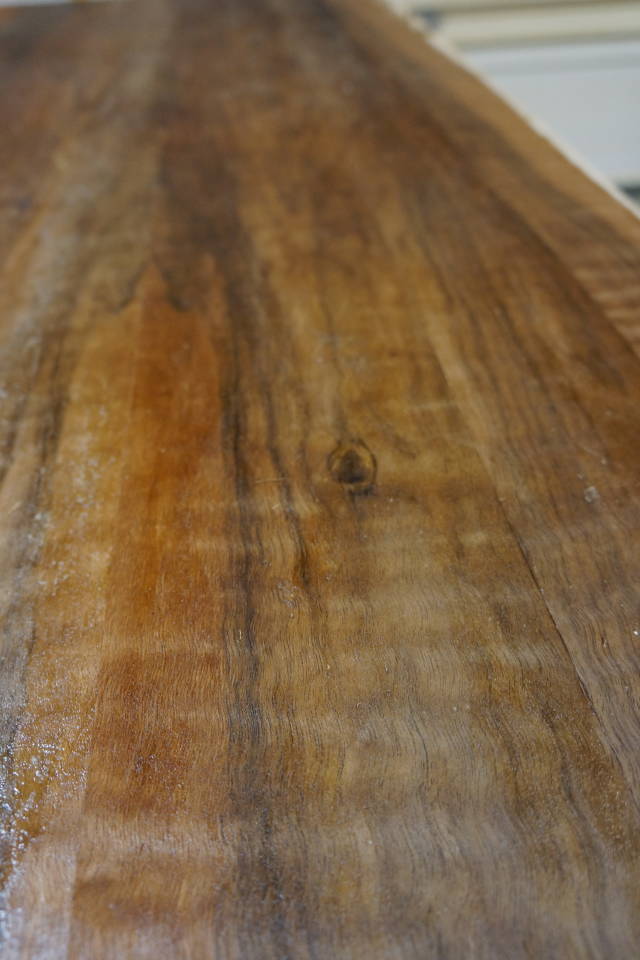
No Bubbles , ripples etc..
There is a distinct color change on the veneer, I think, due to the steam.
More practice on the horizon. There are few things I need to try before veneering the coffee table.
Abbas, Castro Valley, CA
9 Comments

This is a great wealth of info for those of us looking to do this in the future. Thanks for the great pics and information while learning yourself it’s like we are right with you discovering alongside.
CHRIS, Charlottetown PEI Canada. Anytime you can repurpose, reuse, or recycle, everyone wins!

Good learning process here. Many folks before you have just quit at the first failure and given up on the best glue around. Good for you for persevering. Hammer veneering requires a learning curve but once you “get it”, you will be able to do things that can be done no other way.
A few points
a) You can put that scraped up glue back in the pot
b) You don’t have to remove all the old glue.
c) The easiest way to remove the last of the old glue, if you need to, is with water and a scrubbing pad.
This looks much better. I can’t wait to see the project post of the veneer box now.
Congrats on the exercise. I think I may give you an “A”. :-)
The early bird gets the worm but its the second mouse that gets the cheese.

I agree with Thorreain, just learning so much by reading this. Thanks again for keeping us in the loop.
-- Alec (Friends call me Wolf, no idea why)
Thanks Chris and Alec.
Paul: The honest truth is I though of quitting at least a hundred times. But like all things one must invest time and resources to learn it.
I was not sure of the temperature of the steam when it hit the glue. I know it’s about 212 degree Fahrenheit when it the top of the veneer. So I wanted to err on the side of caution and dumped the glue I scraped just in case.
I probably over did it.
Yeahhhh!. Thanks for the A :)
seriously thank you for all your support.
Abbas, Castro Valley, CA
Probably a good idea. The steam likely saved you on the temperature. Hide glue doesn’t like high temperatures. A dry iron that hot would burn it and ruin the surface. What I keep in mind is that the glue is made out of the same stuff as me so if something is hot enough to burn me ………
:-)
The early bird gets the worm but its the second mouse that gets the cheese.
I ordered some pearl hide rated at 150g, it should give me a little more open time.
We will see how it works.
Abbas, Castro Valley, CA

I like your approach to this Abbas. A great way to get some real experience before doing an actual project. I know you will have this mastered before you go on to the coffee table.
Some add a little salt to increase the open time, but I have no idea in what proportions.Another, and perhaps better alternative would be to heat the substrate before hammer veneering. You could use a heat gun or even a hair dry blower for that. Good luck moving forward!
Mike, an American living in Norway
Thanks Mike,
The batch I am using now has 30% by weight. I am experimenting to see how much extra time I get.
It look like about 3 to 4 minutes. I can hammer a 10×40″ veneer piece comfortably.
I think it’s going to come down to using both heat and some salt.
Yesterday I had to deal with veneer movement at the joint line rising to a reverse “v”.
Having fun, lot’s of surprises.
Abbas, Castro Valley, CA
Keep posting man, I’m hanging on every post and pic….
CHRIS, Charlottetown PEI Canada. Anytime you can repurpose, reuse, or recycle, everyone wins!