


Share your craft projects
Make new craft buddies
Ask craft questions
Blog your craft journey

lanwater
2132 posts
and
35 followers
in over 12 years
in over 12 years
Coffe Table #6: Installing the 1/8 Ply
This is
part 6
in a
6 part
series:
Coffe Table
In the 5th installment of this blog I glued up the 1/4 inch Ply.
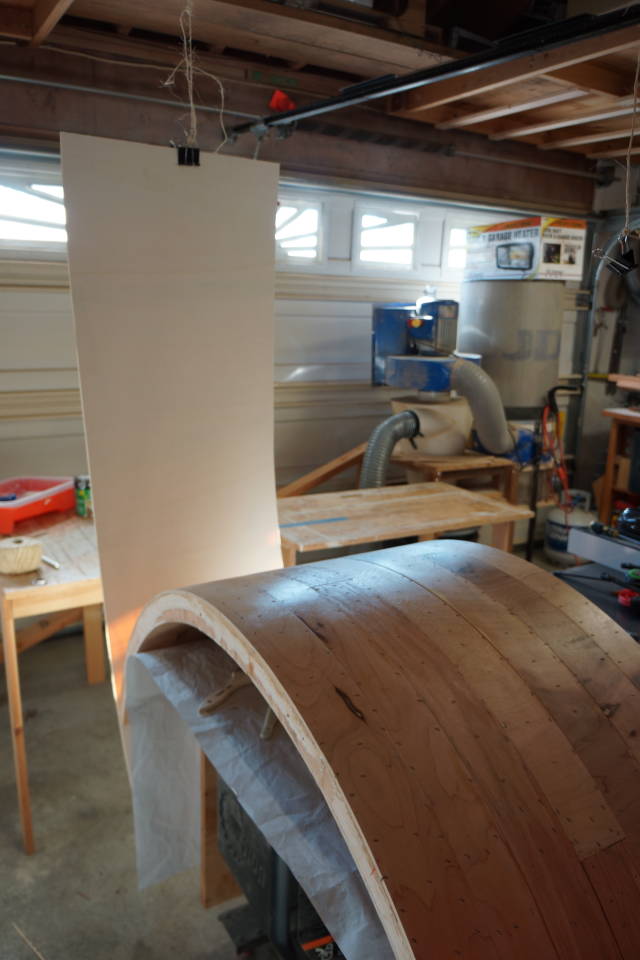
Now it’s time to install the 1/8 ply.
I finally found a local source for bendy Ply. The call it wobbly ply. They have 1/8 and 3/8 only.
I picked up a couple and rolled them up in my car for the ride home. That stuff bends effortlessly .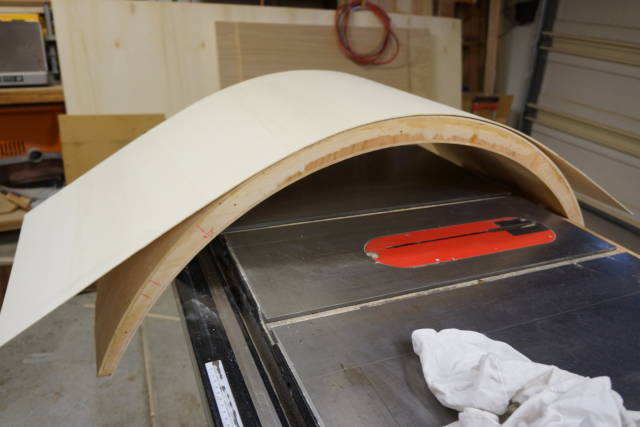
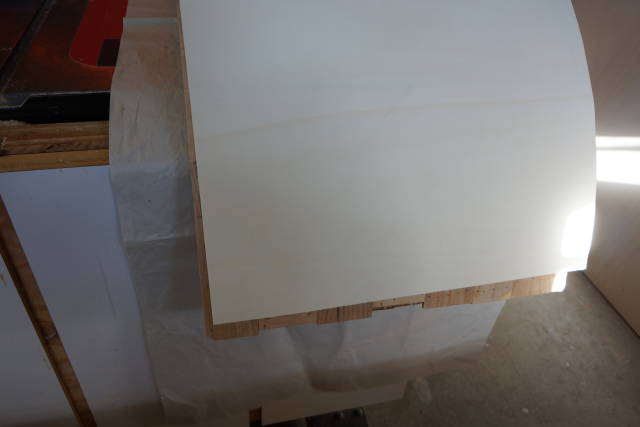
I decided to glue it using contact cement as no clamps would be needed and it will be much faster.
I used a roller and applied it on both sides making sure I have full coverage.
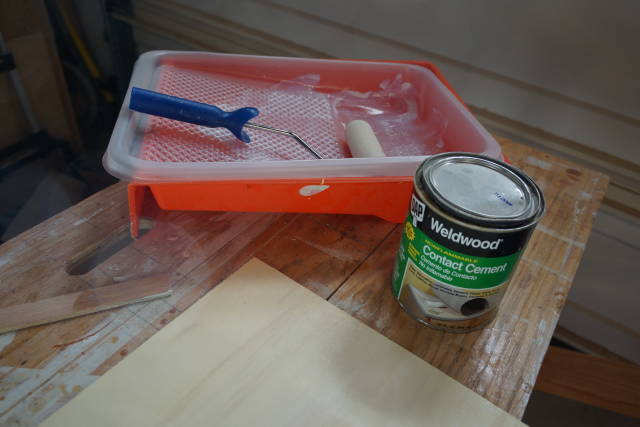
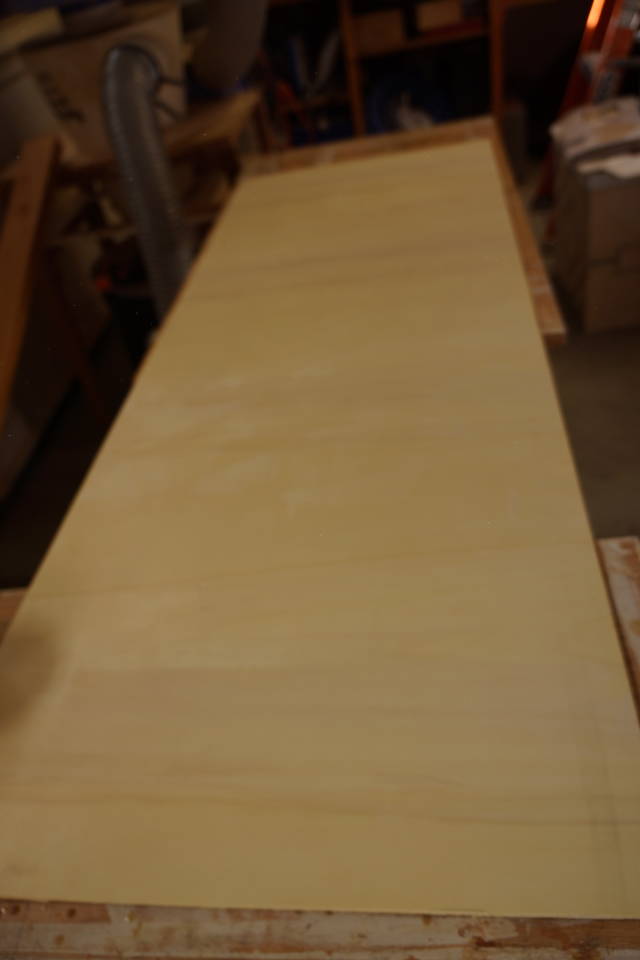
After about 20mn at 66 degree farenheit It was tacky and ready for glue up.
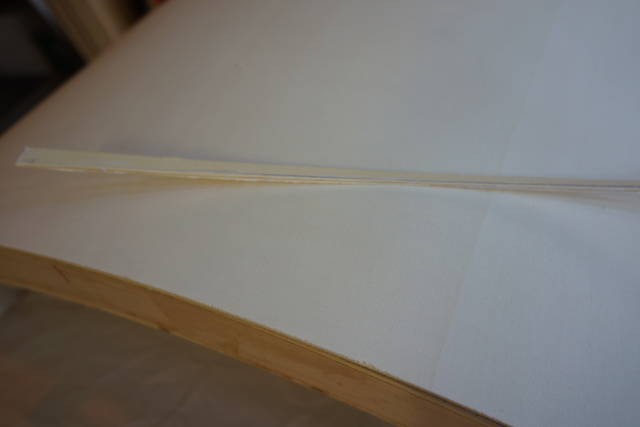
Since I am working on a curved form, I could not just lay the ply on rods and position it for rolling. So I thought of the best idea of my life(:-
Well I was short on one end and crooked too…
Strait on one side and Crooked on the other, that means I have more problems.
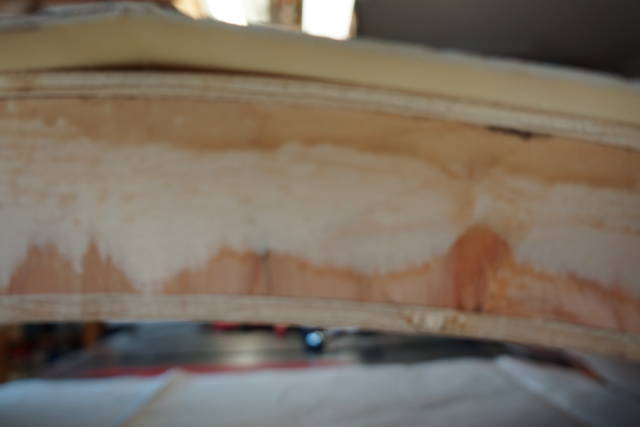
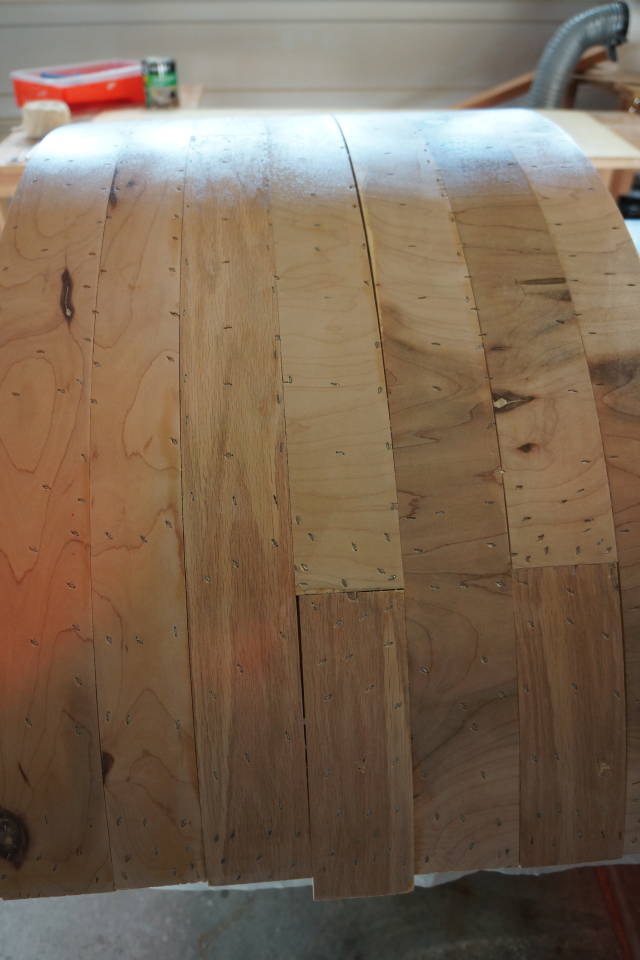
Lucky these problems are easy to fix. I slit the bump with a knife and rolled down. I also glued 2 thin strip to correct the other side.
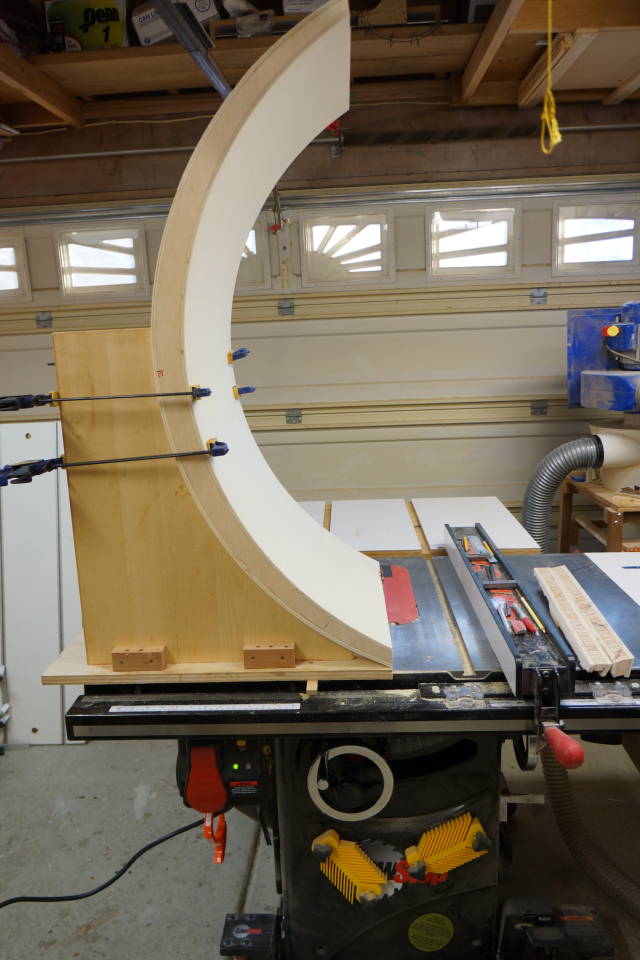
for the concave side I figured a better idea: different kind of clamps.
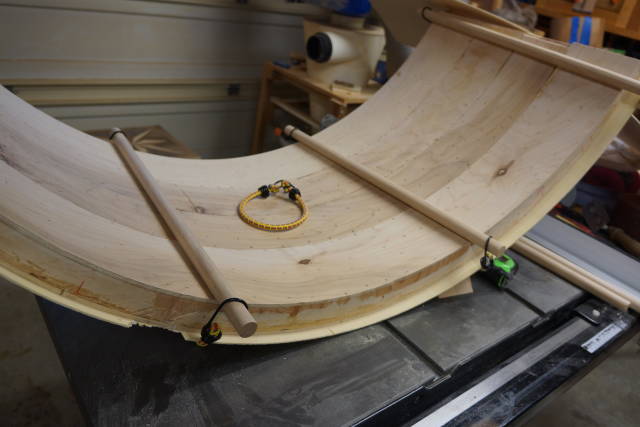
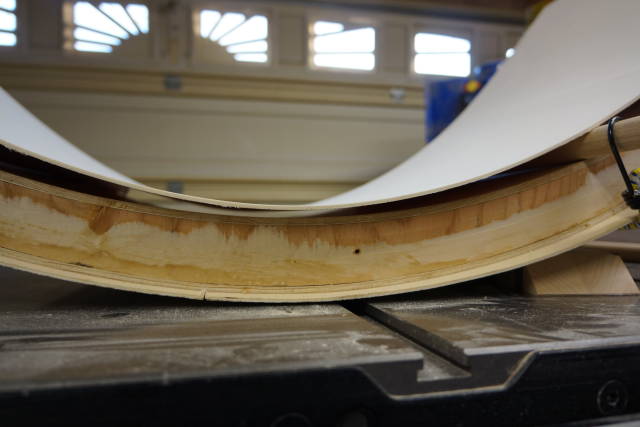
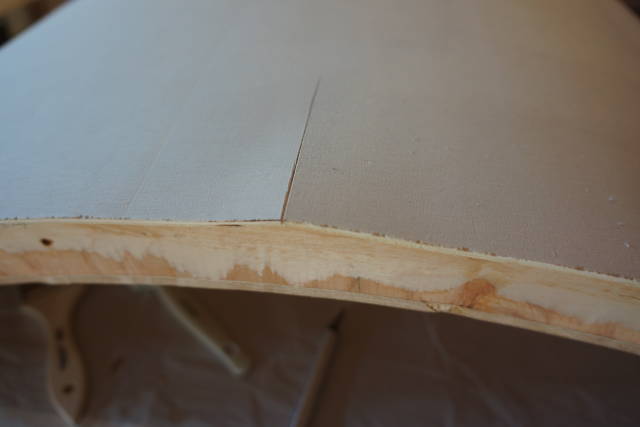
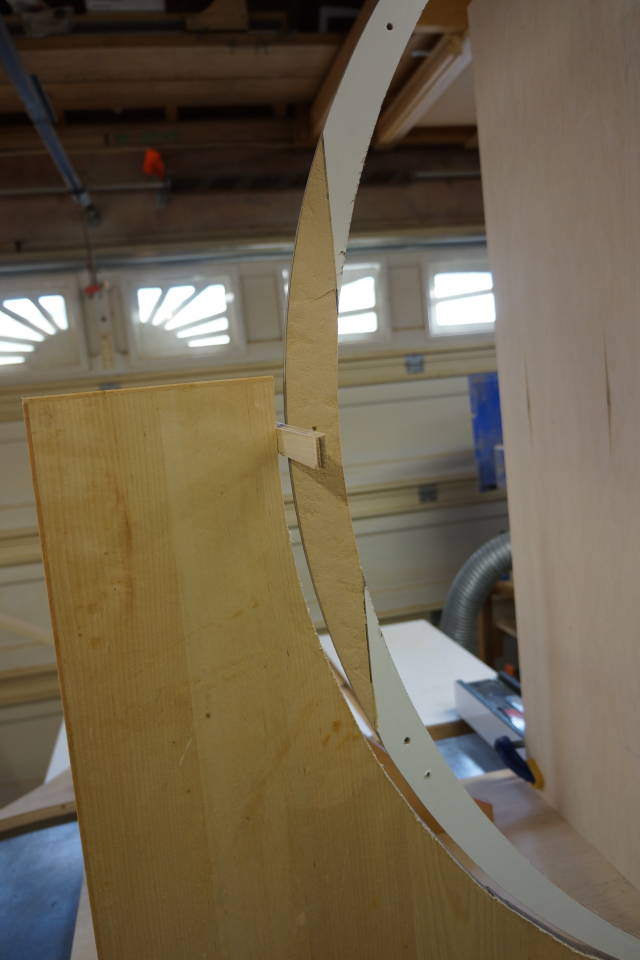
Once it was all laminated I move to find the center again. I let it rock to a stop and measure to the contact point. A little over 22" almost right on. I will redo this exercise after I trim the ends.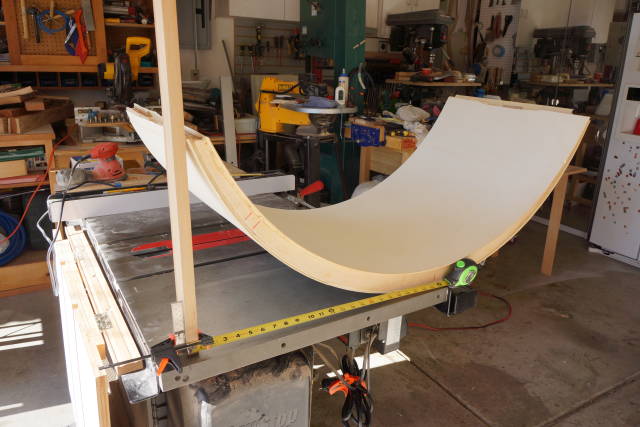
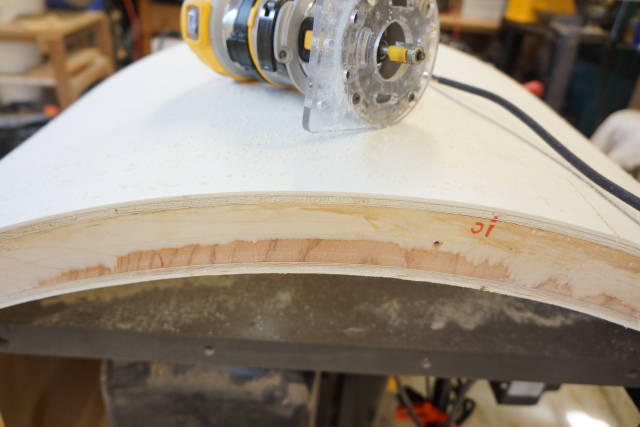
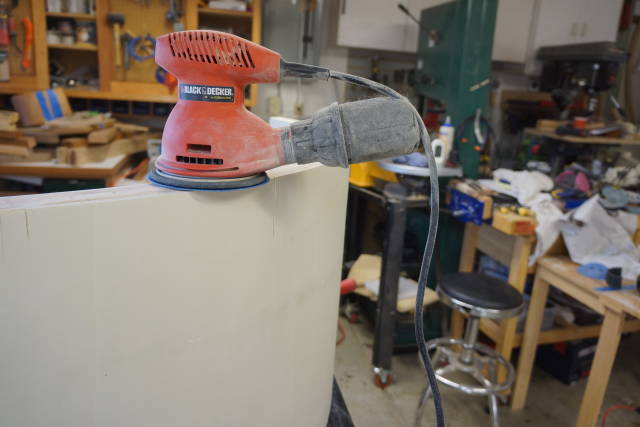
Sanded the edges a little.
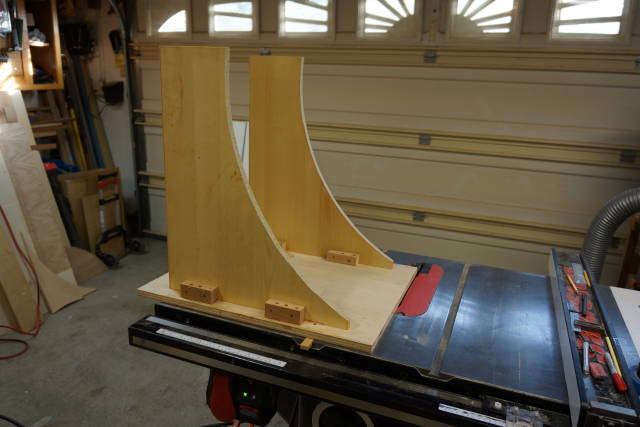
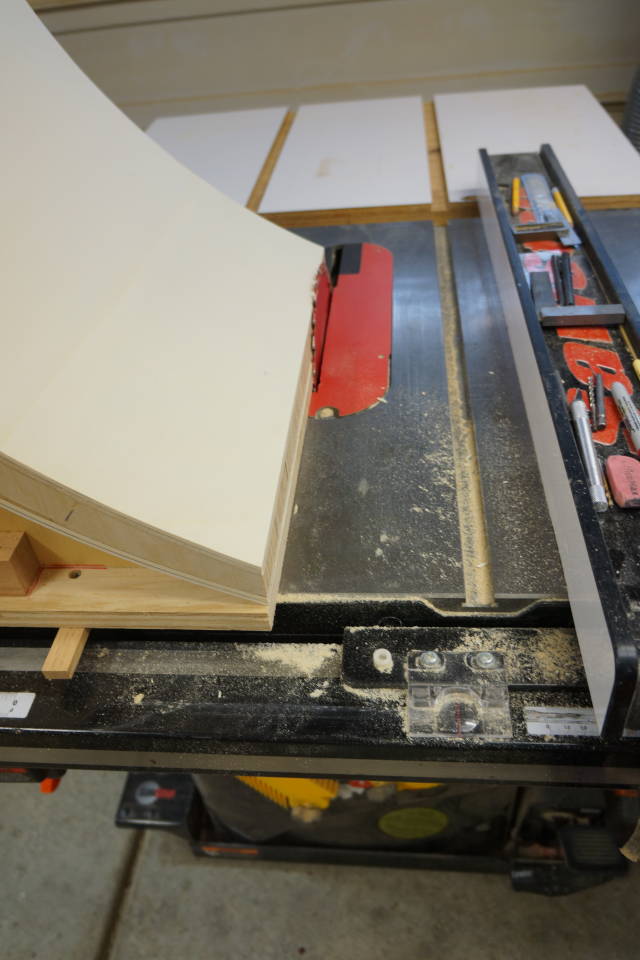
Now I am ready to trim the ends.
It became quickly apparent that my long sled is not going to cut it.
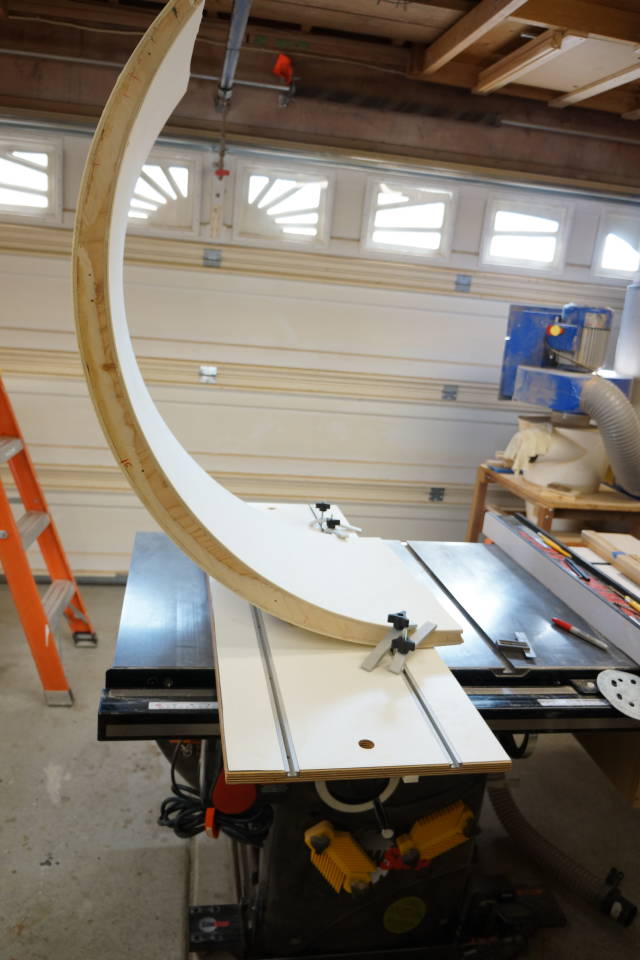
I had to build a quick sled to cut those ends safely.
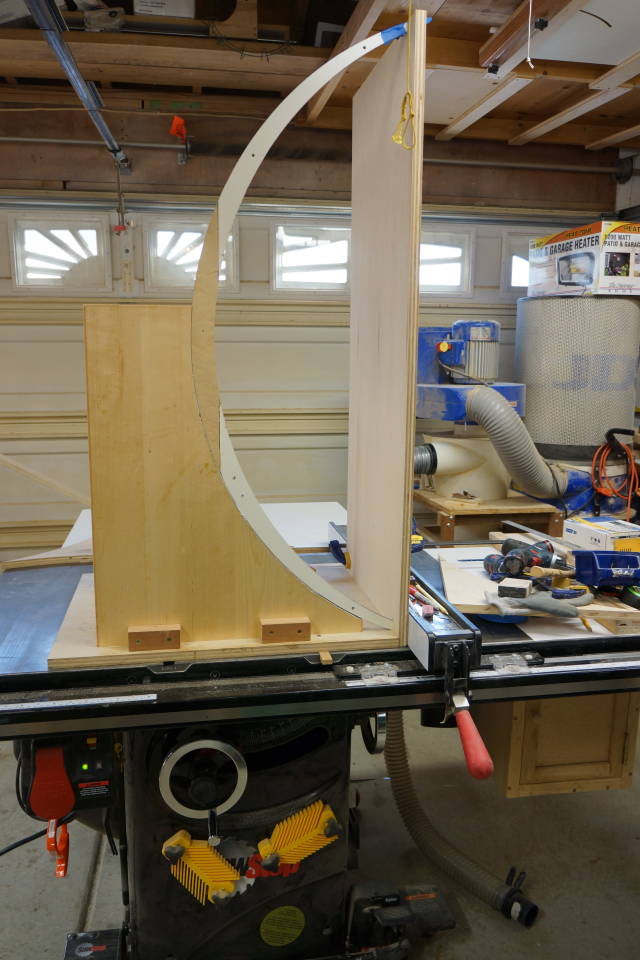
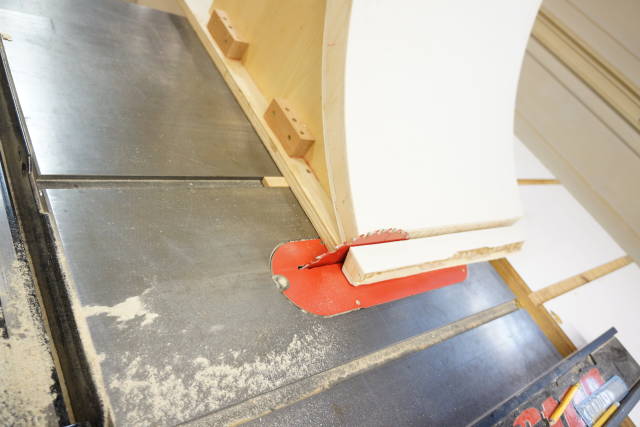
Well it was heavy so when I started pushing very slowly ( remember the staples and nail, lots of them. fireworks)
It jerked a little.
I decided to cut 1/16 more to avoid the extra sanding. before I did that, I remembered I still had some TopCote.
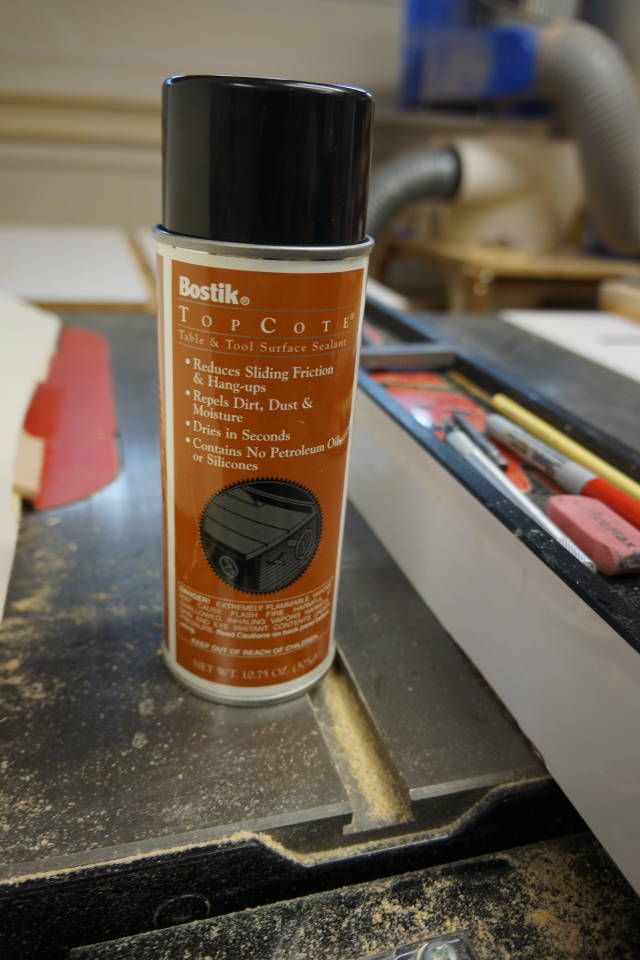
Sprayed some on the table saw top and what a difference. Now I could push with only one hand.
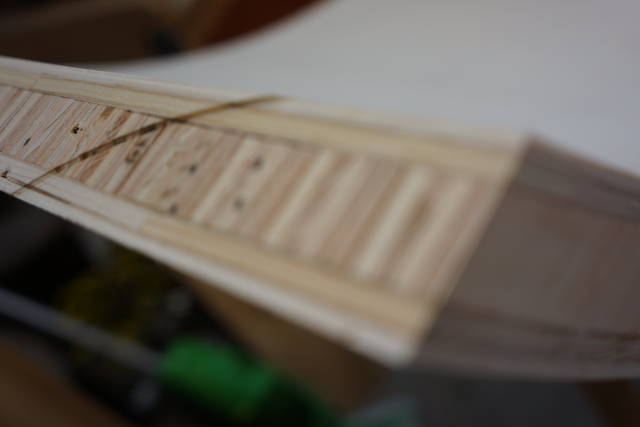
Fixing the problems left some marks that will need to be address. Also while moving the table around it got banged here and there:
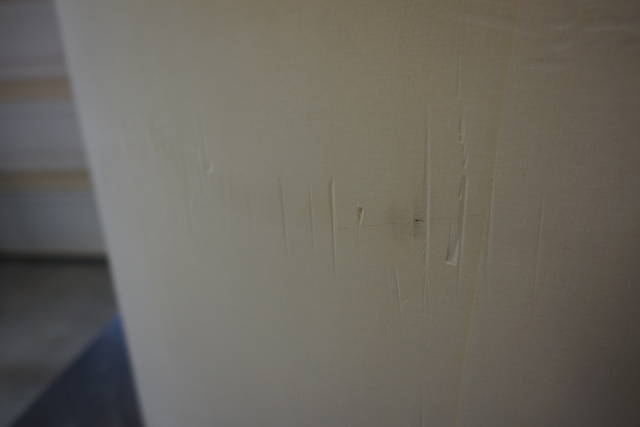
I am thinking to use a filler to take care of these scratches so it does not transfer through the veneer later. I am not sure if sanding only would be enough.
Next step I will work on the base, probably on the weekend.
Please if you see a better way of doing something let me know. I take no offence in any comment.
Abbas, Castro Valley, CA
8 Comments

Great work! Lots of resourceful and innovative methods here Abbas. It is looking very good now. I hope you will filling those scratches with something that won’t be affected by the heat of your hot glue.
Mike, an American living in Norway

Excellent solutions! You are getting close now, the proof is in the details now from this point on take your time. That bendy stuff sure makes it easy, I can only get it here every so often. I usually go from the middle as a rule, but it creates challenges too. You have overcome the biggest obstacles with creative solutions again. Great job man.
CHRIS, Charlottetown PEI Canada. Anytime you can repurpose, reuse, or recycle, everyone wins!

Looking good Abbas.
The early bird gets the worm but its the second mouse that gets the cheese.

I am very impressed so far.
Tor and Odin are the greatest of gods.
Many hours spent and many to come but its going along just fine .
Should be a nice table when done .
Keep posting your progress I will be watching and learning .
Klaus
Thanks for the encouragement.
There are many more hours to go for sure. I need to get more comfortable with veneer hammering.
I know I am getting there; few more practice run. It’s not about the table, it’s about the challenge, and the “learning”.
I can finish the veneer under 2 hours now with contact cement and paper backed veneer.
I want to do it with hide glue. If my ancestors did it with much less tools, I should be able to do it:)
Abbas, Castro Valley, CA
For the filer I am thinking hide glue and dust. That would probably be the most compatible, I think.
Abbas, Castro Valley, CA
Bentley! Hmm, hmmm…
You made me laugh big time.
An image of myself as a ninja with his sword out shopping wood came to my mind as I was reading your comment.
As a matter of fact I am smile as I am typing.
Hanging the 1/8 ply to the ceiling was so foolish. It hit me really hard when I saw the problems.
Never again for sure.
I wish you were here too.
Abbas, Castro Valley, CA