


Share your craft projects
Make new craft buddies
Ask craft questions
Blog your craft journey

lanwater
2132 posts
and
35 followers
in over 12 years
in over 12 years
Coffe Table #5: Covering the rib cage with 1/4 " plywood
This is
part 5
in a
6 part
series:
Coffe Table
...
-
Rib Cage Glue Up
-
Covering the rib cage with 1/4 " plywood
-
Installing the 1/8 Ply
...
- Rib Cage Glue Up
- Covering the rib cage with 1/4 " plywood
- Installing the 1/8 Ply
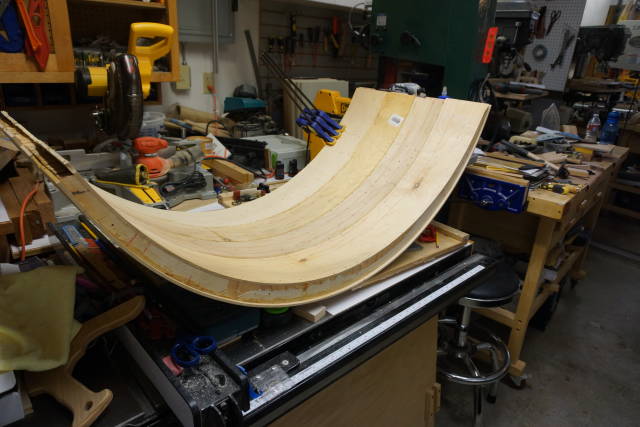
In my last blog on the coffee table, I had the rib cage all glued up.
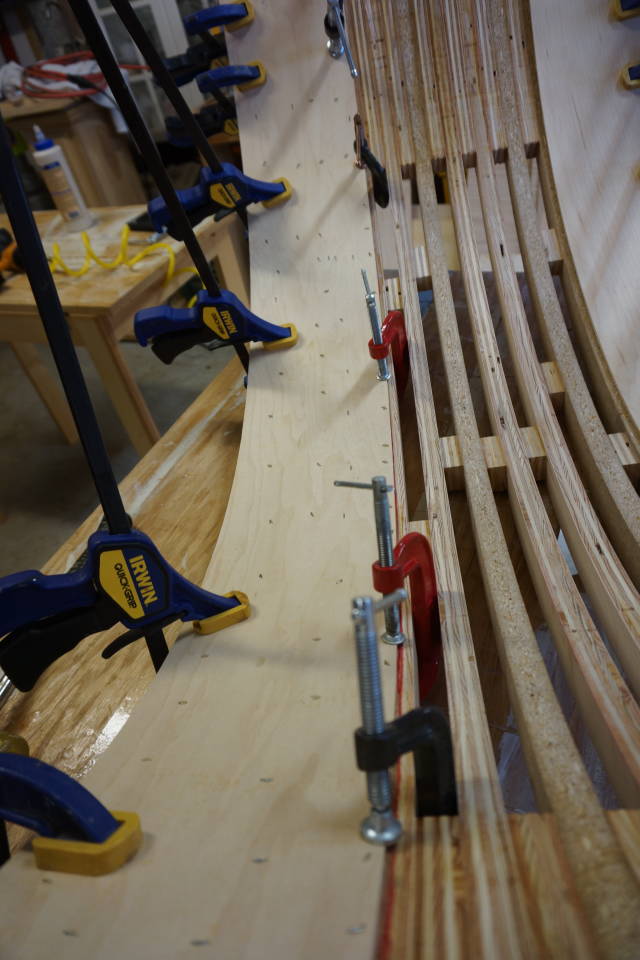
Right after that was done I moved to install the 1/4 inch plywood. This blog is about that (1 month late)
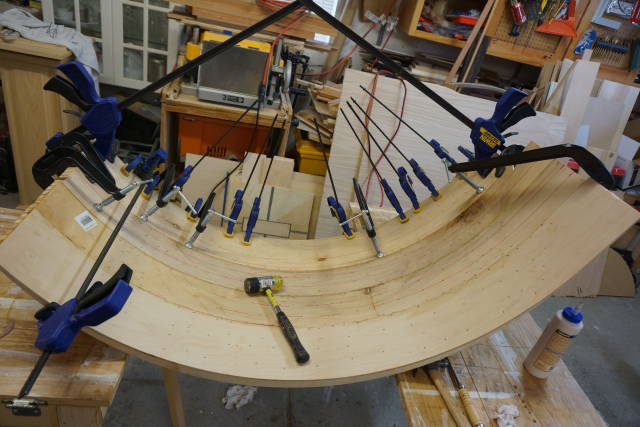
I used titebond III (the bottle is an empty re-filled) and 1" staples in the nail gun.
The plan was to install 1/8 ply on top of it to receive the veneer.
I did not have any local source for bendy ply at the time so I went ahead any used 1/4 inch ply.
I thought the bending radius is big enough to bend 1/4 ply without much ado.
That assumption proved wrong as you will see below.
The first trial piece snapped on my half way through. I experimented with narrower strips and that seemed to work
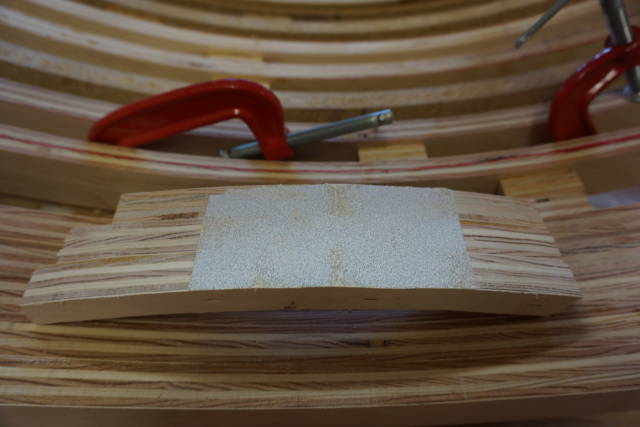
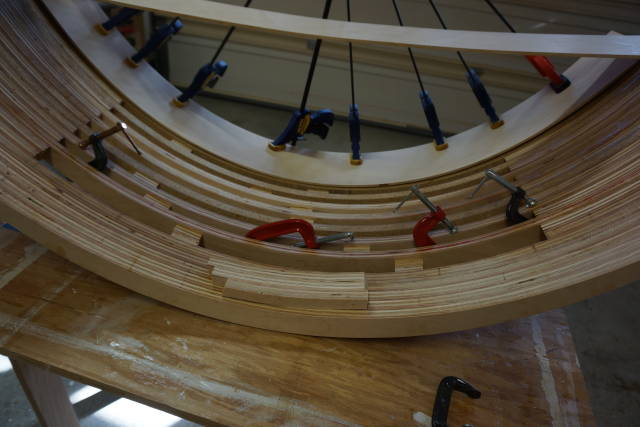
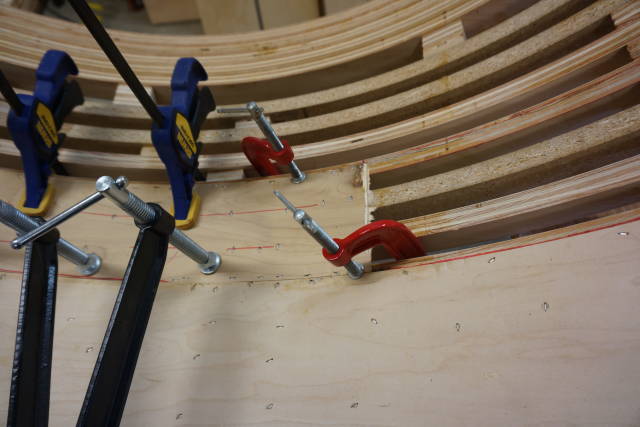
First I gathered some scrape with the same inside radius as the cage rib and improvised a block sander to hit a couple of spots. I also positioned some C clamps in the middle to use when needed.
The strategy was to go from the outside to the middle where clamping would be a problem (20" wide).
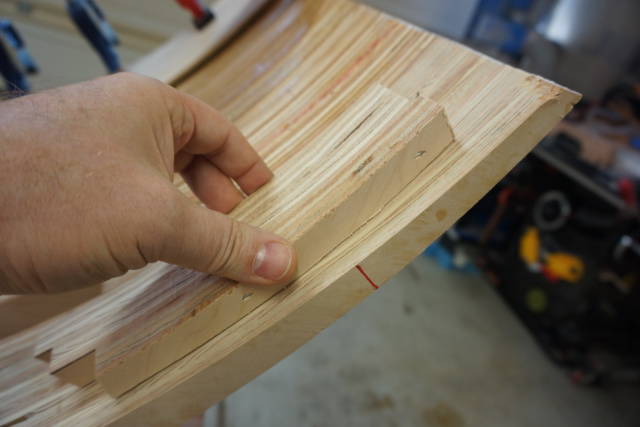
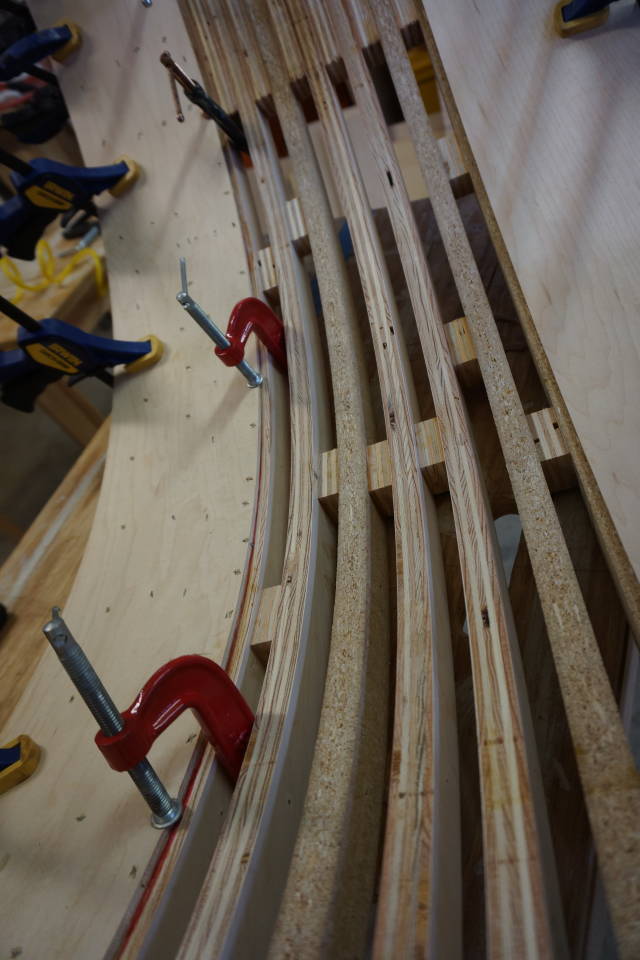
Even a narrower strip of 1/4 inch ply snapped as well…
Some thoughts:
1-From many feed back I received. It became apparent that 1/4 inch ply was not needed. the 1/8 ply which I will post about shortly would have been sufficient.
2- in the heat of glue up, while fighting with the sprig back, I totally forgot about my 5" no nail margins on both side where I will be cutting a profile… We will see how that goes on the blades.
3- My inexperience with cage rib construction ( against both Bently’s and Paul’s advice) I went for more ribs than really needed I thought it should be stronger :). I is very heavy for sure.
Next installment is the 1/8 ply and cleanup.
Abbas, Castro Valley, CA
5 Comments

It would have gone much easier if you had bent the plywood on it’s other axis with the surface grain going across the curve and only the centre ply(s) in flex.
I’ve bent a lot of 1/4" pw and it’s just way easier that way. It’s very easy to scarf edge to edge to get more that the four feet if you need it.
But it seems to be done now so on to the next step.
Keep us posted. You are a brave adventurer Abbas.
The early bird gets the worm but its the second mouse that gets the cheese.
Thanks Paul.
I did not think about the other way…(:
That will come handy soon enough.
I am not sure I am brave. I just tell myself that i am not doing this for a living so lets try it and see how it works. If it doesn’t I call it experience if it does I say I knew it would work:)
Abbas, Castro Valley, CA

I agree with Paul, there is definitely some bravery there Abbas. This is a tough project with a steep learning curve and you are taking the whole thing in your stride and not letting any any missteps stop you.
Mike, an American living in Norway

You seem to be humble when in fact you take rack challenge in stride and improvise a solution to keep moving forward. Even if you were to stop right now, you have gained immense skills, but you are in fact right on track to make this table a beauty. Keep it up man you are doing fantastic!
CHRIS, Charlottetown PEI Canada. Anytime you can repurpose, reuse, or recycle, everyone wins!
Thanks Chris!
The honest truth is , I am getting tons of help from you guys. From the start I got great ideas.
Paul and Bently have been holding my hands throughout and Mike has been holding the the other one, always suggesting stuff that worked for him.
If it was just me I would have lost patient with myself as I like the job to be done and move to the next one.
Abbas, Castro Valley, CA