


Share your craft projects
Make new craft buddies
Ask craft questions
Blog your craft journey
chevalet


Chevy II is now a working chevalet de marqueterie, but she's not "finished". The next week's schedule will be something like: Put a coat of finis...
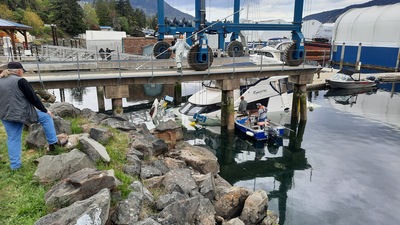
I know I said I was taking a break to get back to sailing for the summer but there was a surprise in store for me.
On April 26th I had my boat haul...

I have improved a fair bit since I posted the initial SU of the chevalet. In fact it was my very first attempt and it was, in a word awful. I may ...

The replacement of the warped main column of my old chevalet is all done and dusted and it won't be warping again any time soon. Here are some pr...
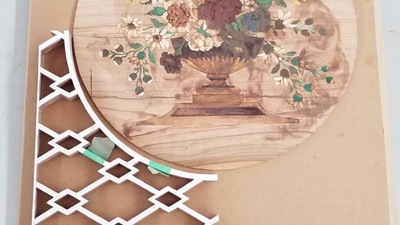
I’ve finished the Main parquetry / marquetry panels that will go on the sides of my cabinet …... finally.
This iconic Jean Henri Reisener parque...
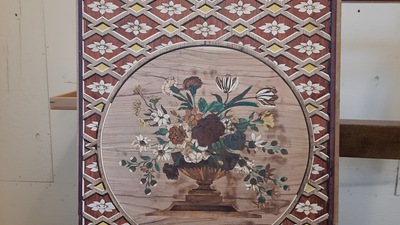
Since the last entry I’ve made a good bit of progress. The side panels are now completely finished and ready to be mounted on the cabinet and the f...
Here’s the video of the first stage of gluing up the curved side. In this stage the marquetry is not glued to the cabinet. It is laminated into a c...
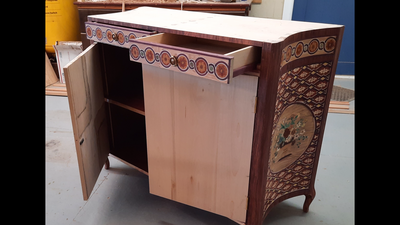
I’ve come to a place that is convenient to take a break. Sailing season is approaching and I have work to do on my boat to be ready. This cabinet ...

IMPORTANT NOTE: Almost everything on this page has been improved and updated in my second build , Chevy II
I am leaving this blog intact as a r...
There are two stories here that can't be separated from each other so I'll tell them together. One is about the first modifications to the Cheval...
This is a bit of the fine tuning I knew awaited me once I started getting into the chevalet. My original (re-invention of the wheel) blade clamps...

When I started to build the chevalet from a few photos on the internet, I wasn't at all sure it would amount to anything at all so in many places...