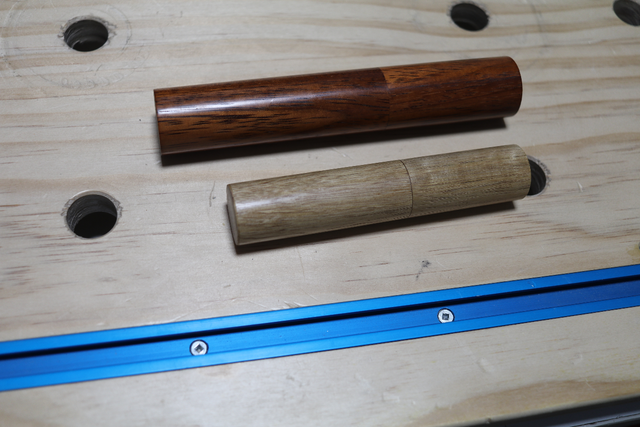
A small Pill Bottle, 4" x 7/8" Día, Leopardwood finished with a friction polish.
My better half uses a small plastic baggie to keep one of her meds in her purse. So I came up with this as one birthday present next month.
I had recently picked up some Leopardwood turning blanks, milled this down to 1" square x 6" and started with the turning. After I obtained a cylinder (between centers). I sat back looking at the grain and figured out how to finish this thing. I laid out a tenon on each end and where to create the cap. (Which is a friction fit). Back to turning to finish the outside.
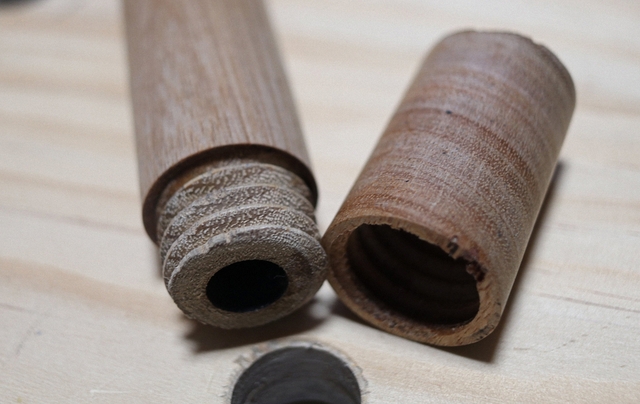
After cutting the cap off I placed it in the chuck and used a 3/4" foster bit to create the lip, then a 5/8" foster bit to make the cap a bit deeper and softened the edge. Then chucked up the bottom and used a 1/2" foster bit to clear out the inside. Then softened the cut and sneaked up on the fit for the cap.
While I still had the tenons on I pushed it together and sanded to 220 grit, stopping after each grit and sanding with the grain. Then finished with BLO and Shellac for a friction finish (thanks Dave P).
From there separated the two half's and chucked each one up, cut off the tenon, sanded and finished the ends.
Fun little project, while turning a couple of other things. And I managed to get a good friction fit for the cap. This could also be used for a tooth pick holder, (not those Texas sized ones), since you don't see toothpicks in restaurants anymore.
Still learning how to turn, getting better control of the tools and better at sharpening them too.
Thanks for looking and comments are always welcome
Tried my hand at similar a while back, but for pen cases, and tried to marry 3D printed threads with wood as the threads kept breaking out with the exception of large walled cylinders and grain consideration, The only problem was that I could only fit a credit card pen in them,
At least from your idea, I could now repurpose them after scraping years worth of dust off.
If your first cut is too short... Take the second cut from the longer end... LBD
Thanks, OldTool. It took a little time, turn a bit check the fit, turn a bit more, sand check fit, repeat. The better half really likes it, along with a few other folks.
Very nice Eric, I've tried to make something similar a few times and I always have trouble figuring out how to do the project in the right order. I always think I've got the steps figured out and then I get to the point I can't figure out how to hold one end or the other.
From there separated the two half's and chucked each one up, cut off the tenon, sanded and finished the ends.
That is where I get lost. How did you cut the tenons off? How did you hold the other side without damaging the finish? I've tried making a tenon on a scrap block to fit the inside of the piece, but that never seems secure enough to remove a tenon.
Thanks John. After turning the blank leaving a tenon on each end. I used a parting tool to cut down to the lip, then cut it apart with a small saw. I also use a Nova Chuck, then it's a matter of drilling out the lower section and shaping the lip. once that is completed, I chucked up the cap, drilled a small center followed by fine tuning the fit to the lip of the lower. Once the fit is correct put the two half's together and finish on the lathe, then cut the tenons off the ends then sand and finish. I have also used tape to protect the finish to place the turning in the Nova Chuck.


 - Project by Eric - the \"Loft\"")

")
")
")
")
")